How to Sew the Perfect Welt Pocket in 8 Easy Steps
A welt pocket is a smart addition to any design. The opening is finished in an attractive manner, and the “welt” refers to the narrow fabric edges which frame the pocket opening. This example shows a single welt pocket.
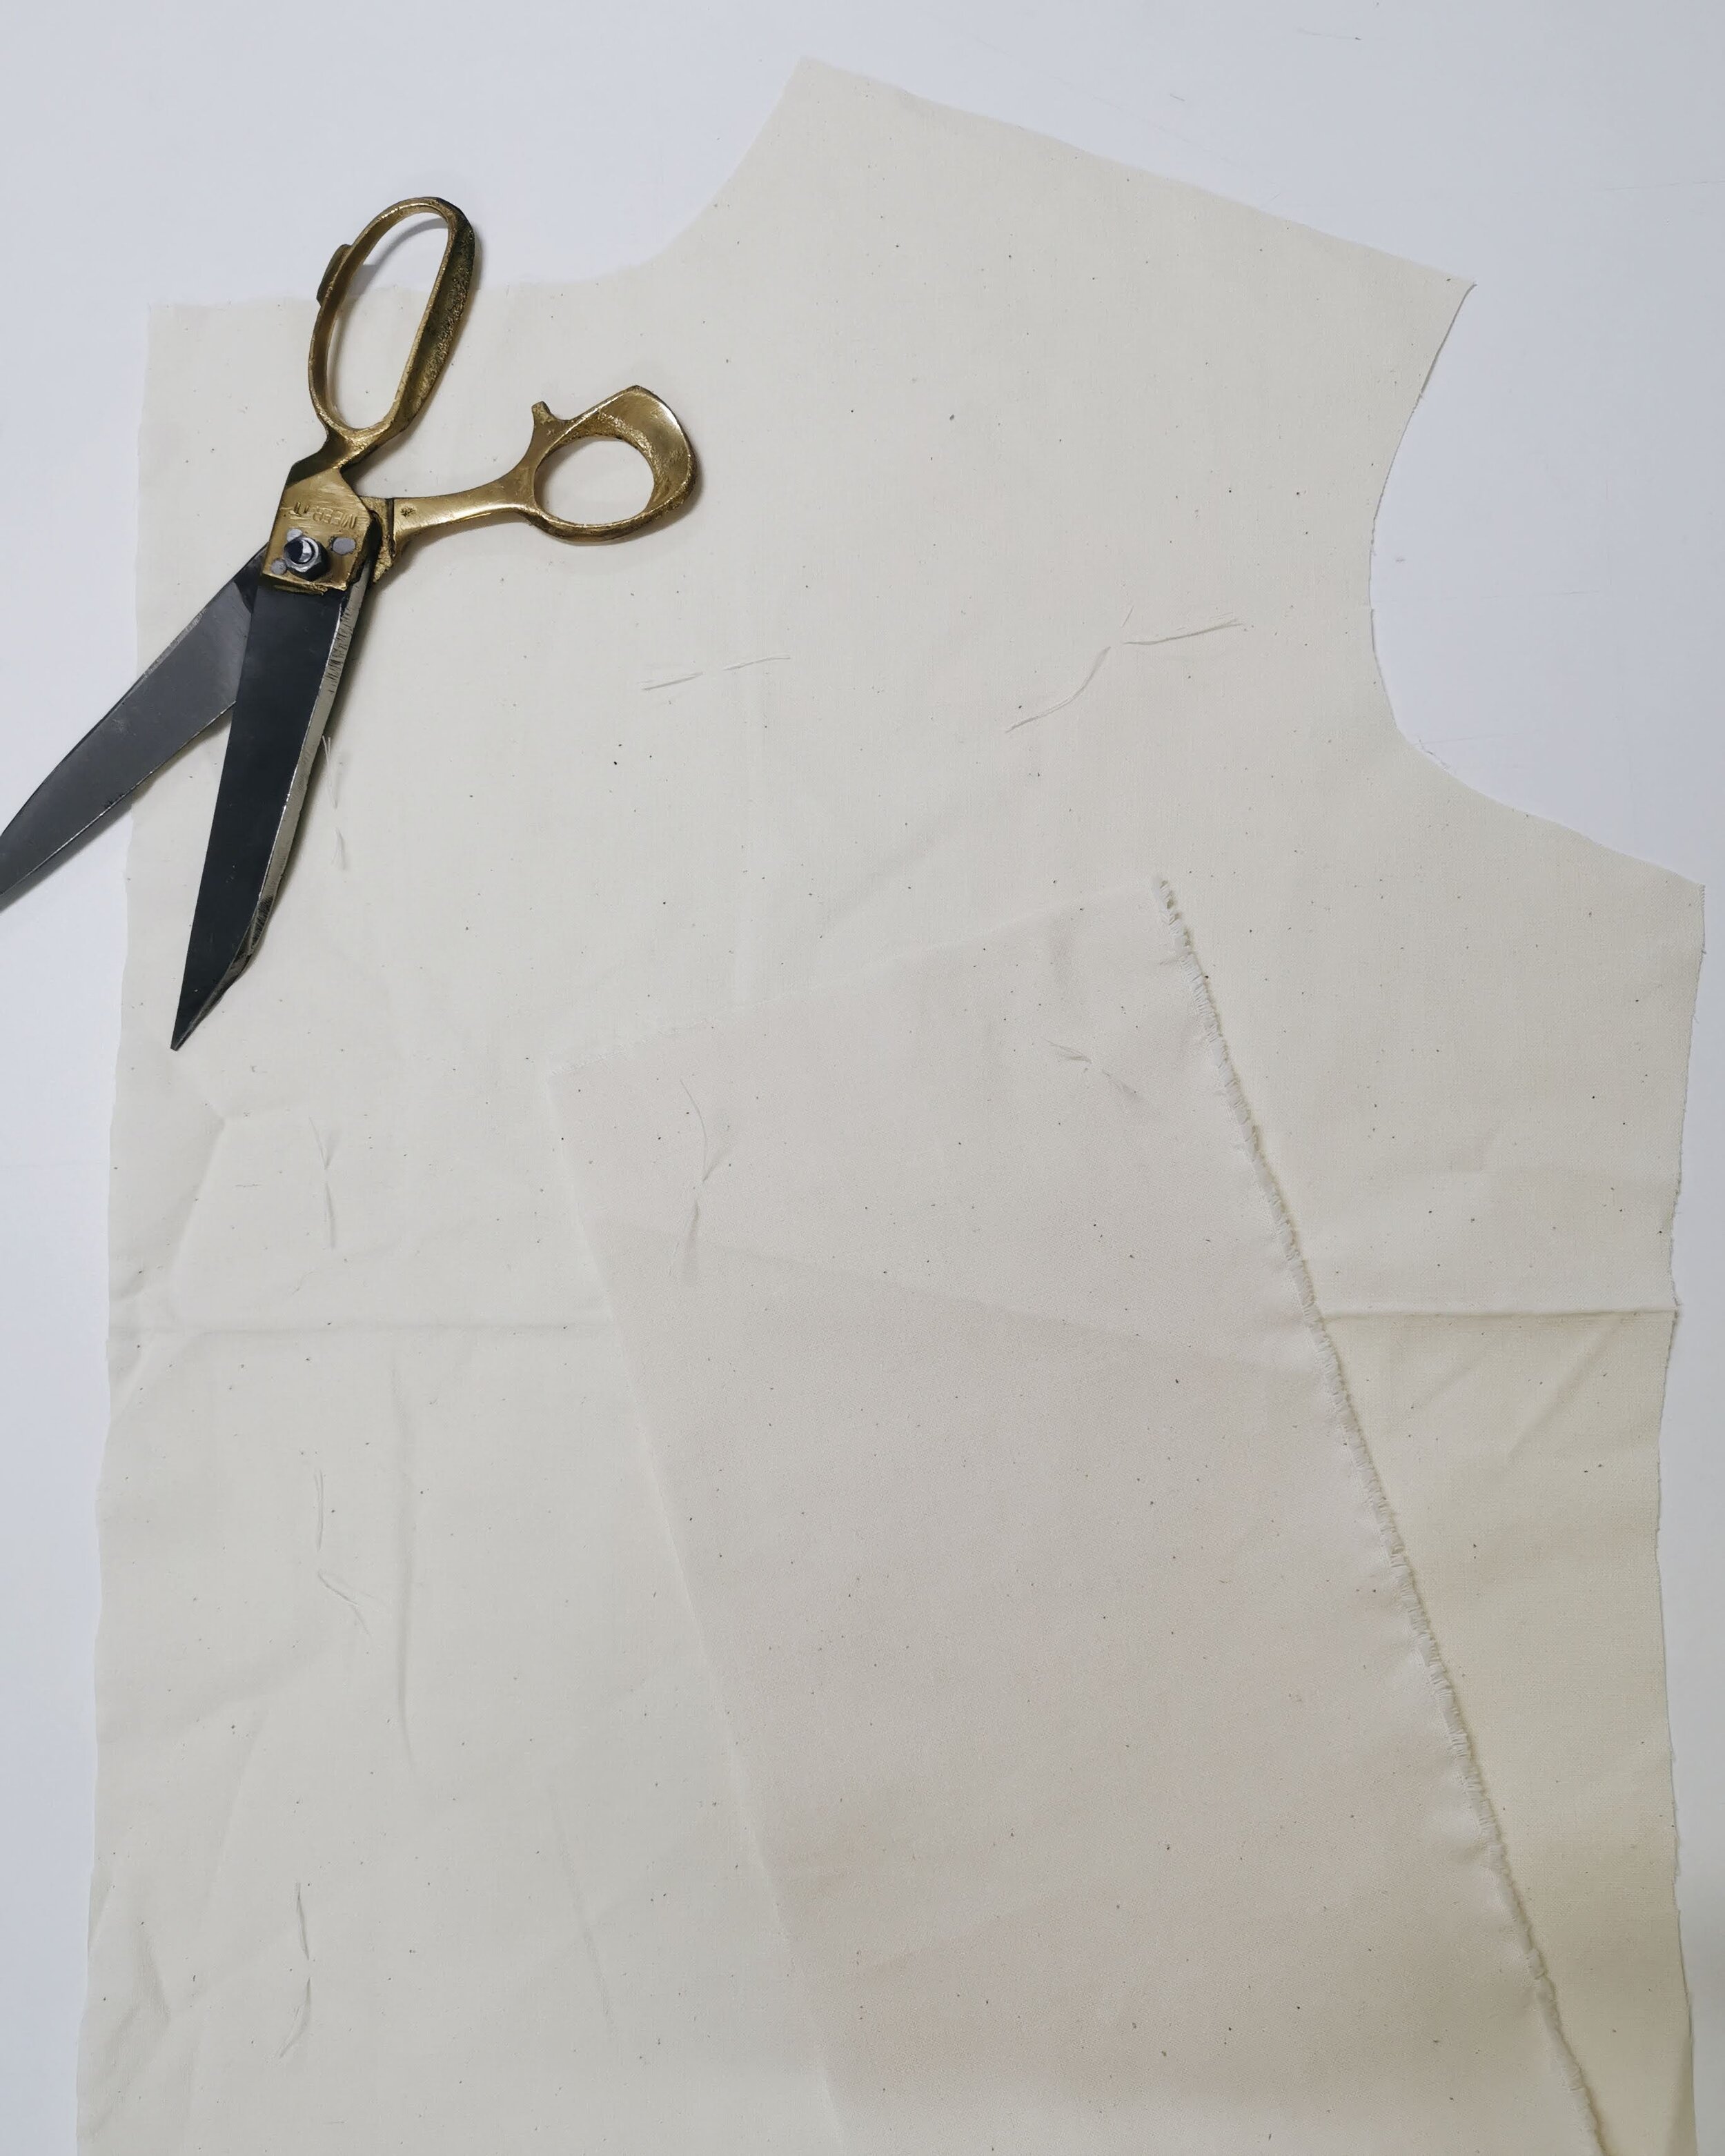
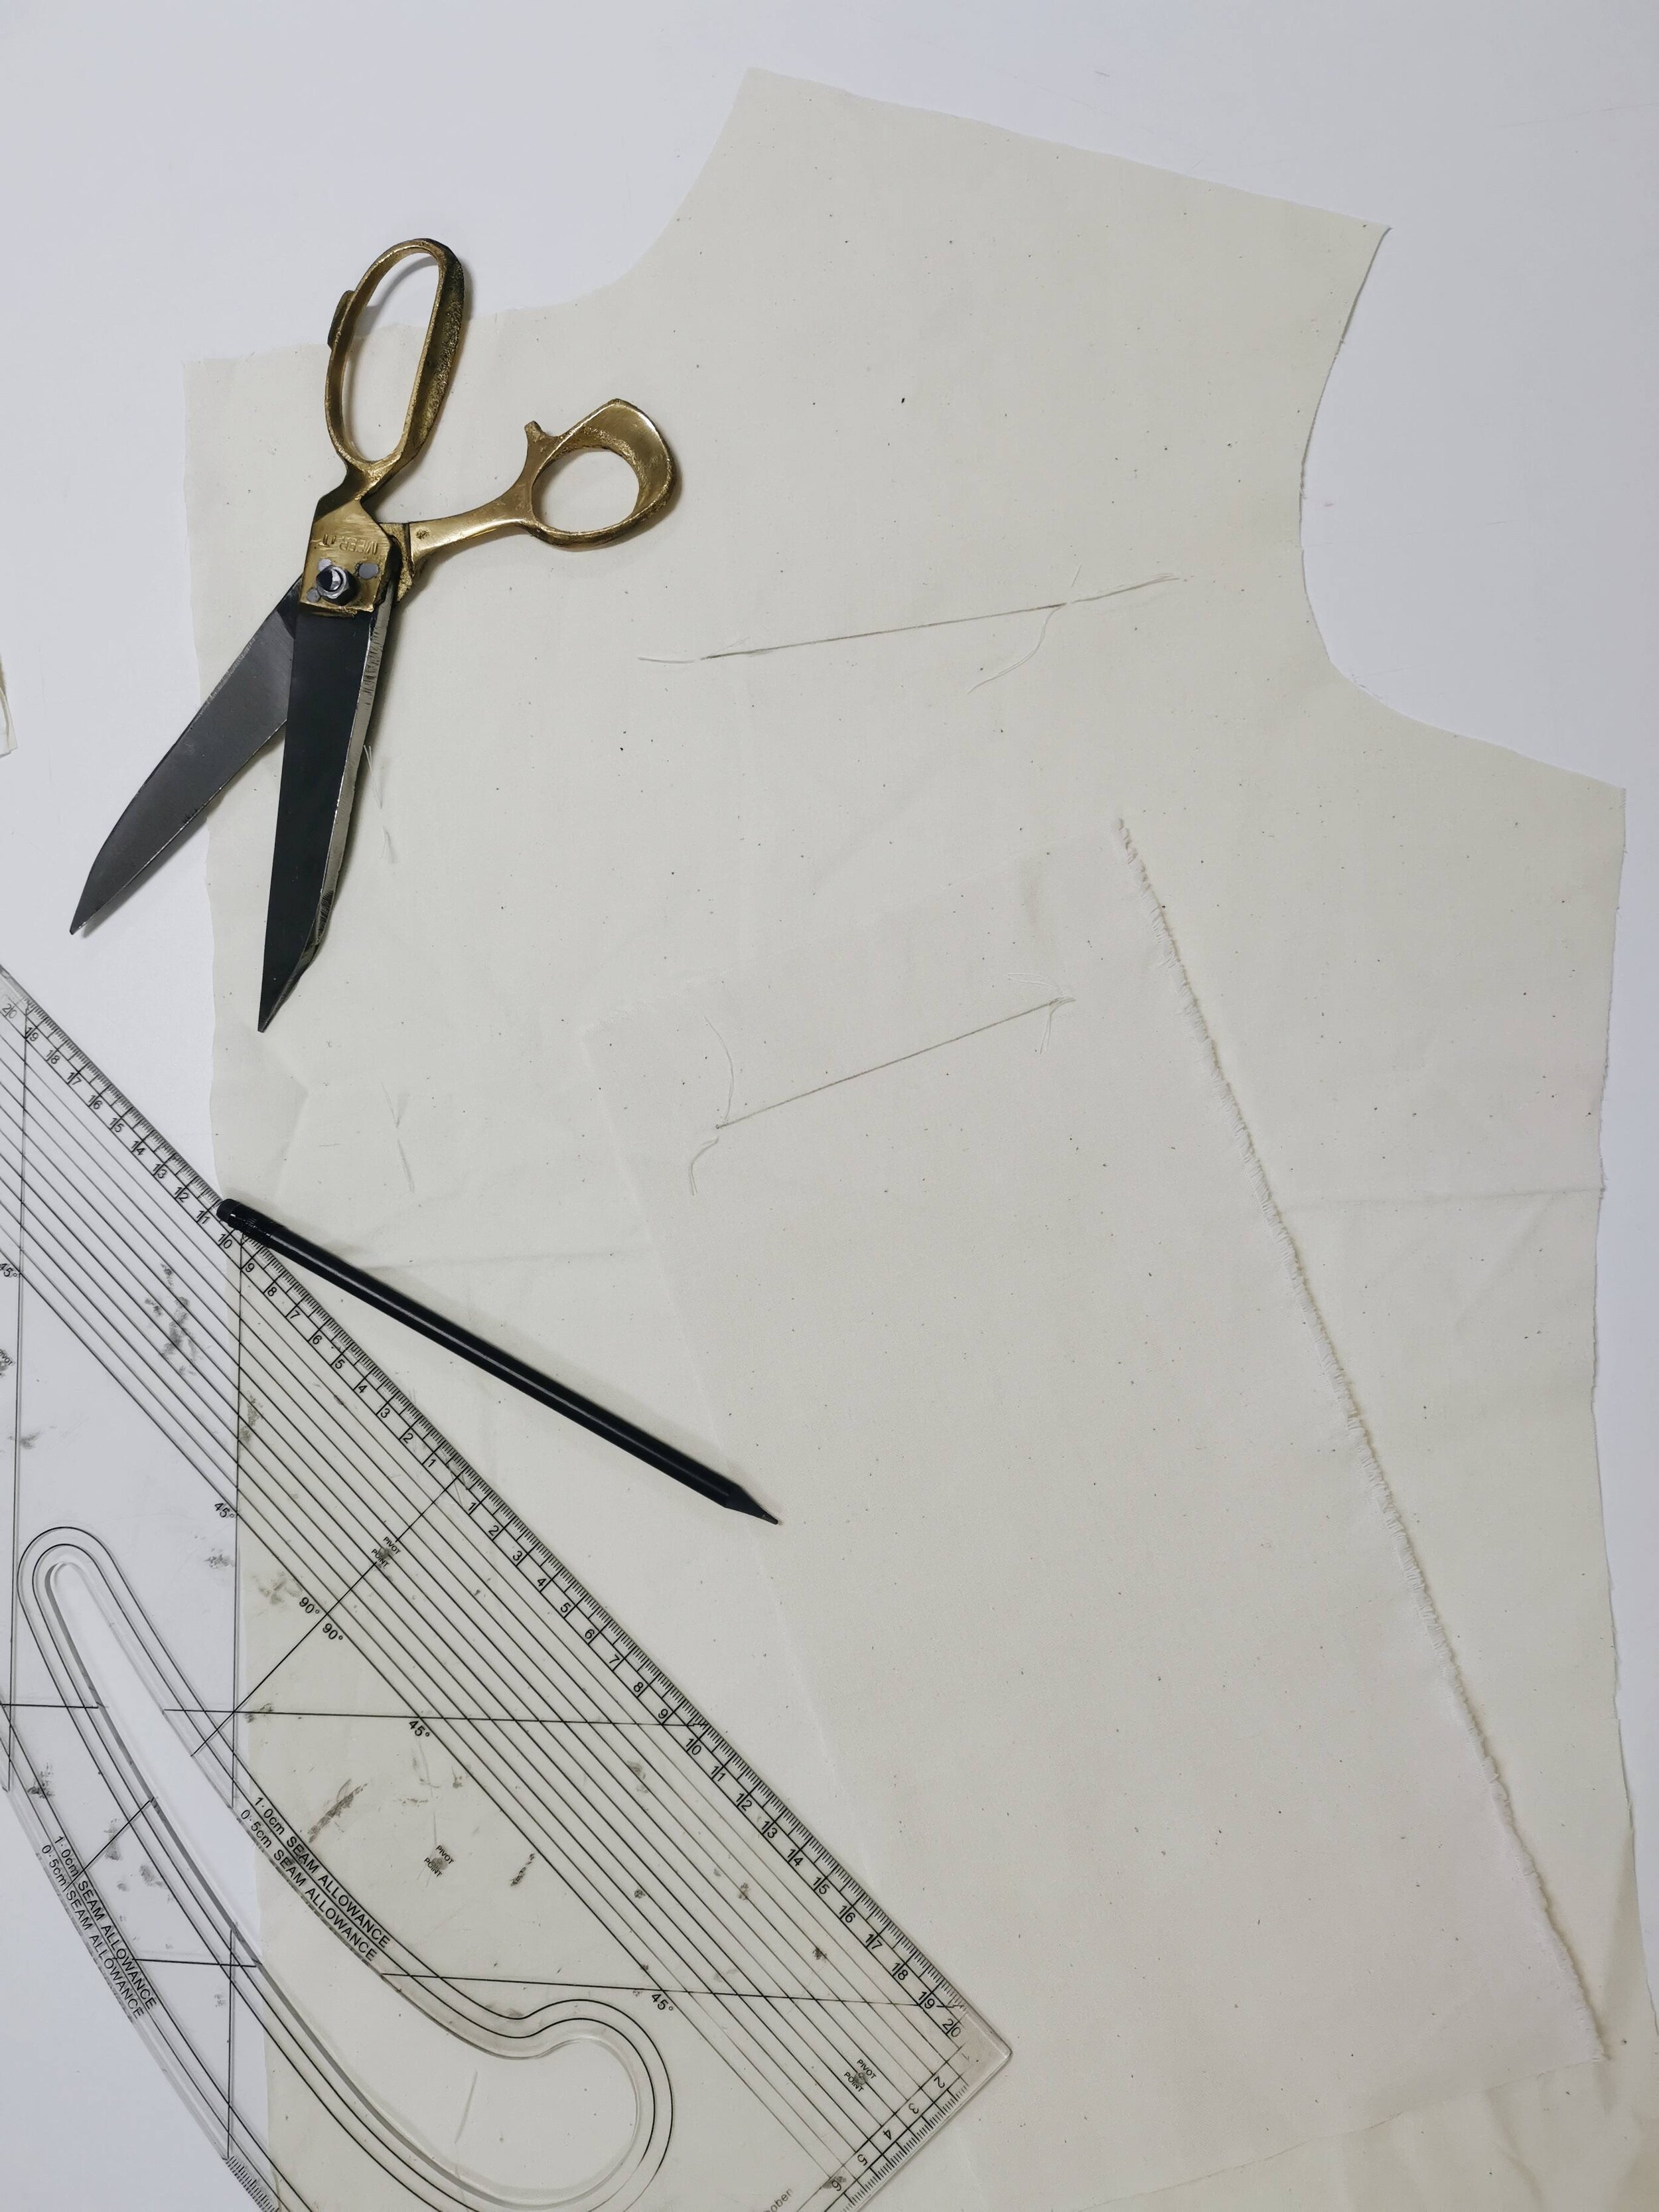
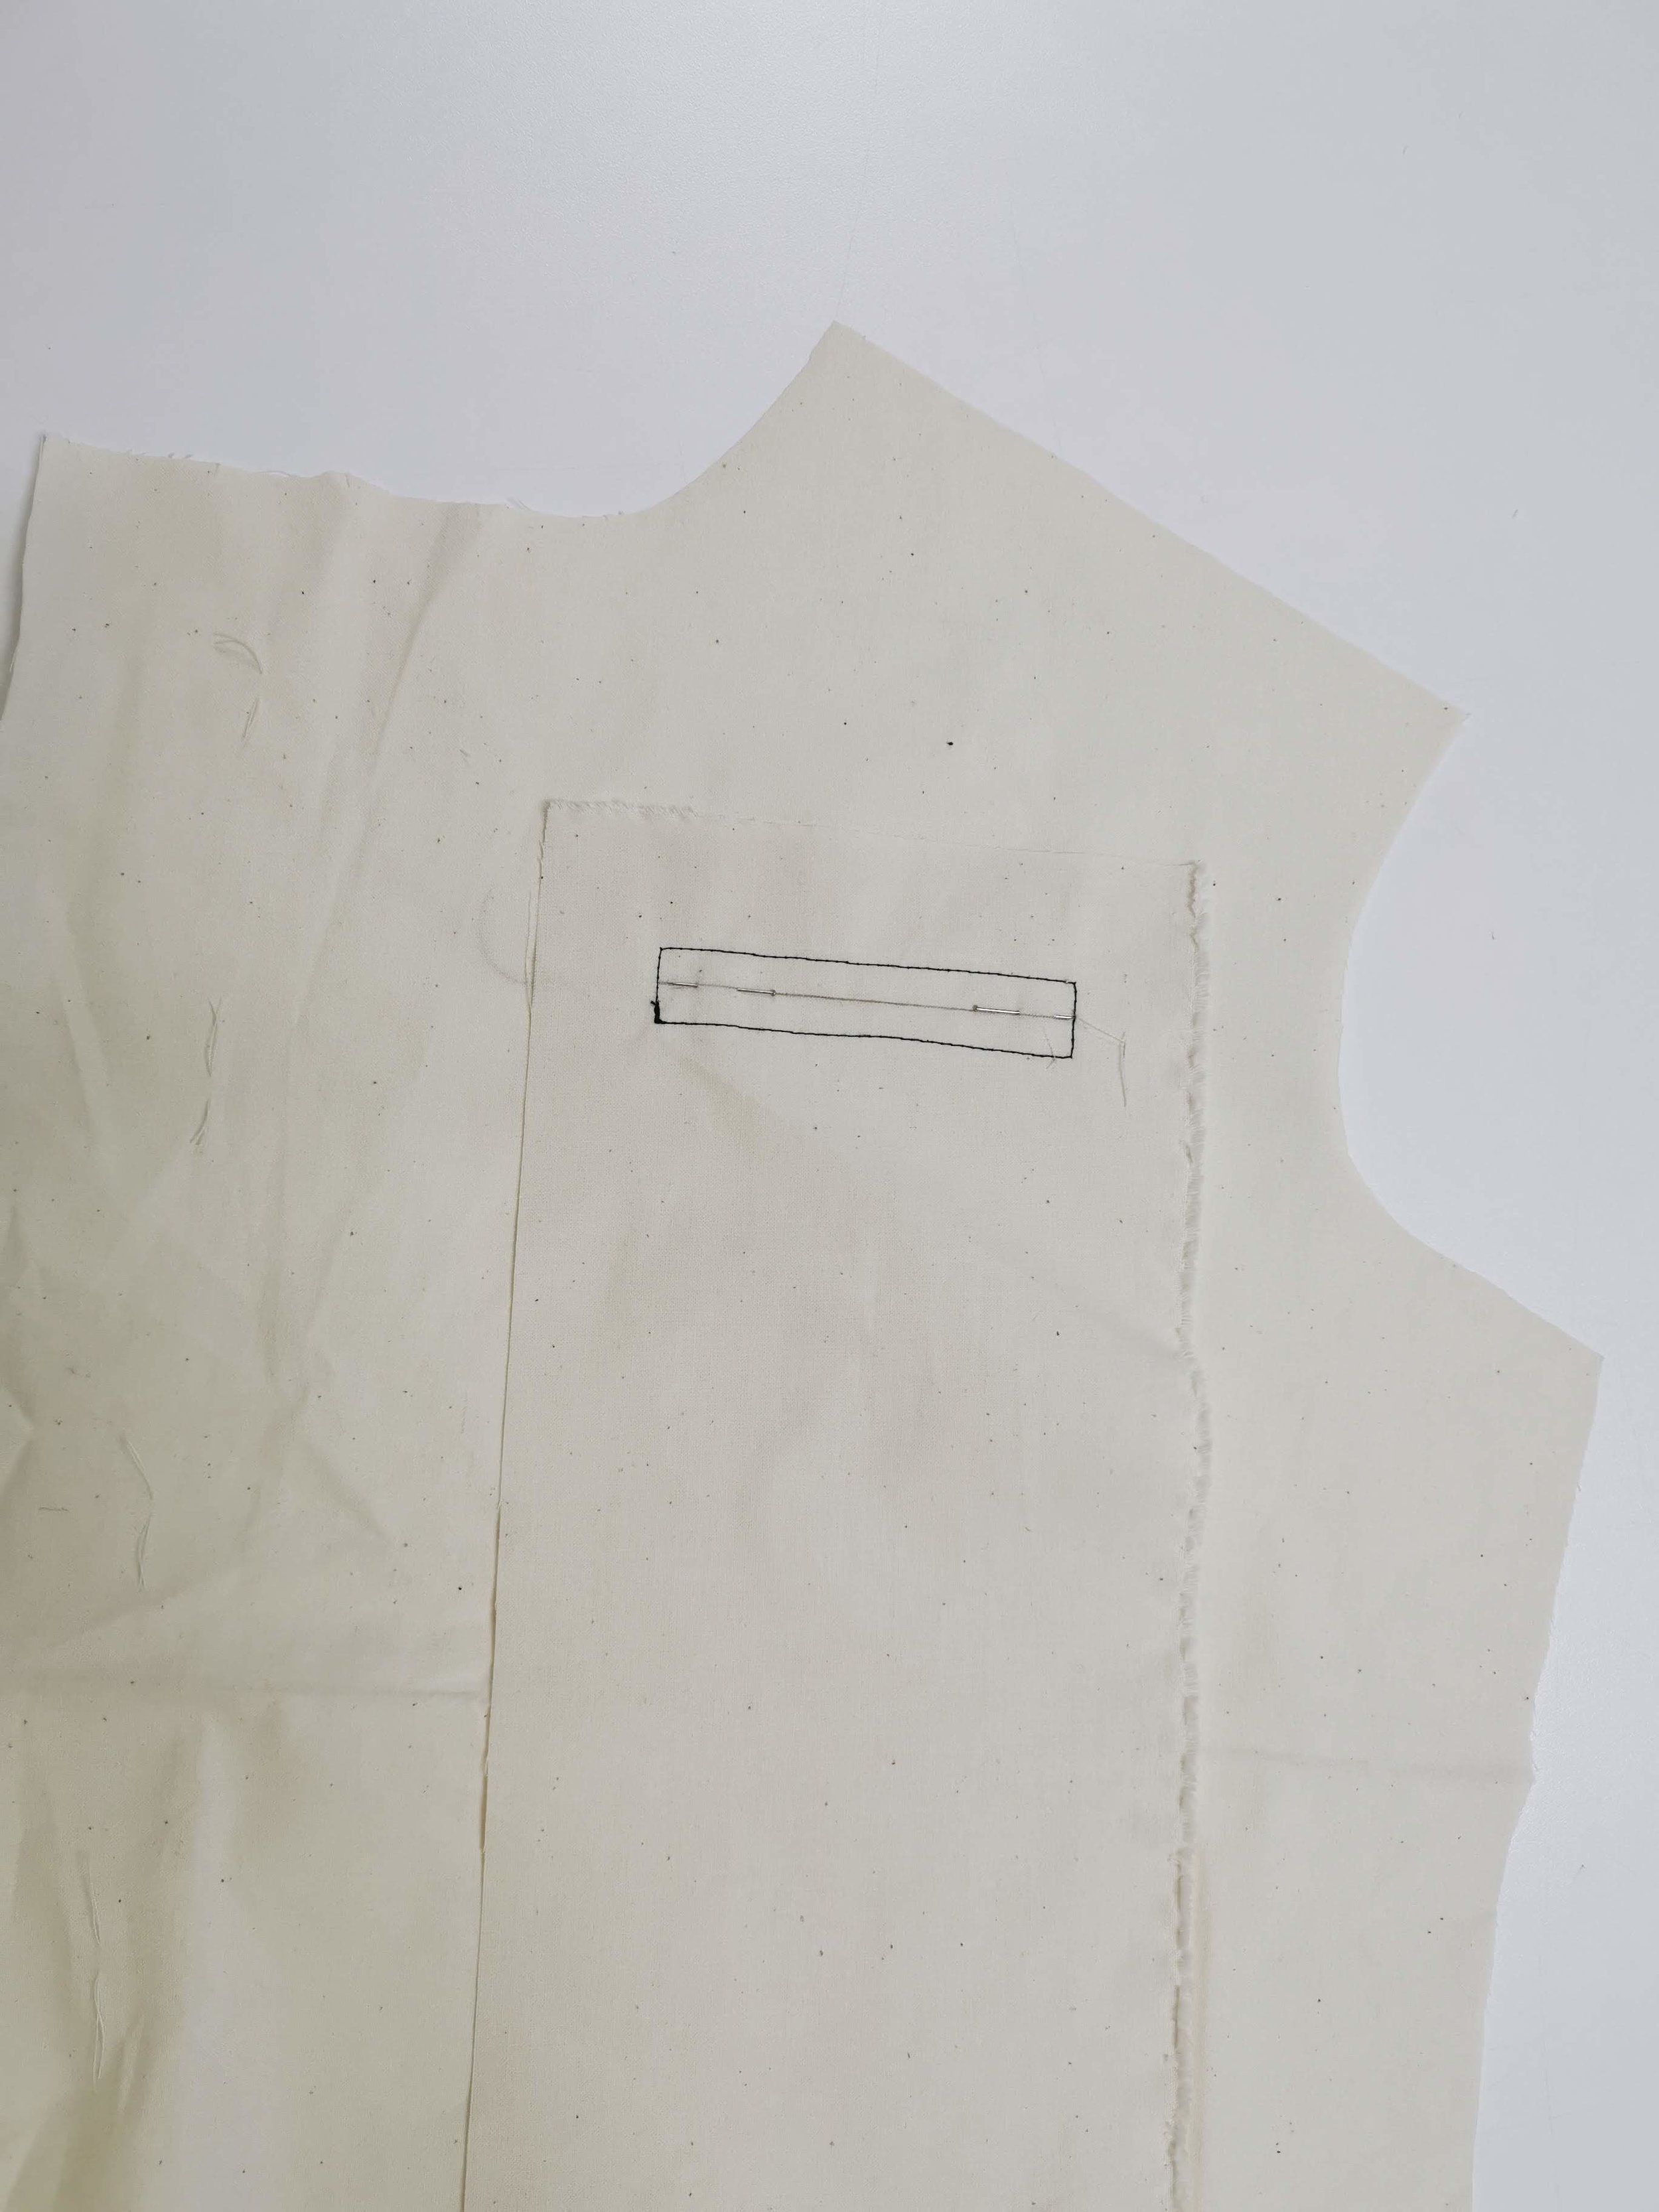
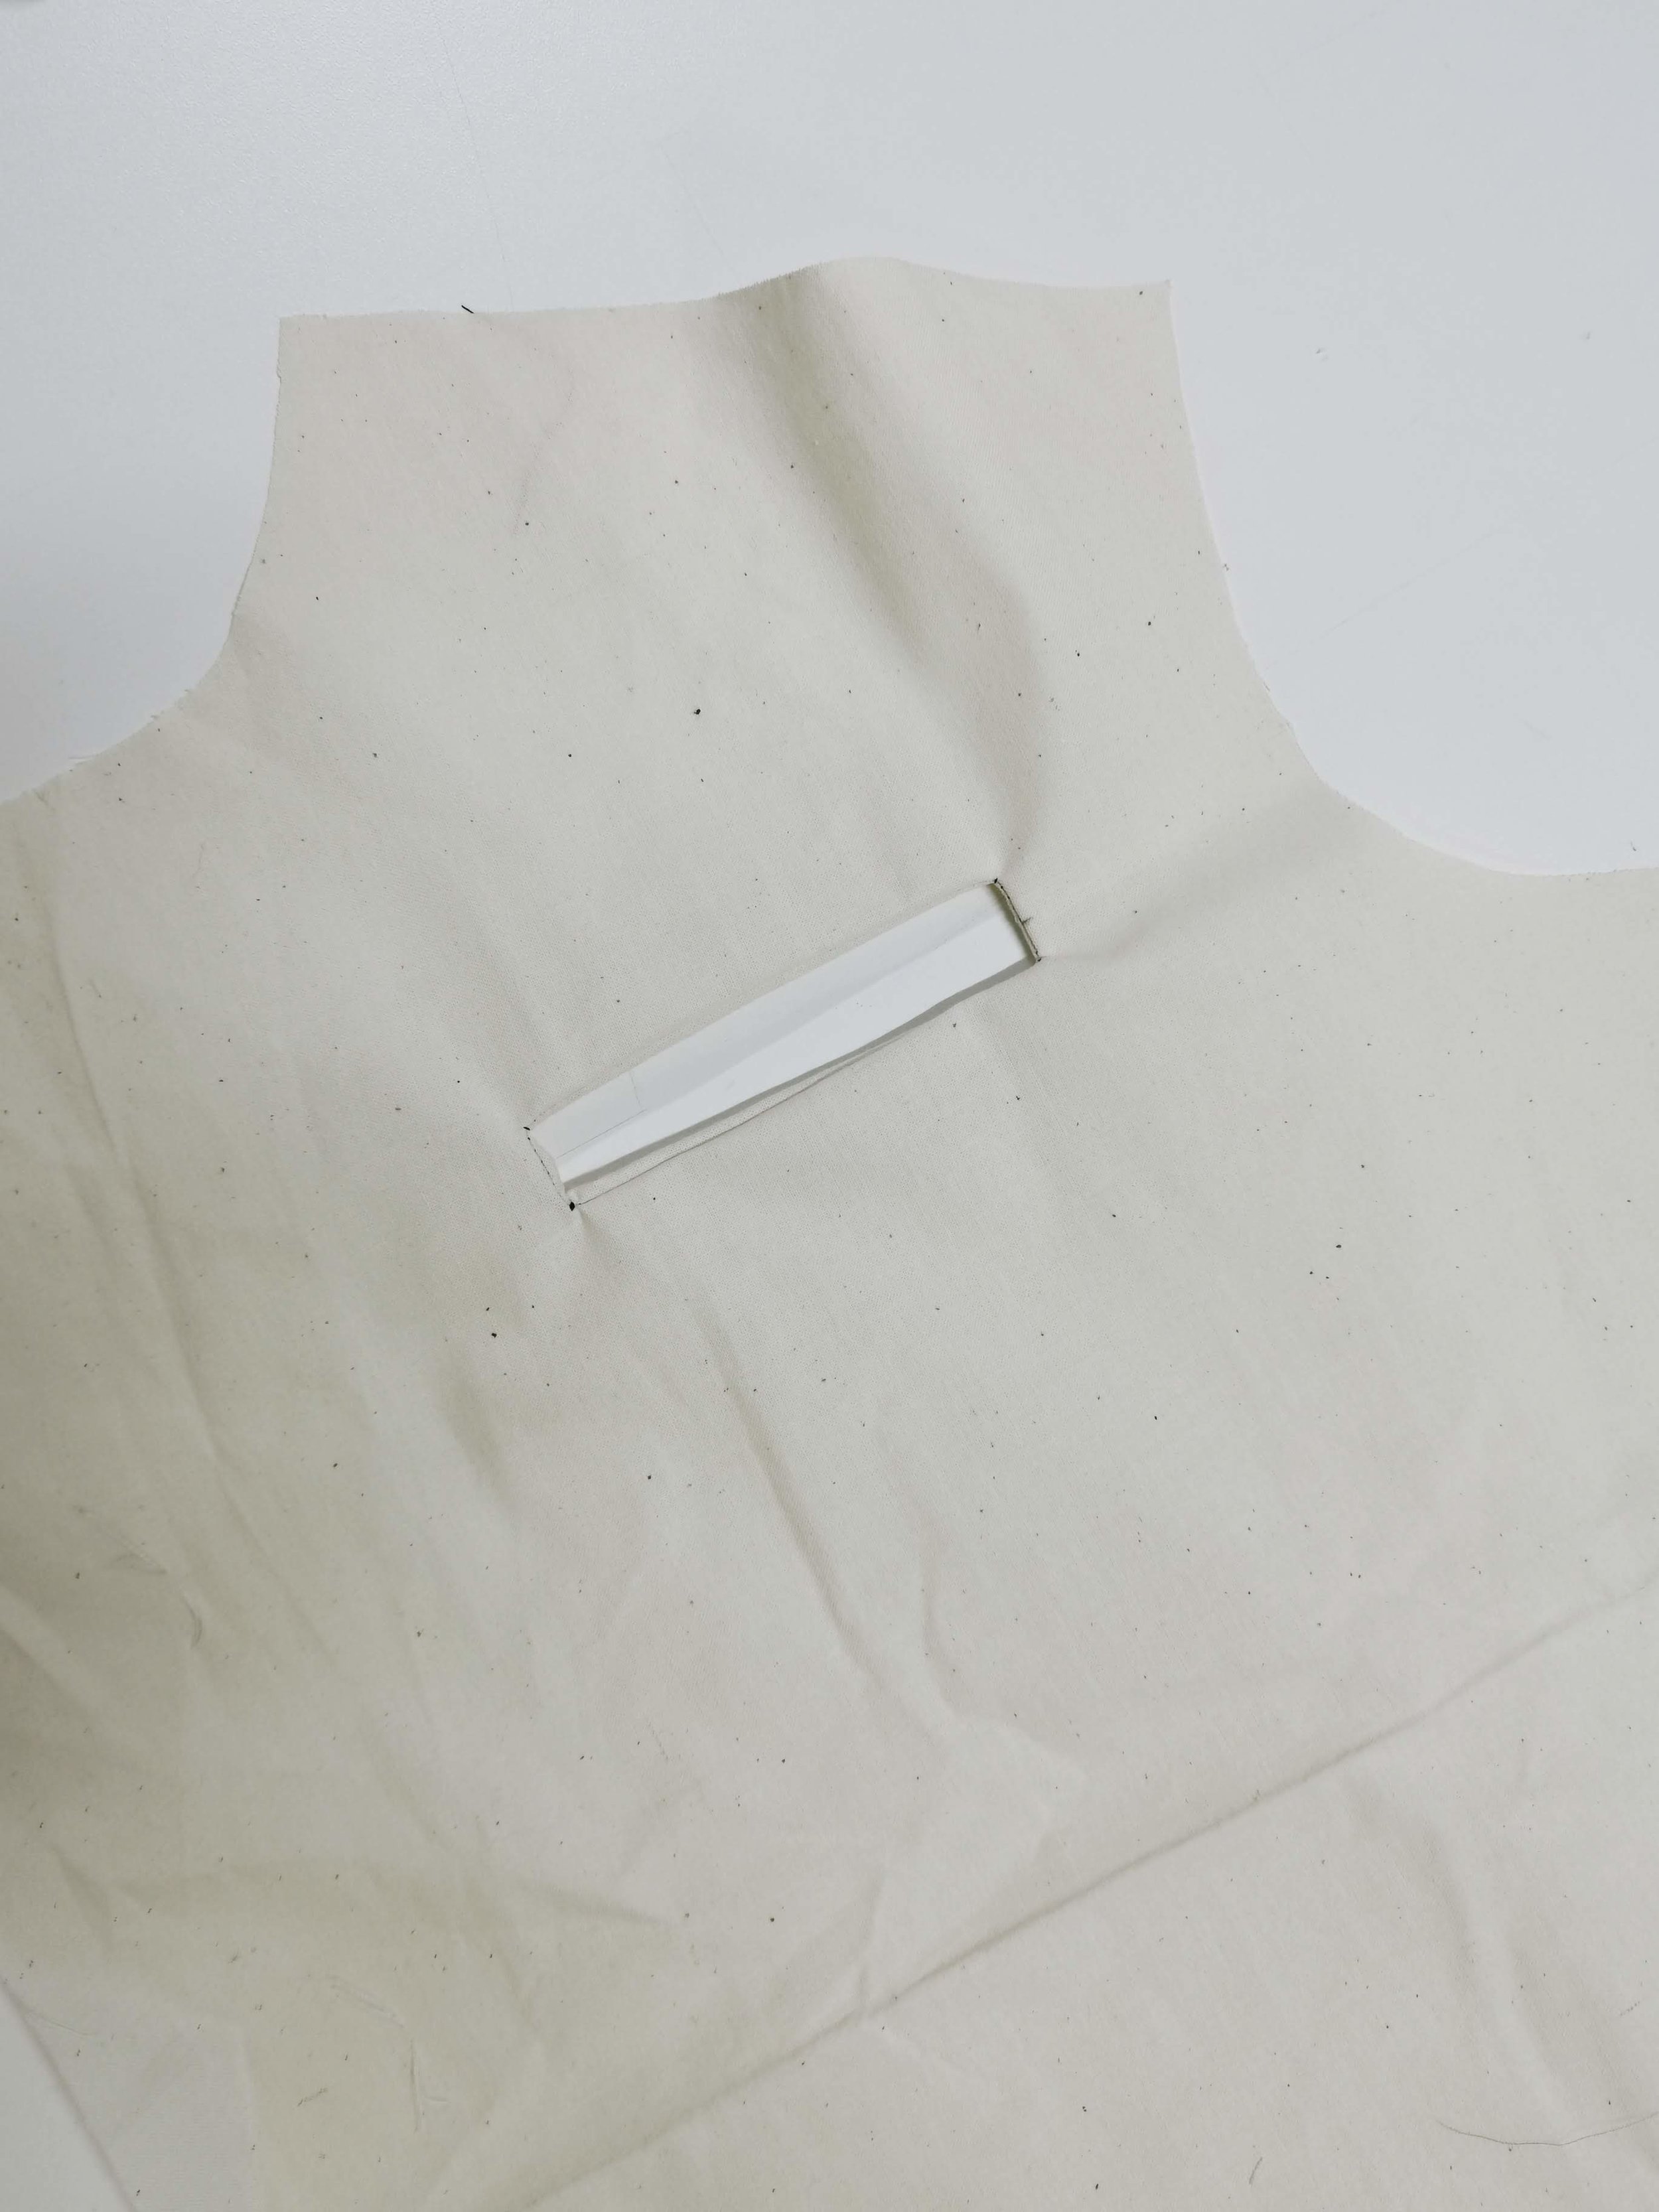
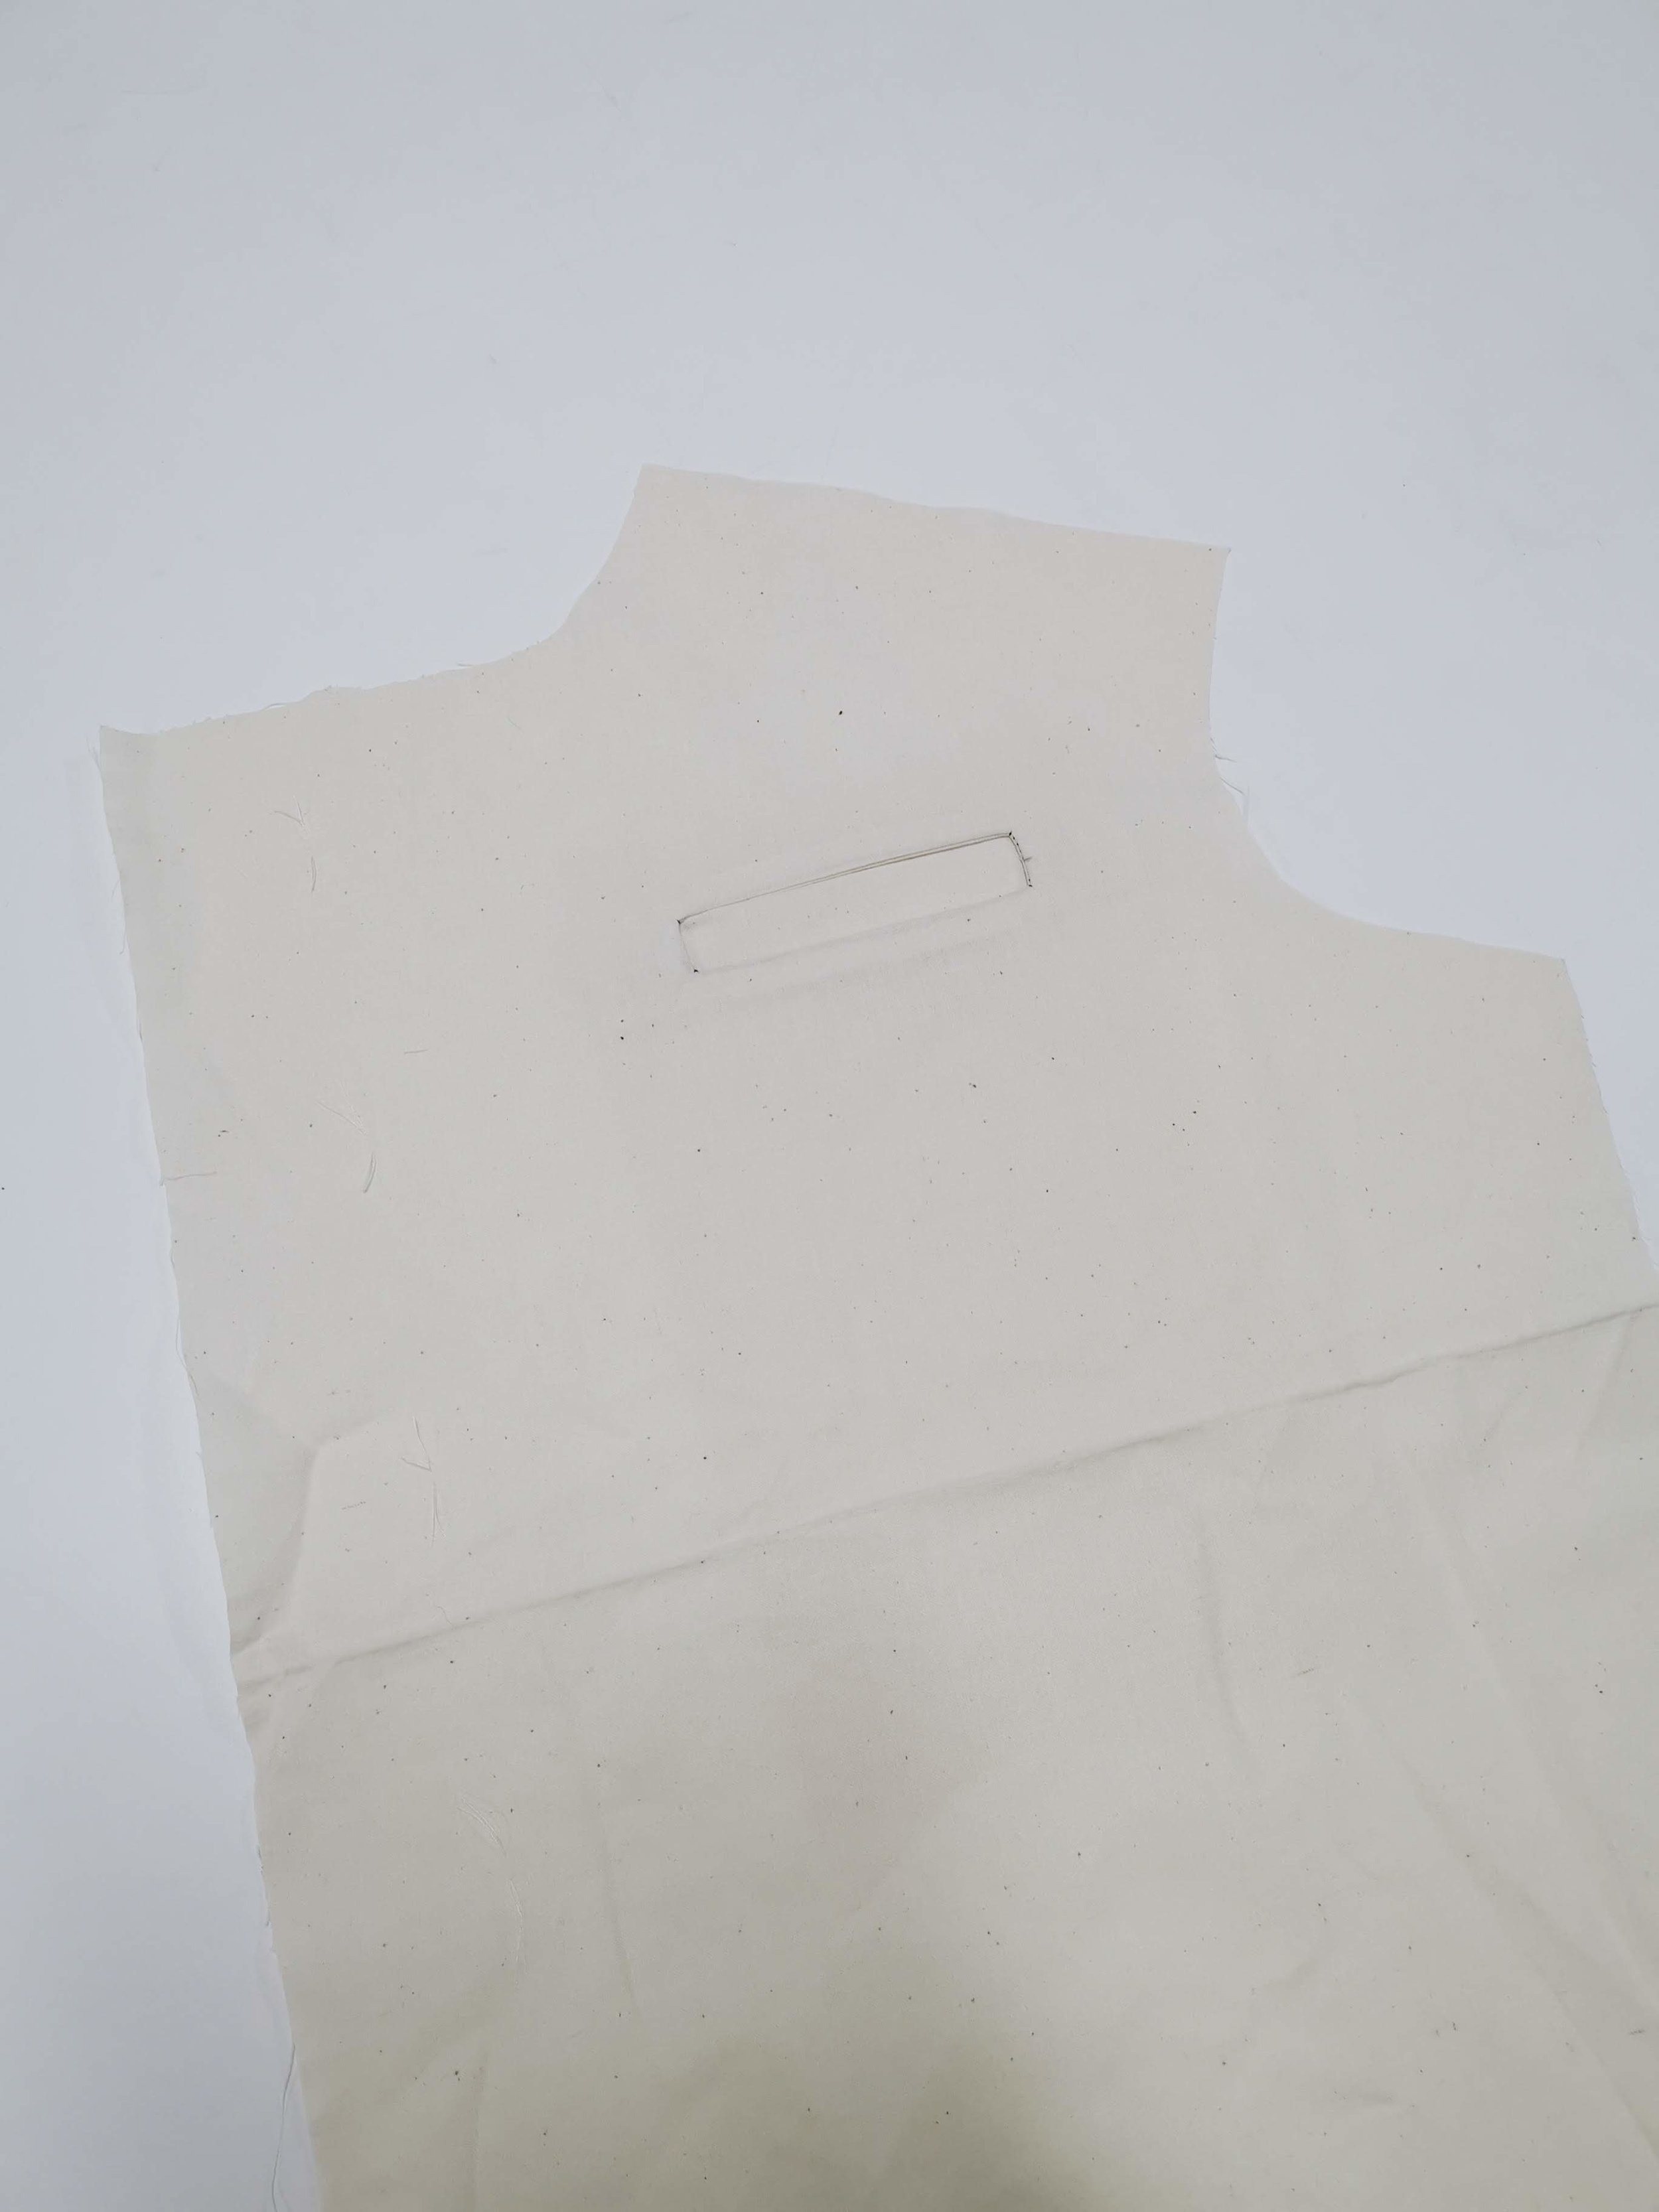
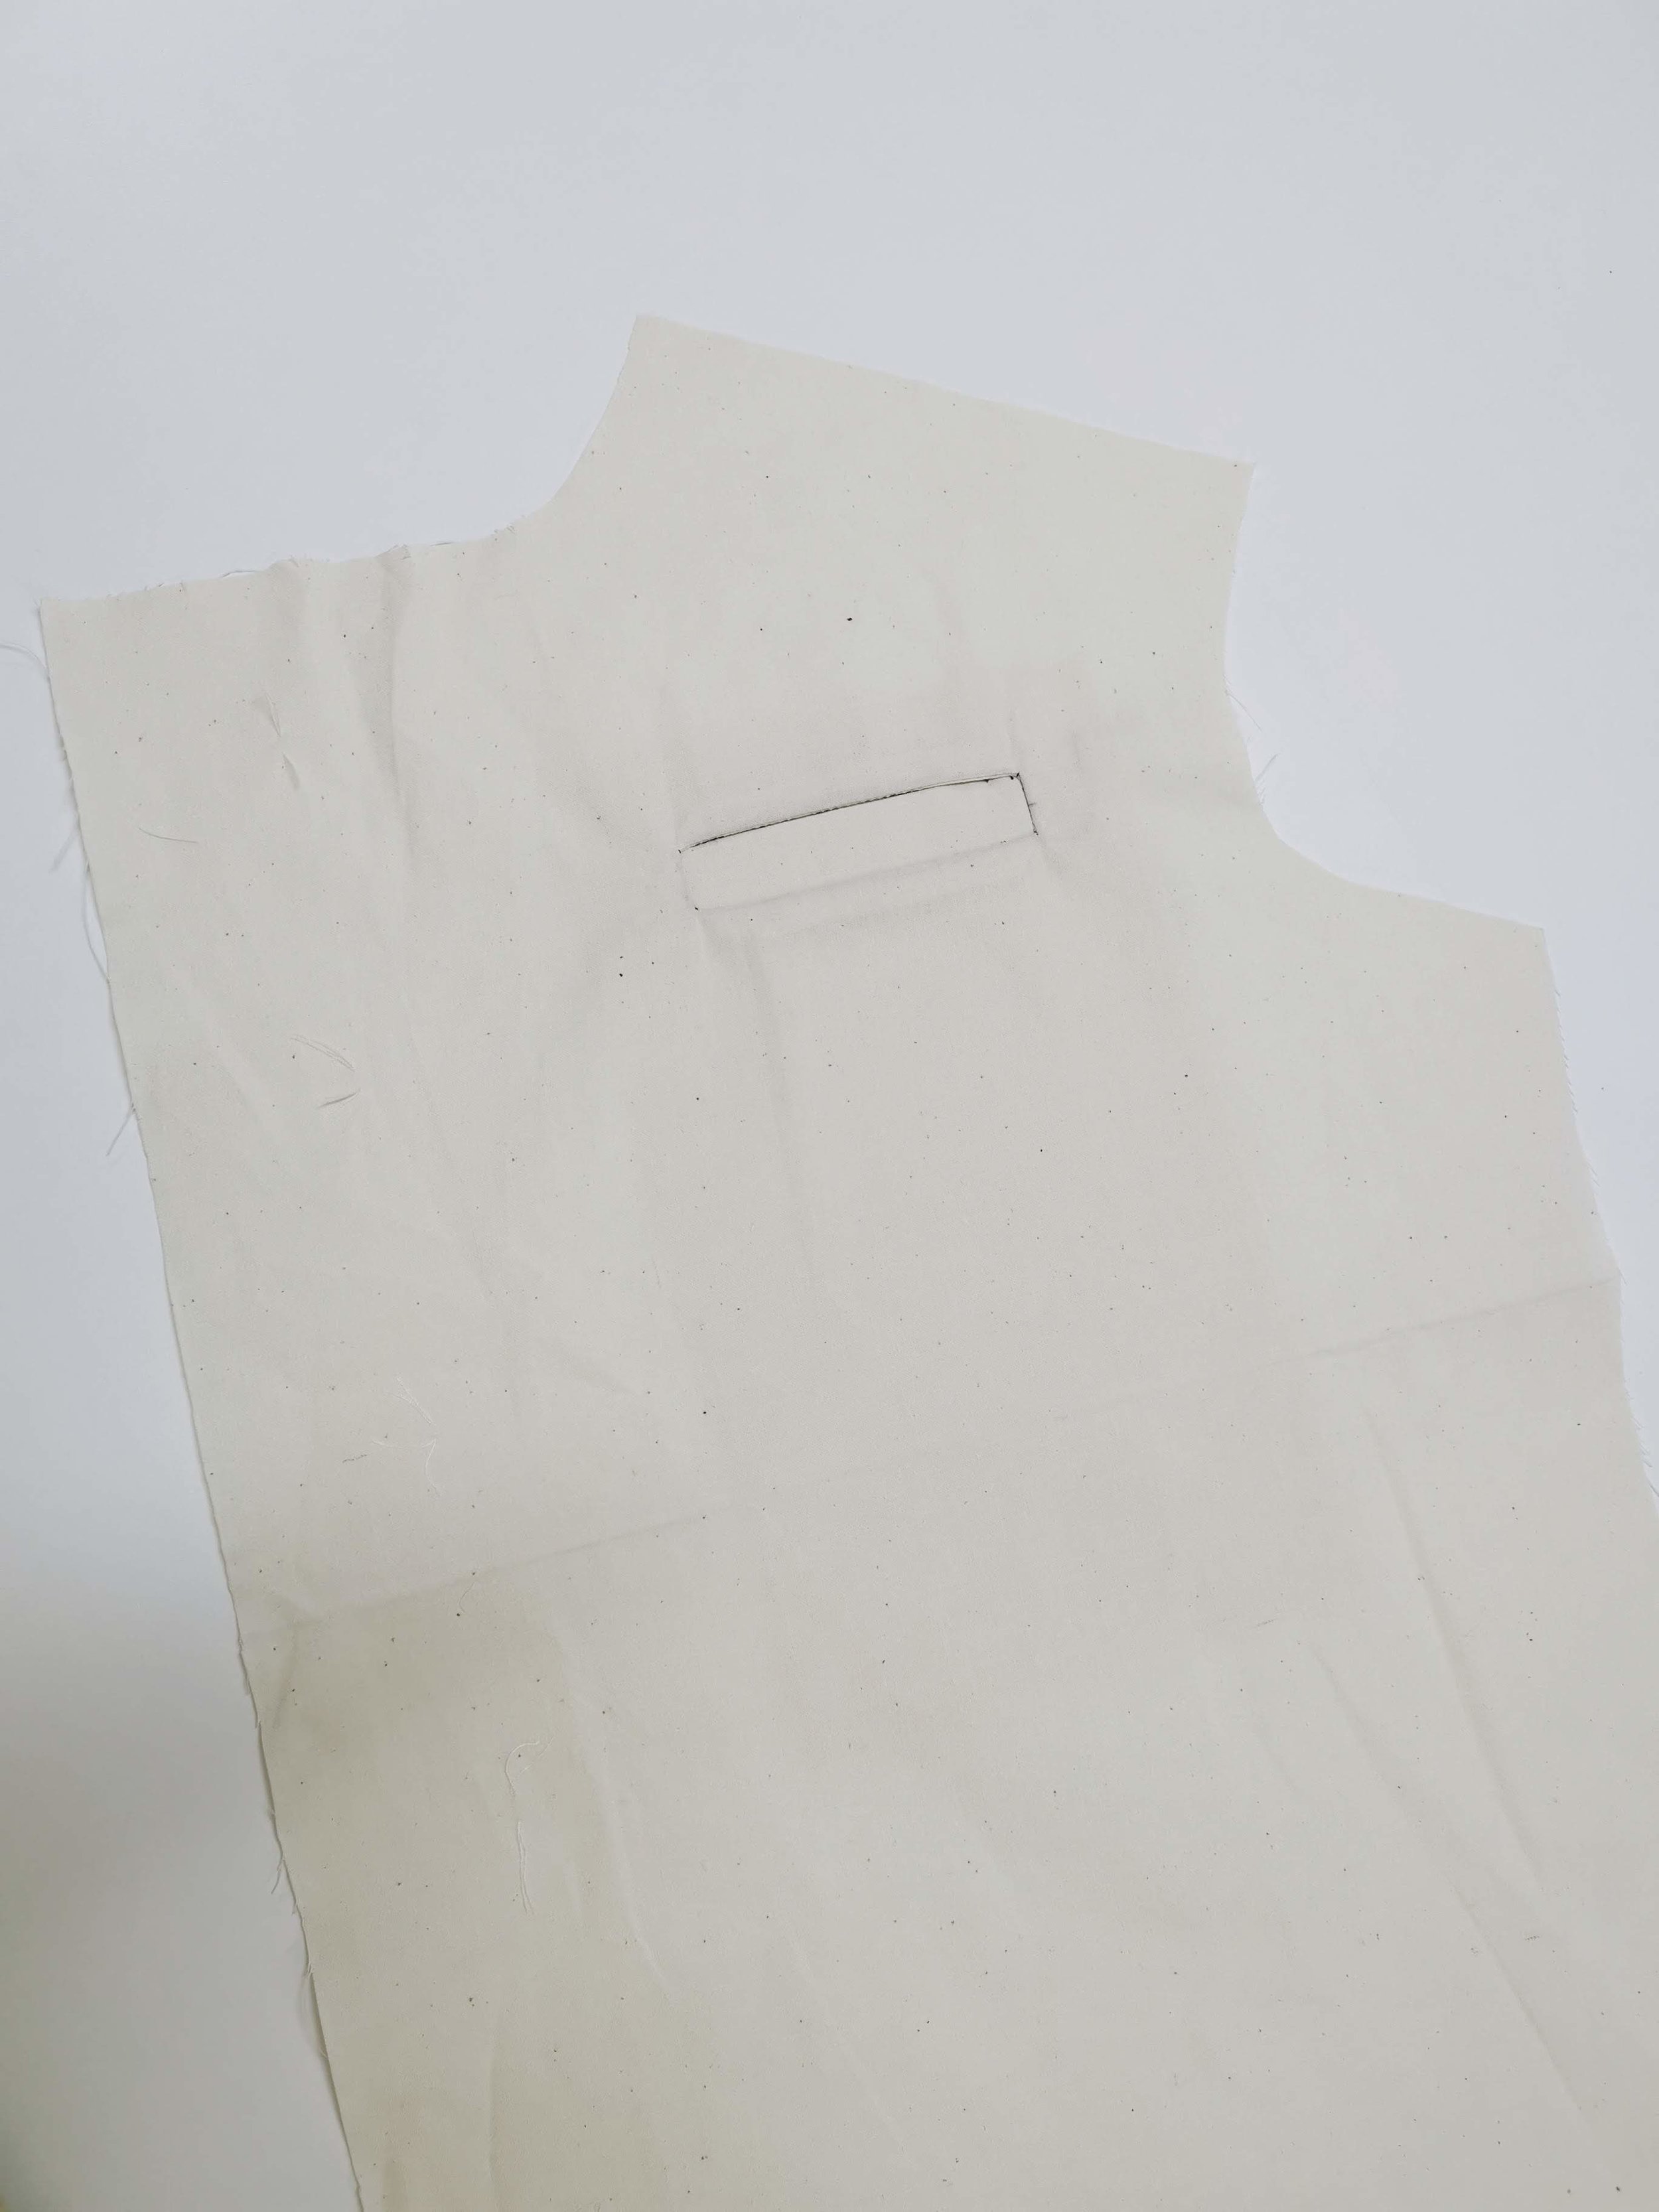
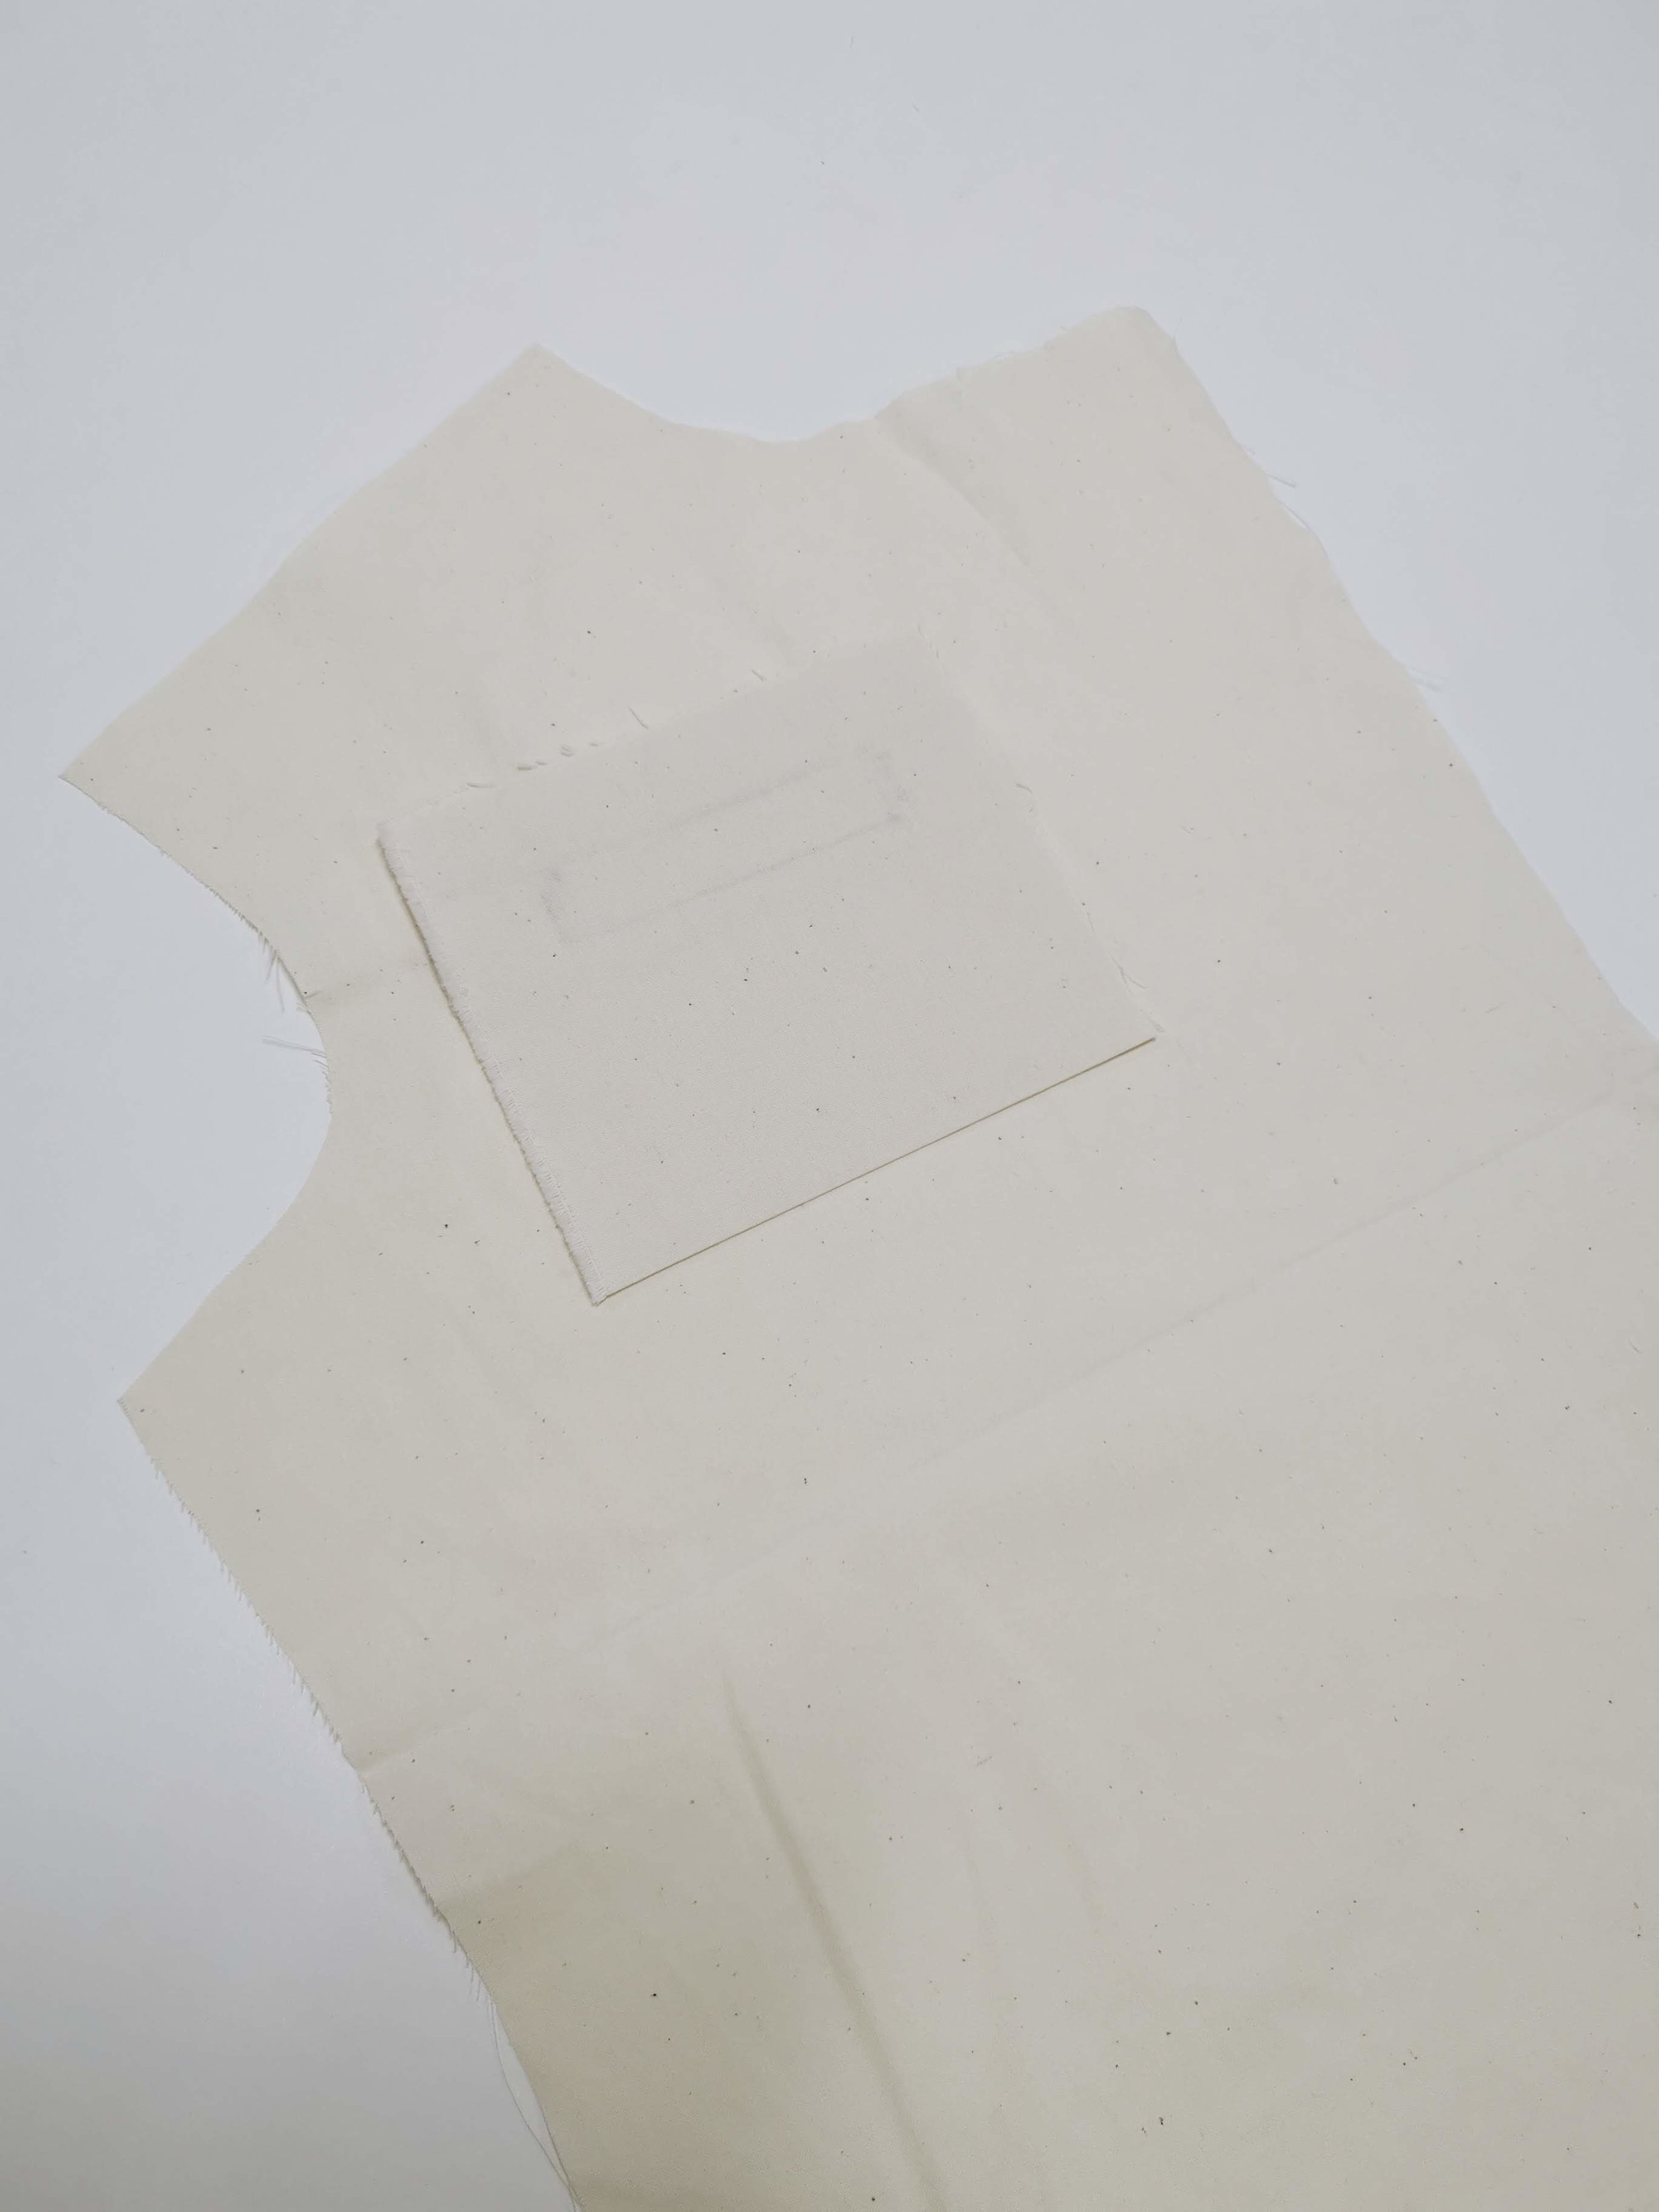
Step One
Mark on the right side of your garment your desired pocket width. This can be done with tailor tacks or chalk.
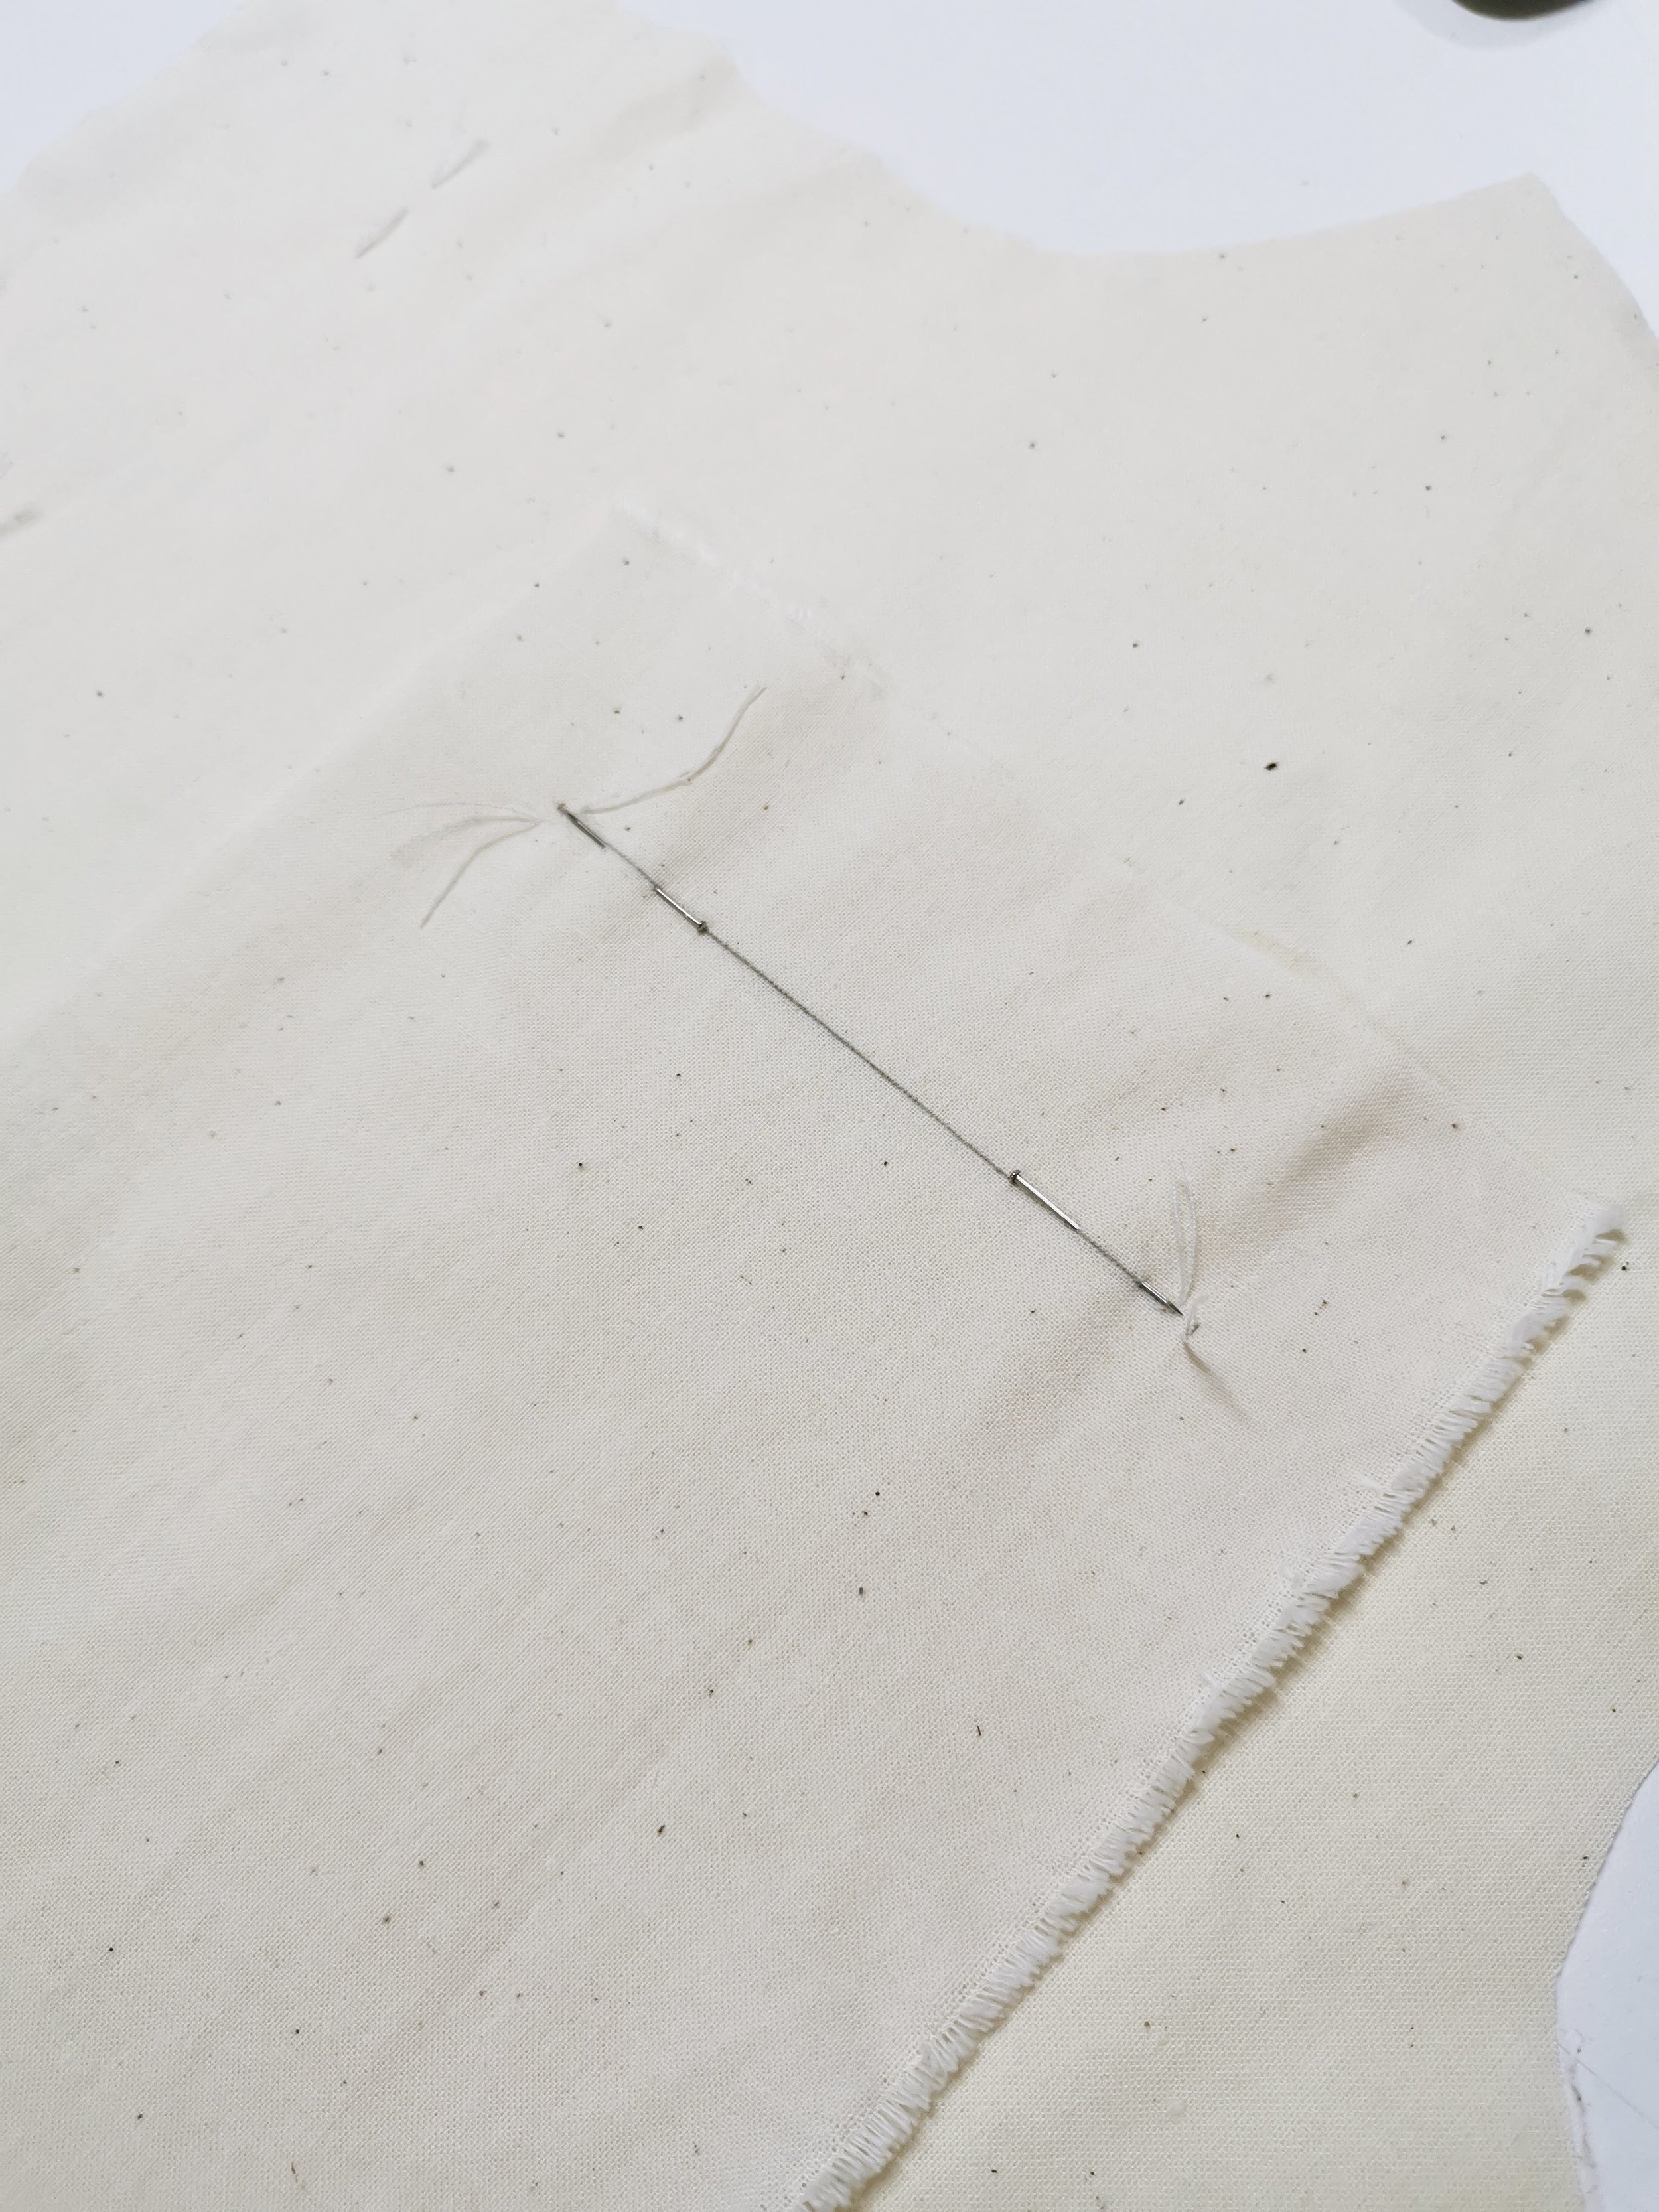
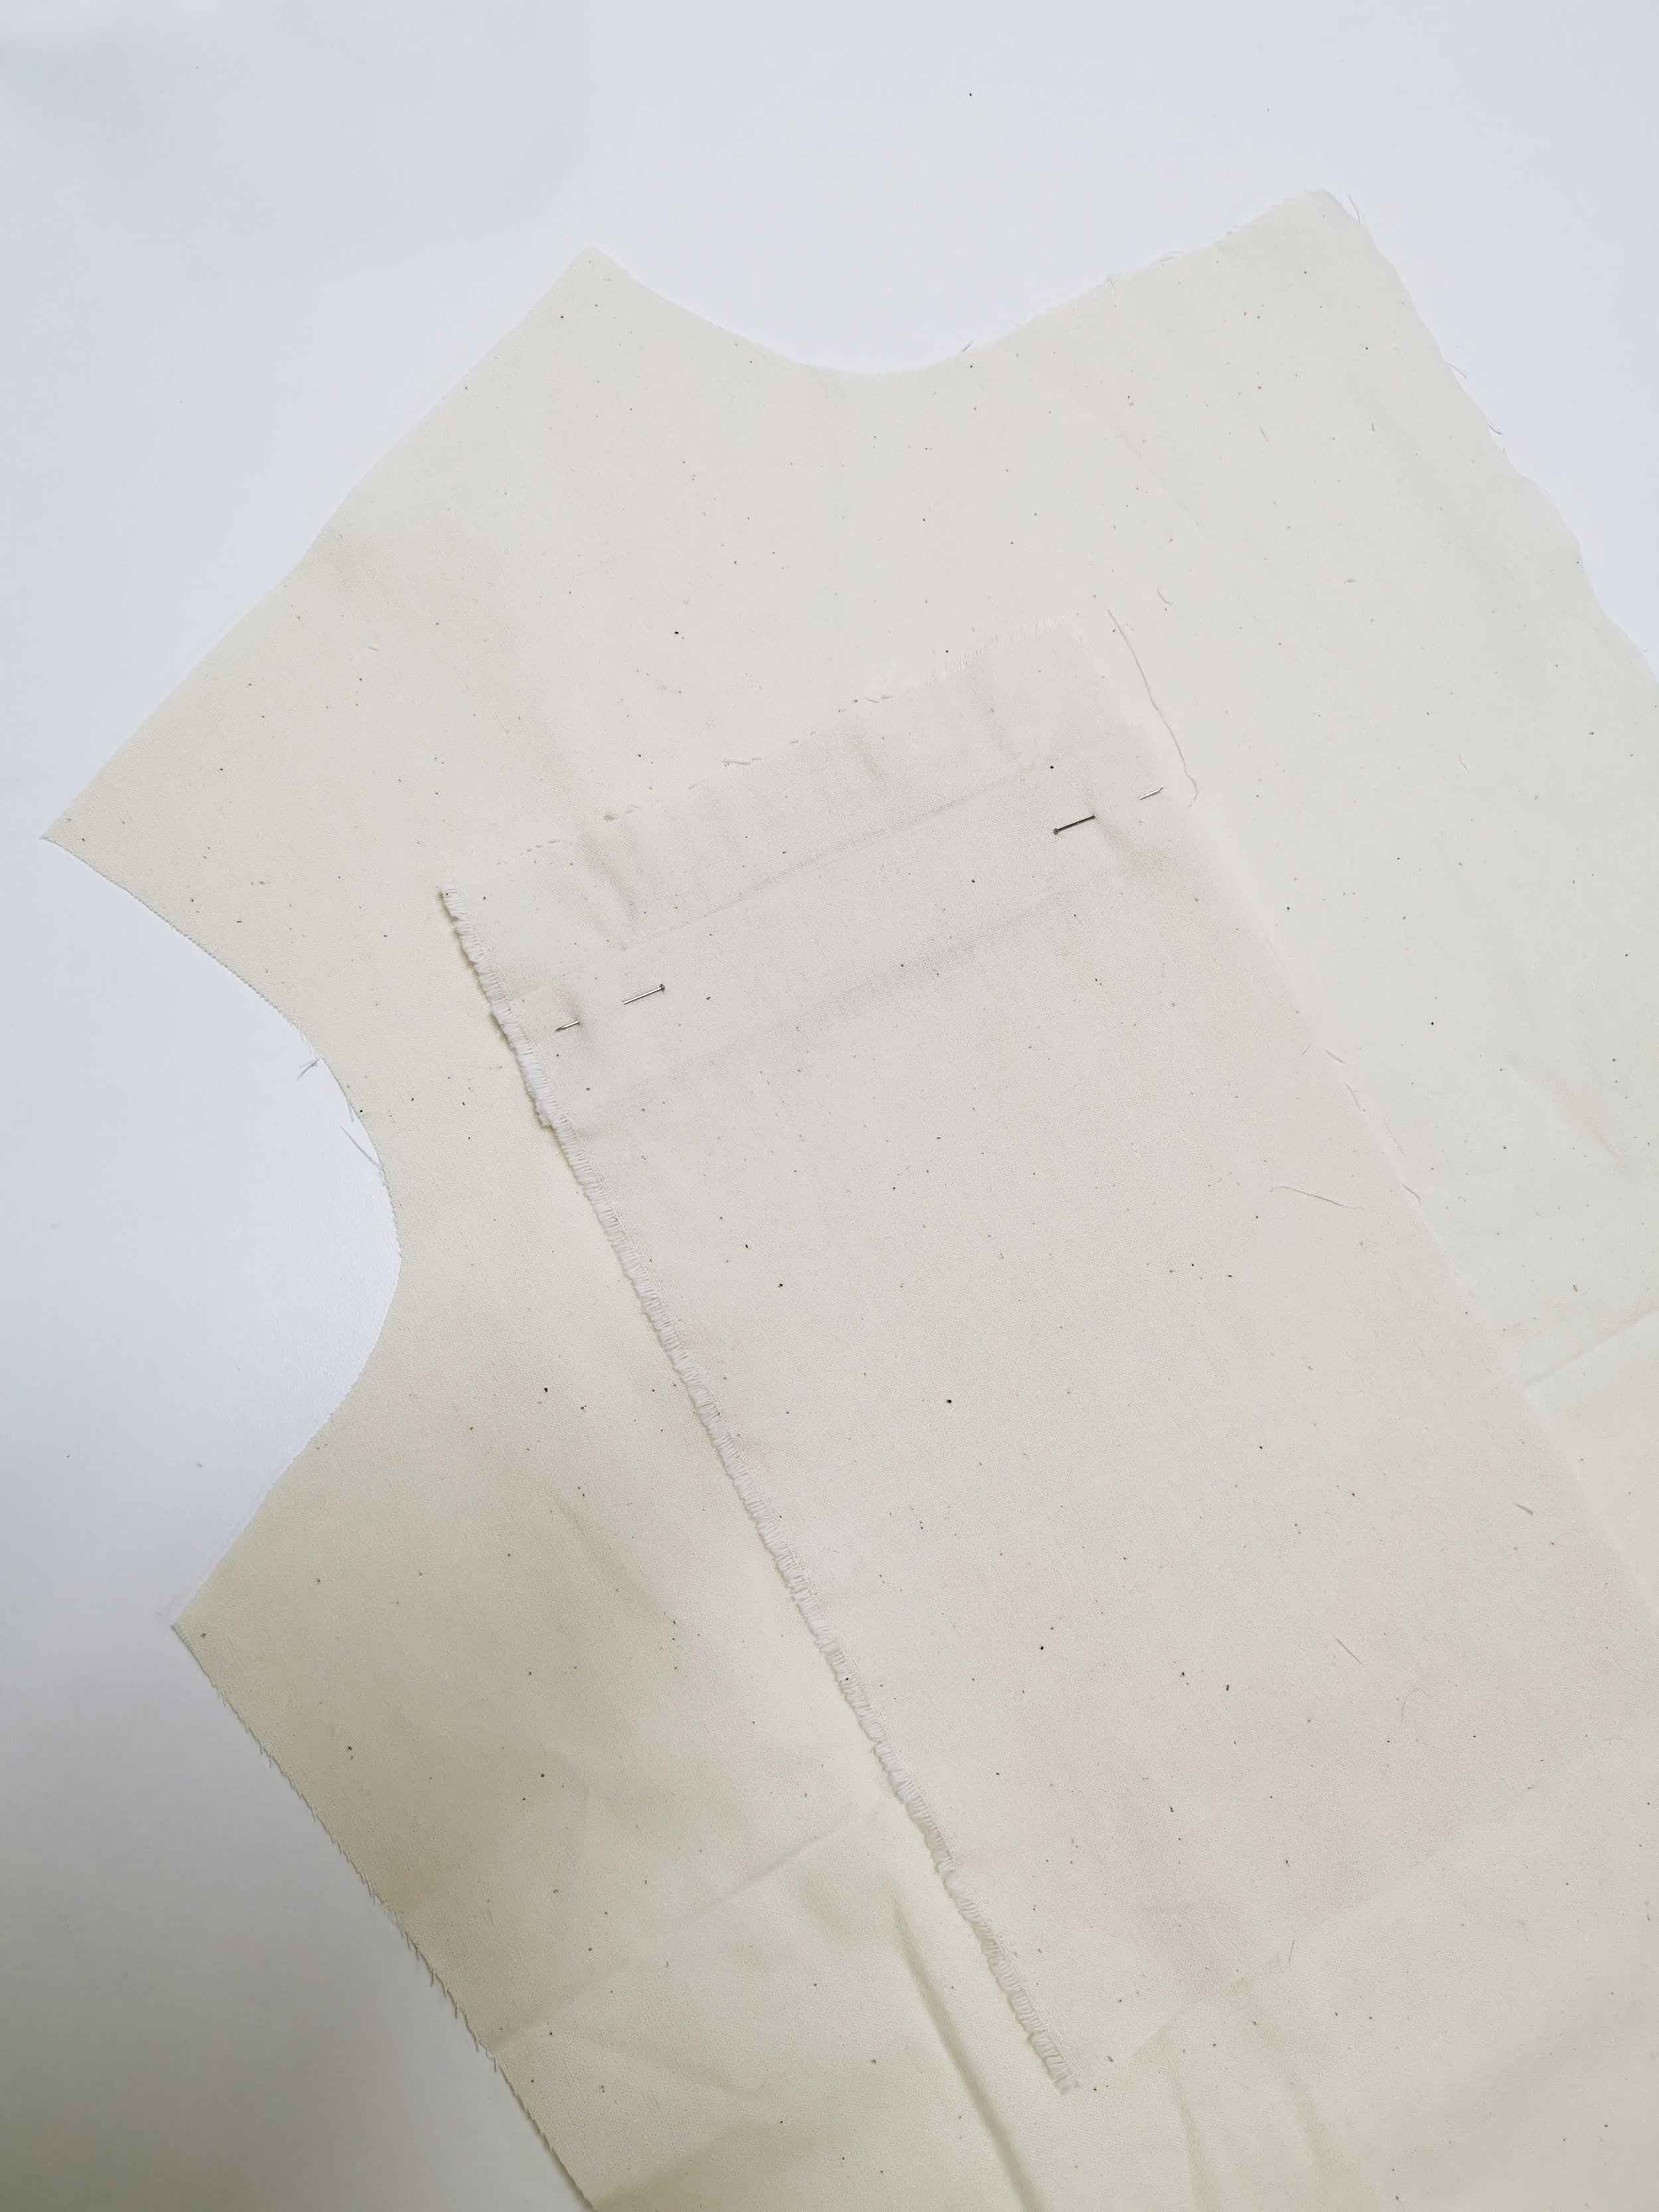
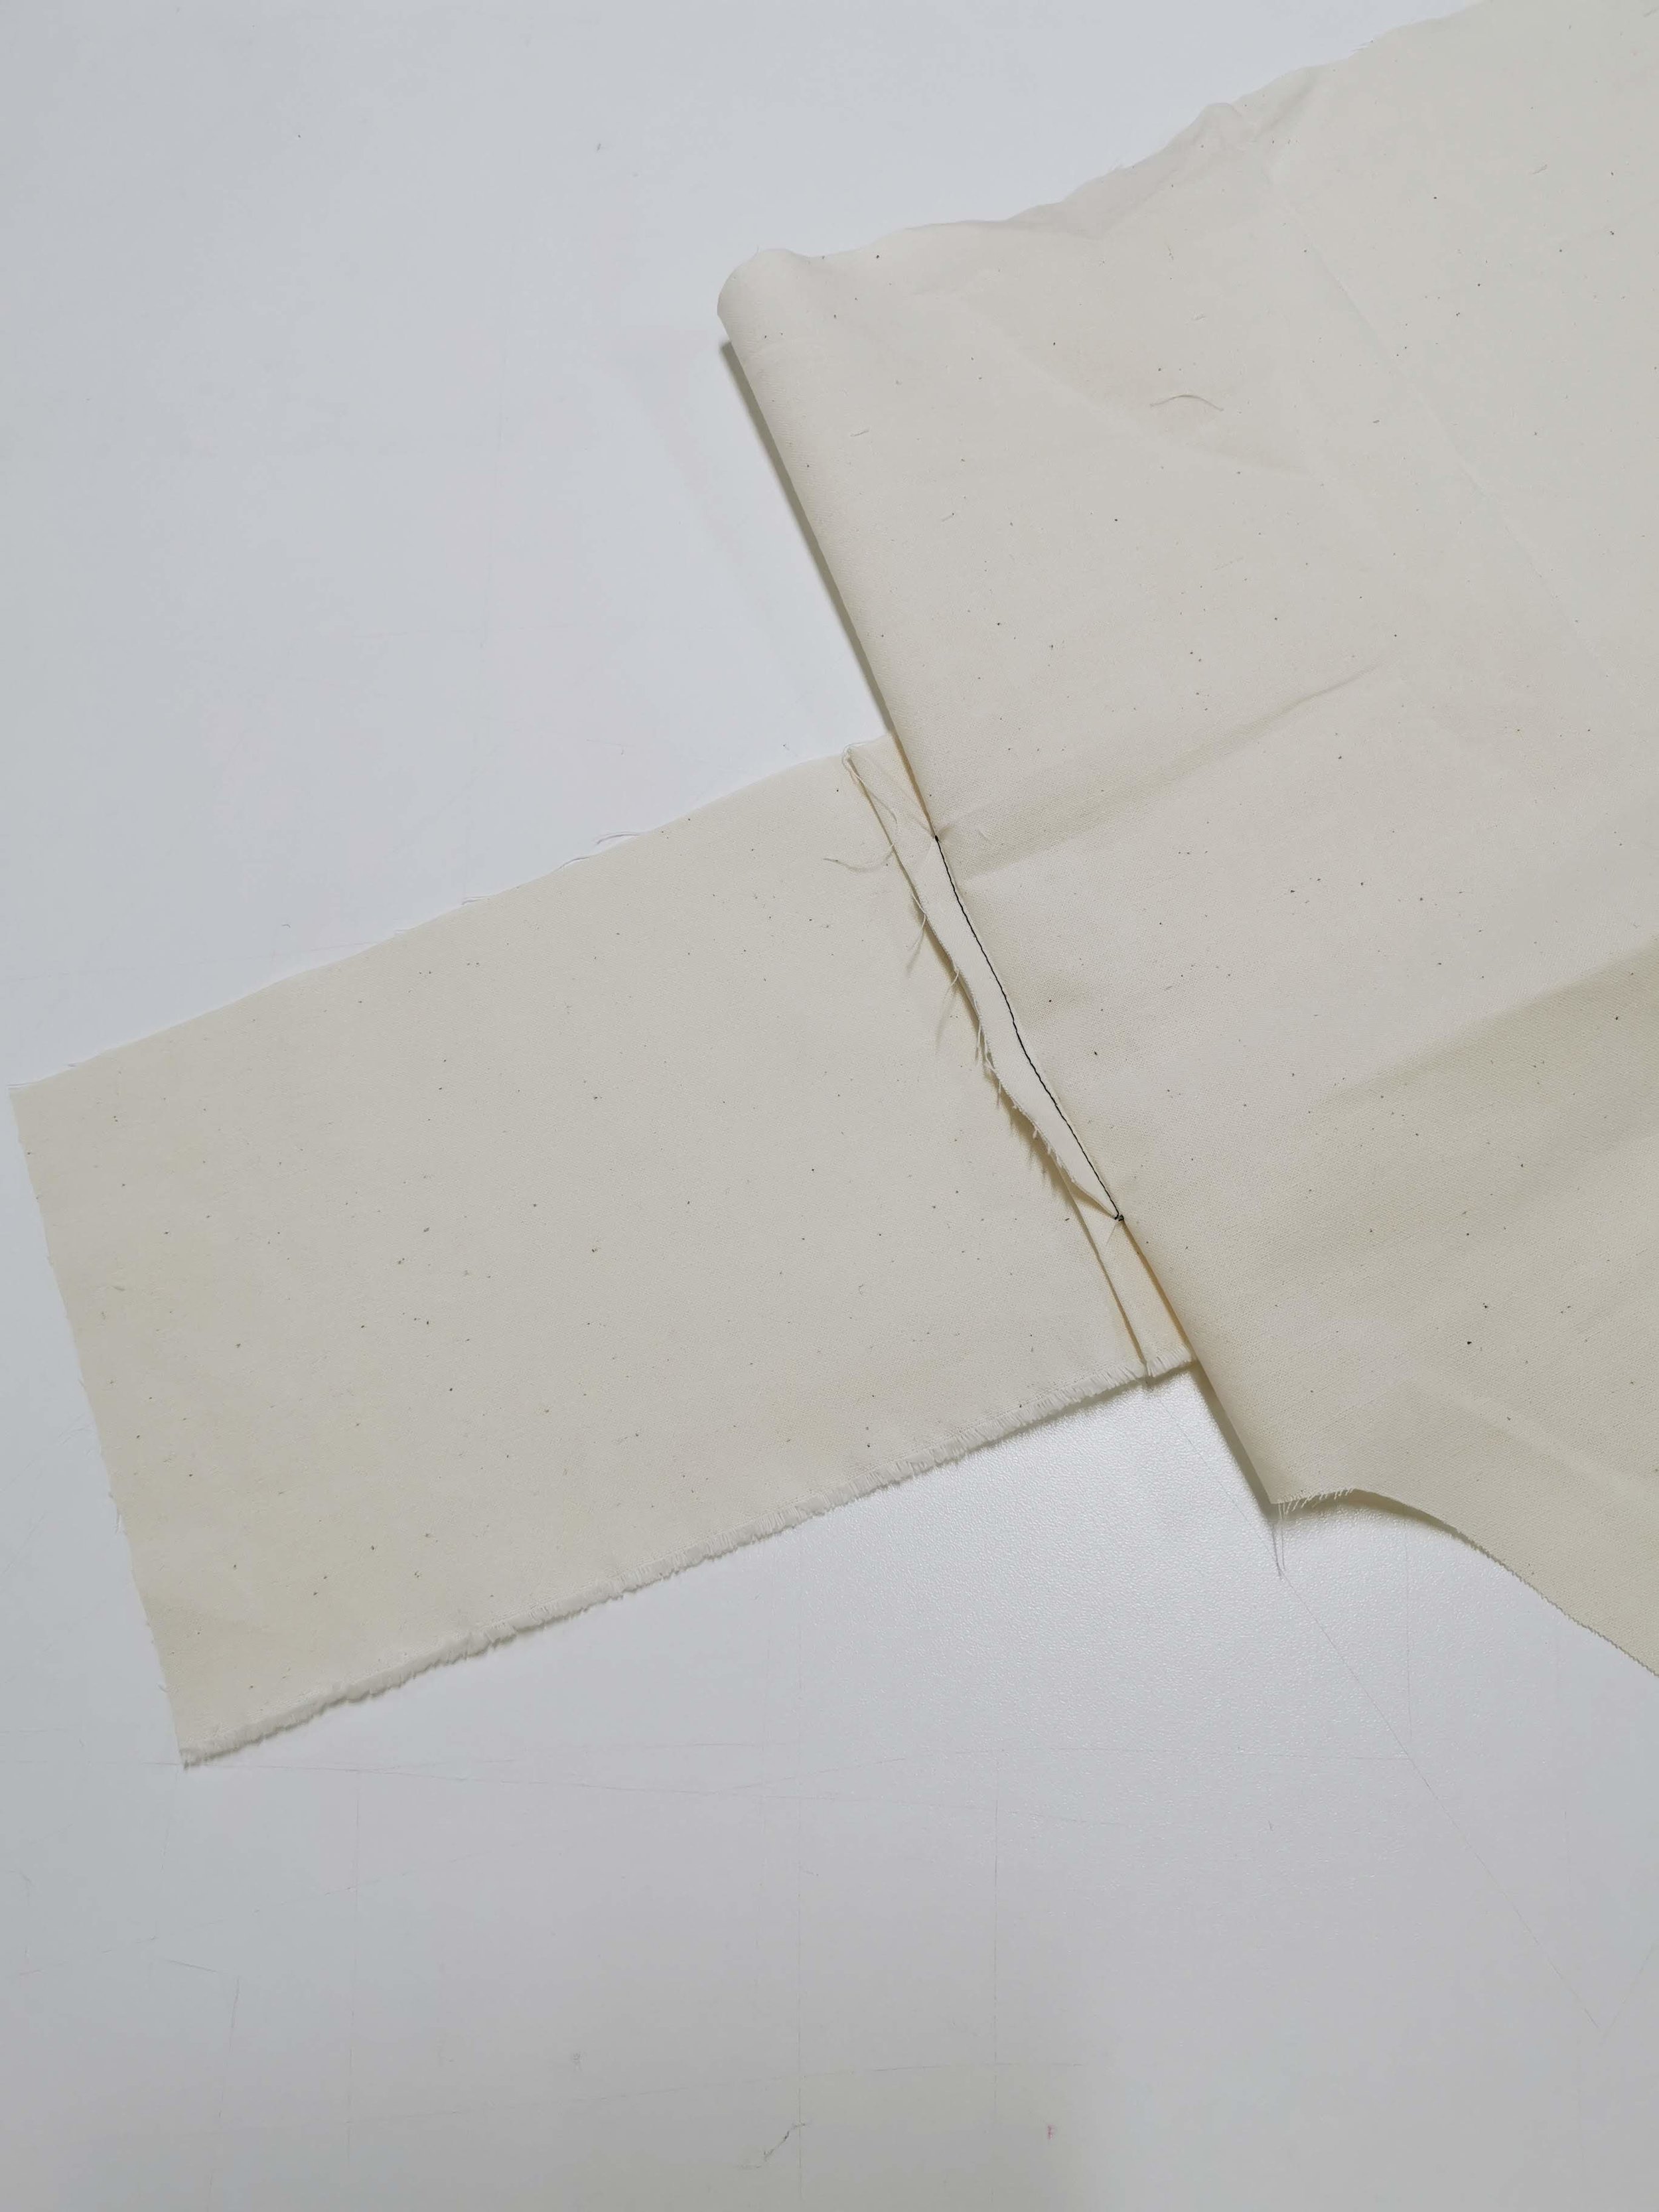
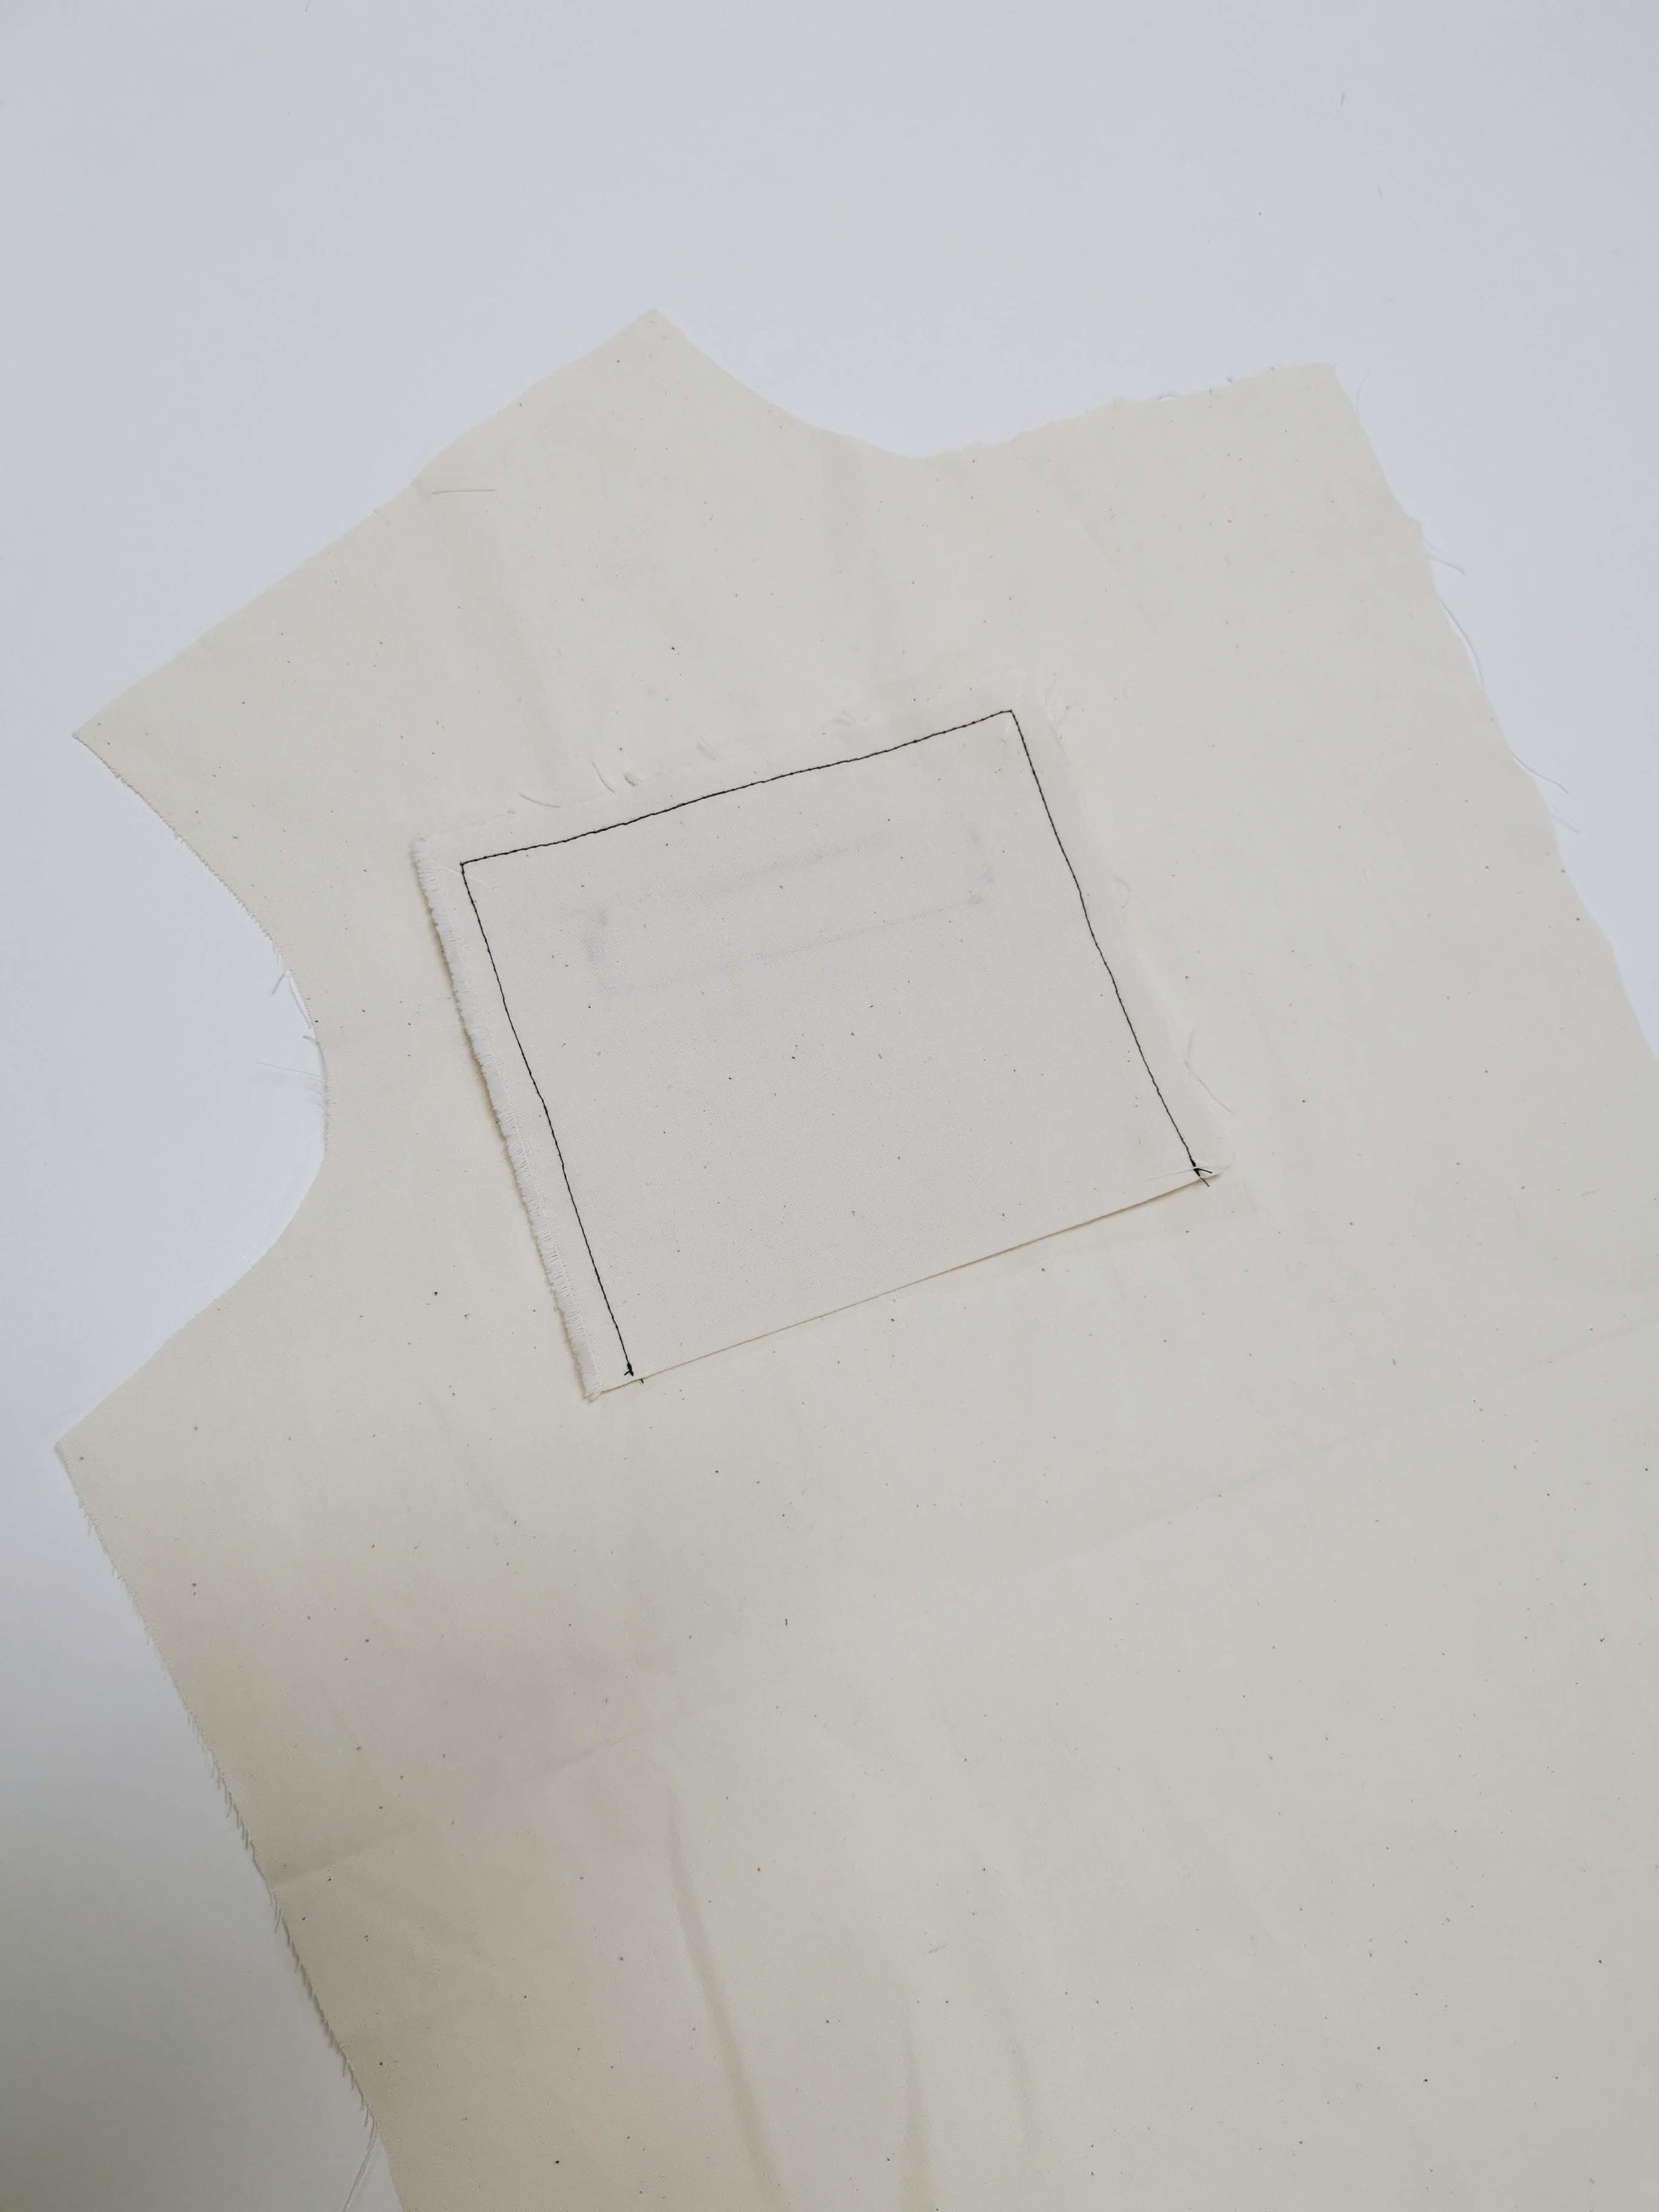
Step Two
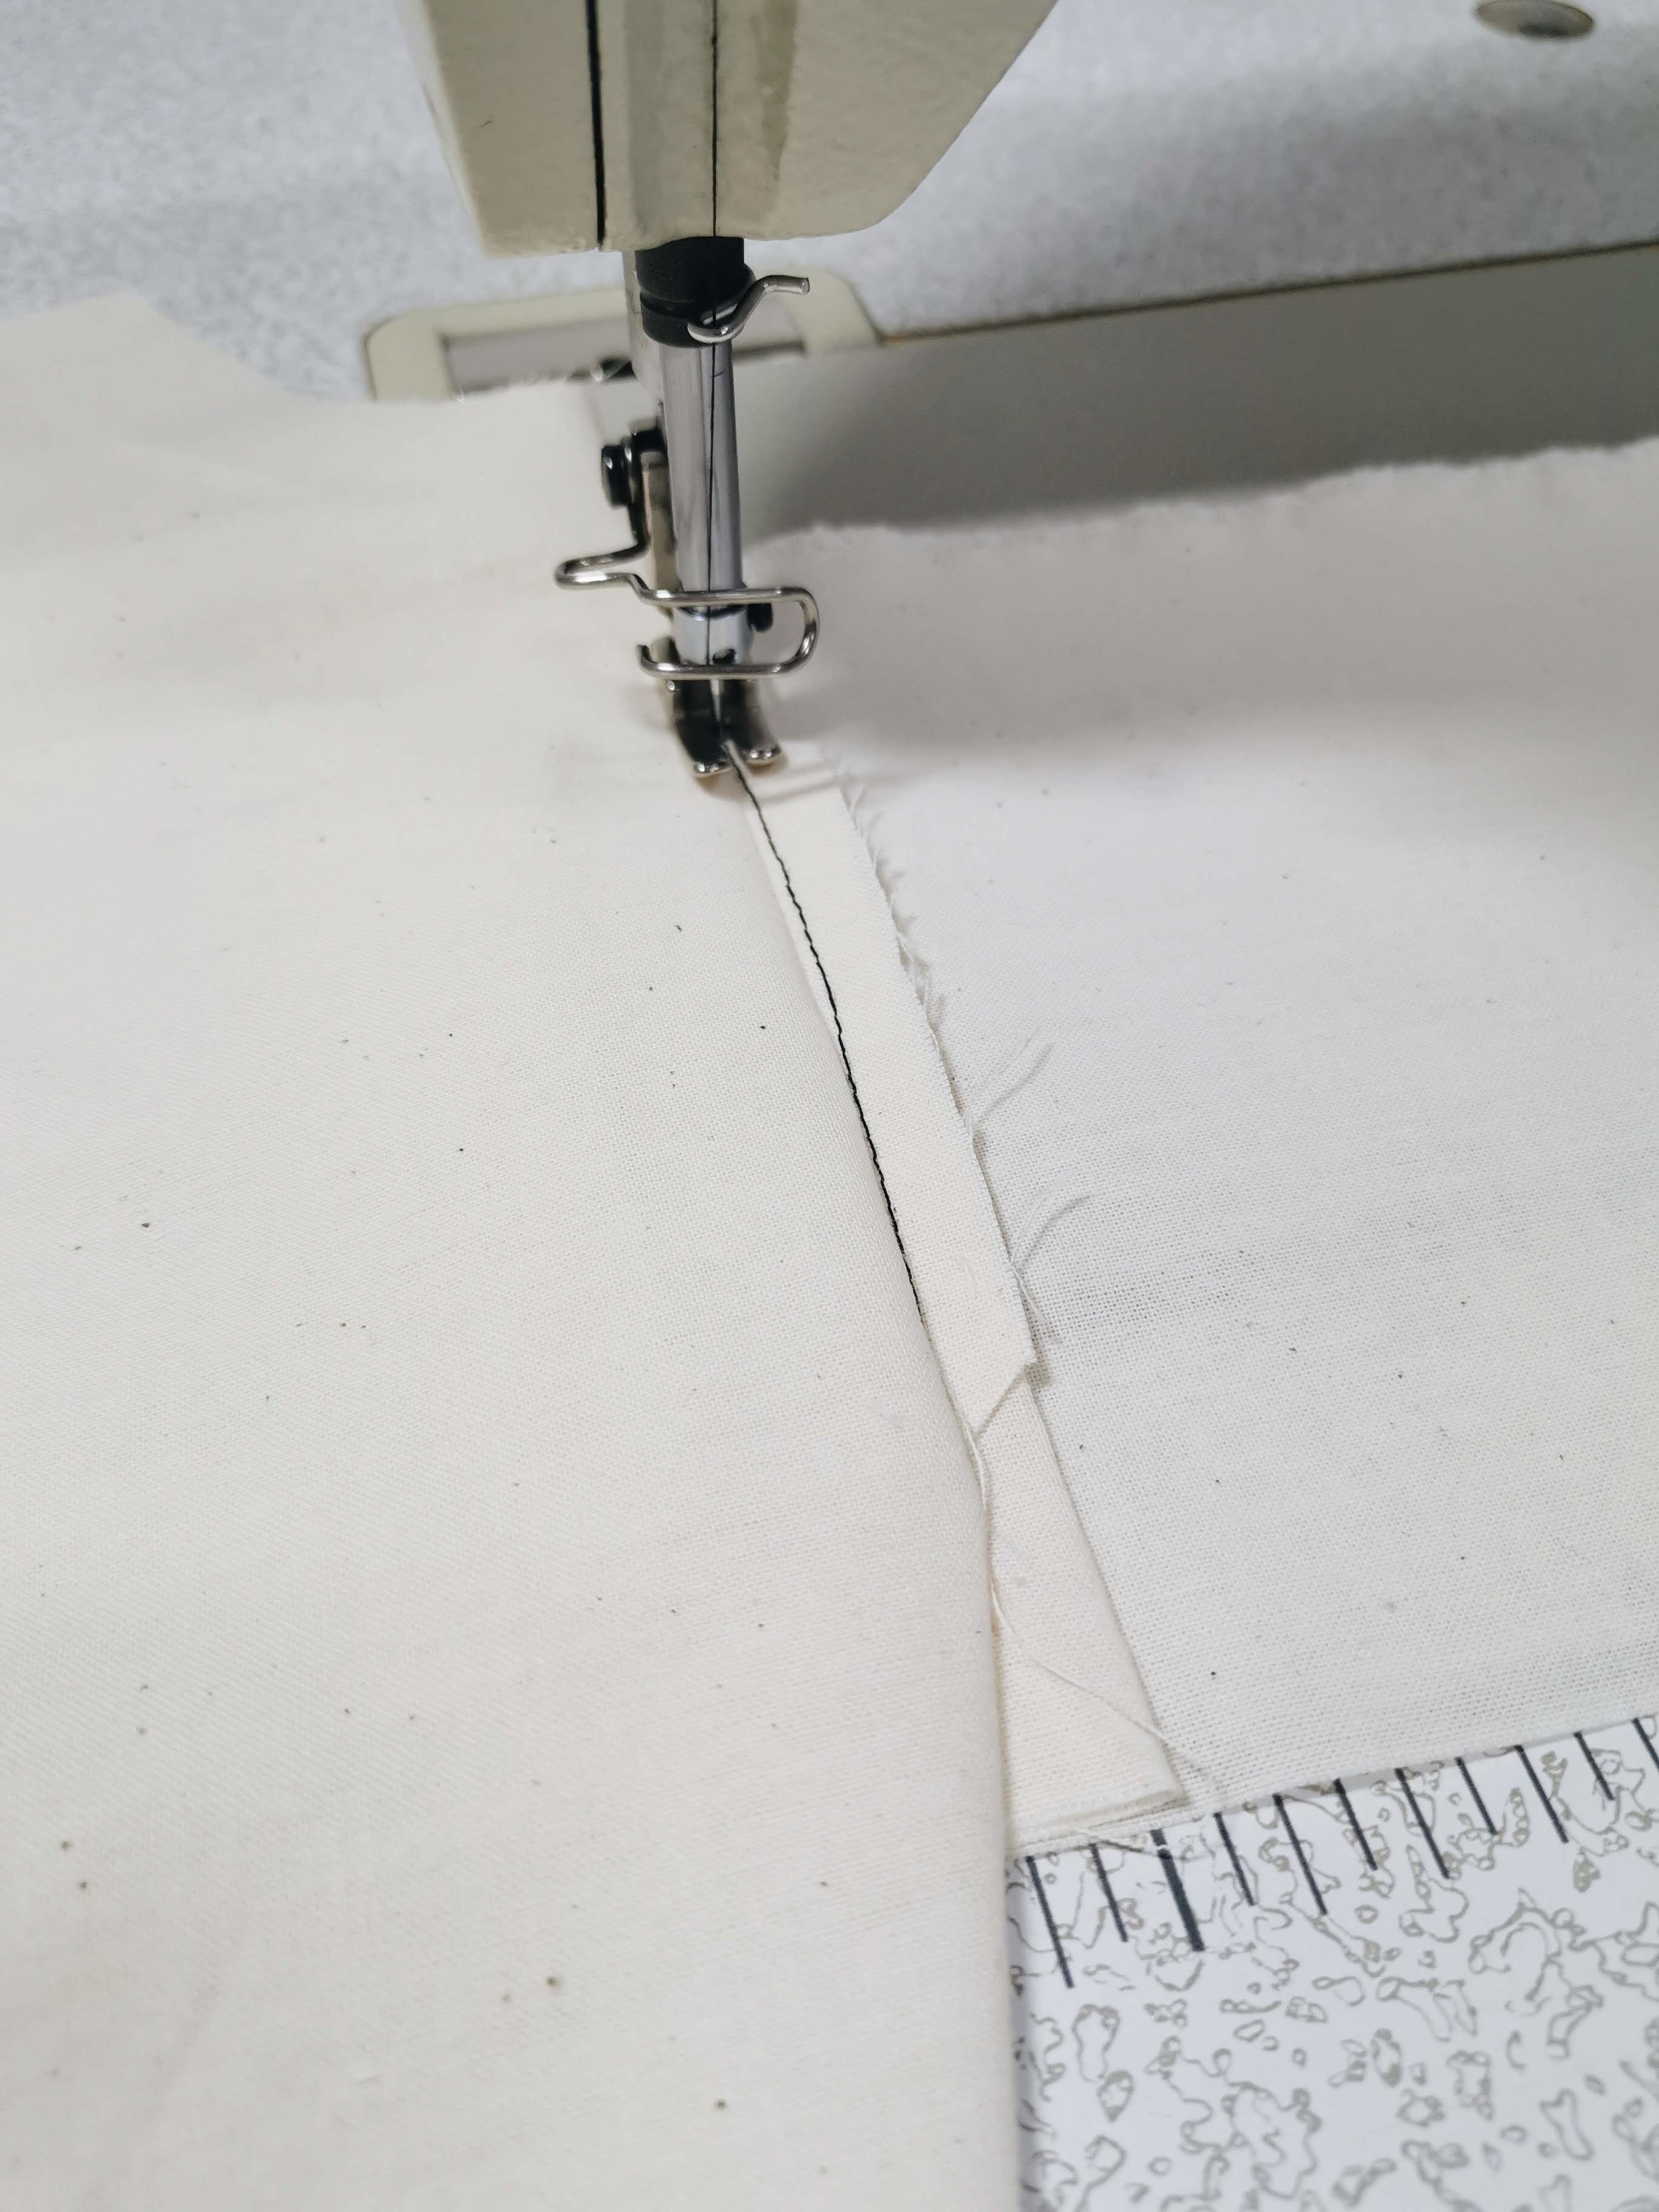
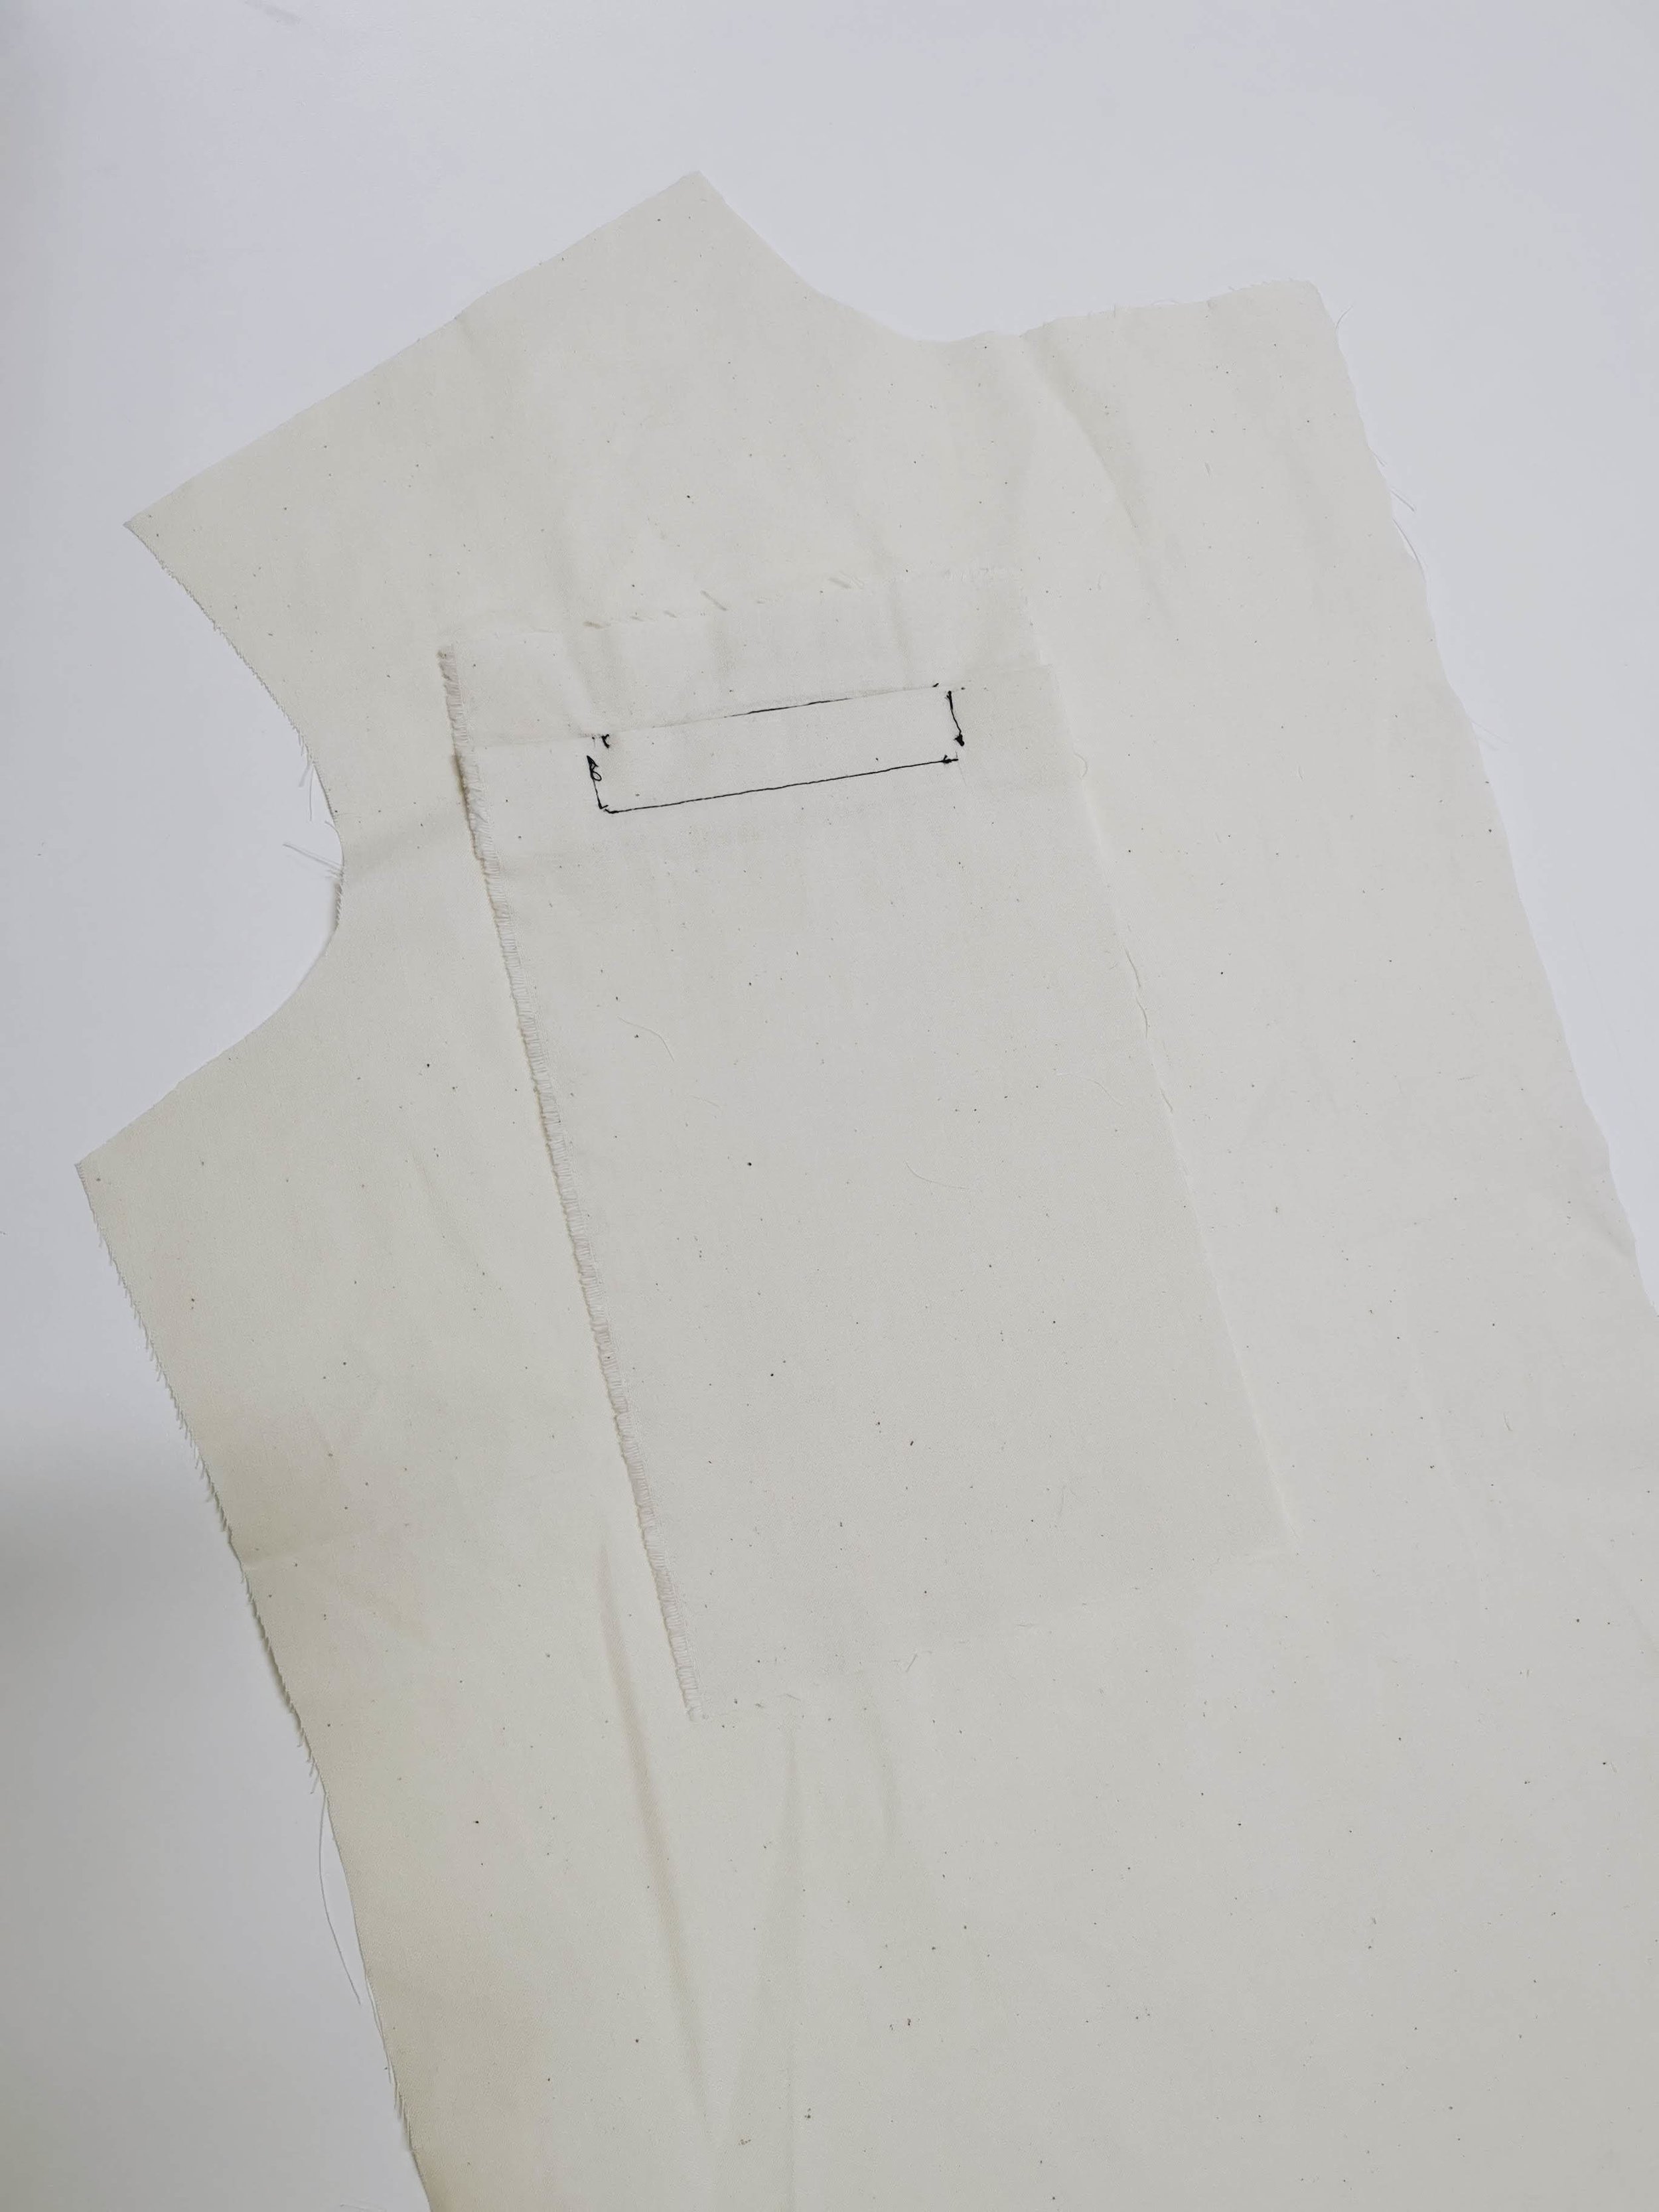
Match up your markings right sides together and pin in place to secure.
Carefully stitch the shape of your pocket opening around your markings. Take your time and ensure your stitching lines are equal and don’t run over each other.
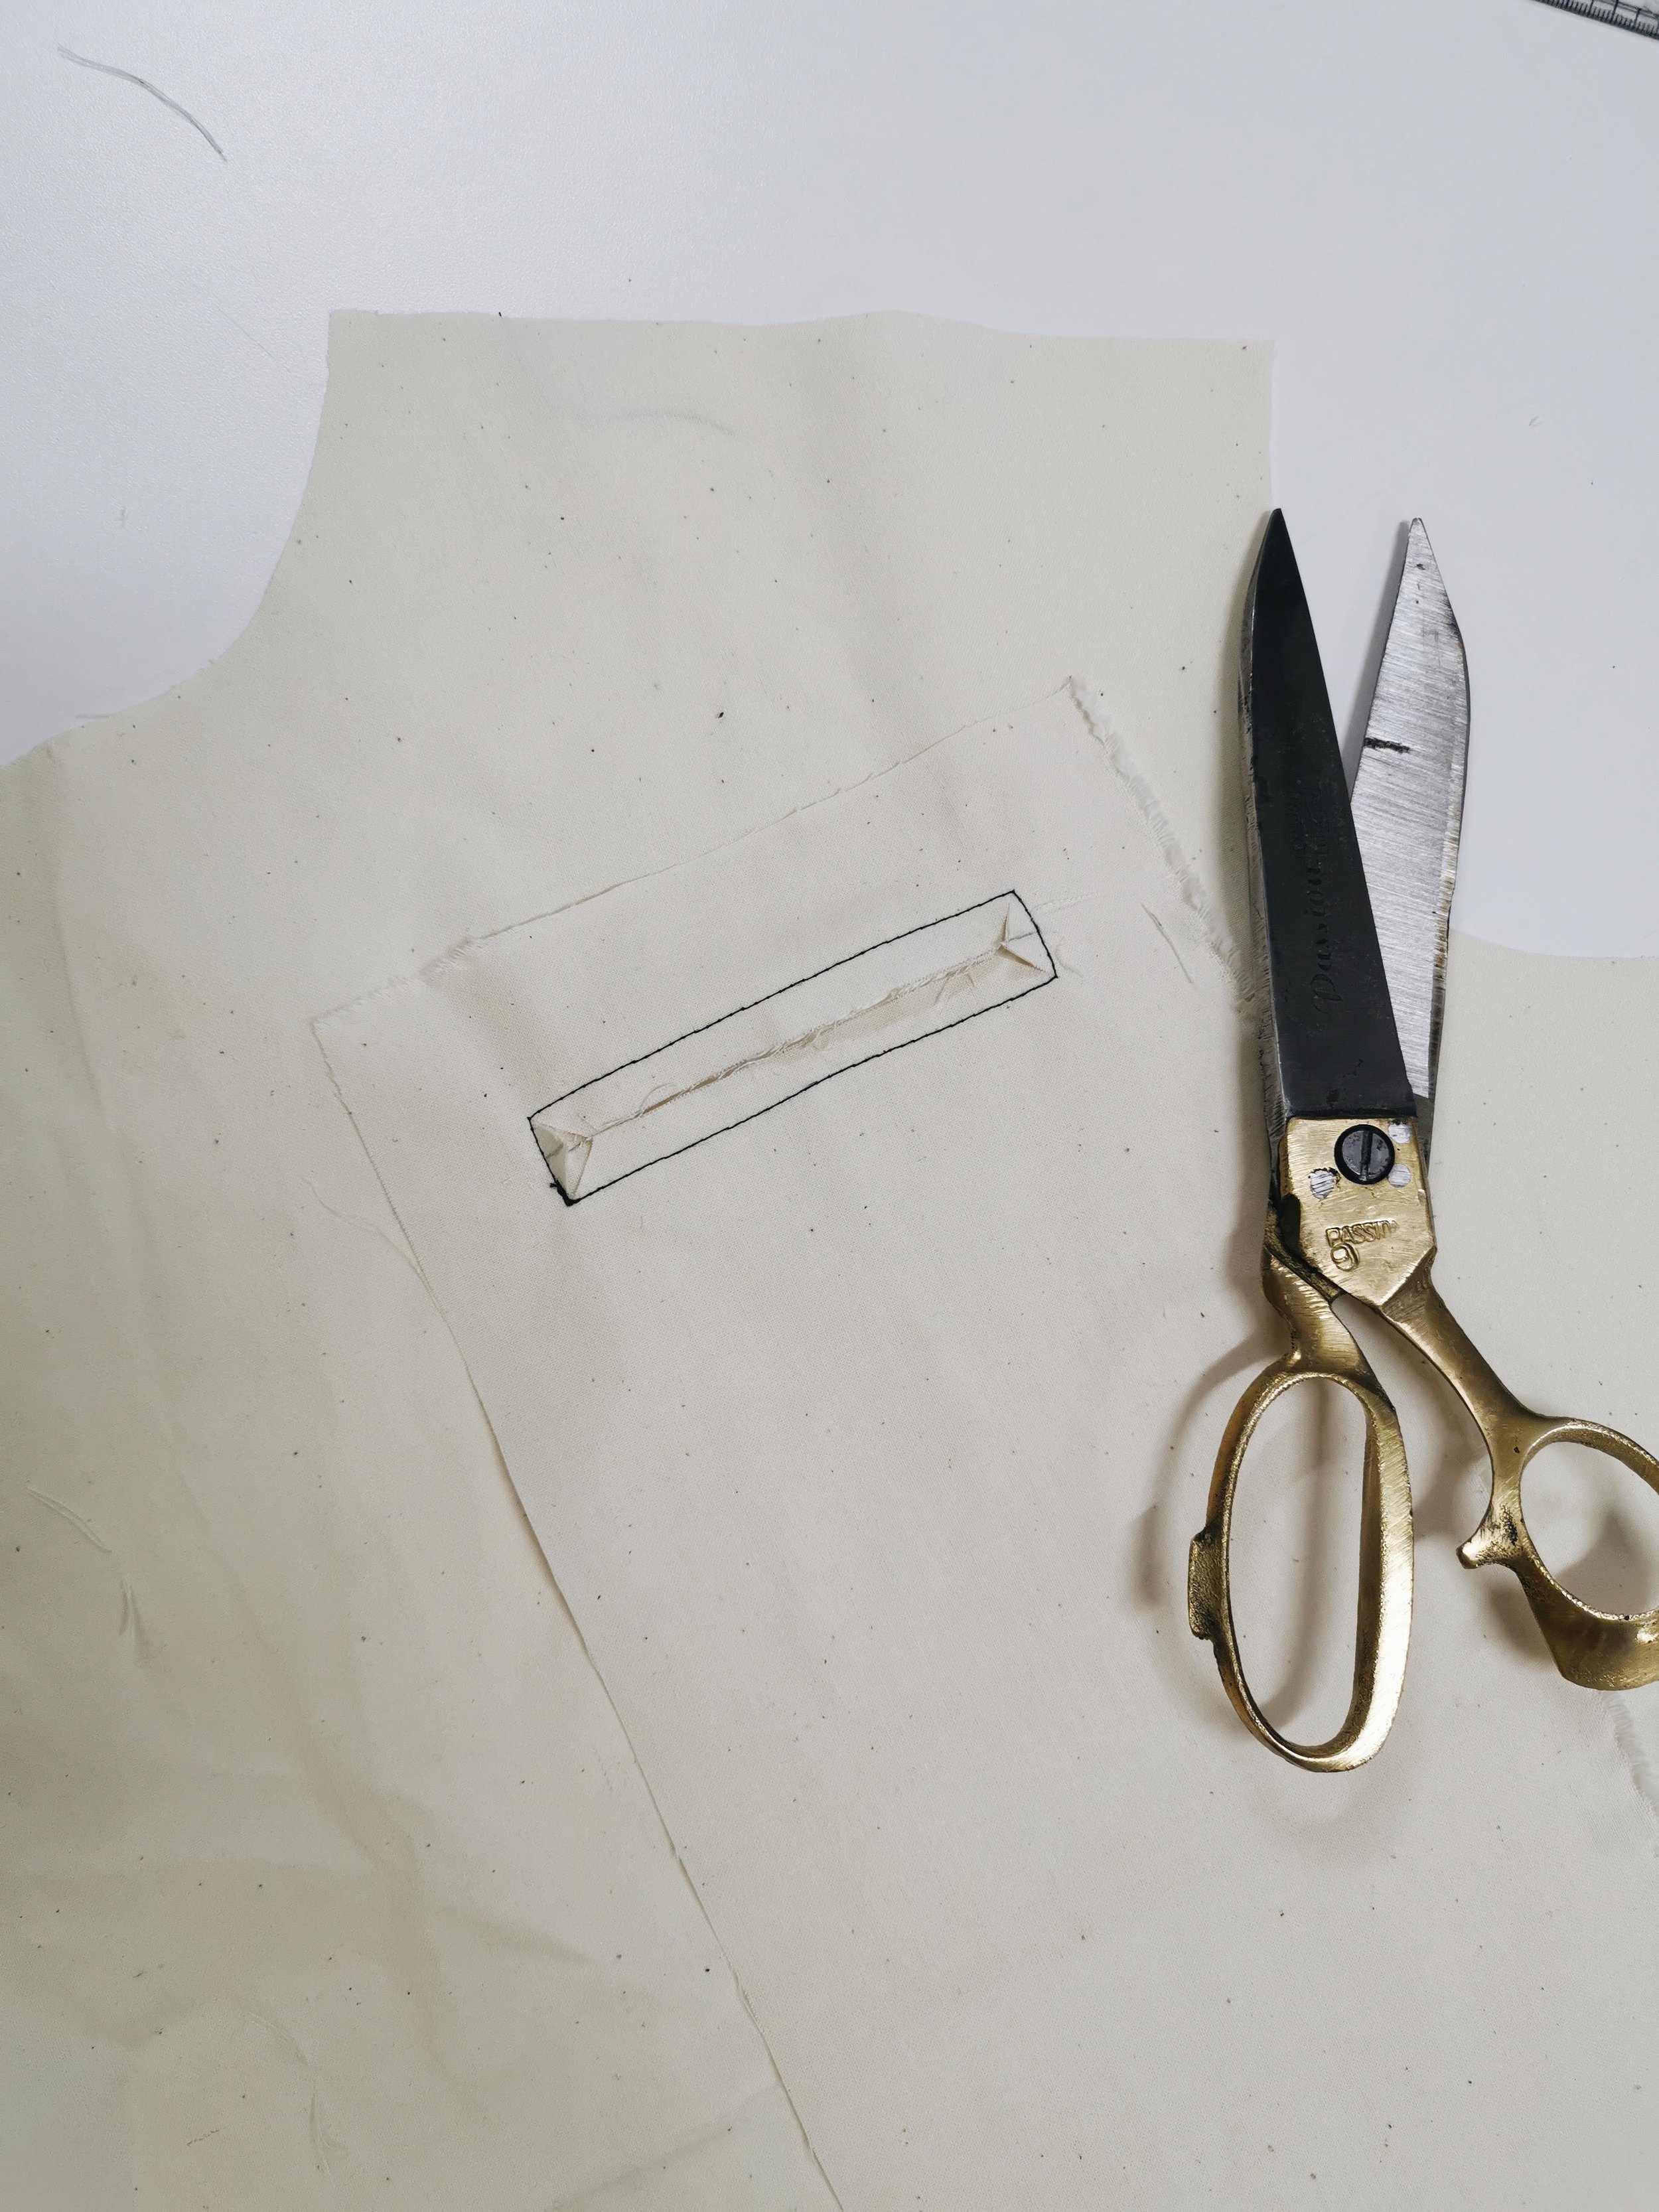
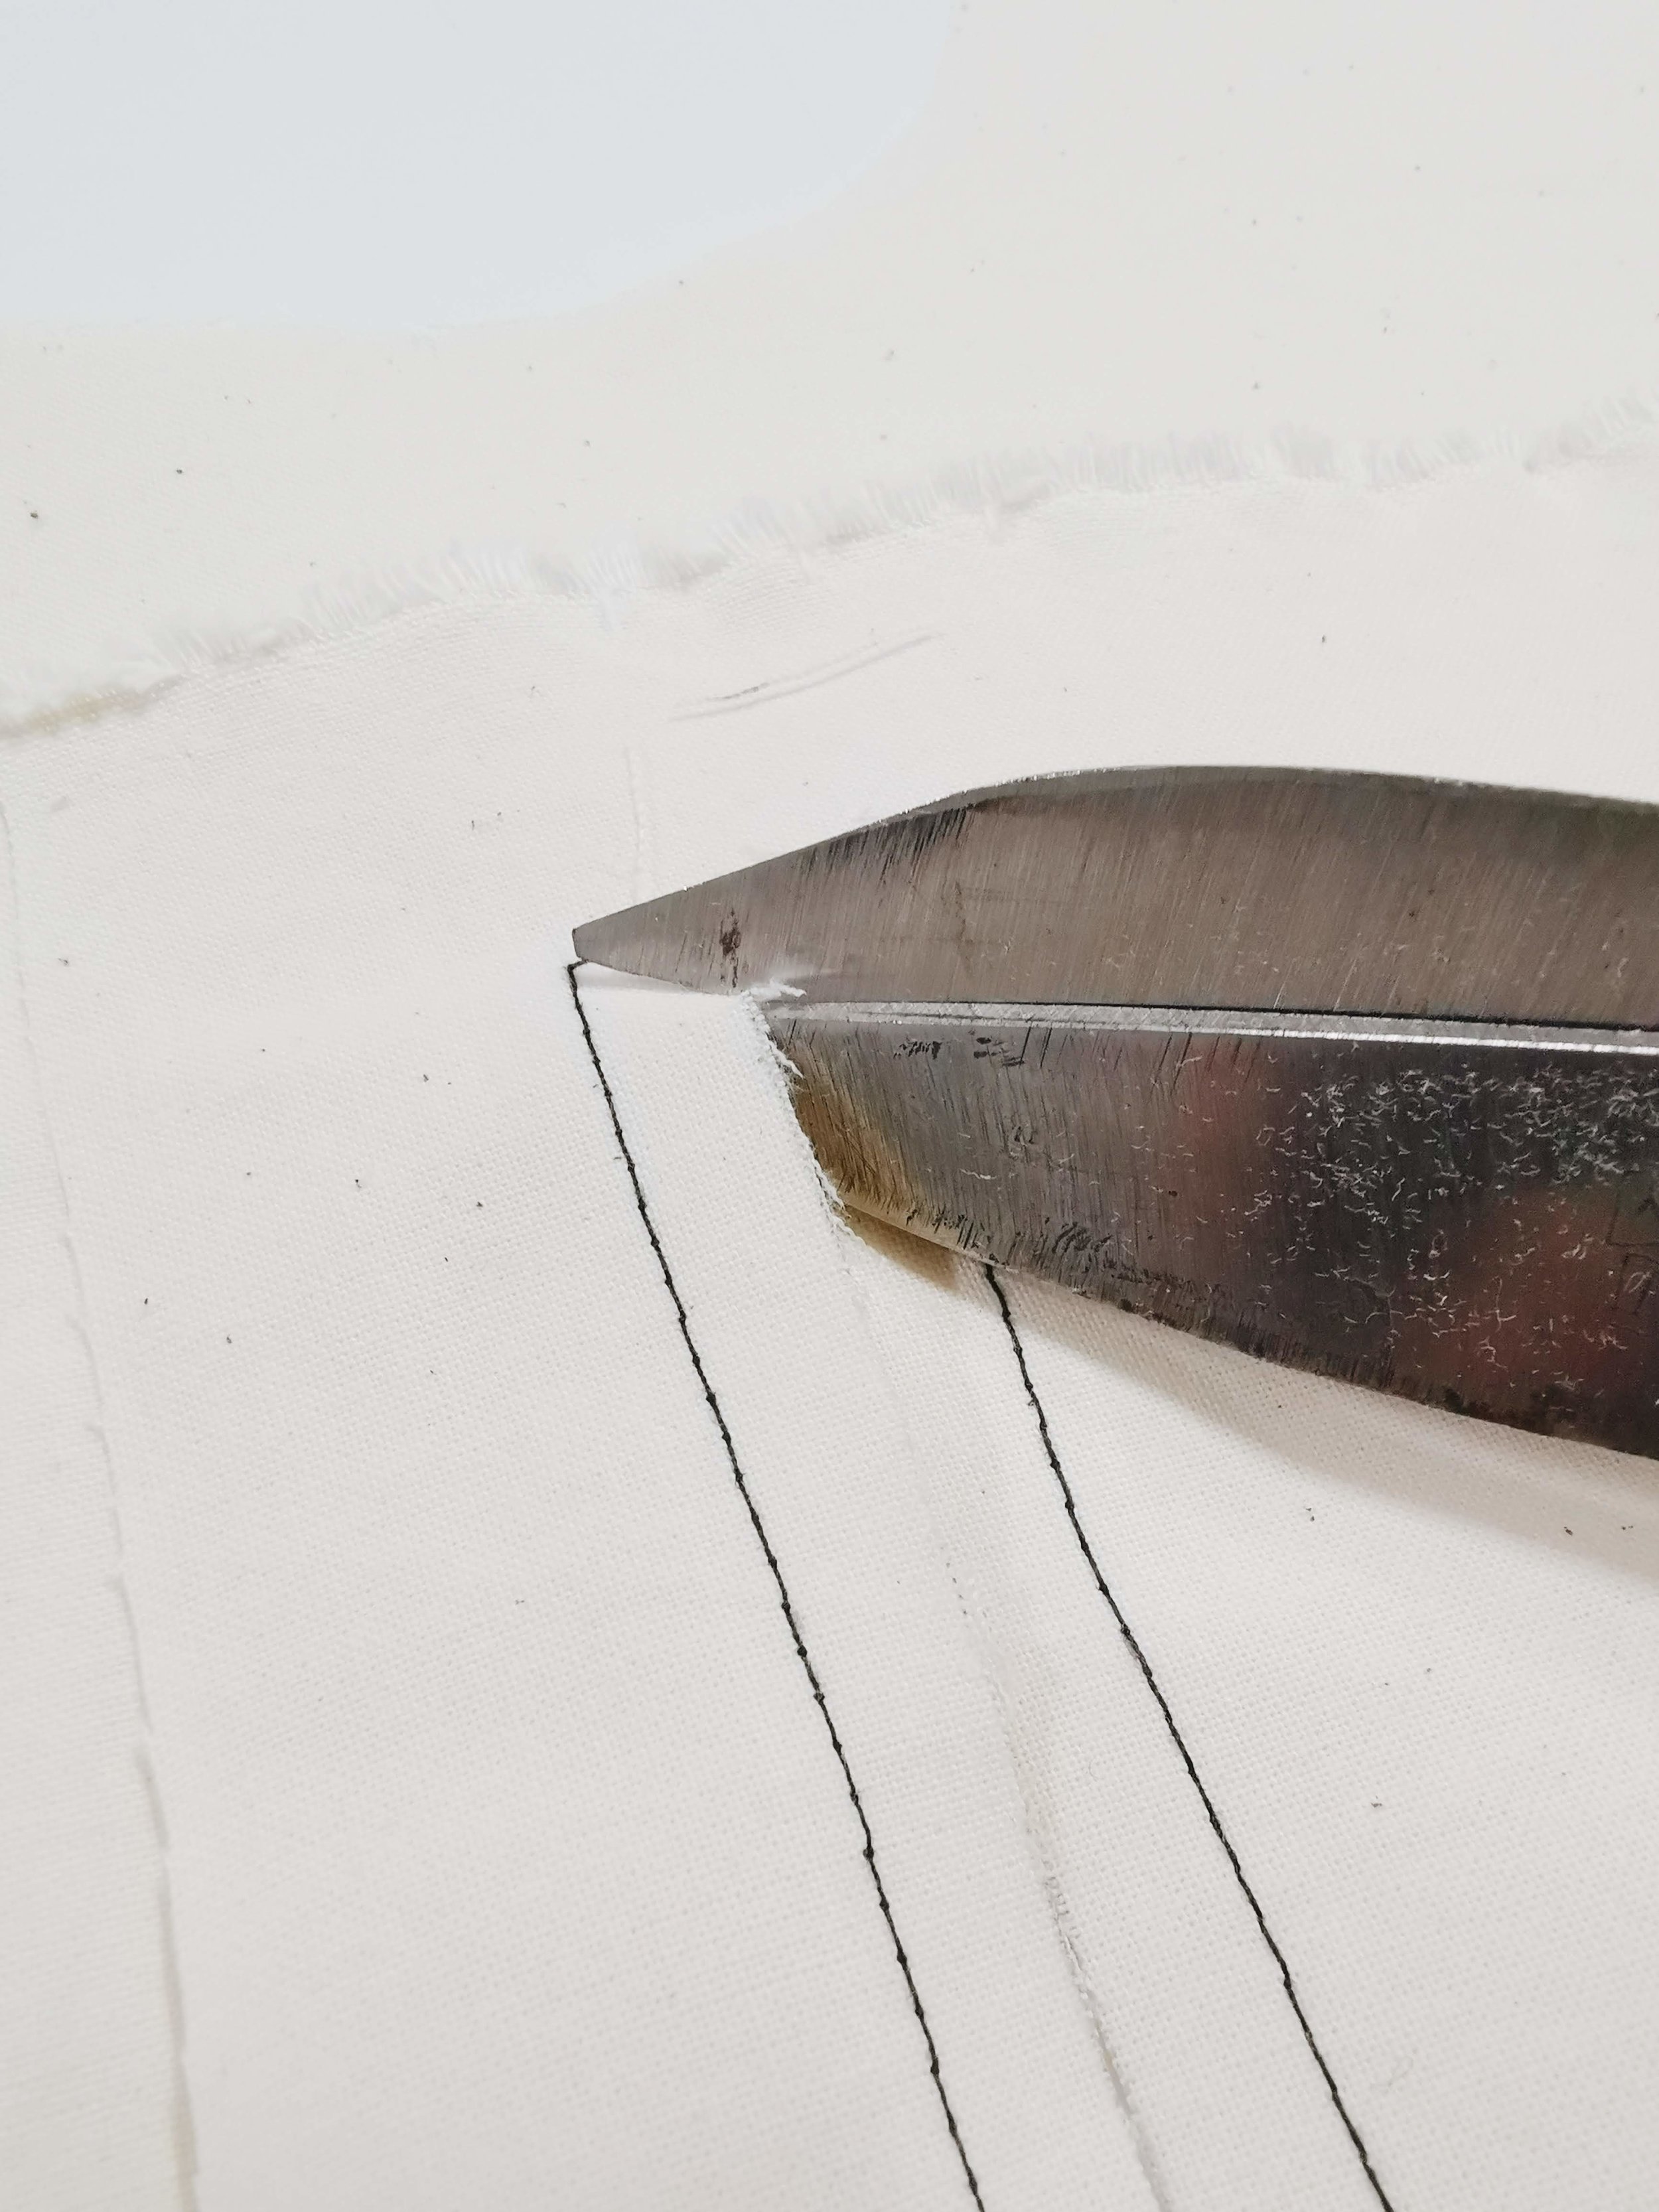
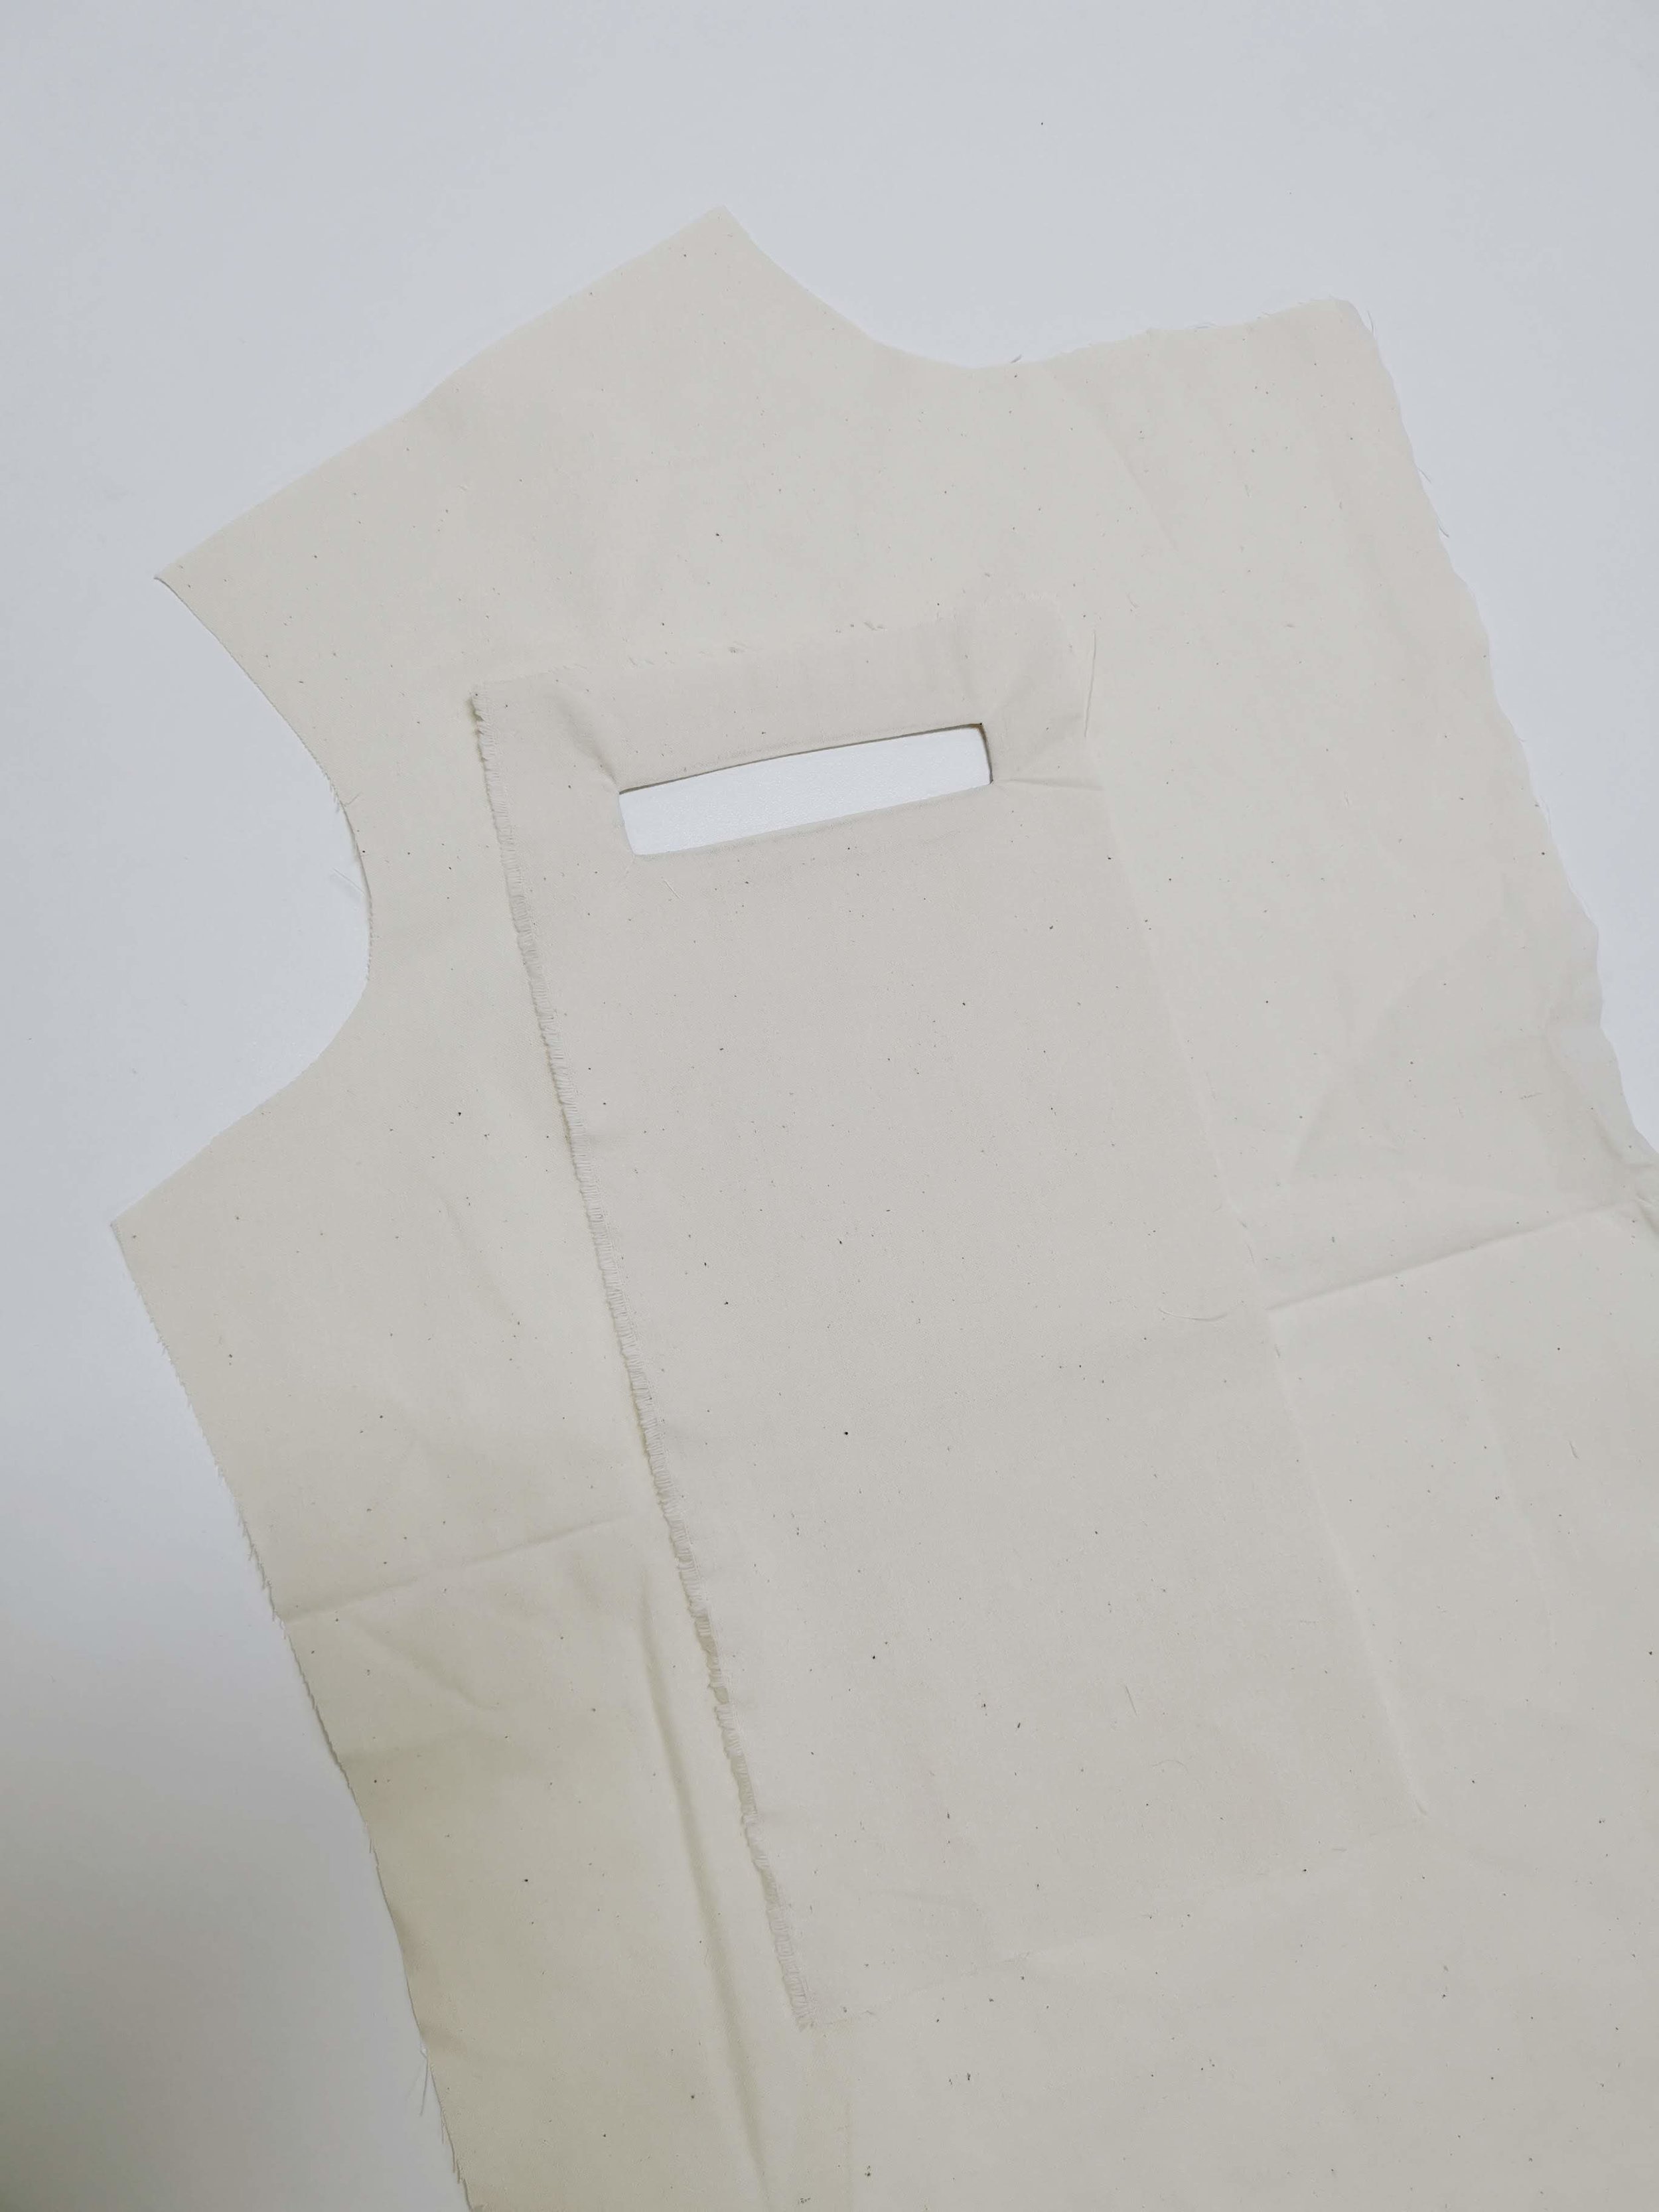
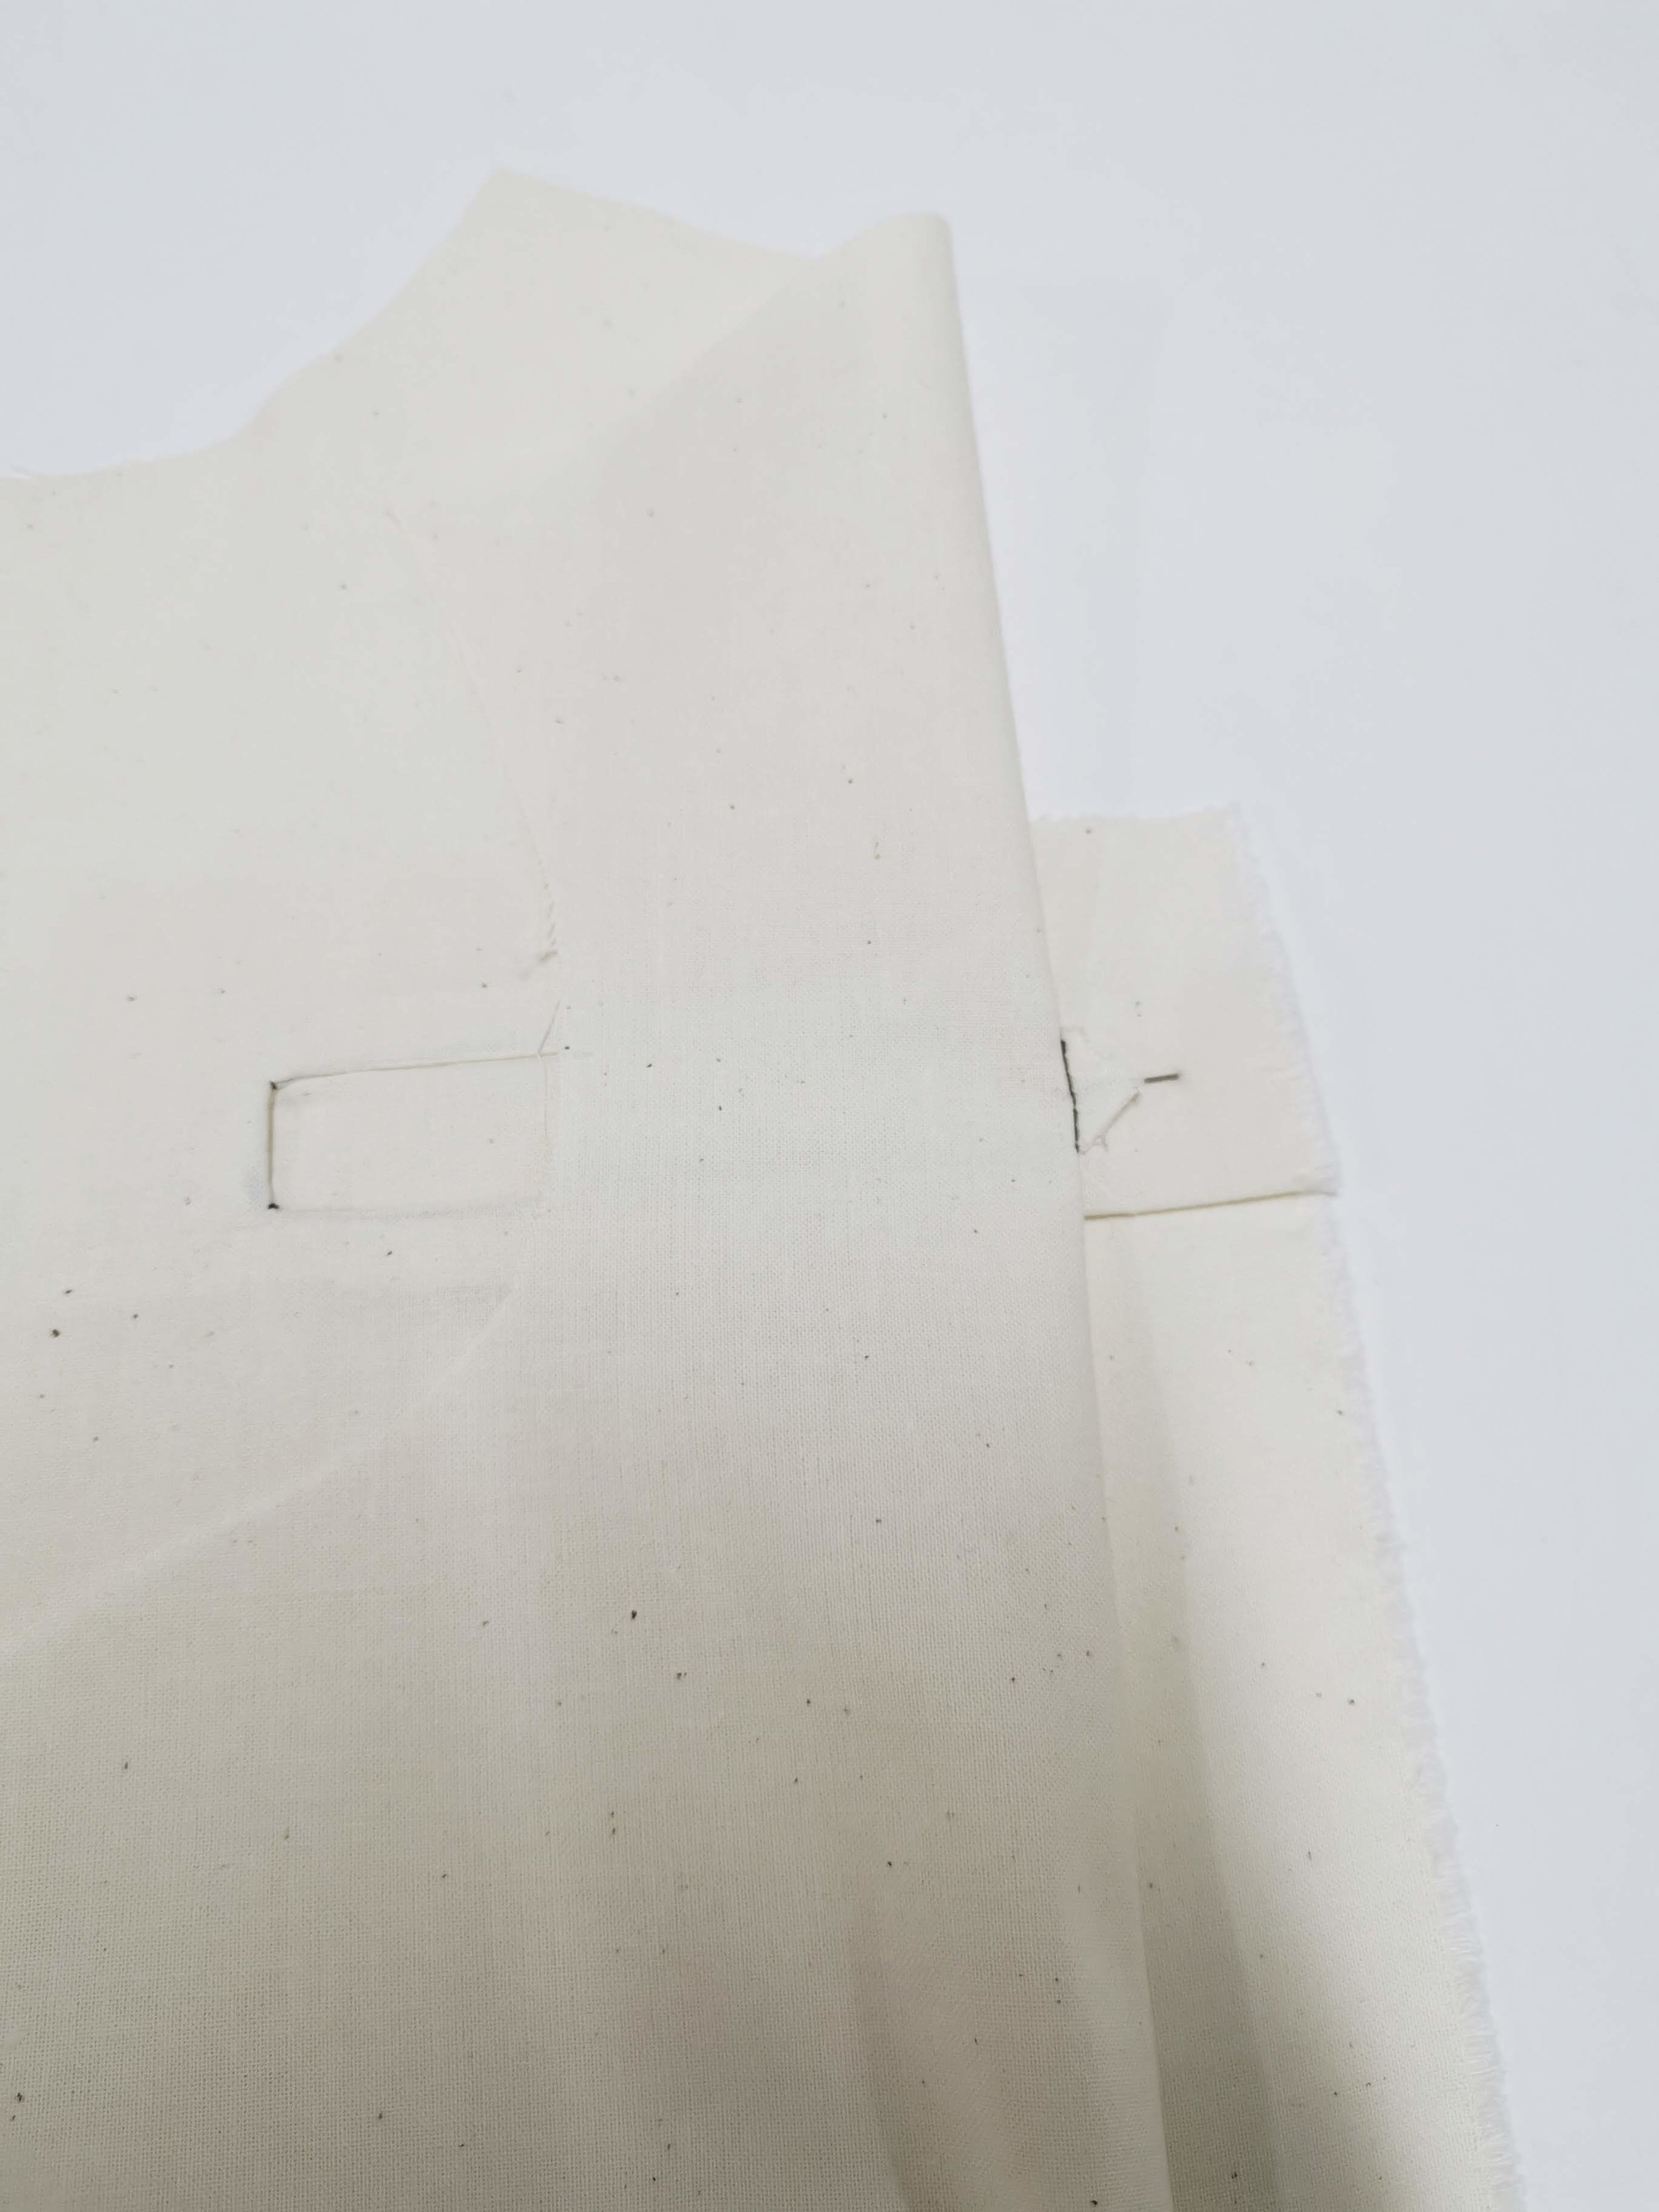
Step Three
Carefully snip into the opening, along your markings and into the corners. Get as close as you can to the corners without cutting the stitches themselves.
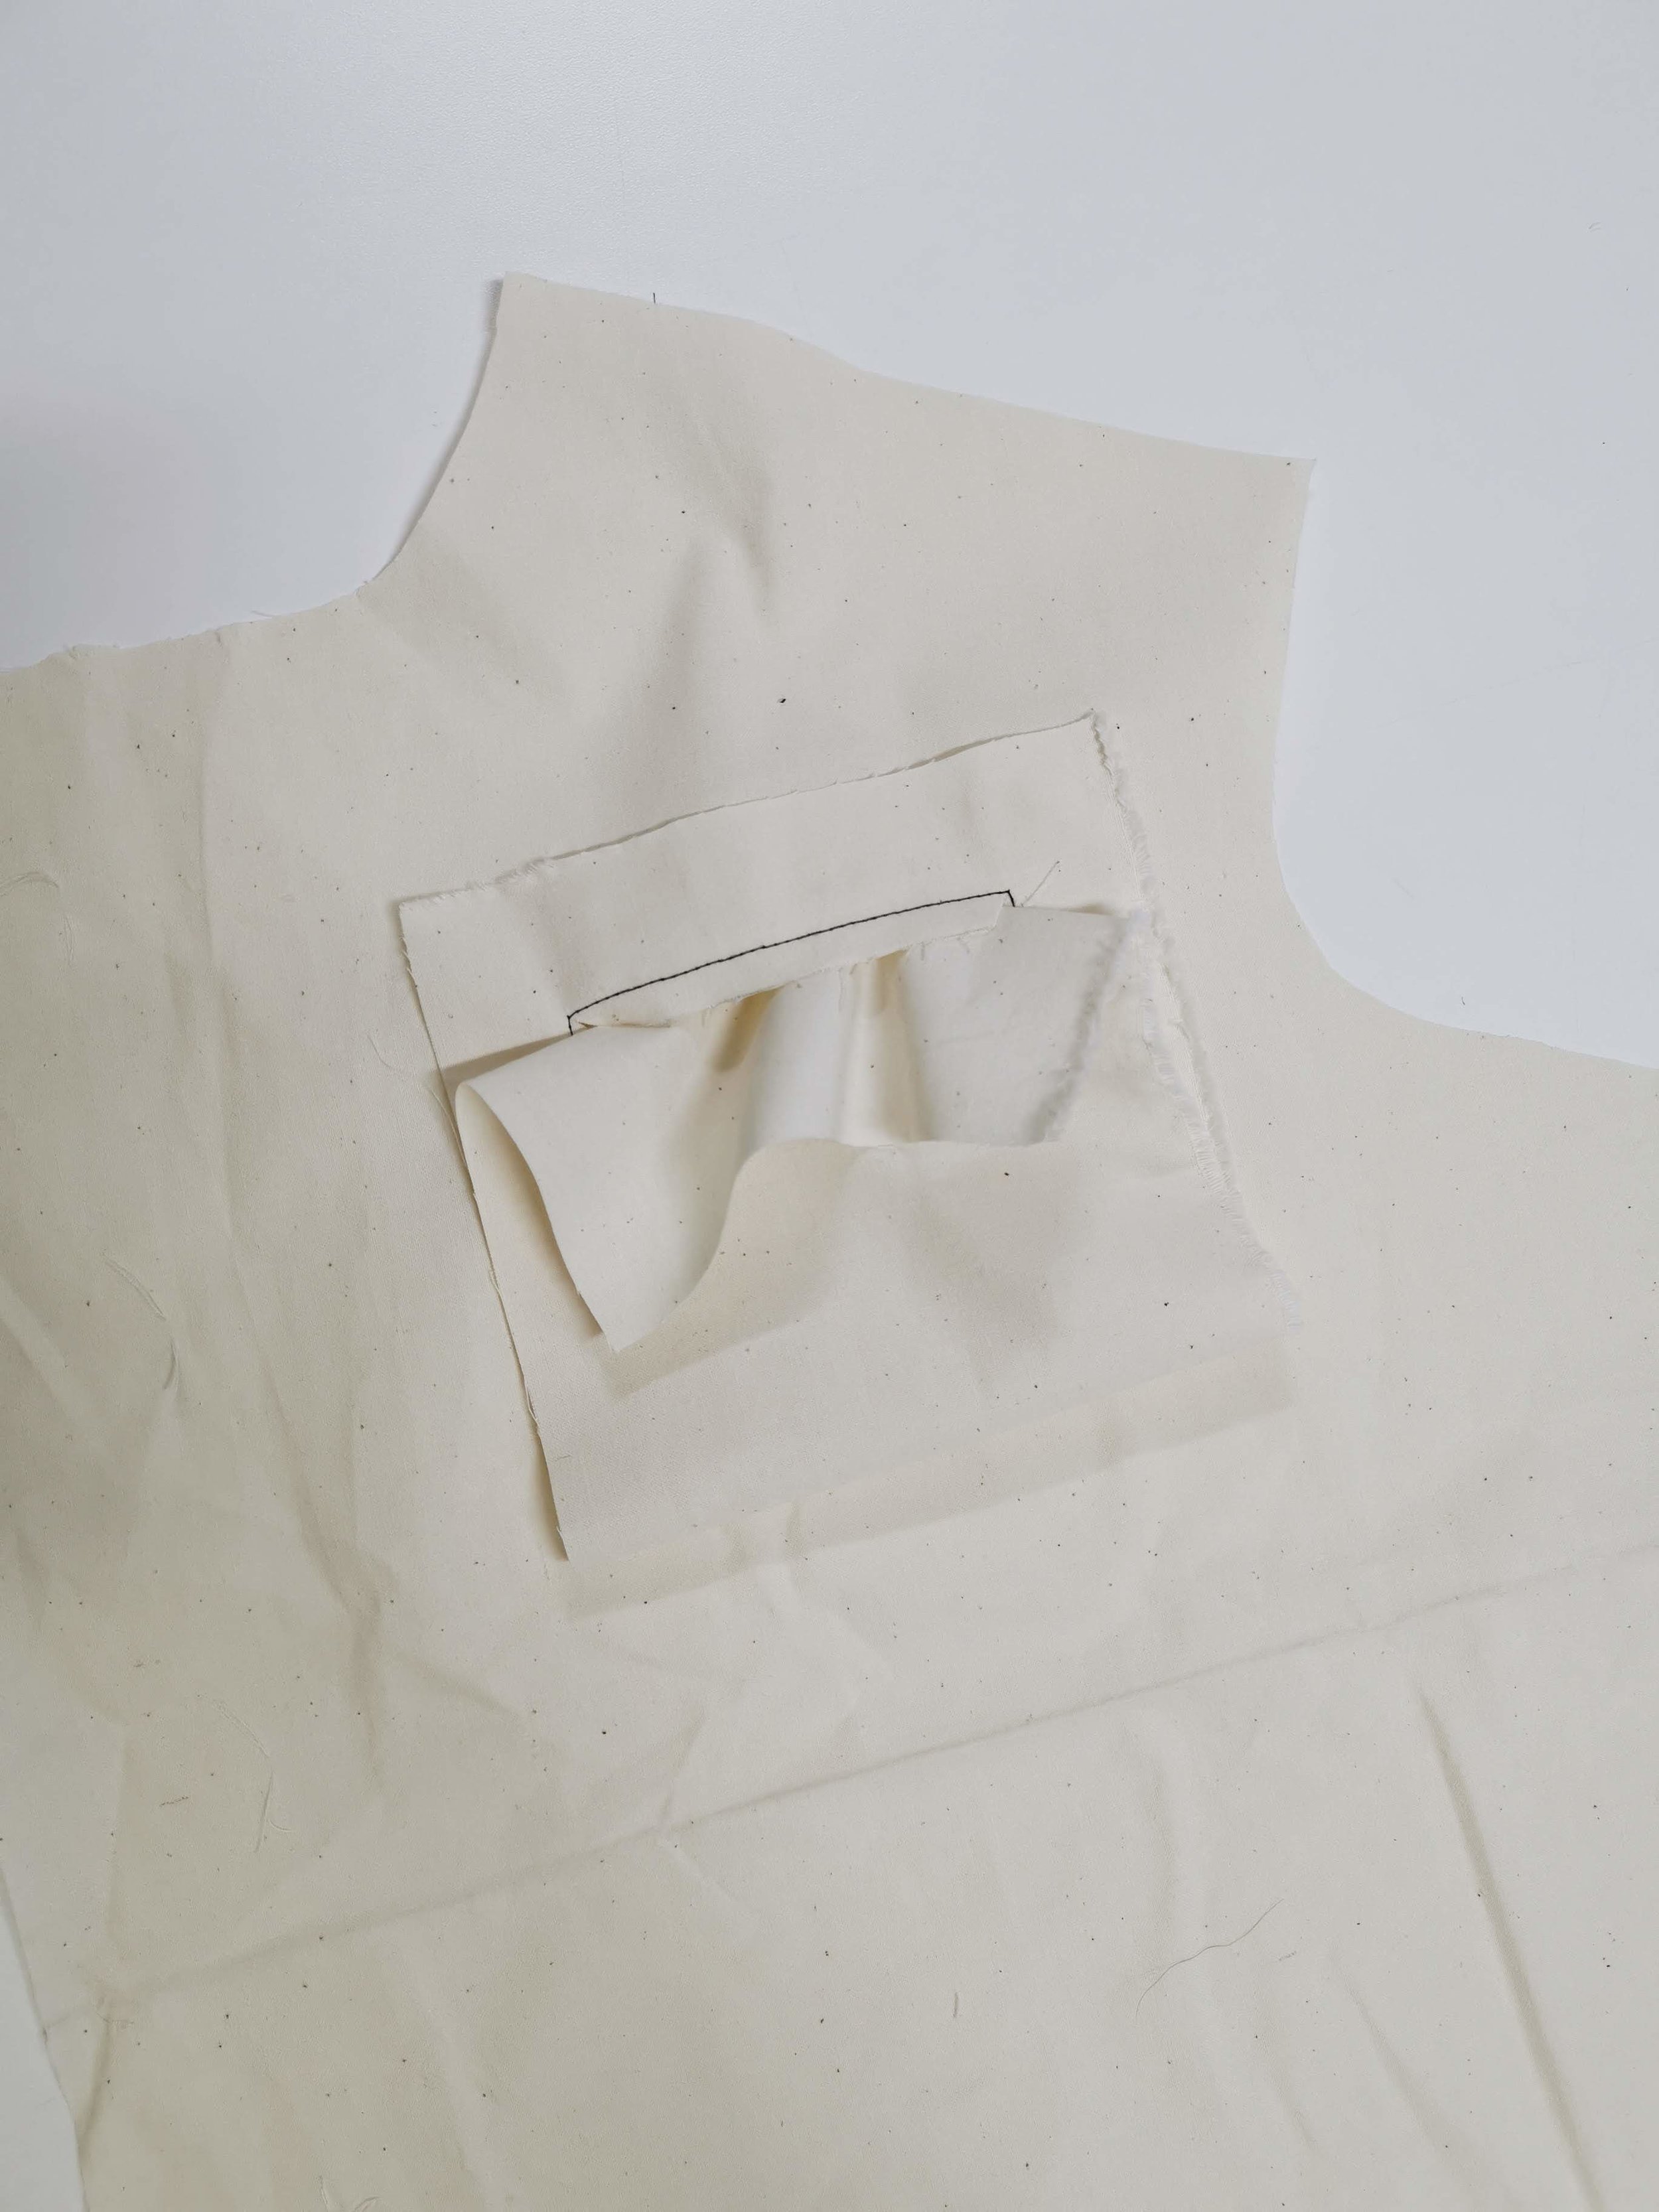
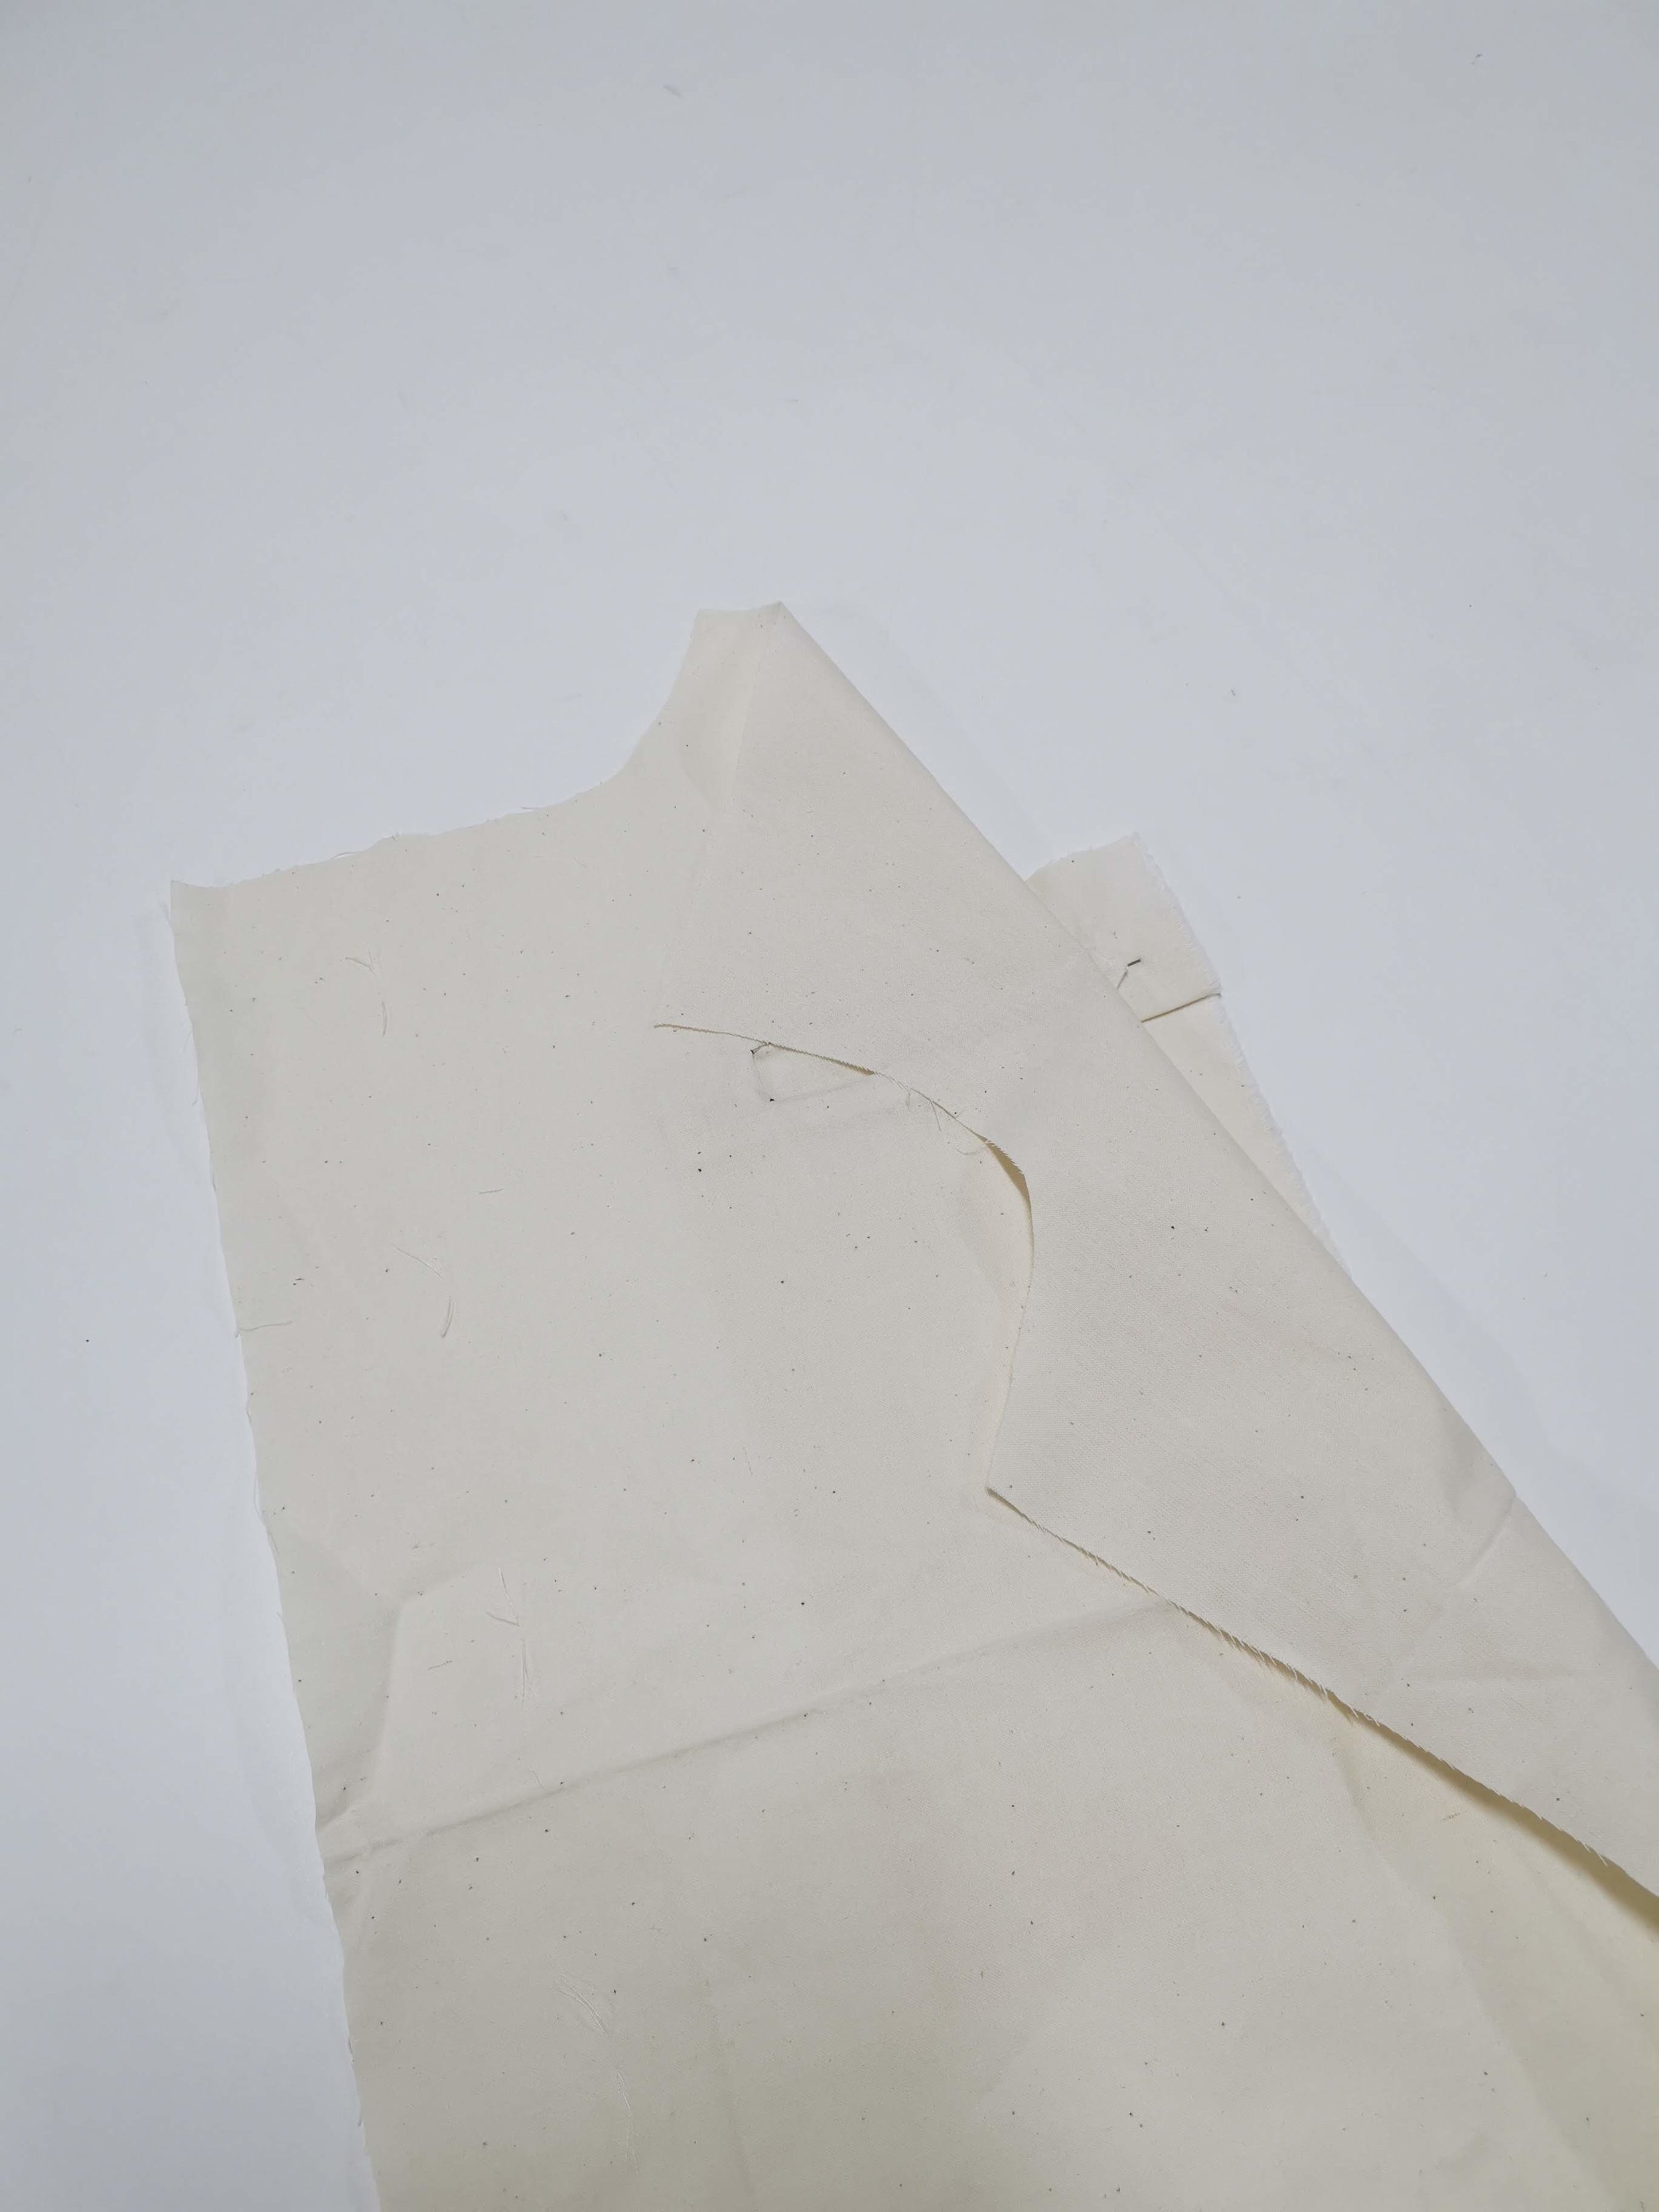
Step Four
Pull your pocket through and press. Turning your work to the wrong side.
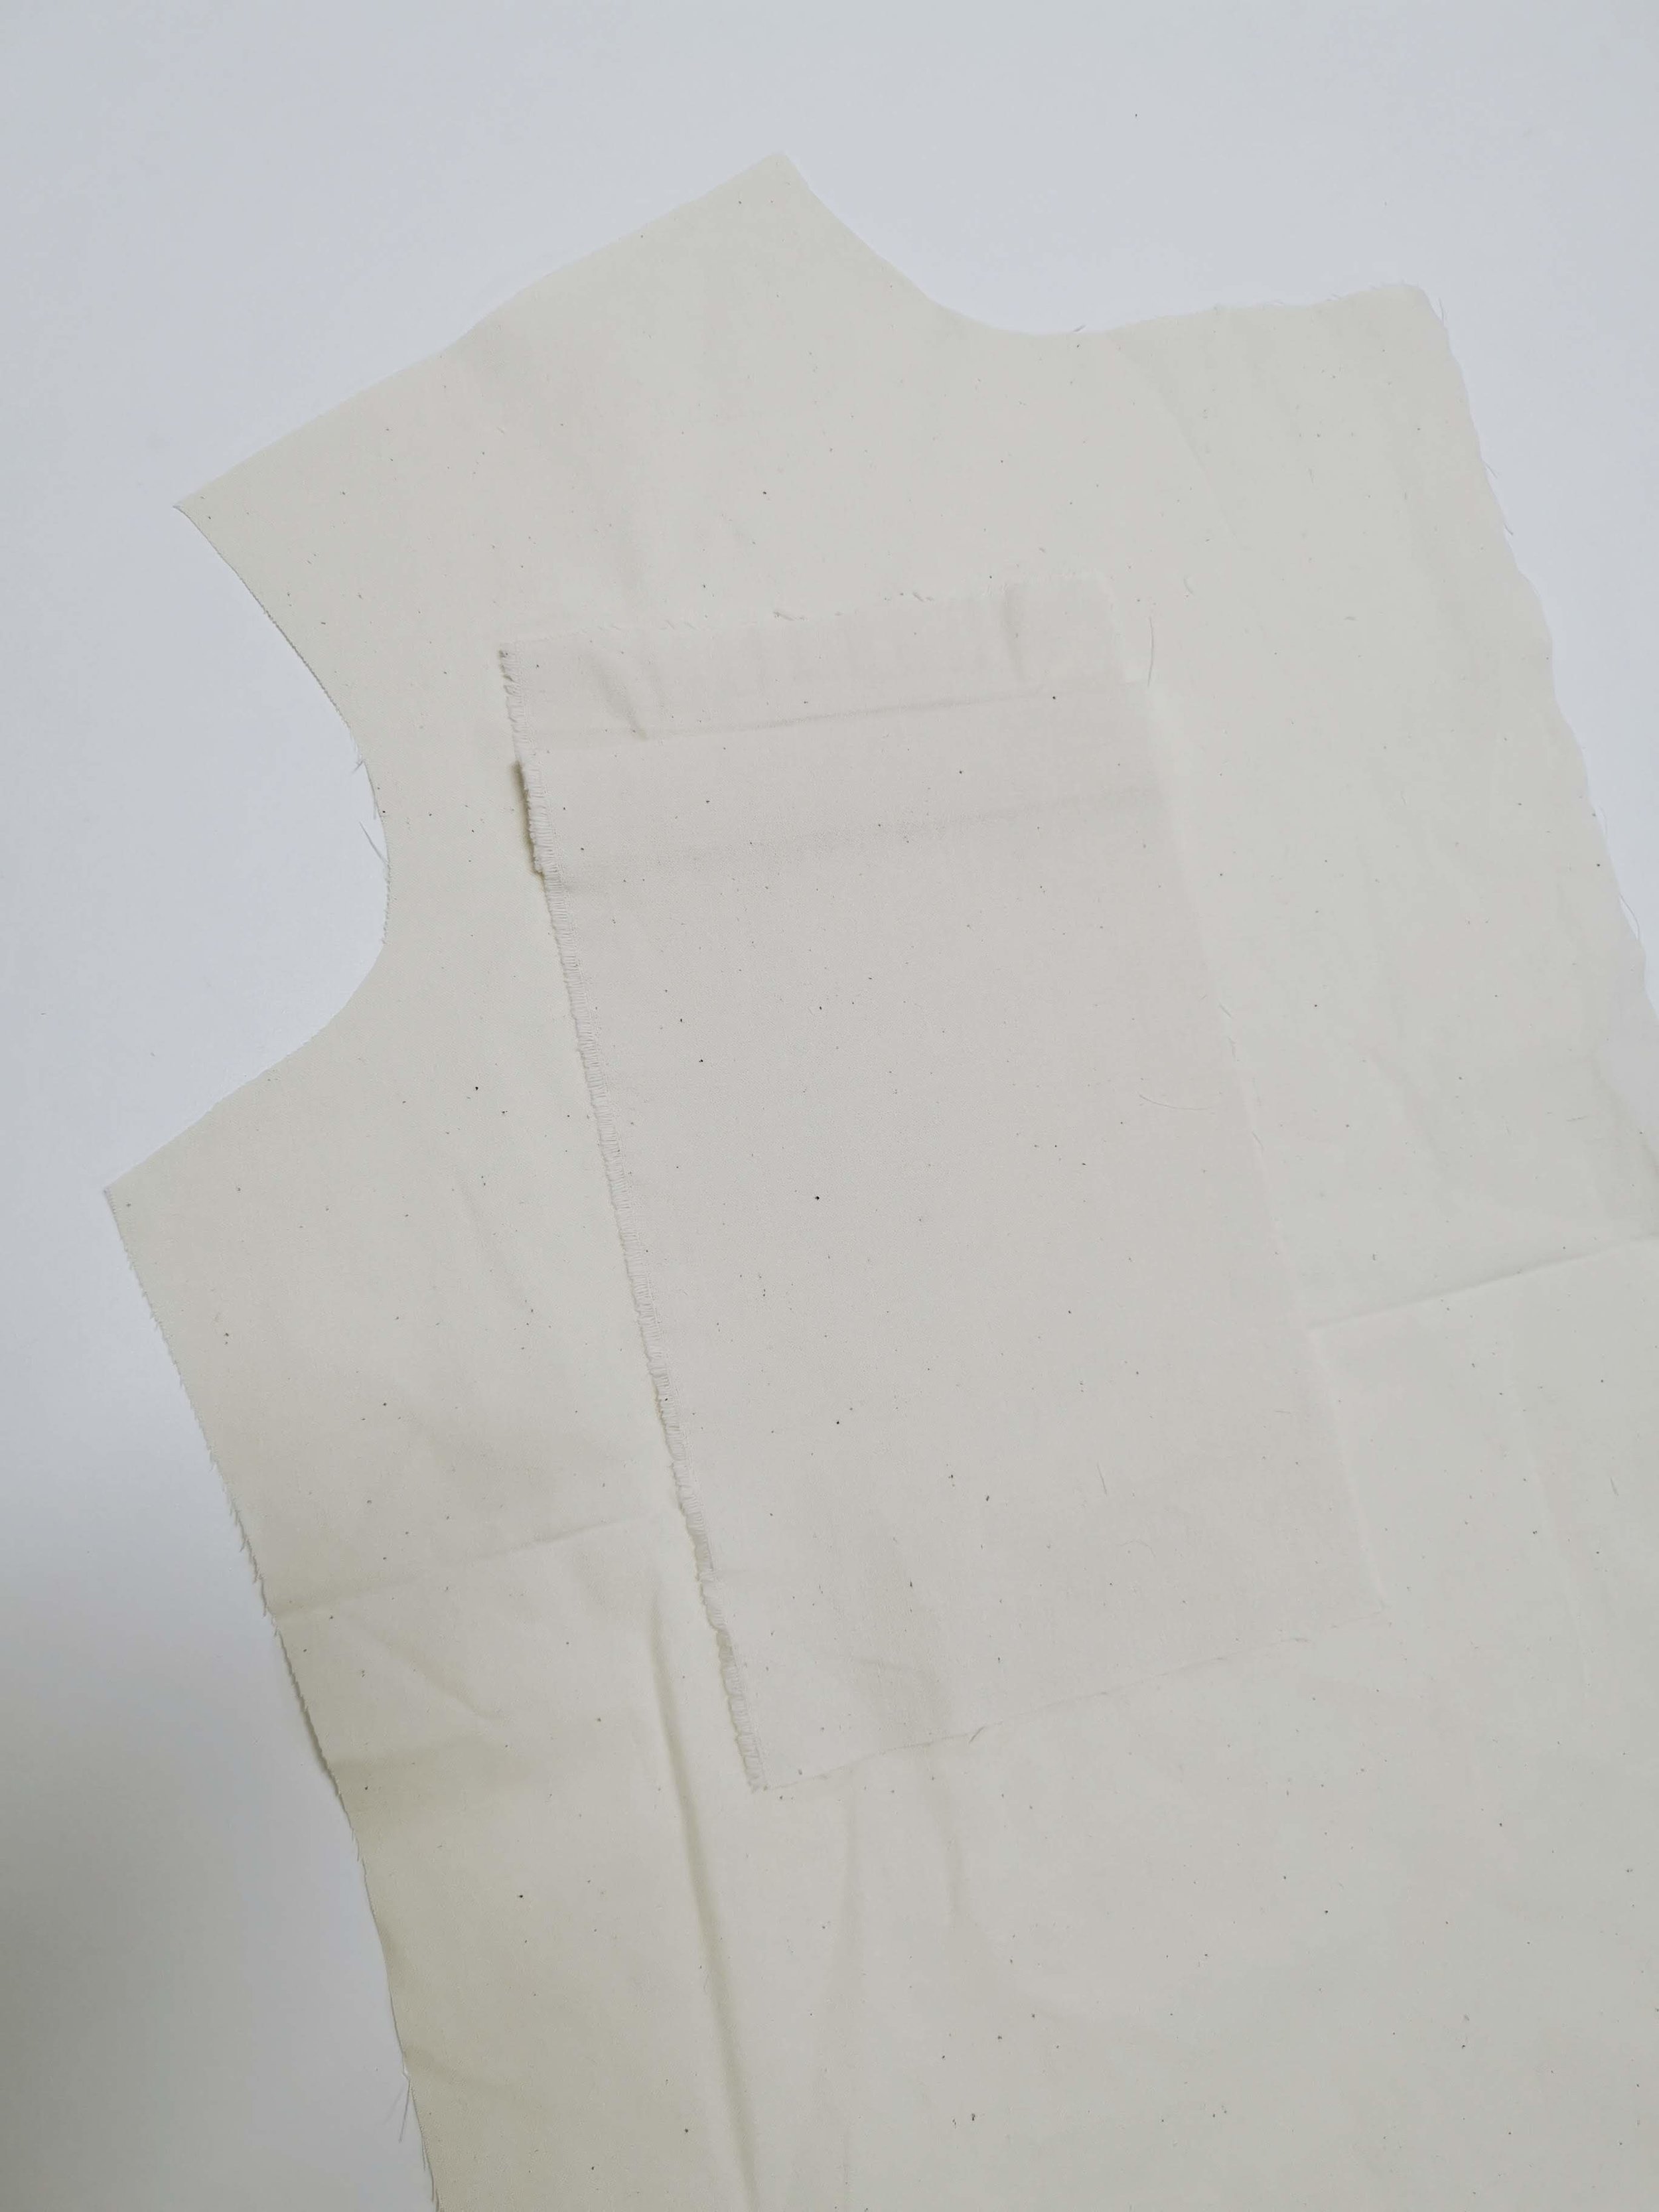
Step Five
Fold a section of your pocketing up and align with the top edge of your pocket opening. Press to cover the opening and create the visible welt you will see from the right side of the garment. (Flip over your work to check!) Take care not to fold it too high as this will restrict the wearer’s access to the pocket bag. Pin in place.
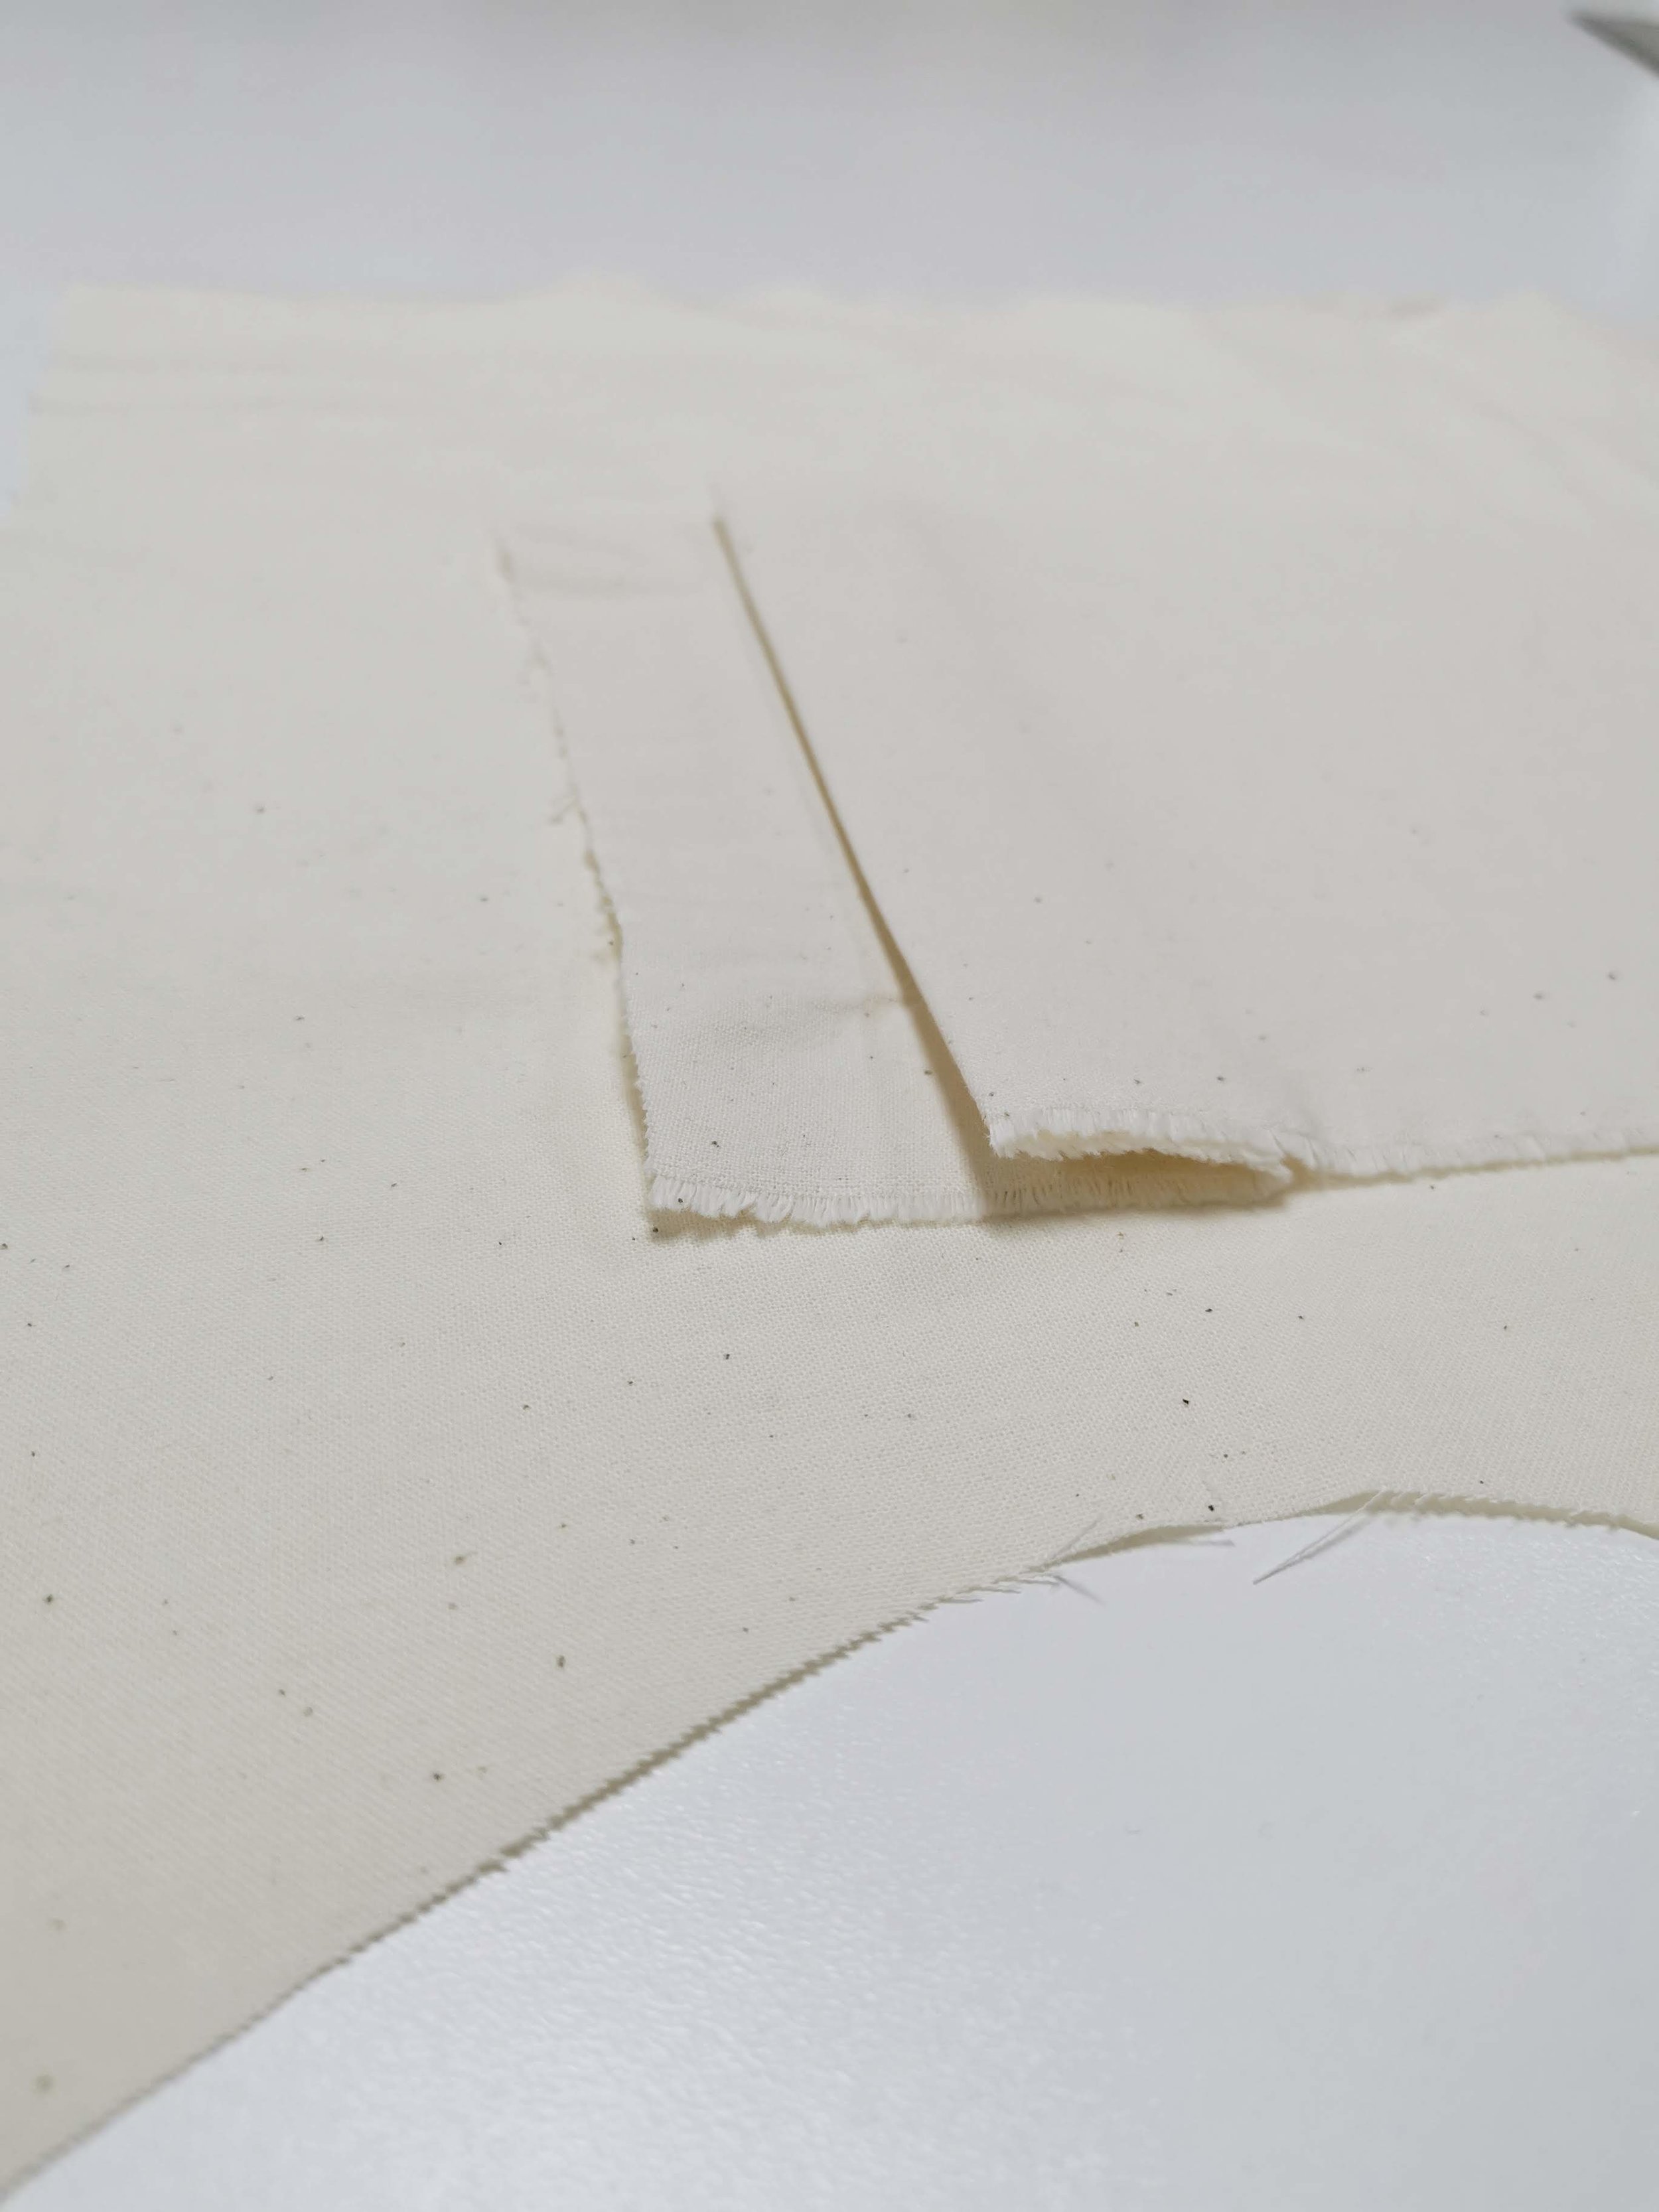
Step Six
Secure your pocket shape by folding back your work (right side facing) to reveal the triangular tabs you snipped earlier. Stitch along your previous line of stitches to secure.

Step Seven
Repeat the previous technique across both long edges of your pocket opening. When you look at your work from the right side you shouldn’t be able to see any stitches and your pocket shape should feel secure. Press thoroughly to achieve a crisp shape.
Step Eight
Fold your pocket back up and pin in place. Sew around the three open edges and finish whichever way you please! Voila!

Practice this technique on scraps of fabric and add them to your fashion file.