Quick and Easy Croquis Class
If you fancy improving your fashion illustration this is the blog post for you!
So what is a fashion croquis?
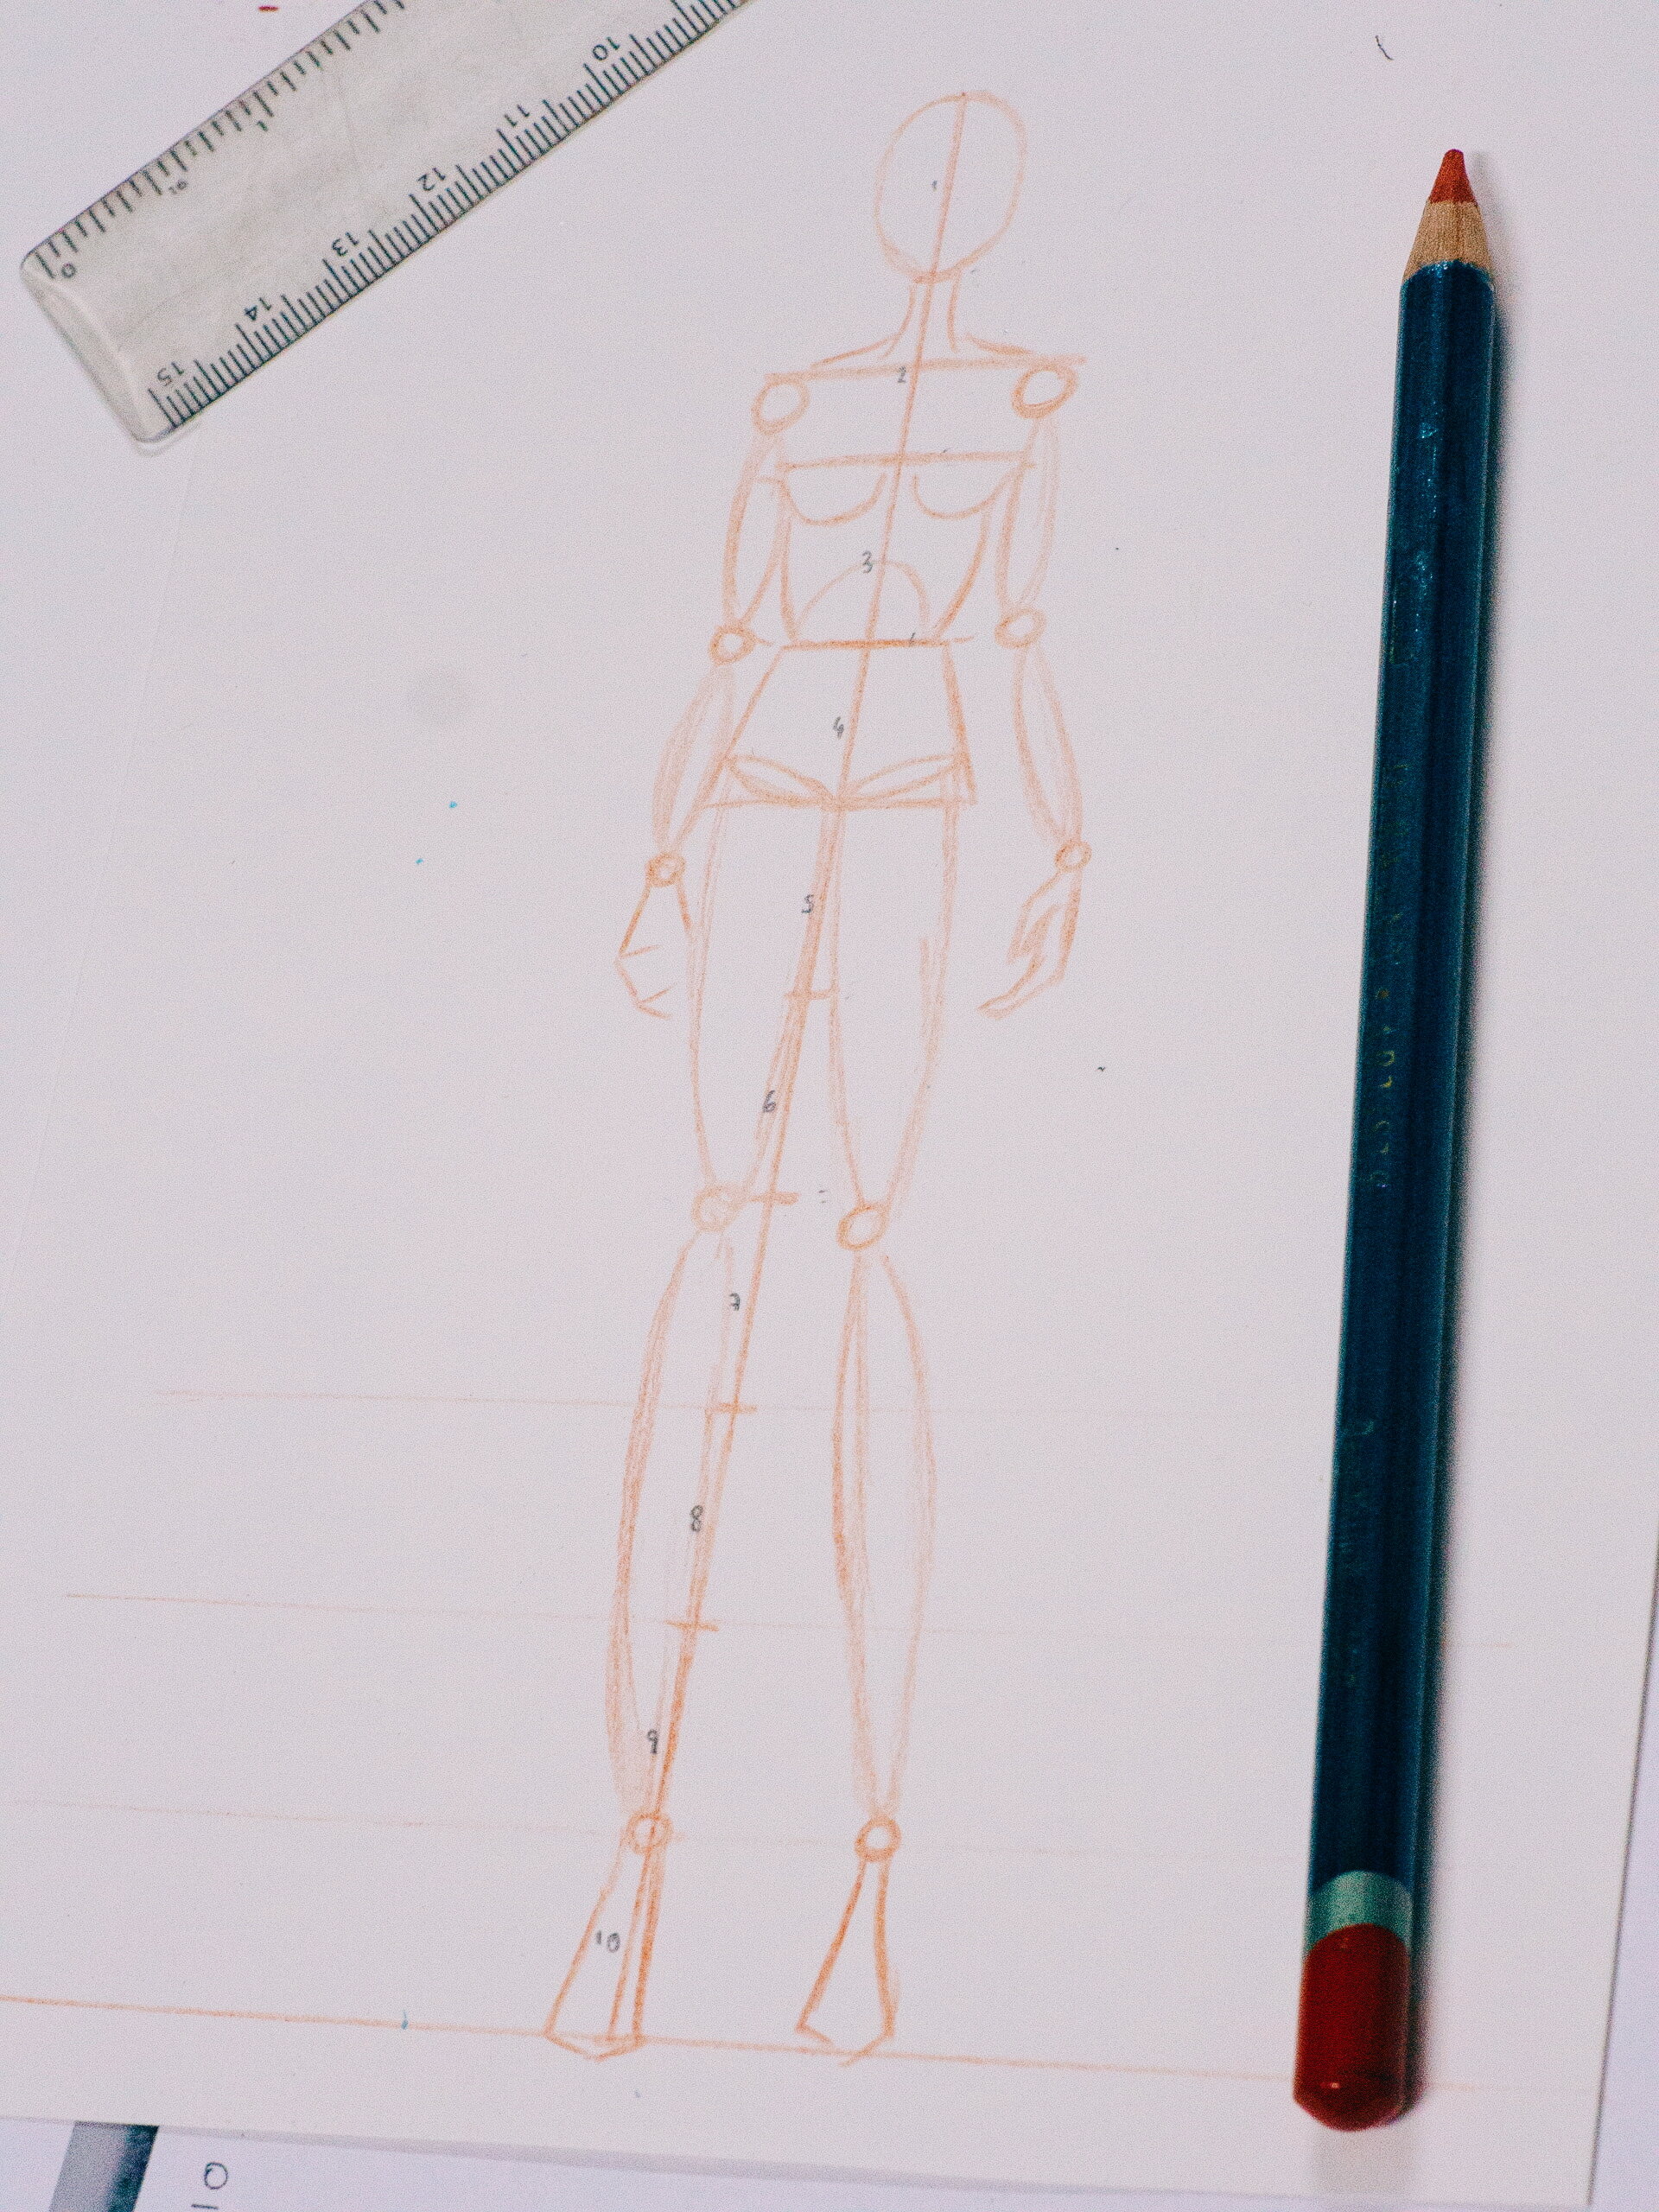
Not to be confused with a fashion illustration, croquis’ are quick sketches of a figure intended to speed up the design process. Classically their proportions stand at 9 heads high or more, in the following example the figure template will be rendered as 10. Once you have your proportions in order, you can then start to experiment with poses to enhance your garment designs. So, let’s begin…
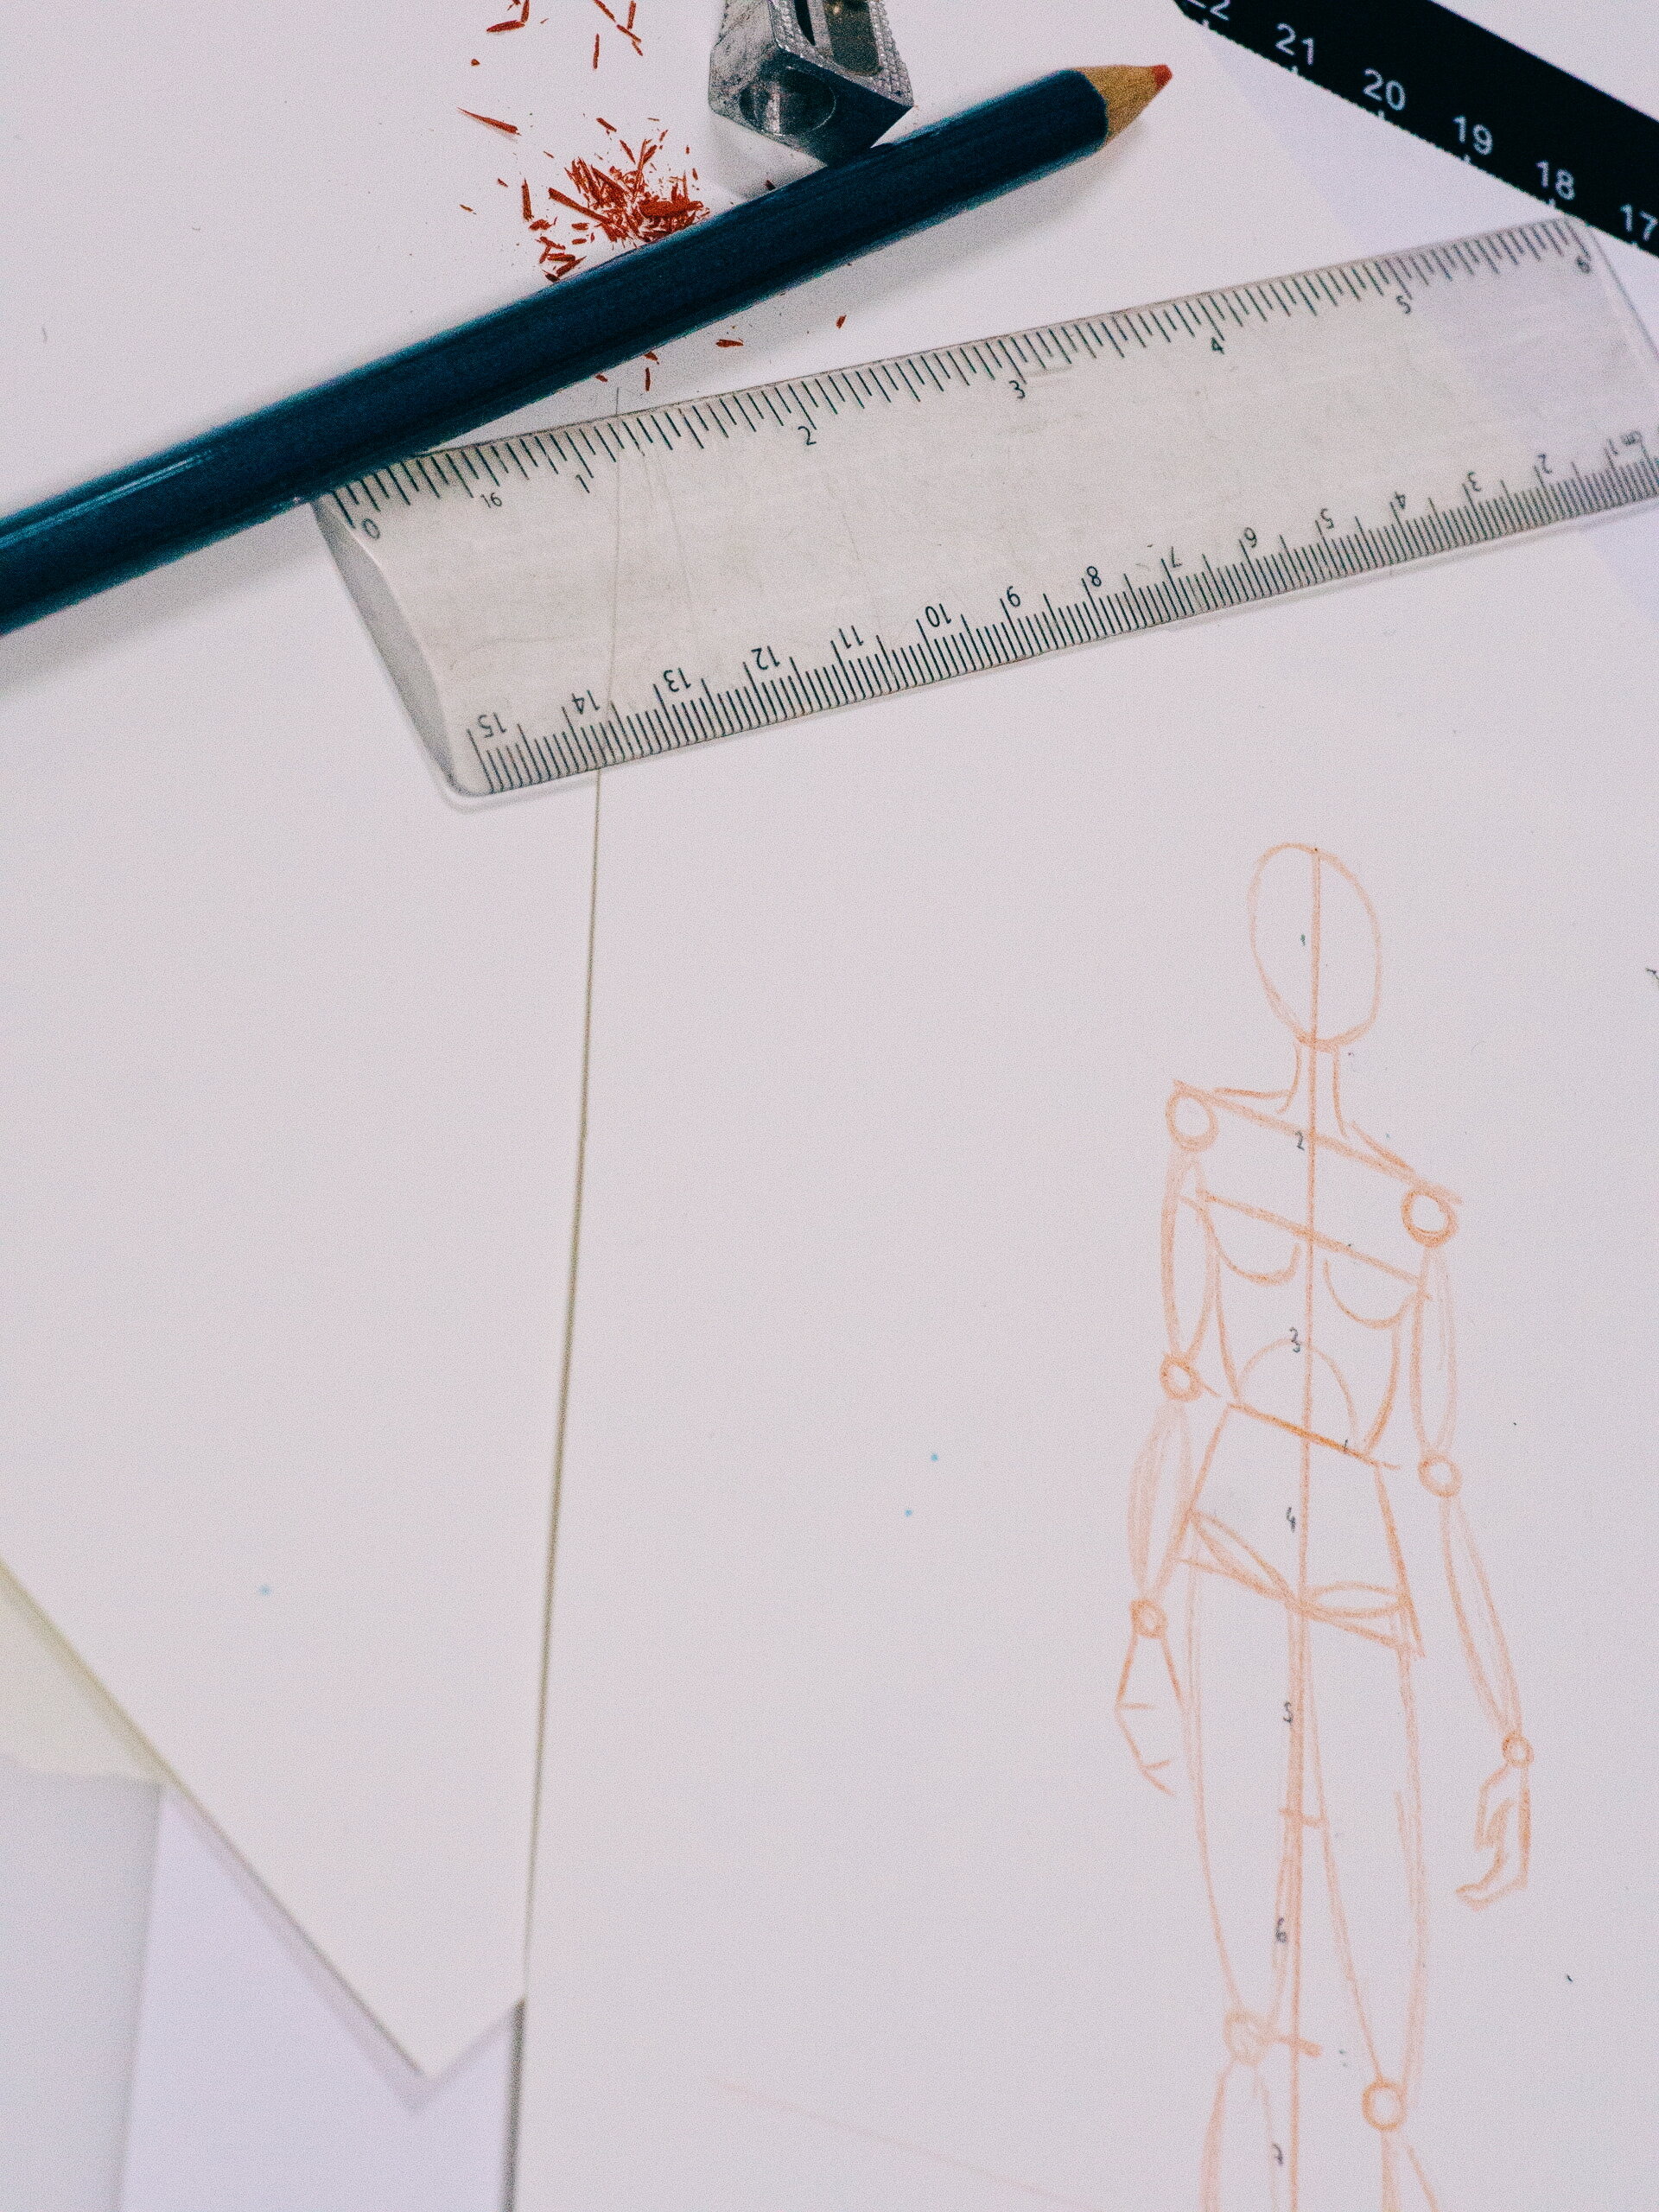
You will benefit from a sharpener, ruler, two pencils (one light or coloured and the other a standard HB or mechanical pencil for accuracy), a piece of paper and an eraser.

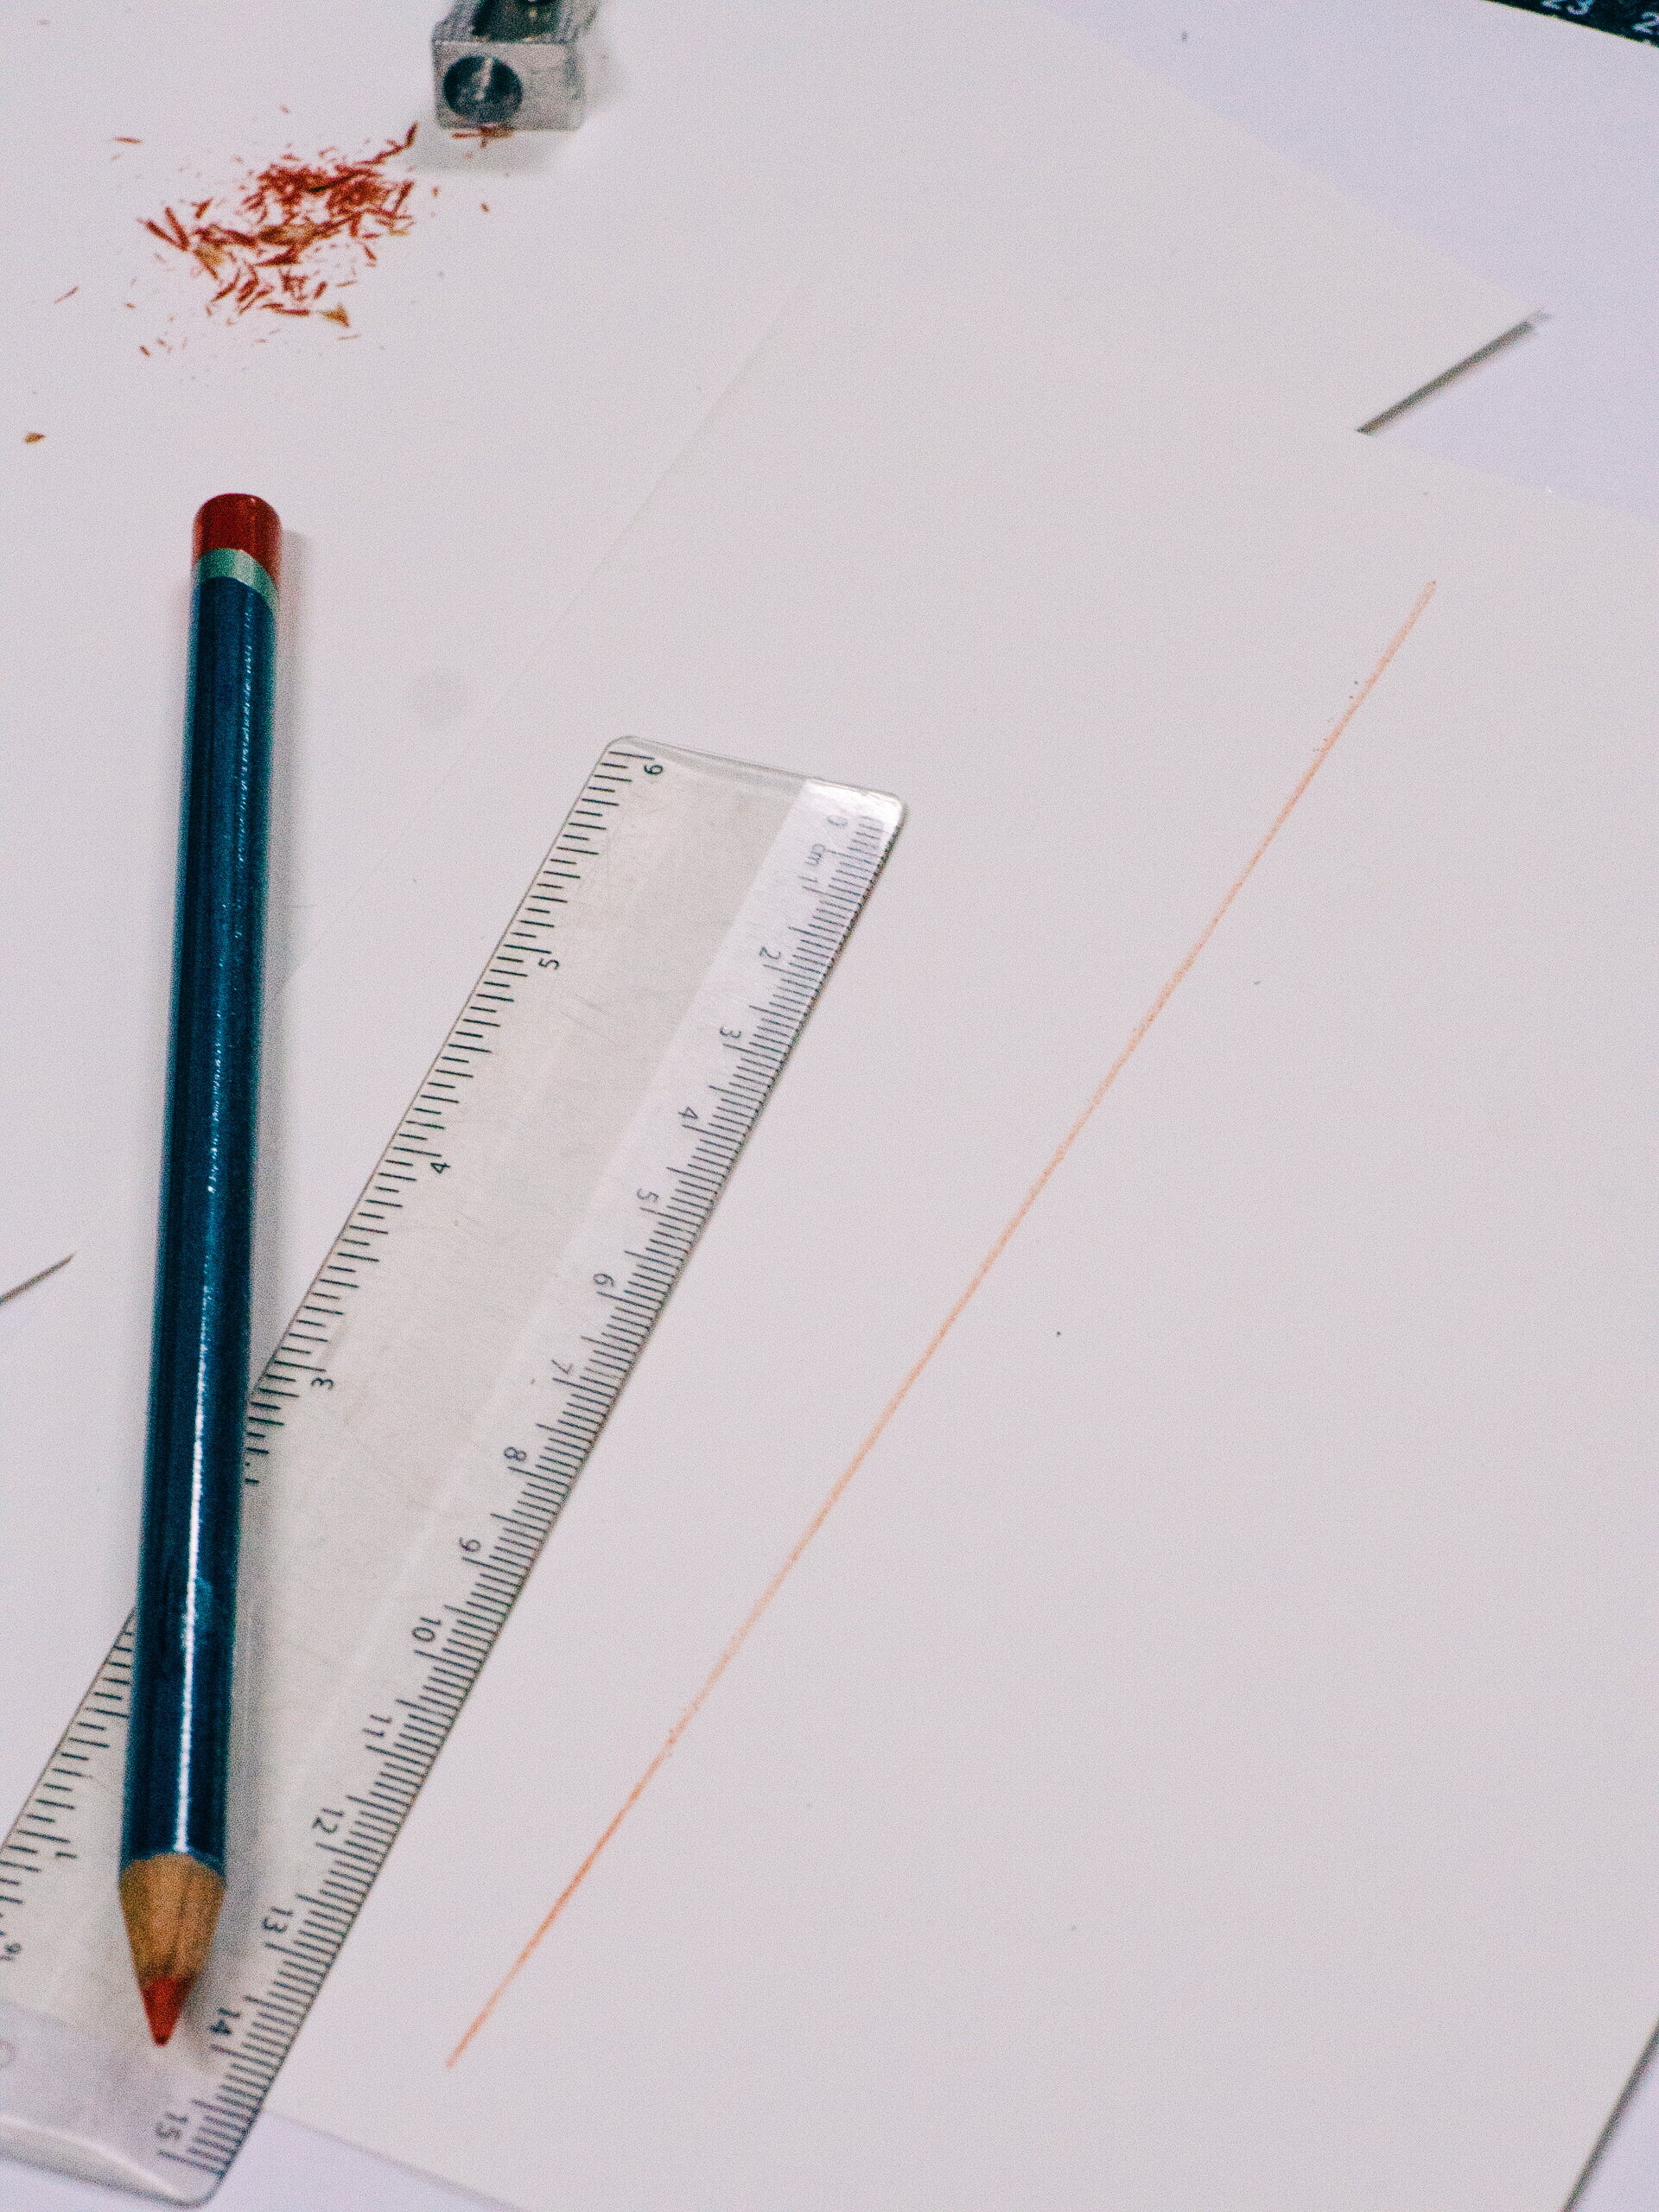
Start with a sharp pencil, in this example I have used a lighter, coloured pencil to map out my base. This allows wiggle room for error as you will see me draw over the finished figure in a darker pencil resulting in my final croquis.
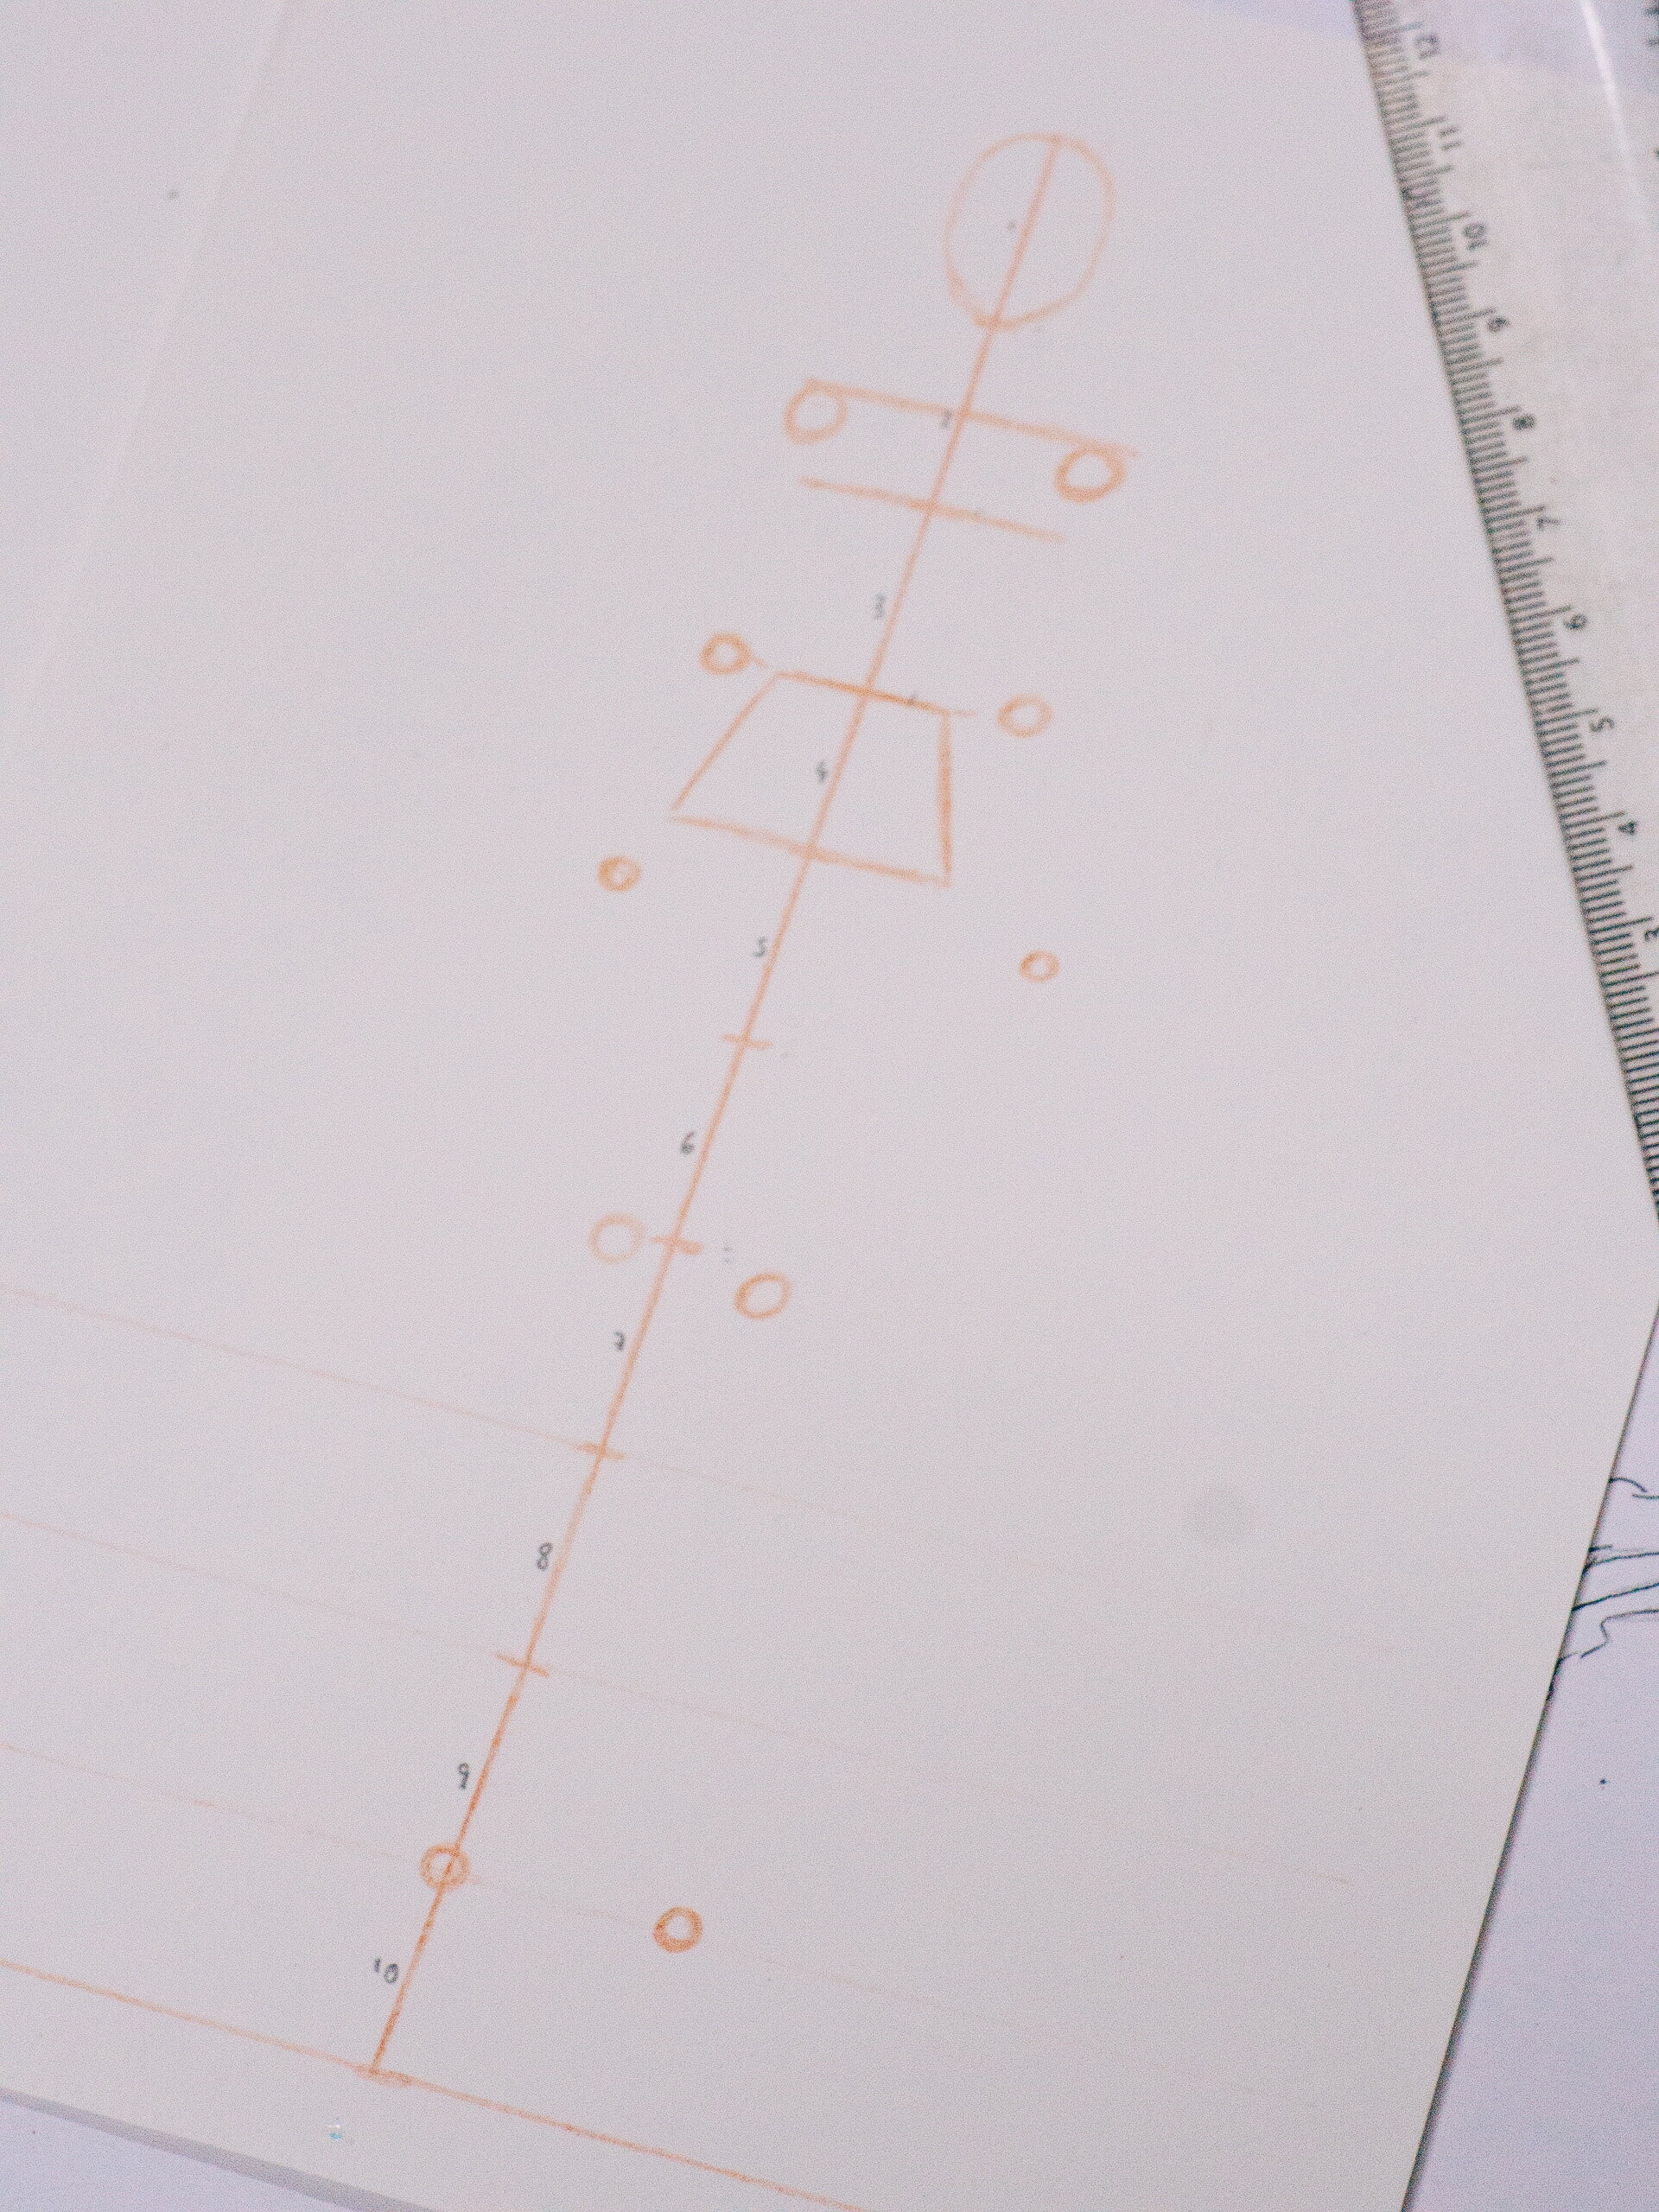
Mark a straight line down your page. Initially this can all be done with a ruler but as you practice croquis’ are pretty simply to draw by eye.
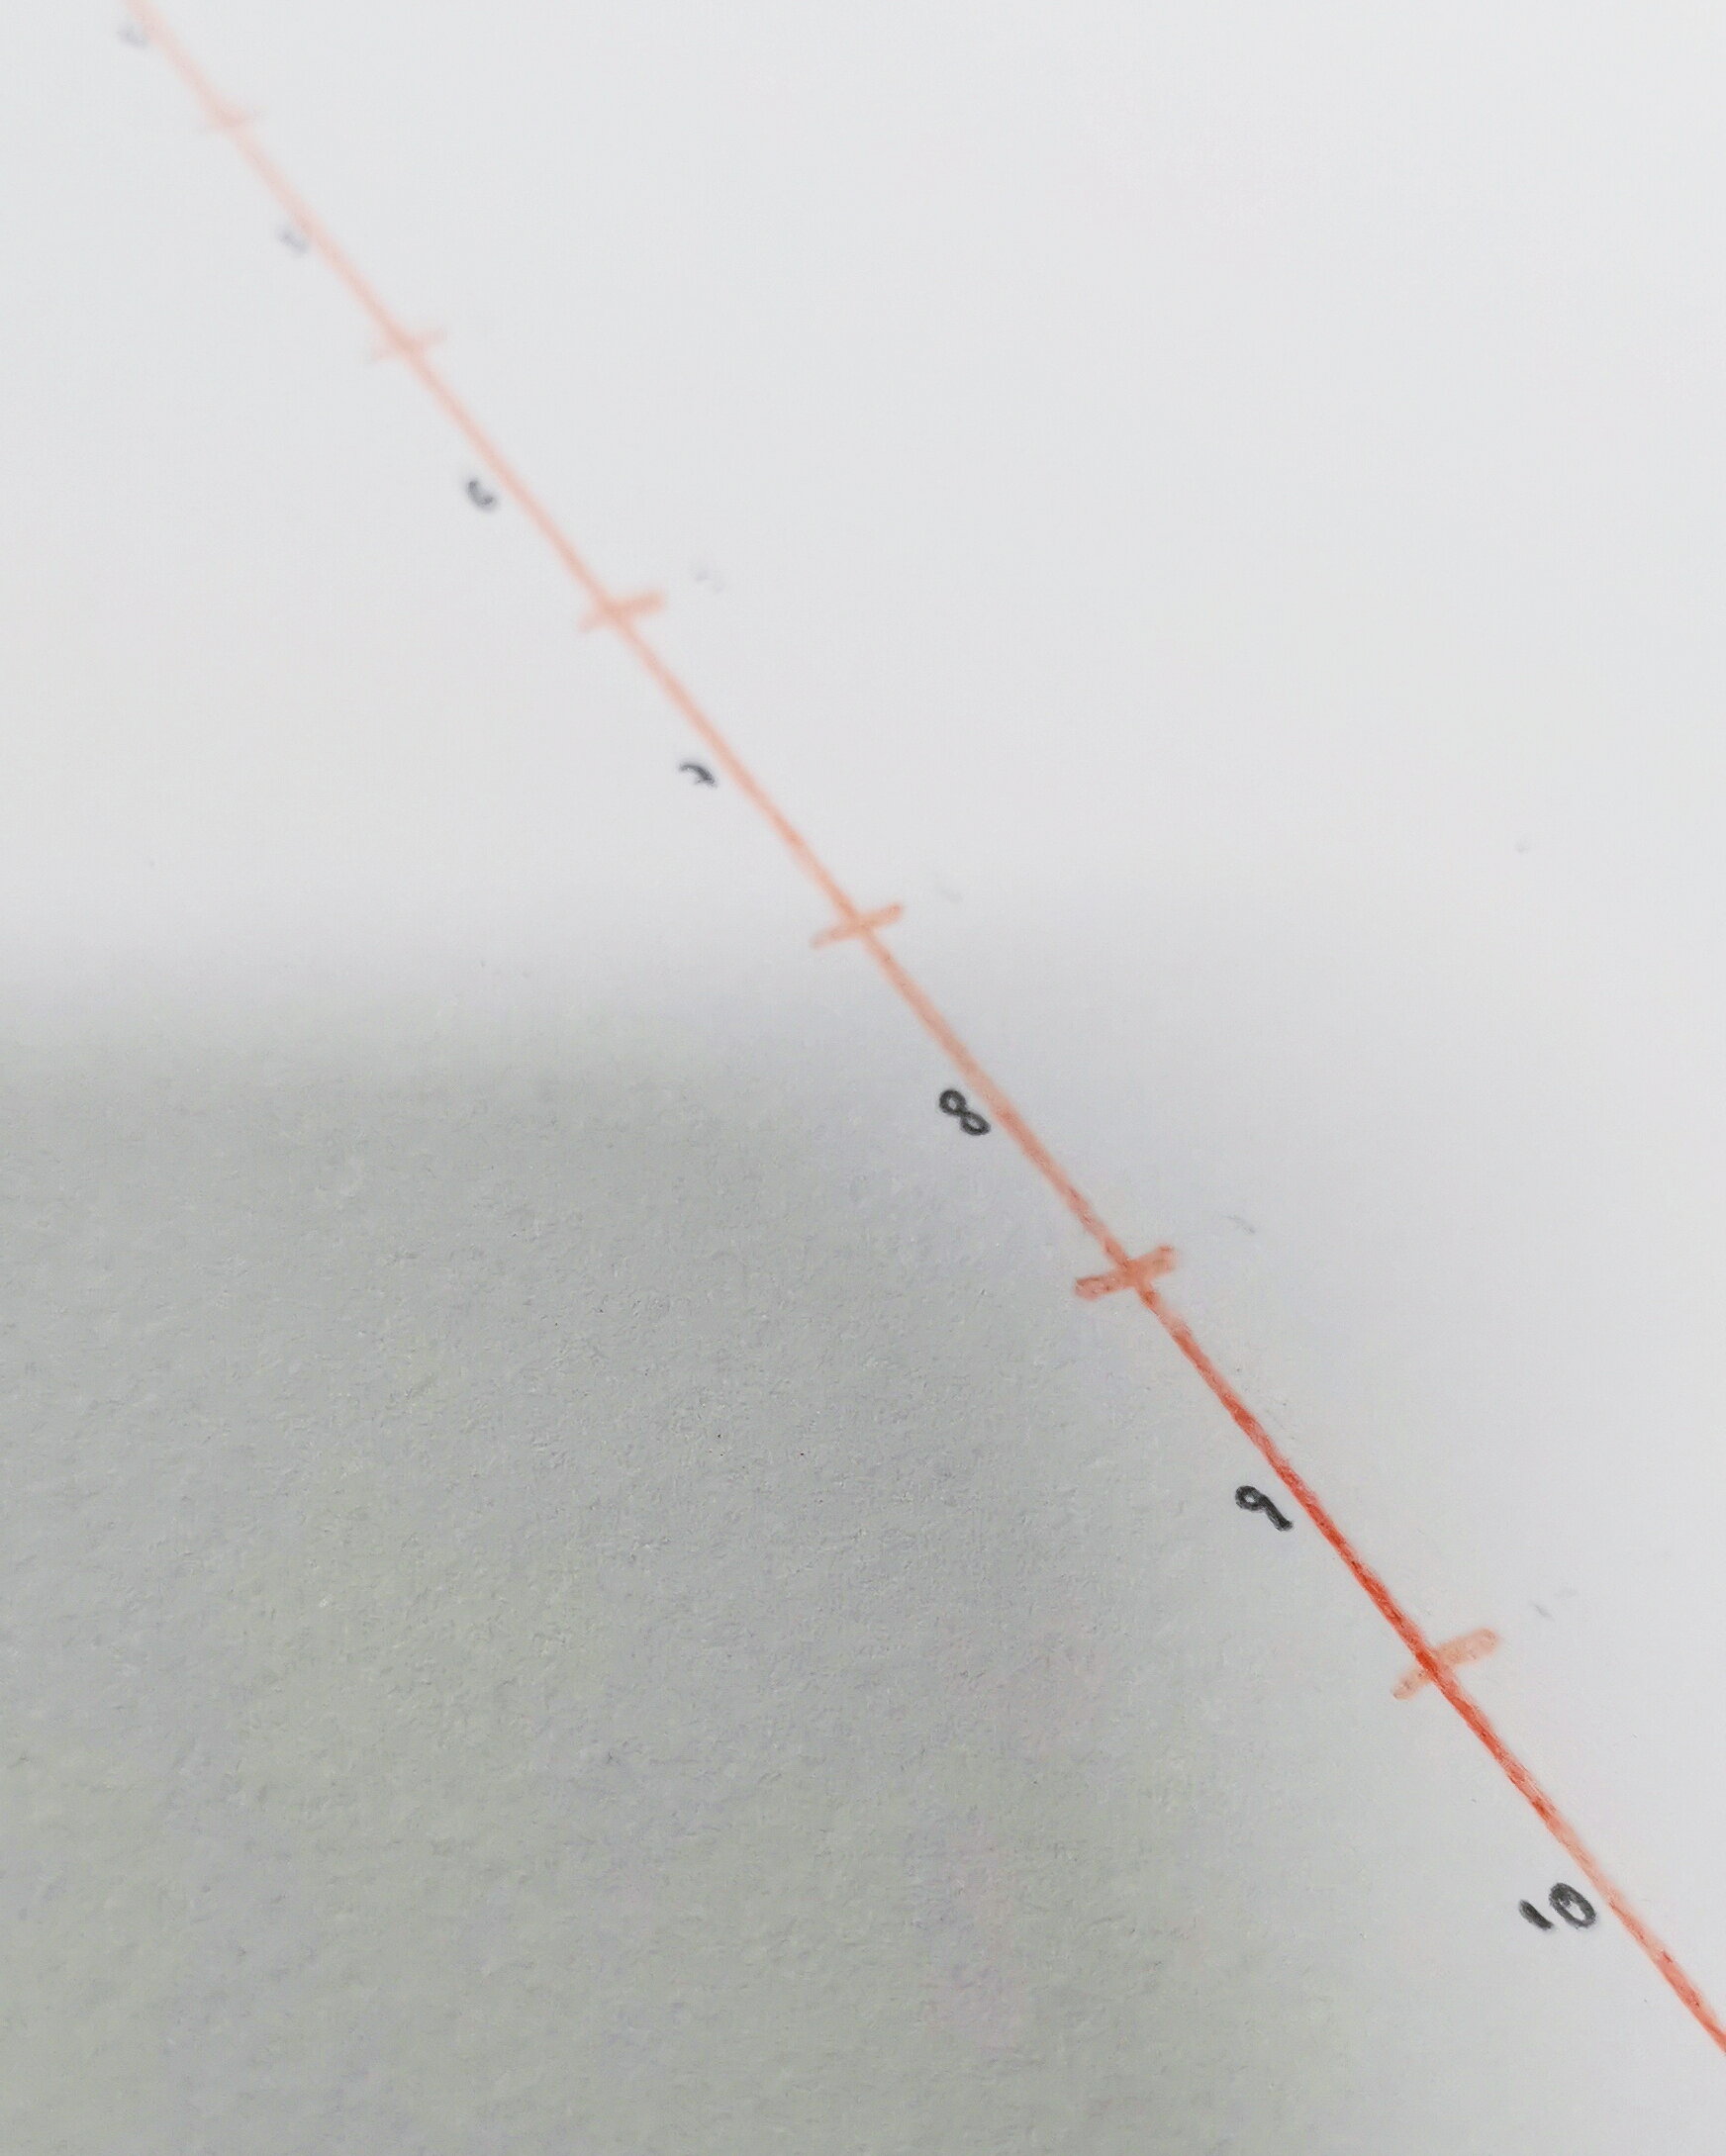
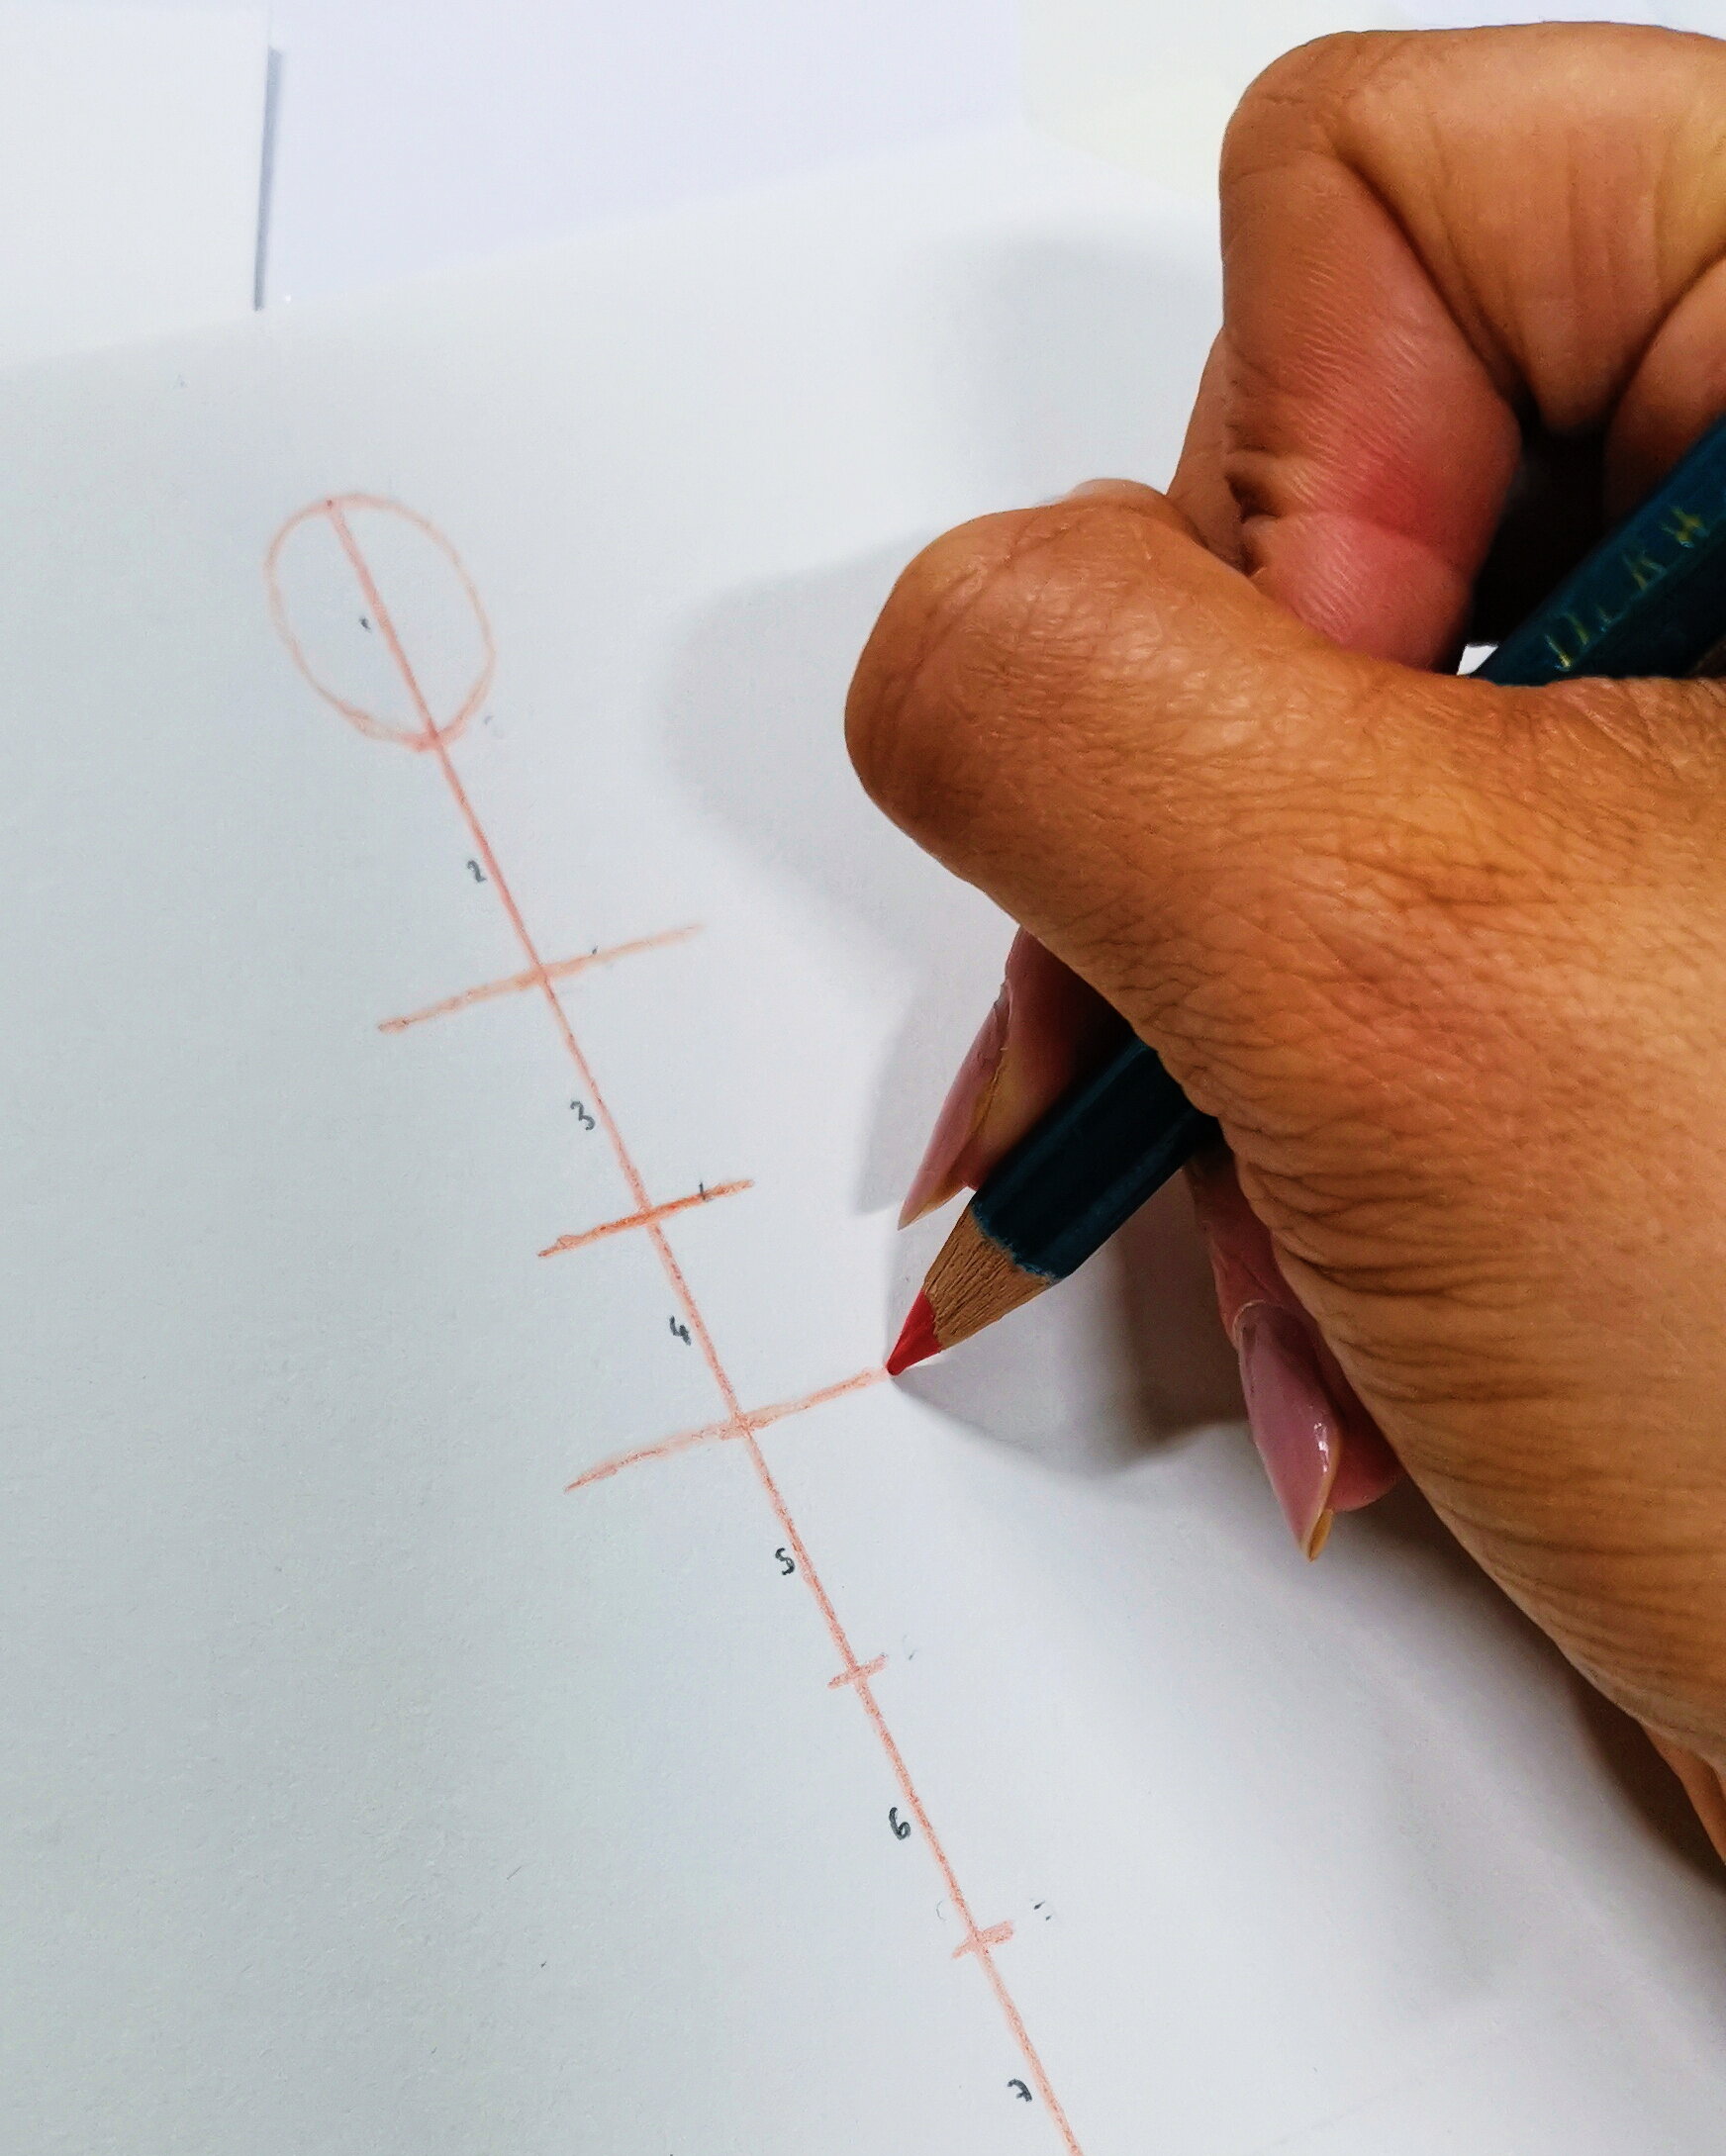
Divide that line into 10 equal sections, in this example my sections were 1.5cm each. Personally, I make small marks down the length of the vertical line however you may find squaring across the page easier to start with assessing your proportion and scale.
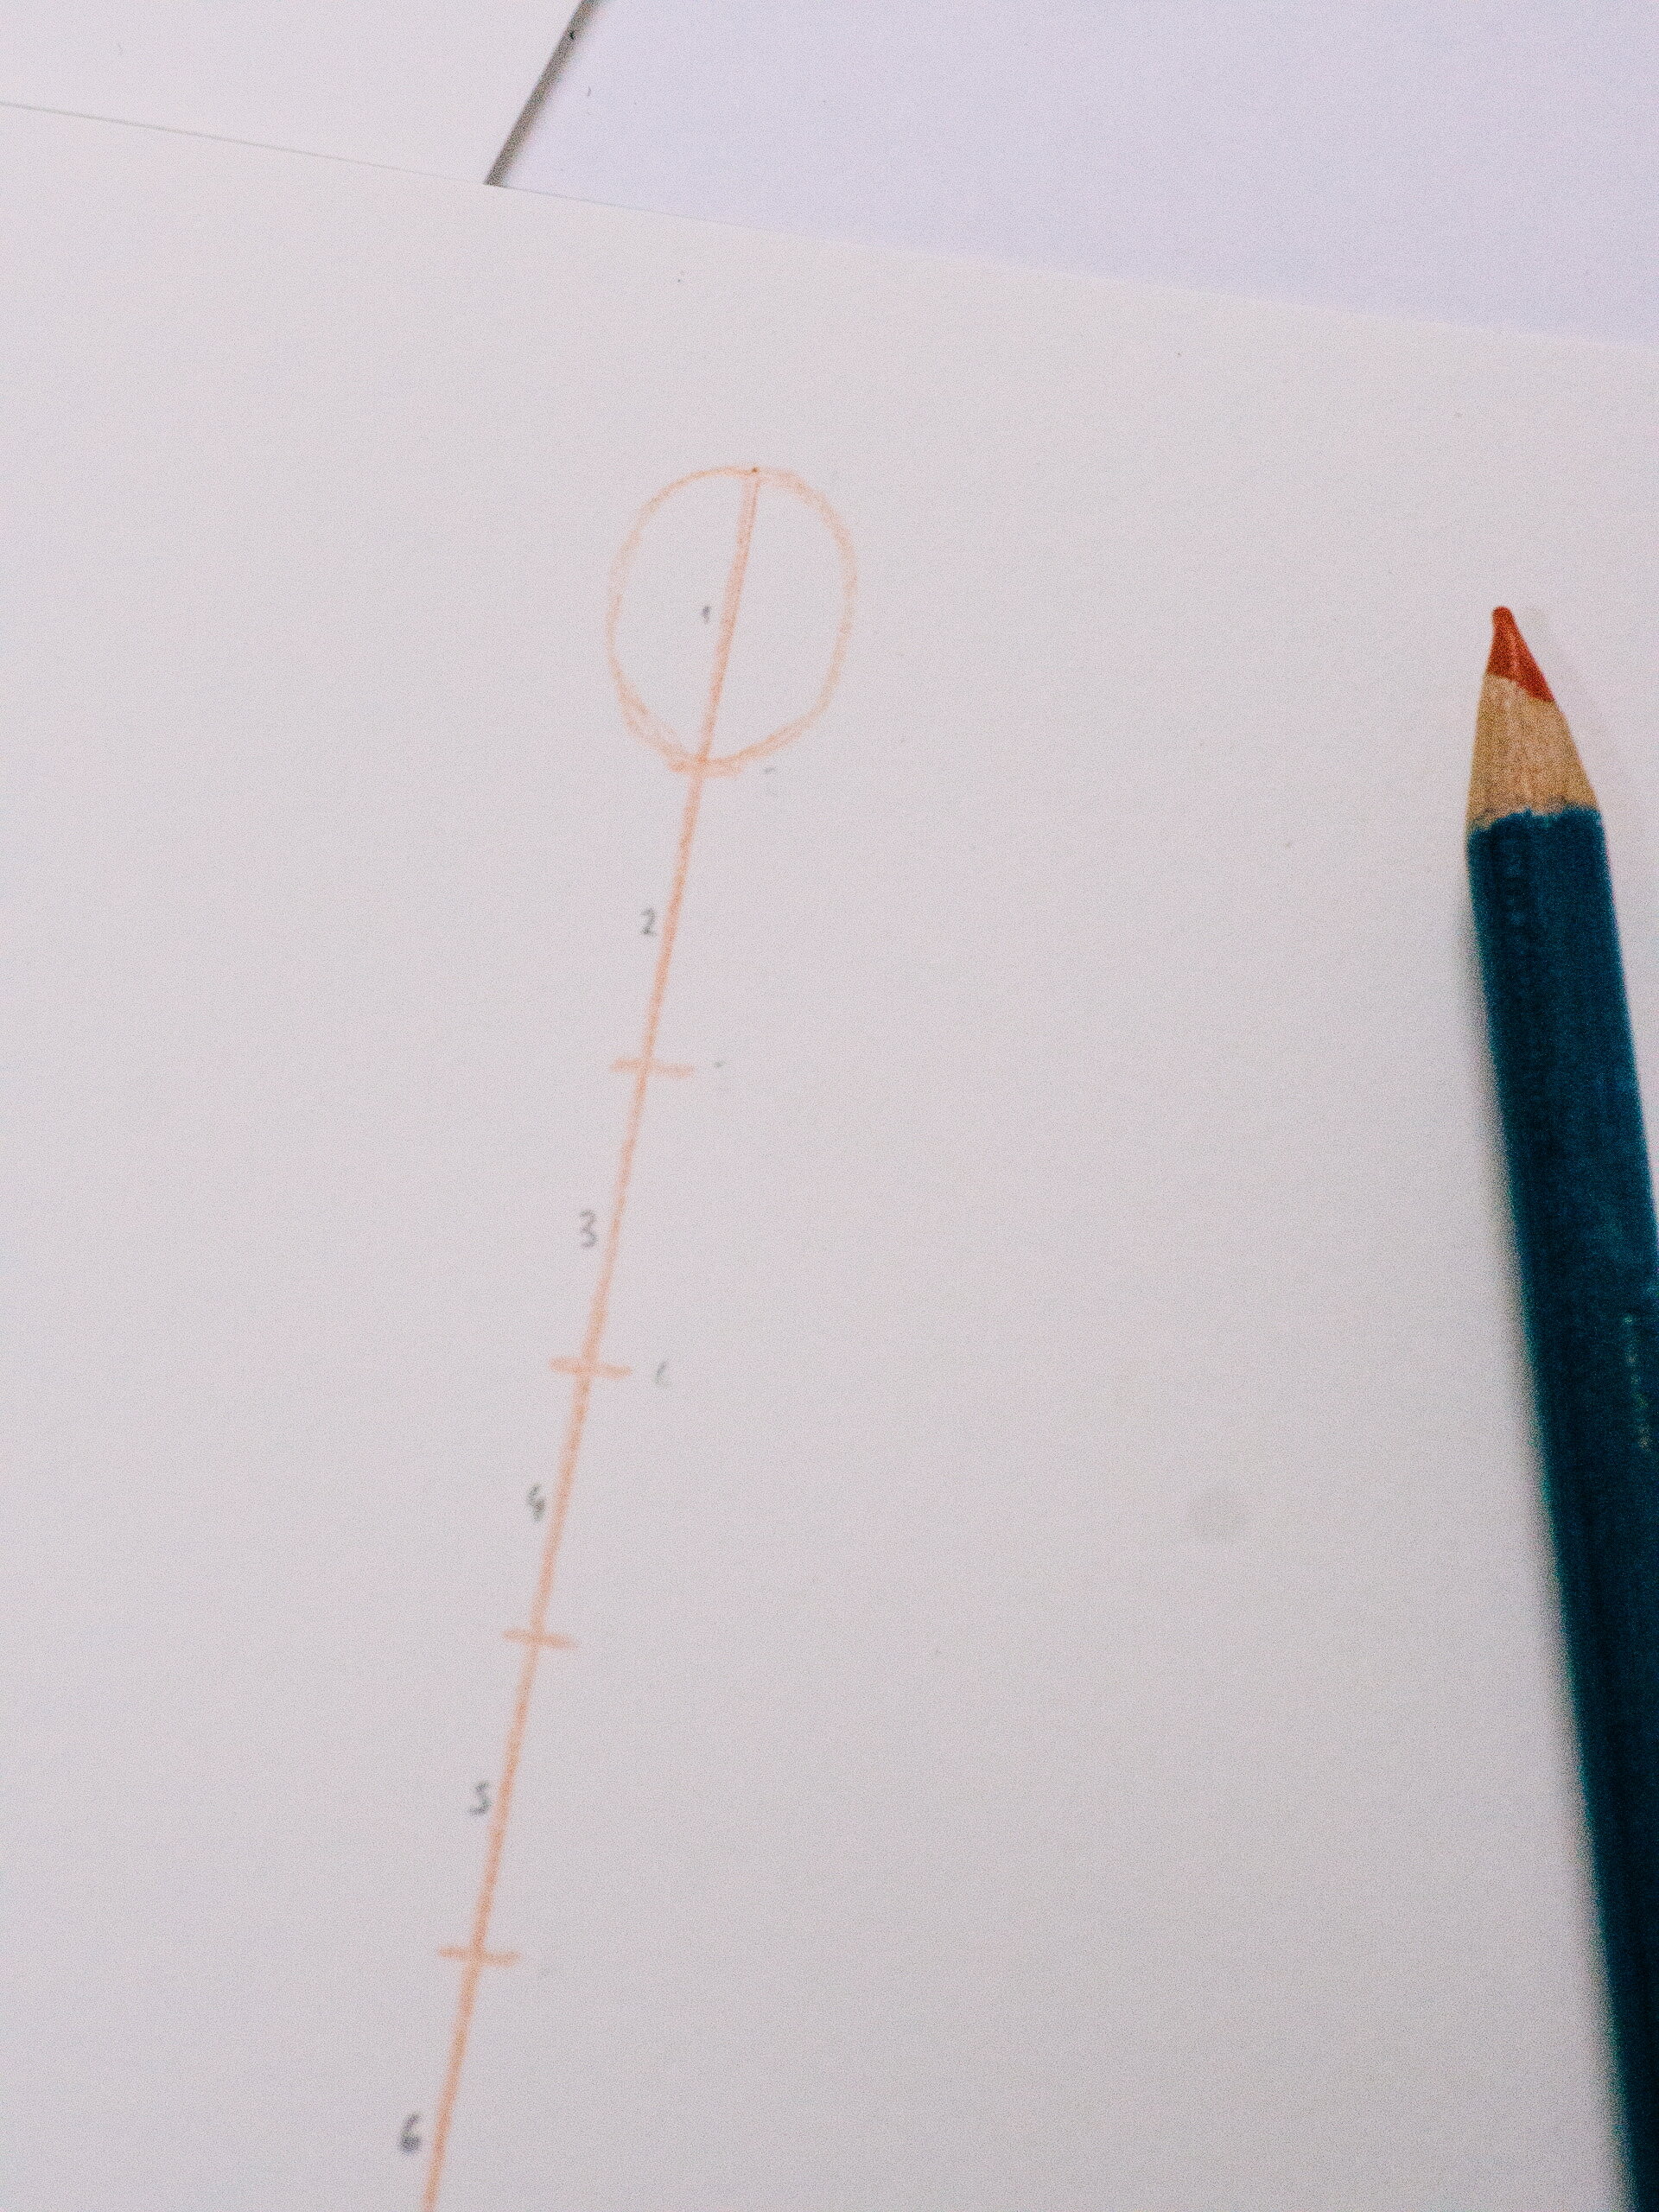
The head of your fashion figure will be sketched in the first section, the shape and size of which shall determine the proportions of the rest of your croquis so it’s important you start here.
TOP TIP: You may find it easier to number your sections as illustrated for clarity throughout this exercise.
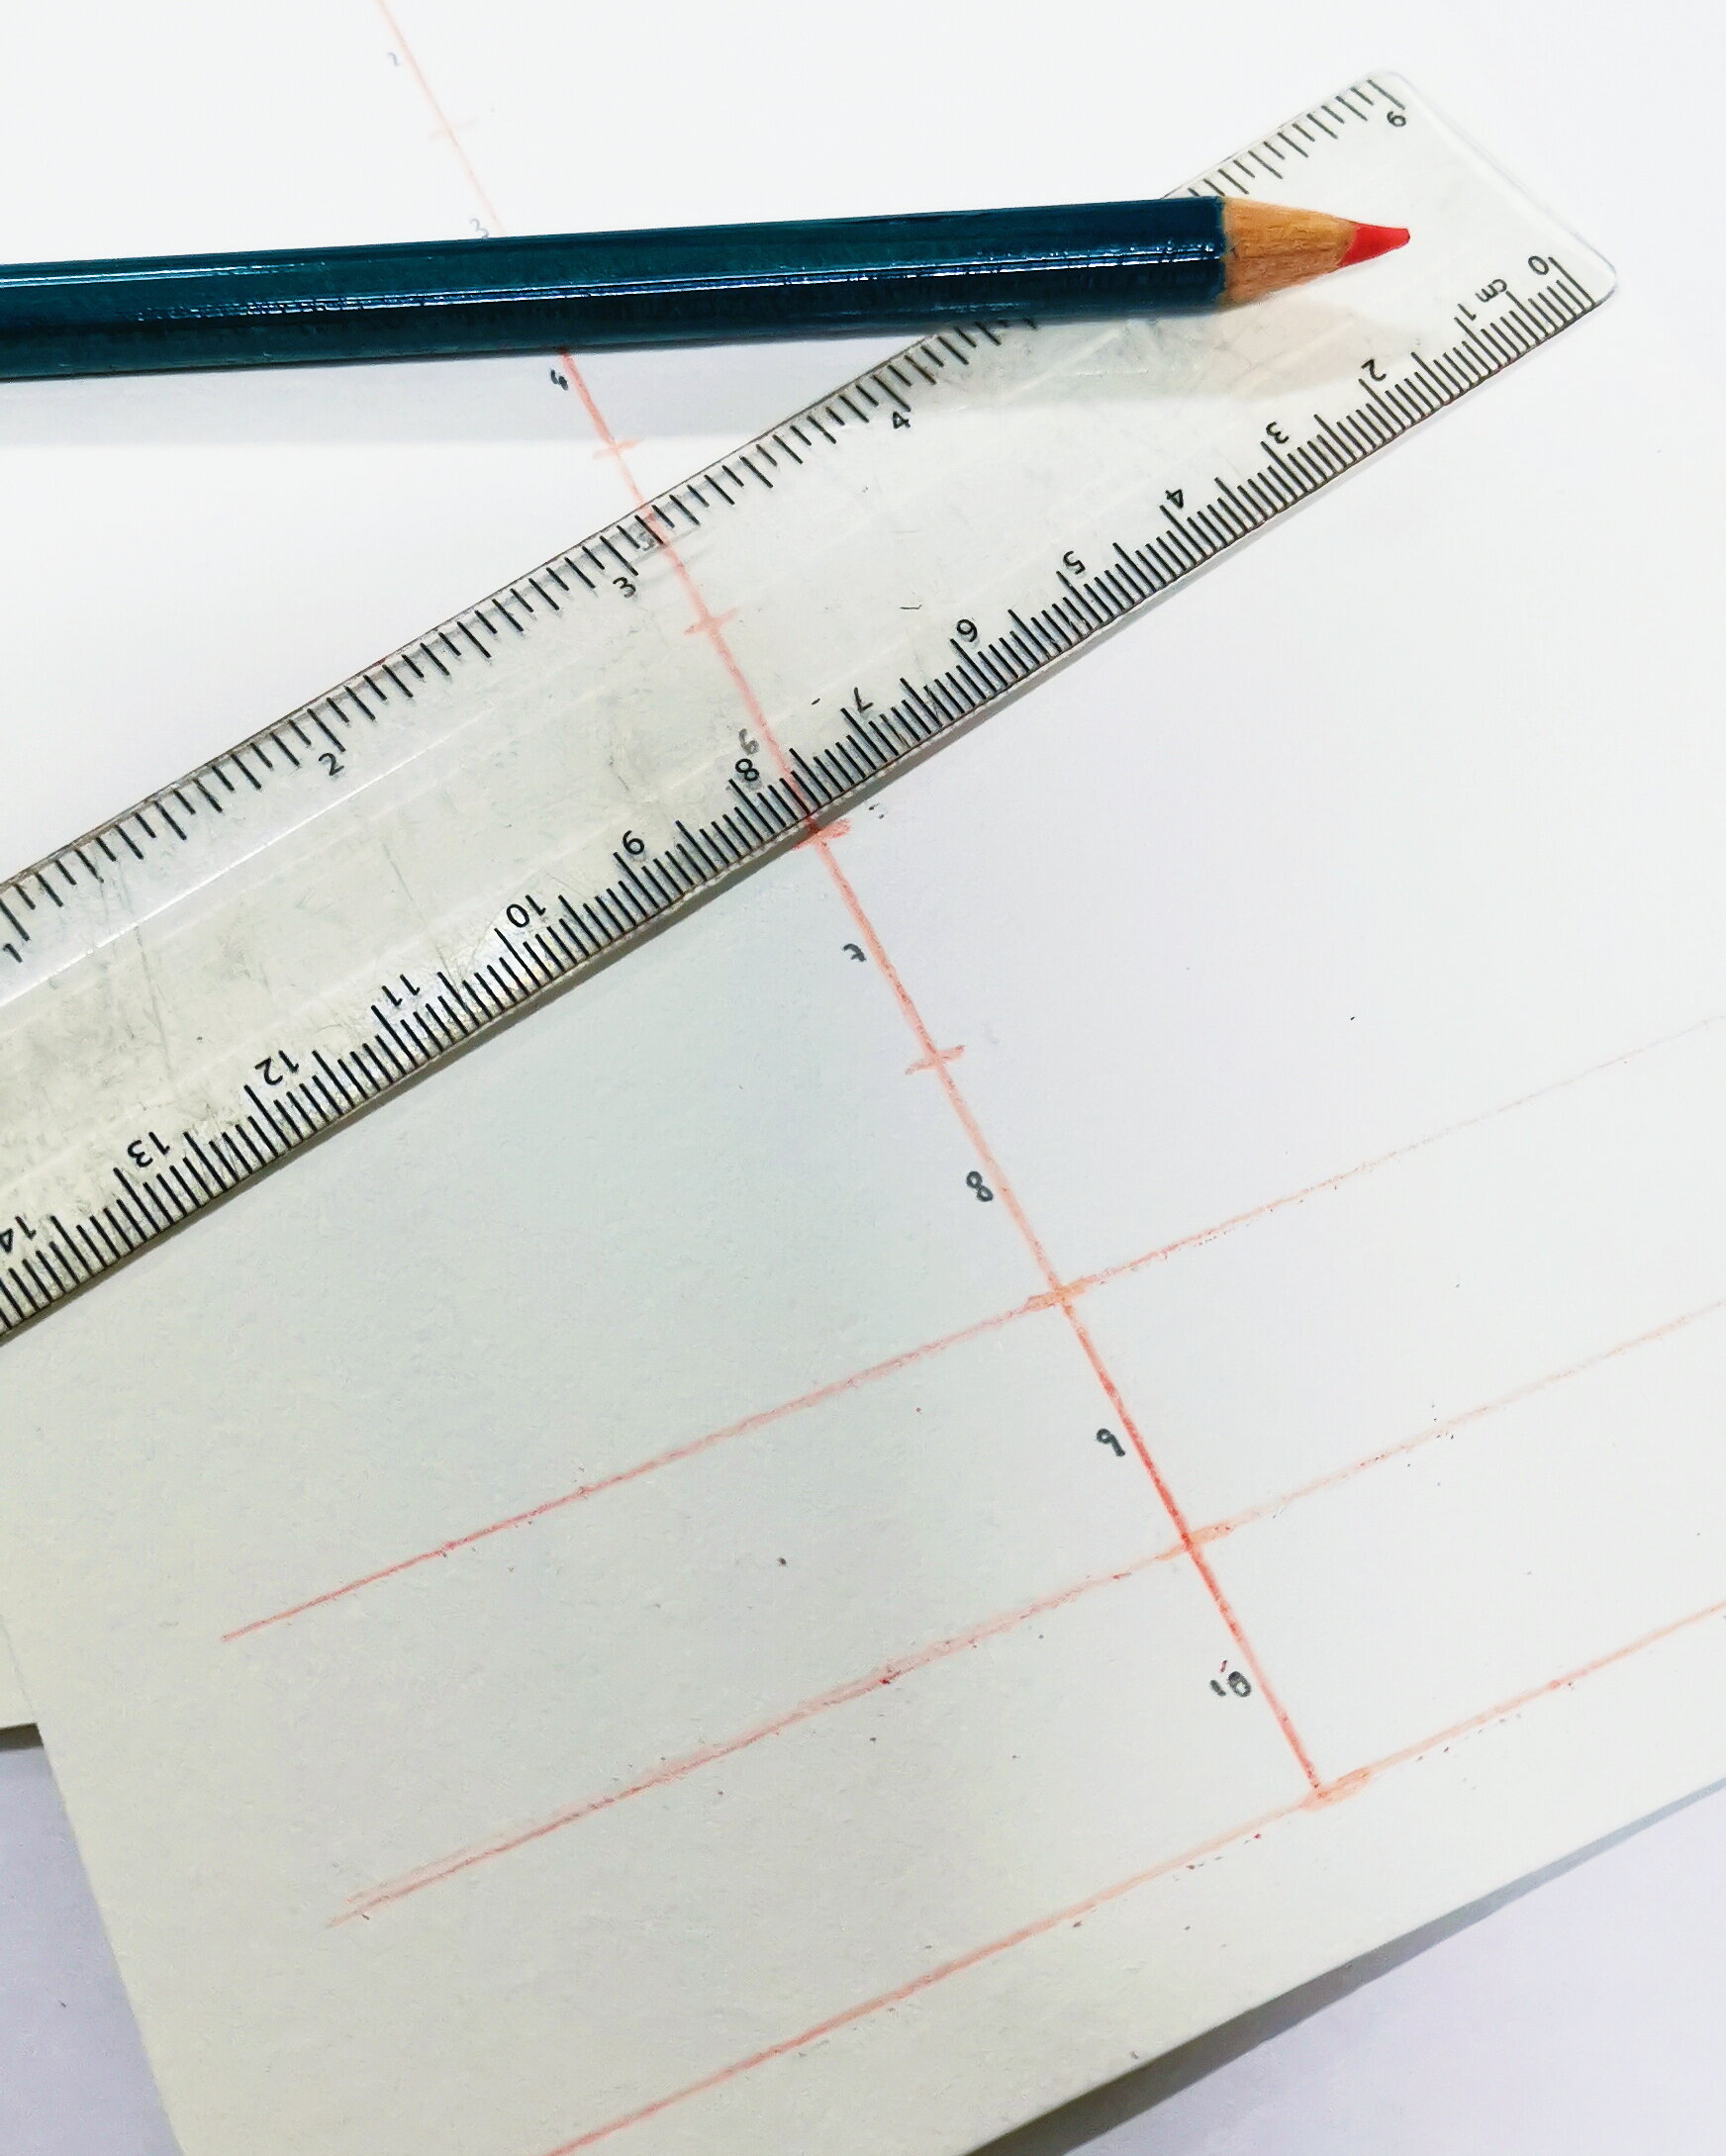
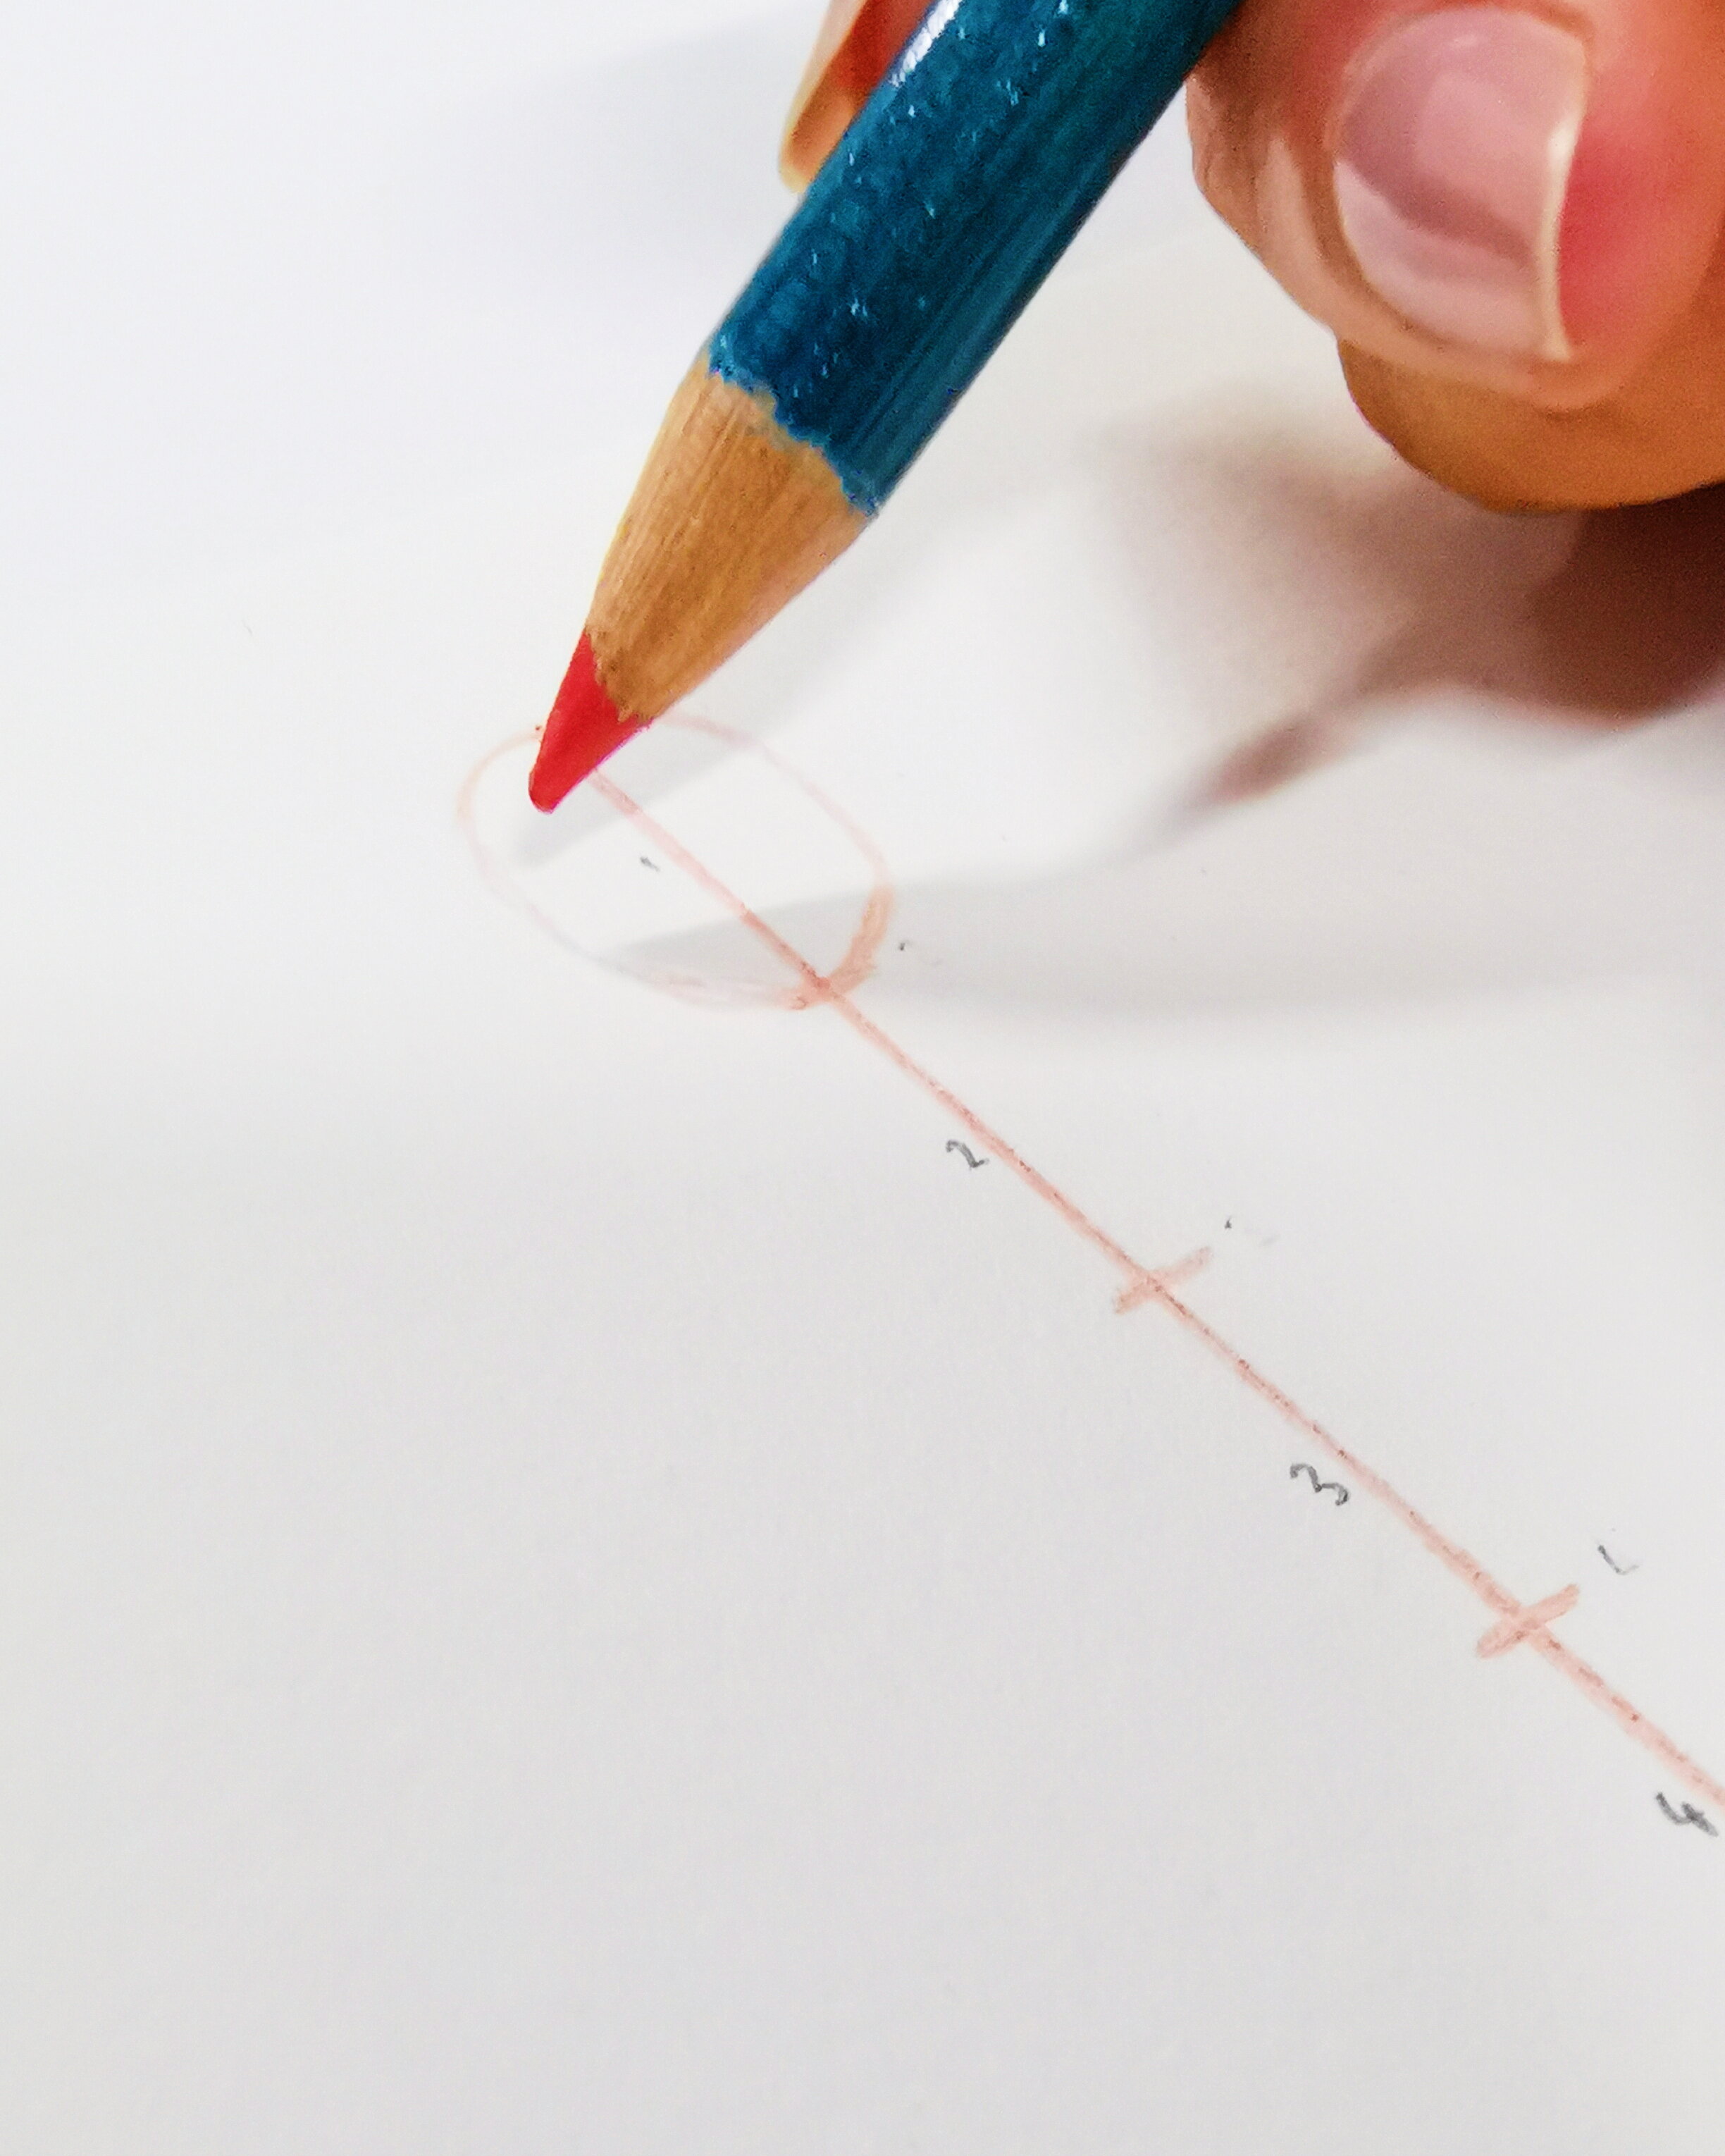
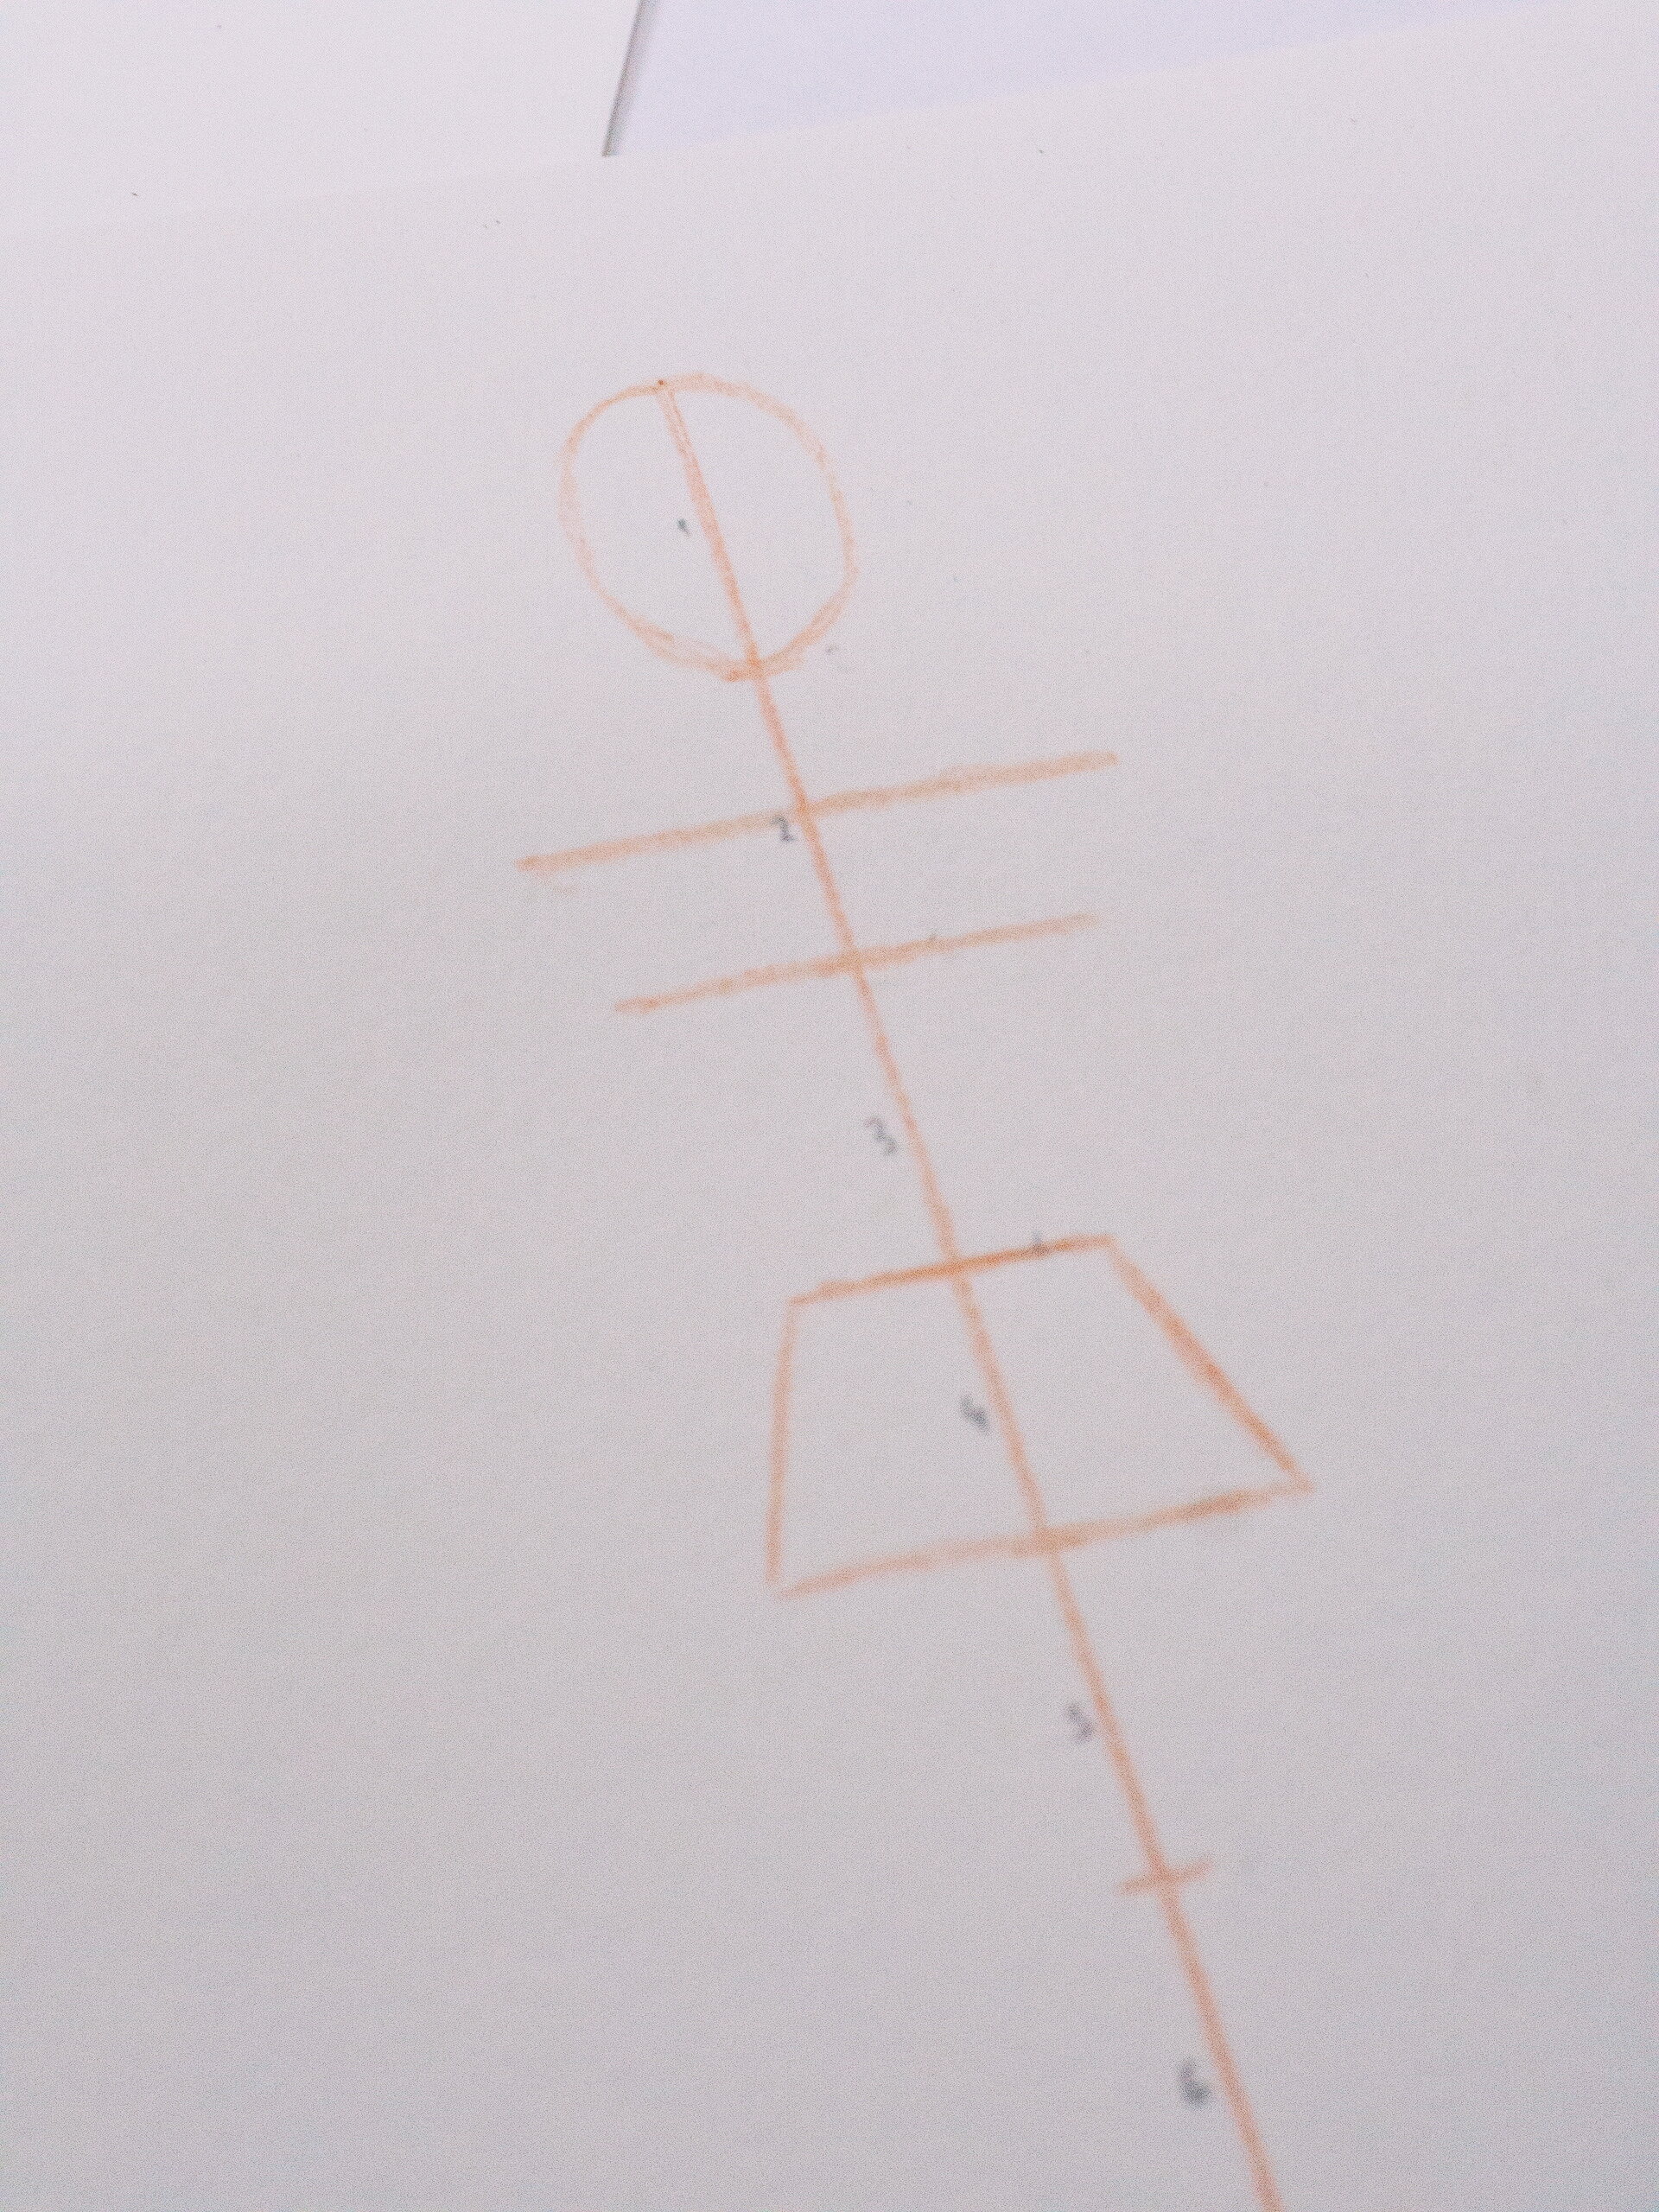
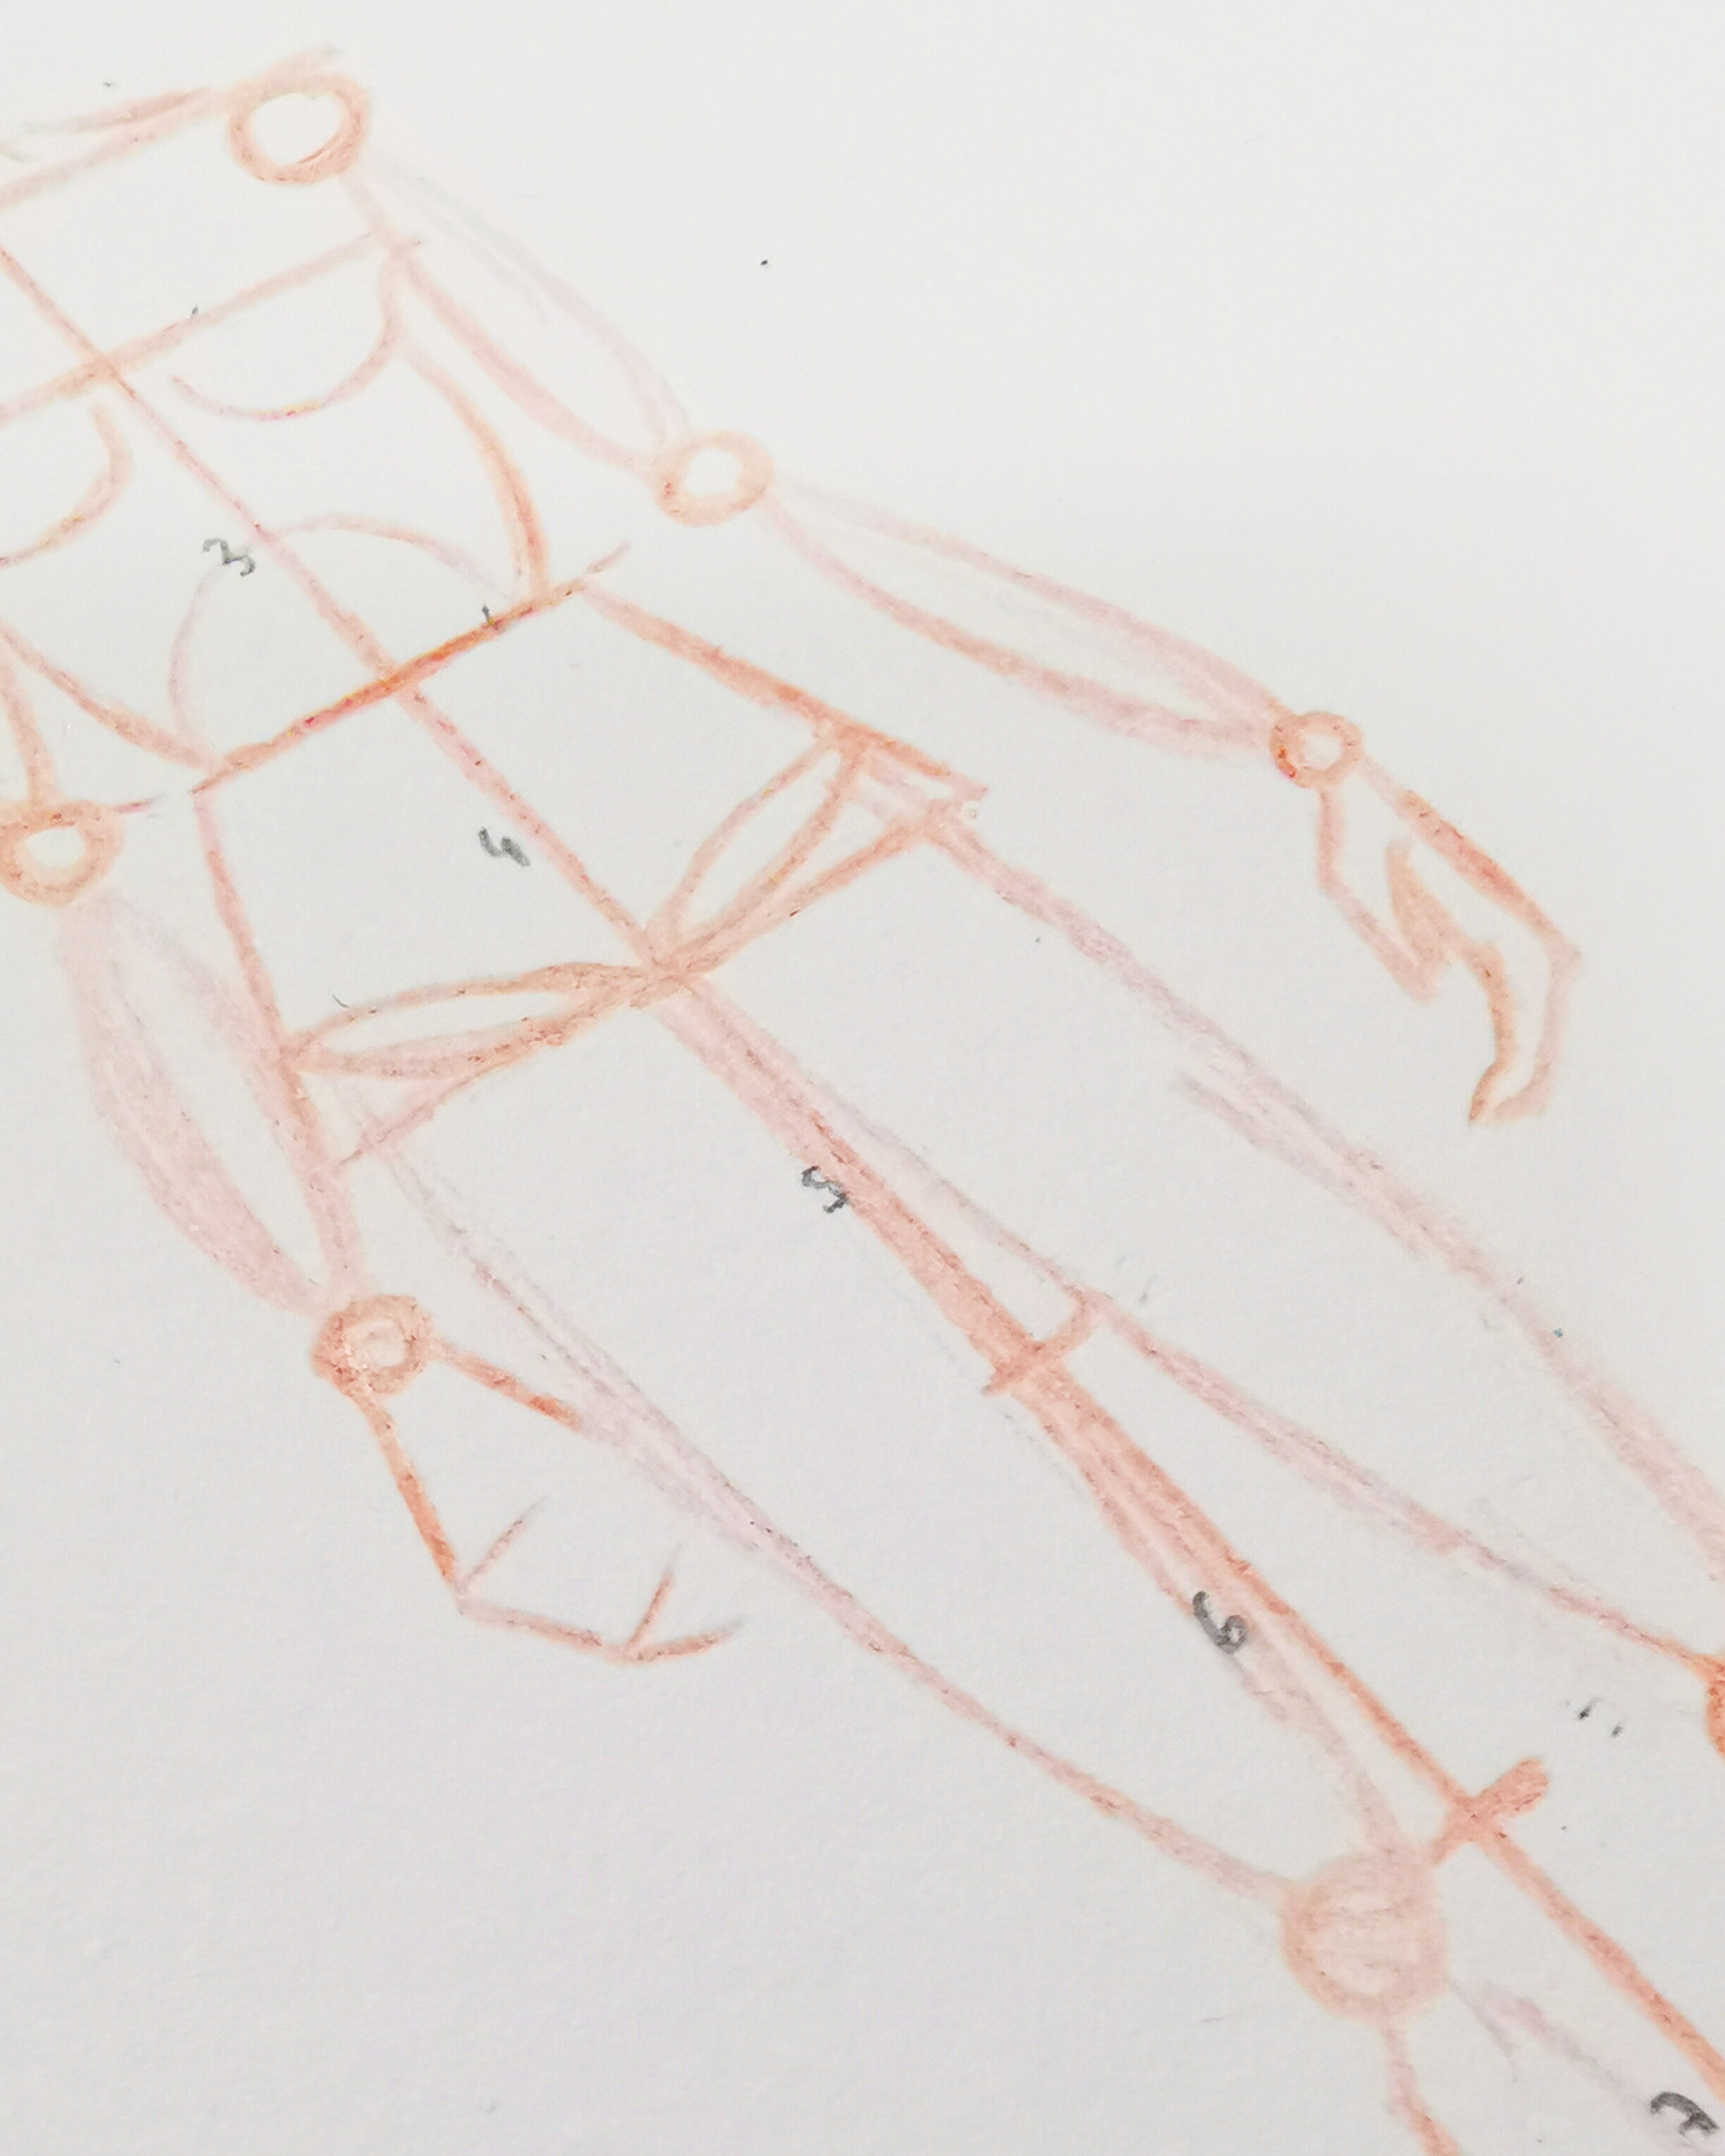
The second section should represent where, if your model were to wear a strapless garment, it would align along her body. This will help us place the shoulders whilst allowing room for the neck, keeping everything balanced. The shoulders are twice the width of the head. Your waistline is on the third section, roughly 0.75 heads in width. Draw a simple line to represent this before marking your low hip at the fourth section. Once you have these mapped out, box off your waist and low hip as pictured above.
From these basic markings, you should already be able to make a basic assessment of the proportion.


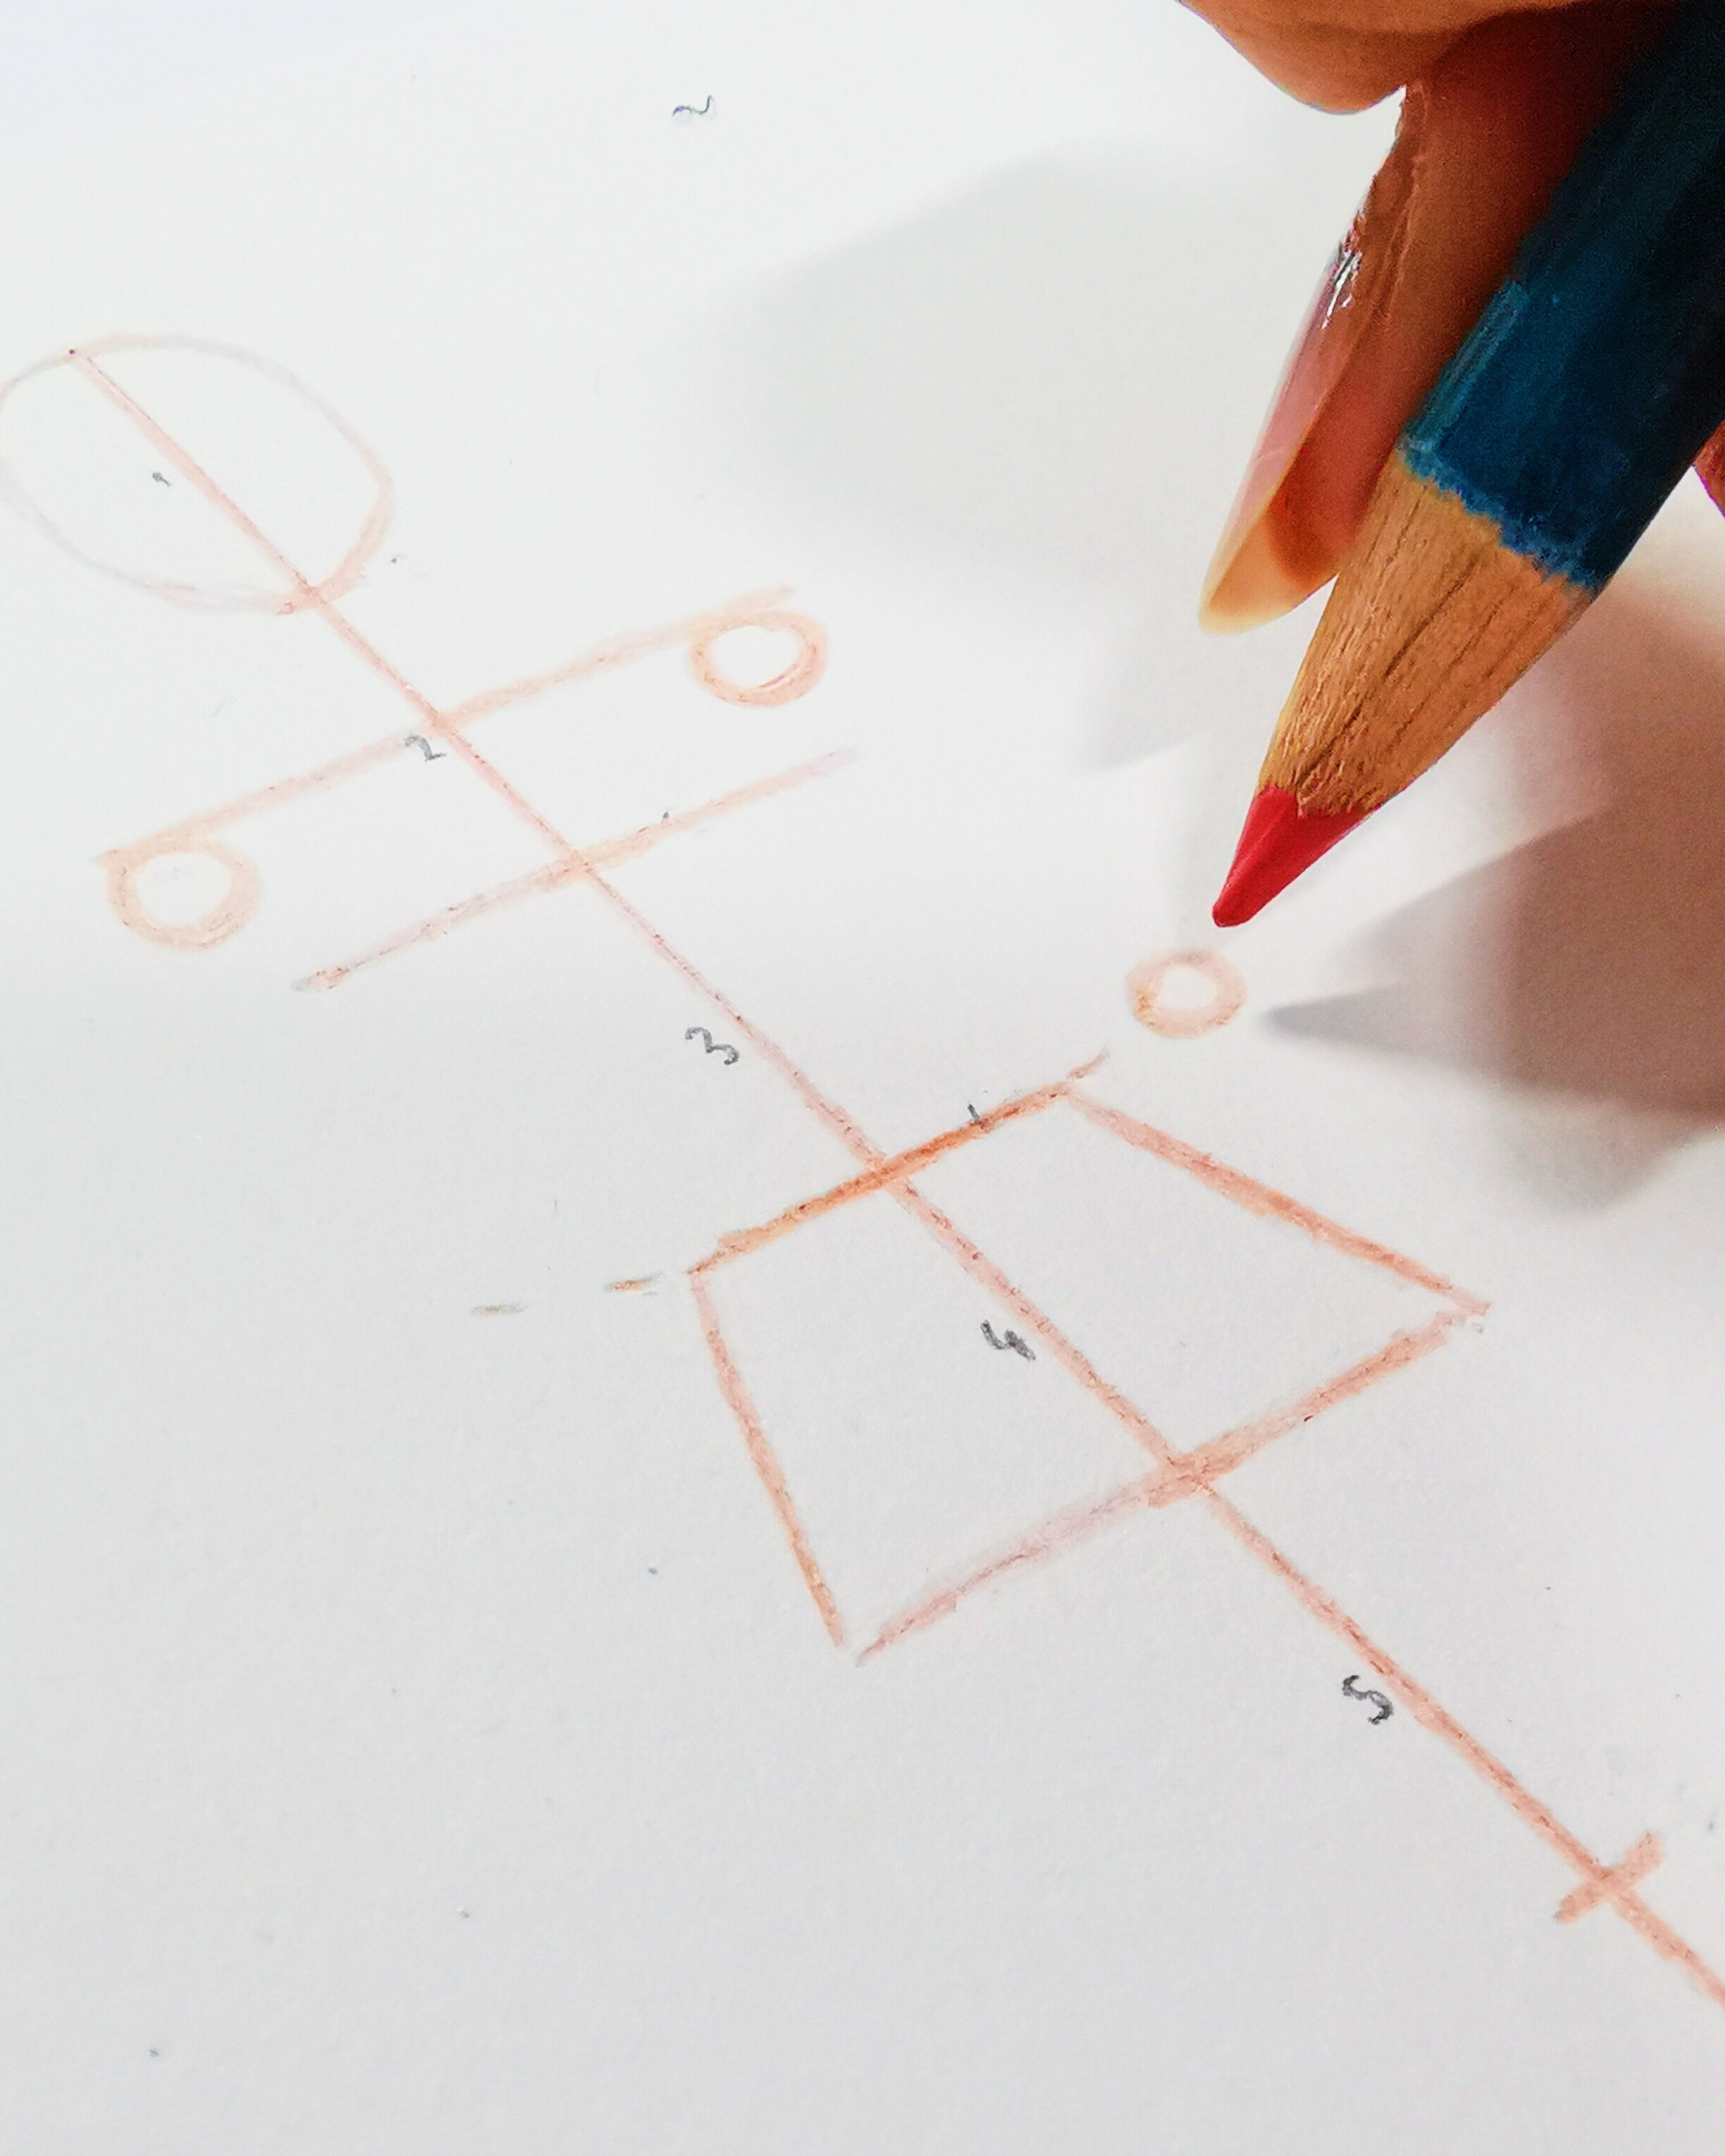
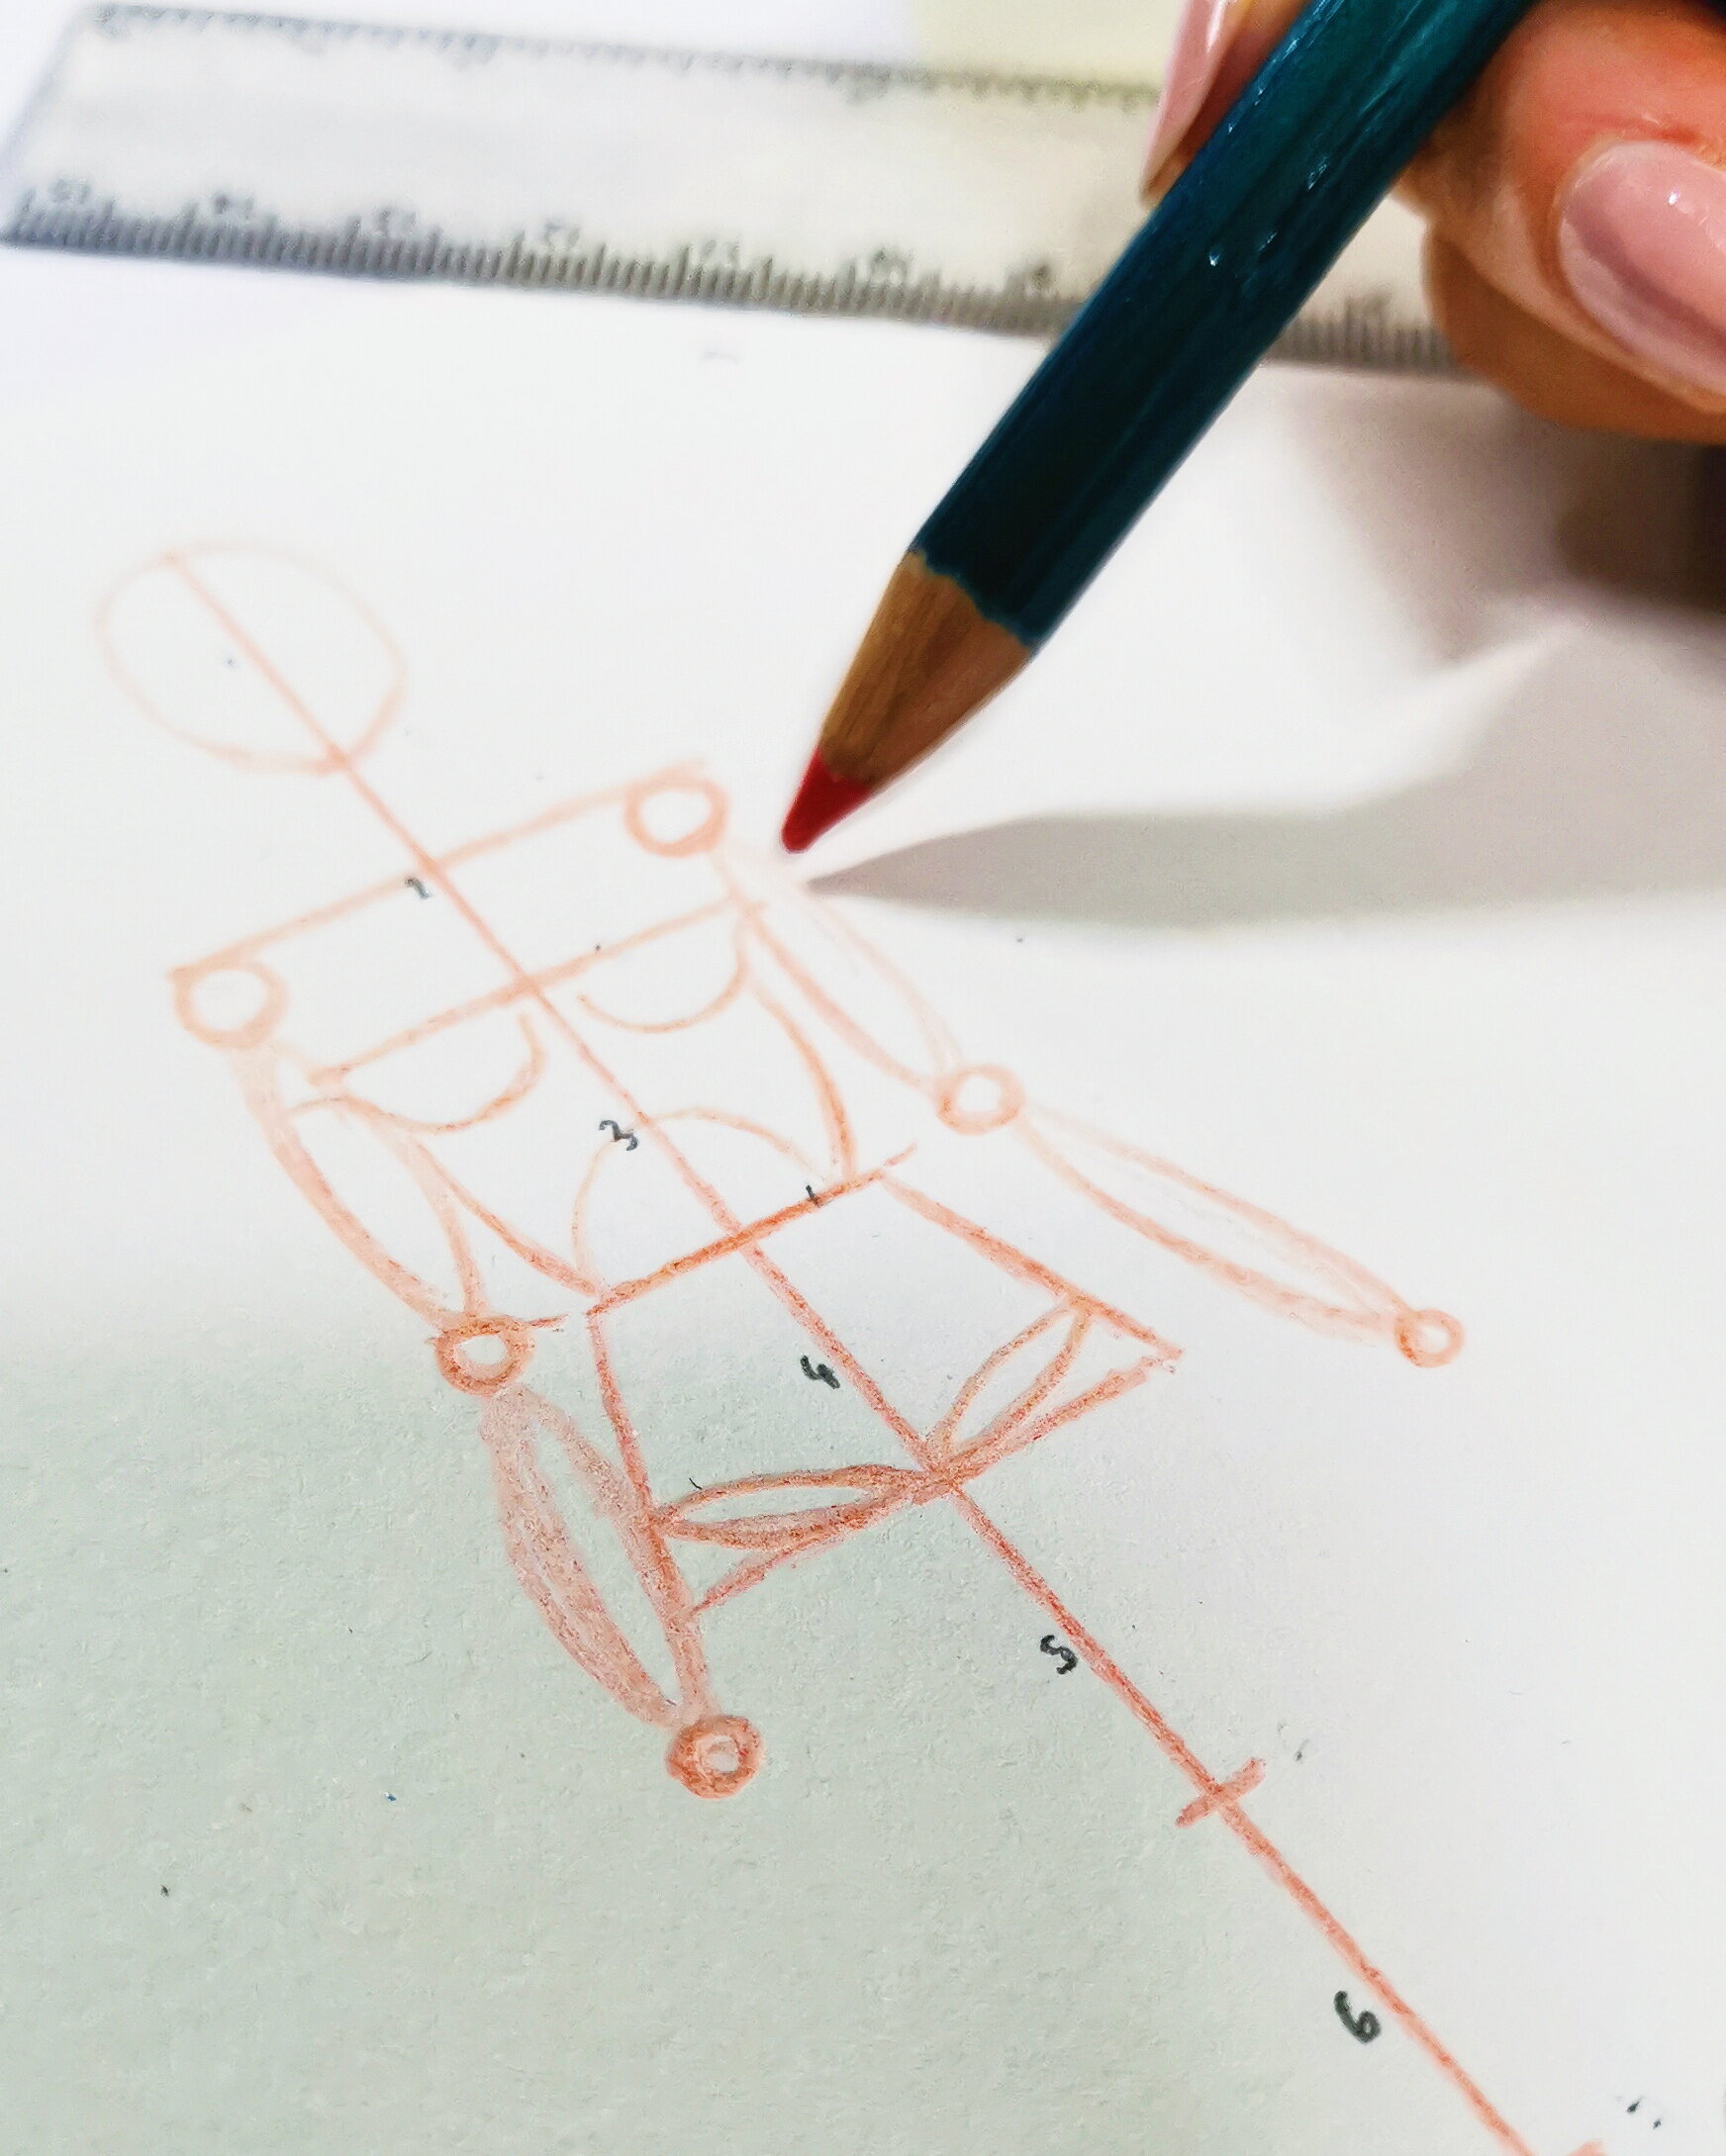
We next start to draft in the joints. These are rendered as circles which get smaller in size as we move down the limbs. Your shoulder circles will be larger than your elbows, and your elbows larger than your wrists. The same principle applies to the knees and ankles.
Between the sixth and seventh section, depending on your preference, lies the knees. Your ankles or heels will place at the ninth section.
In the example above you will notice I have thrown the model’s left leg out a little bit to create a more dynamic pose. If you are experimenting with this then it is important to note, the weight baring foot and the head are always in alignment.
Draw your shoulders circles in under the line we have marked, before creating a subtle up-curve at the waist. This will help your elbow placement. Looking in a mirror at your own proportions is also a quick exercise you can do to assist accuracy. Your wrists will hit just under the low hip line.
TOP TIP: If you wanted to render your model flat-footed, you can simply abolish the tenth section. Alternatively, play around with your own scale and find a style to suit you.

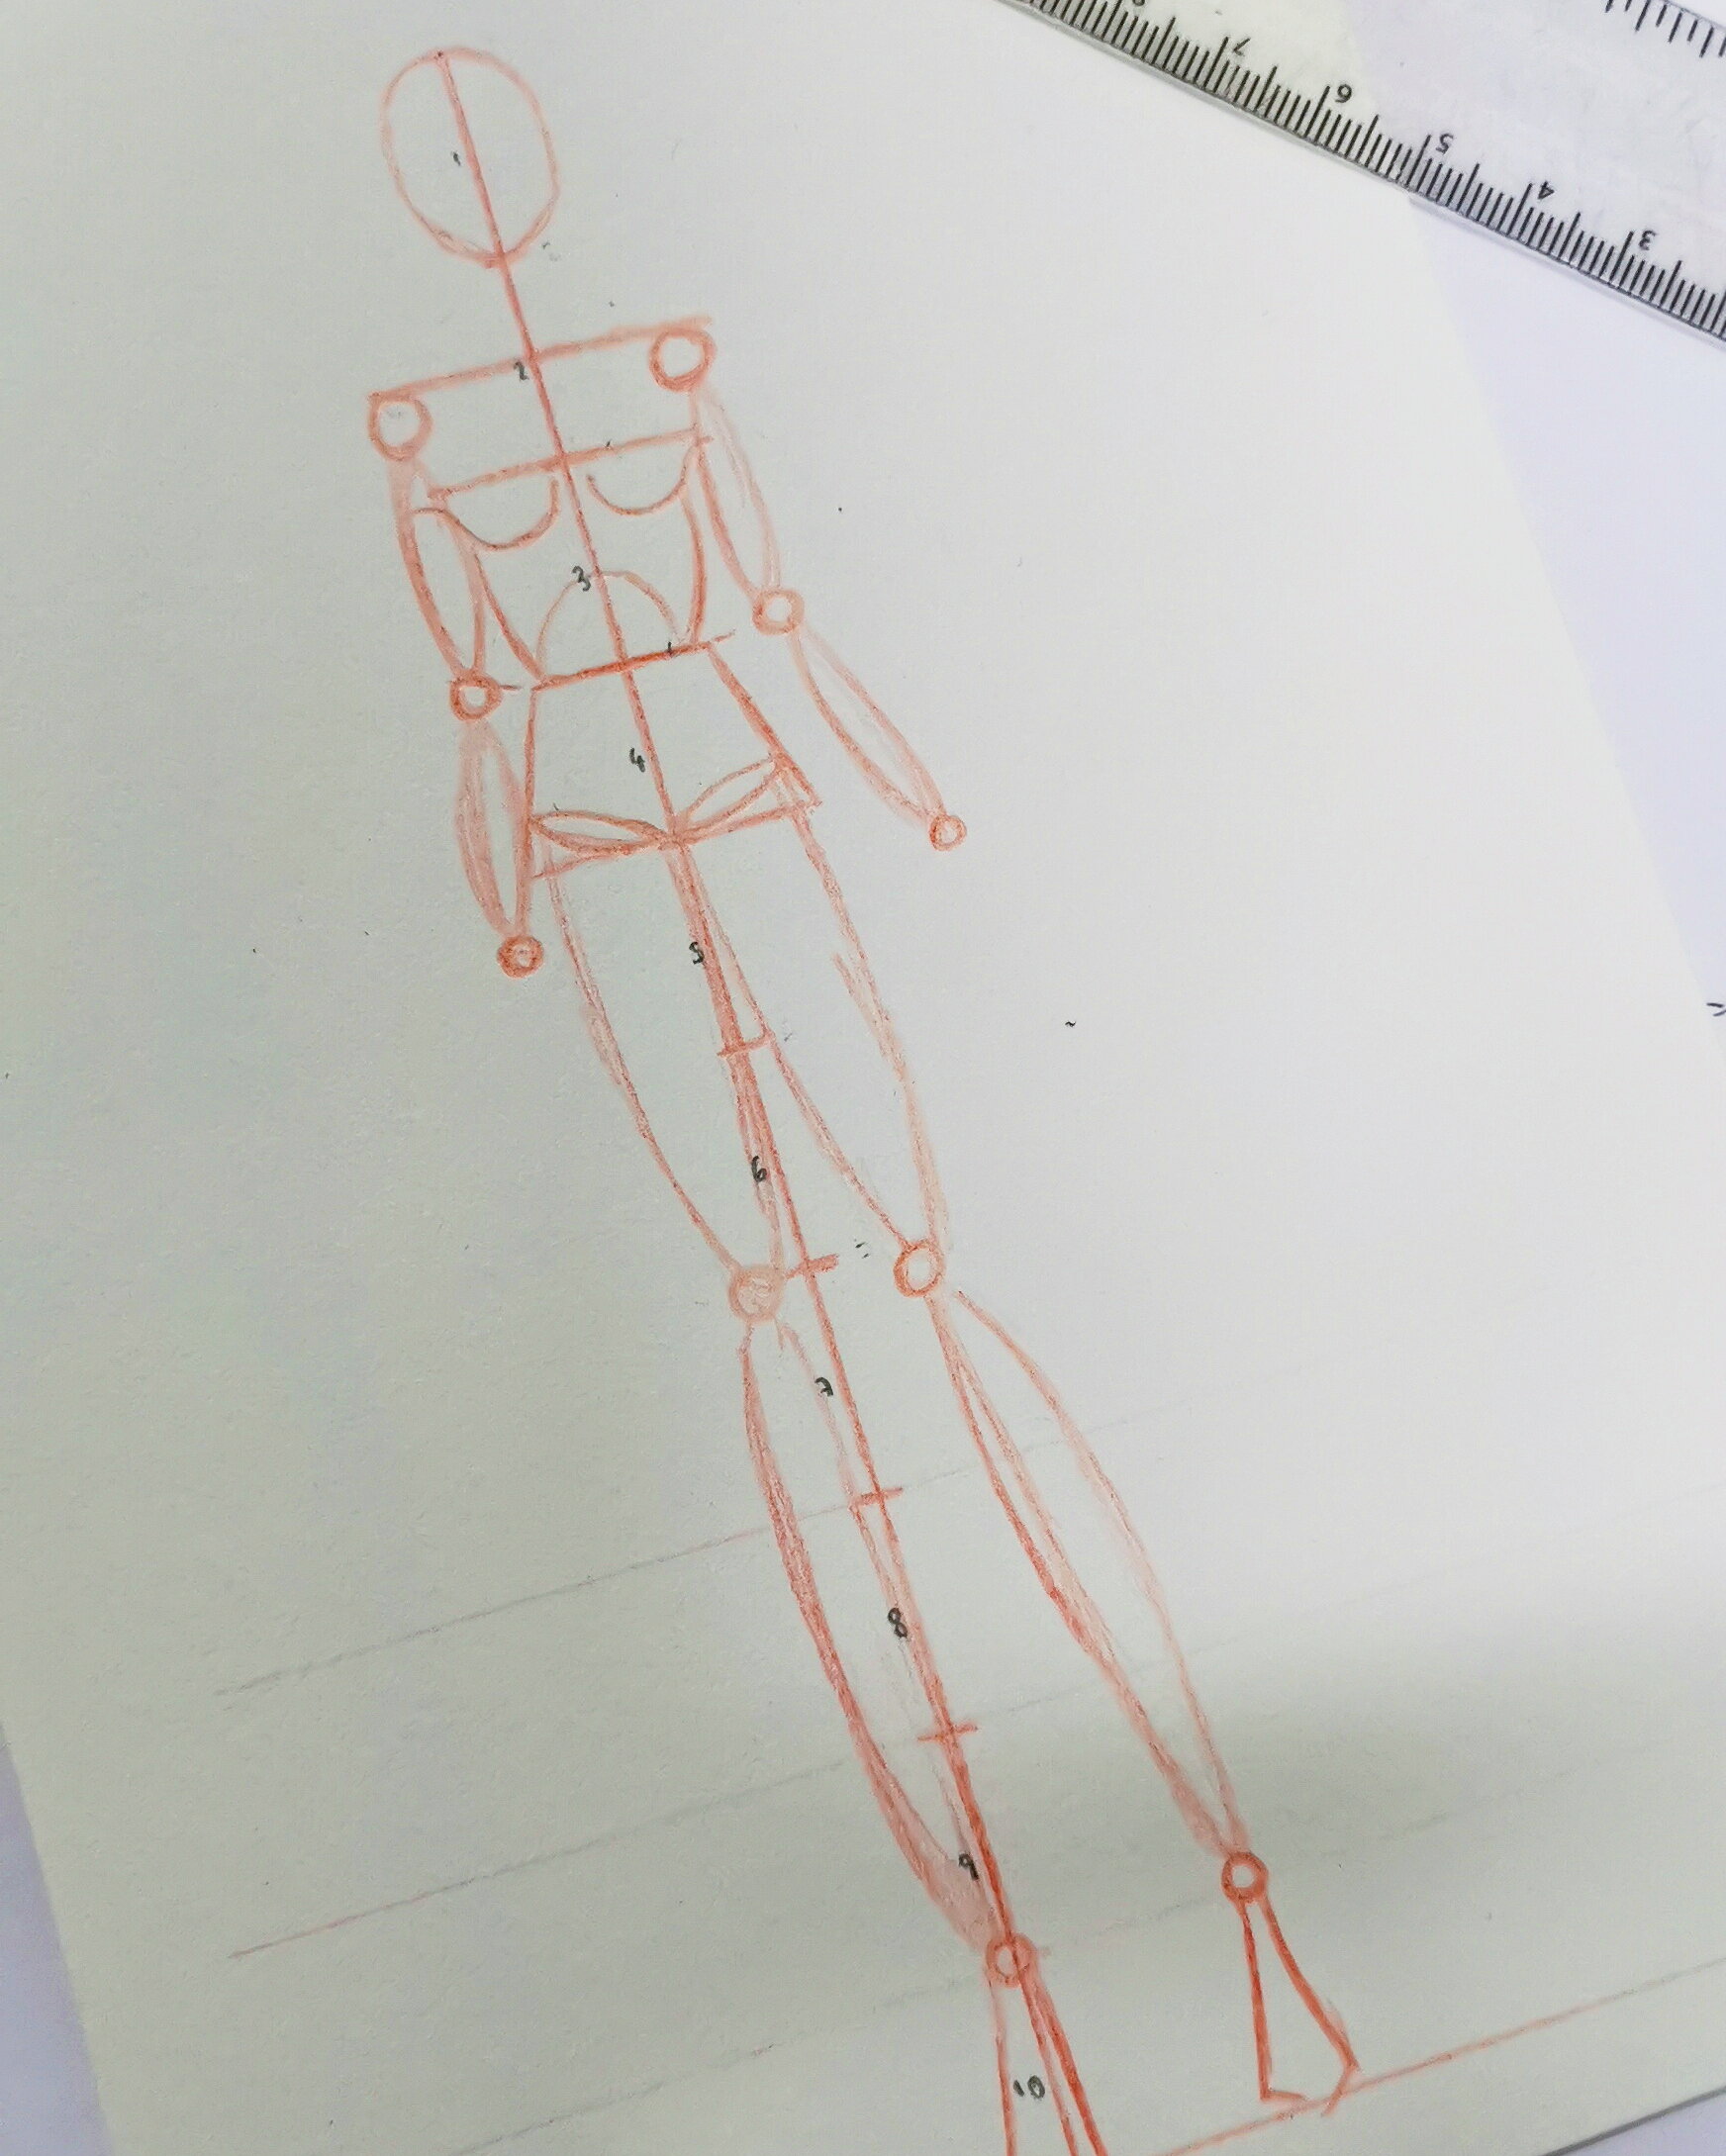
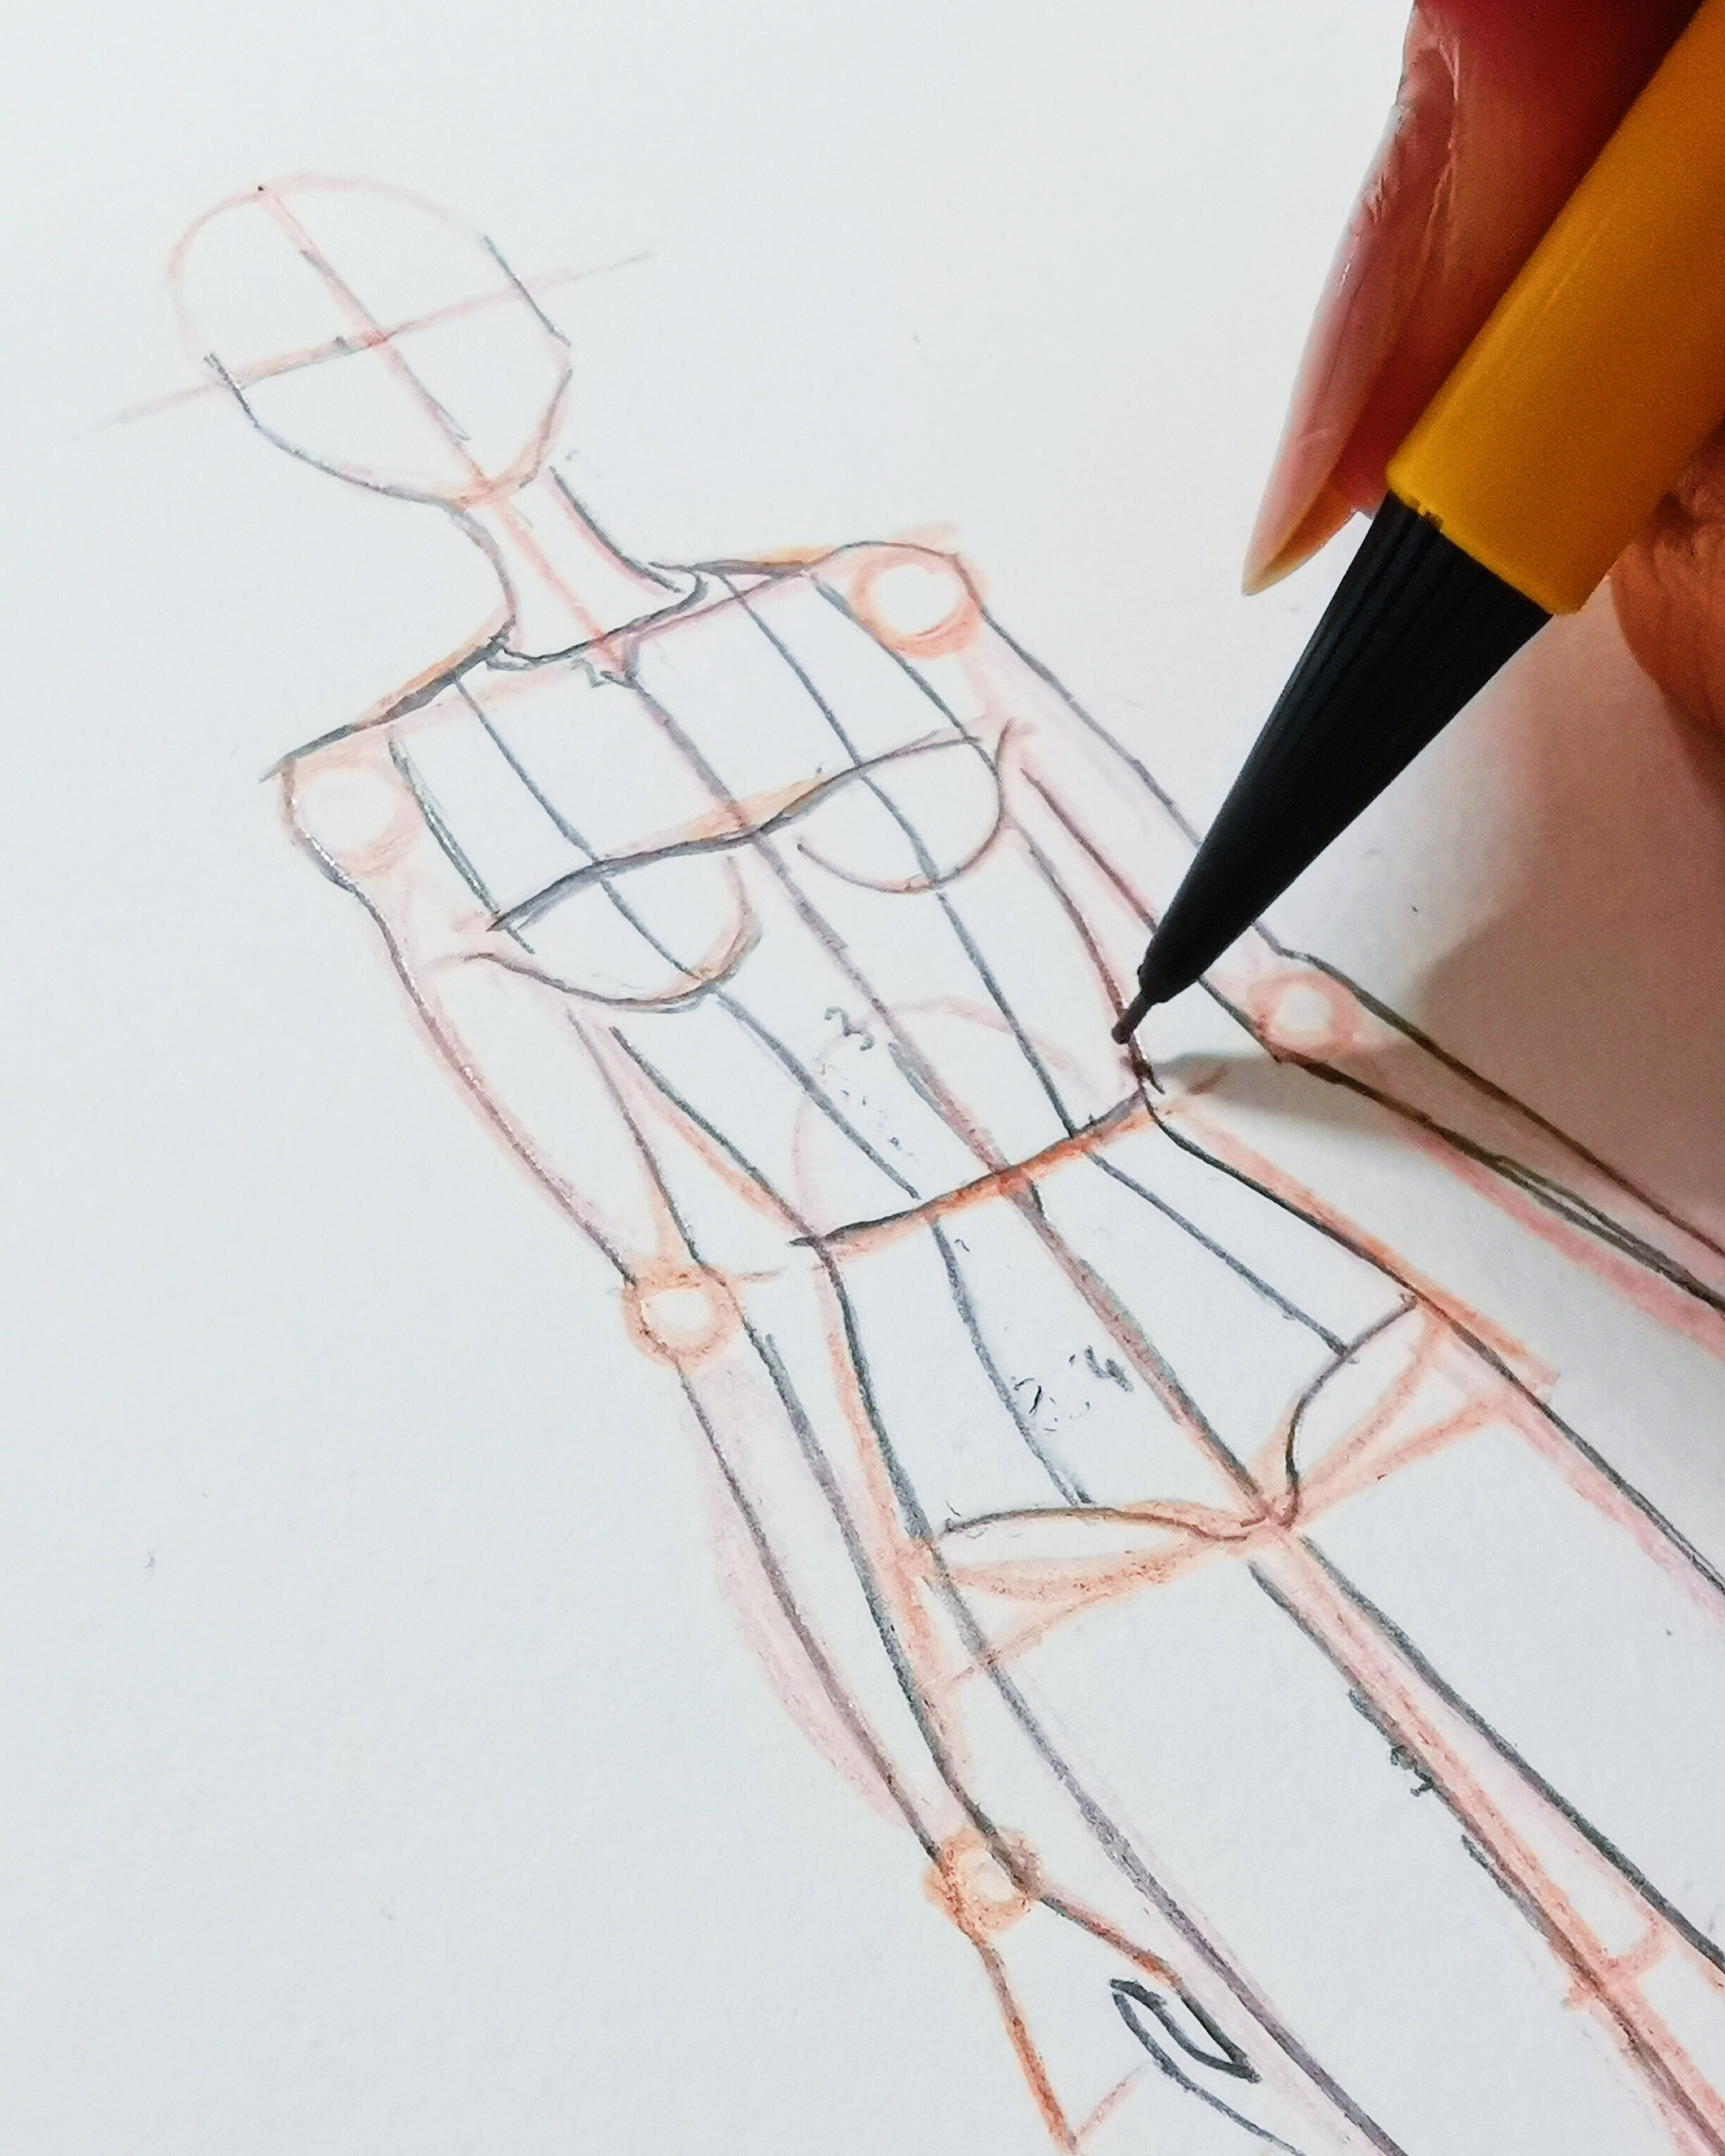
Now that we have our joints, points and widths mapped out, it’s time to turn her into something more reflective of a human figure.
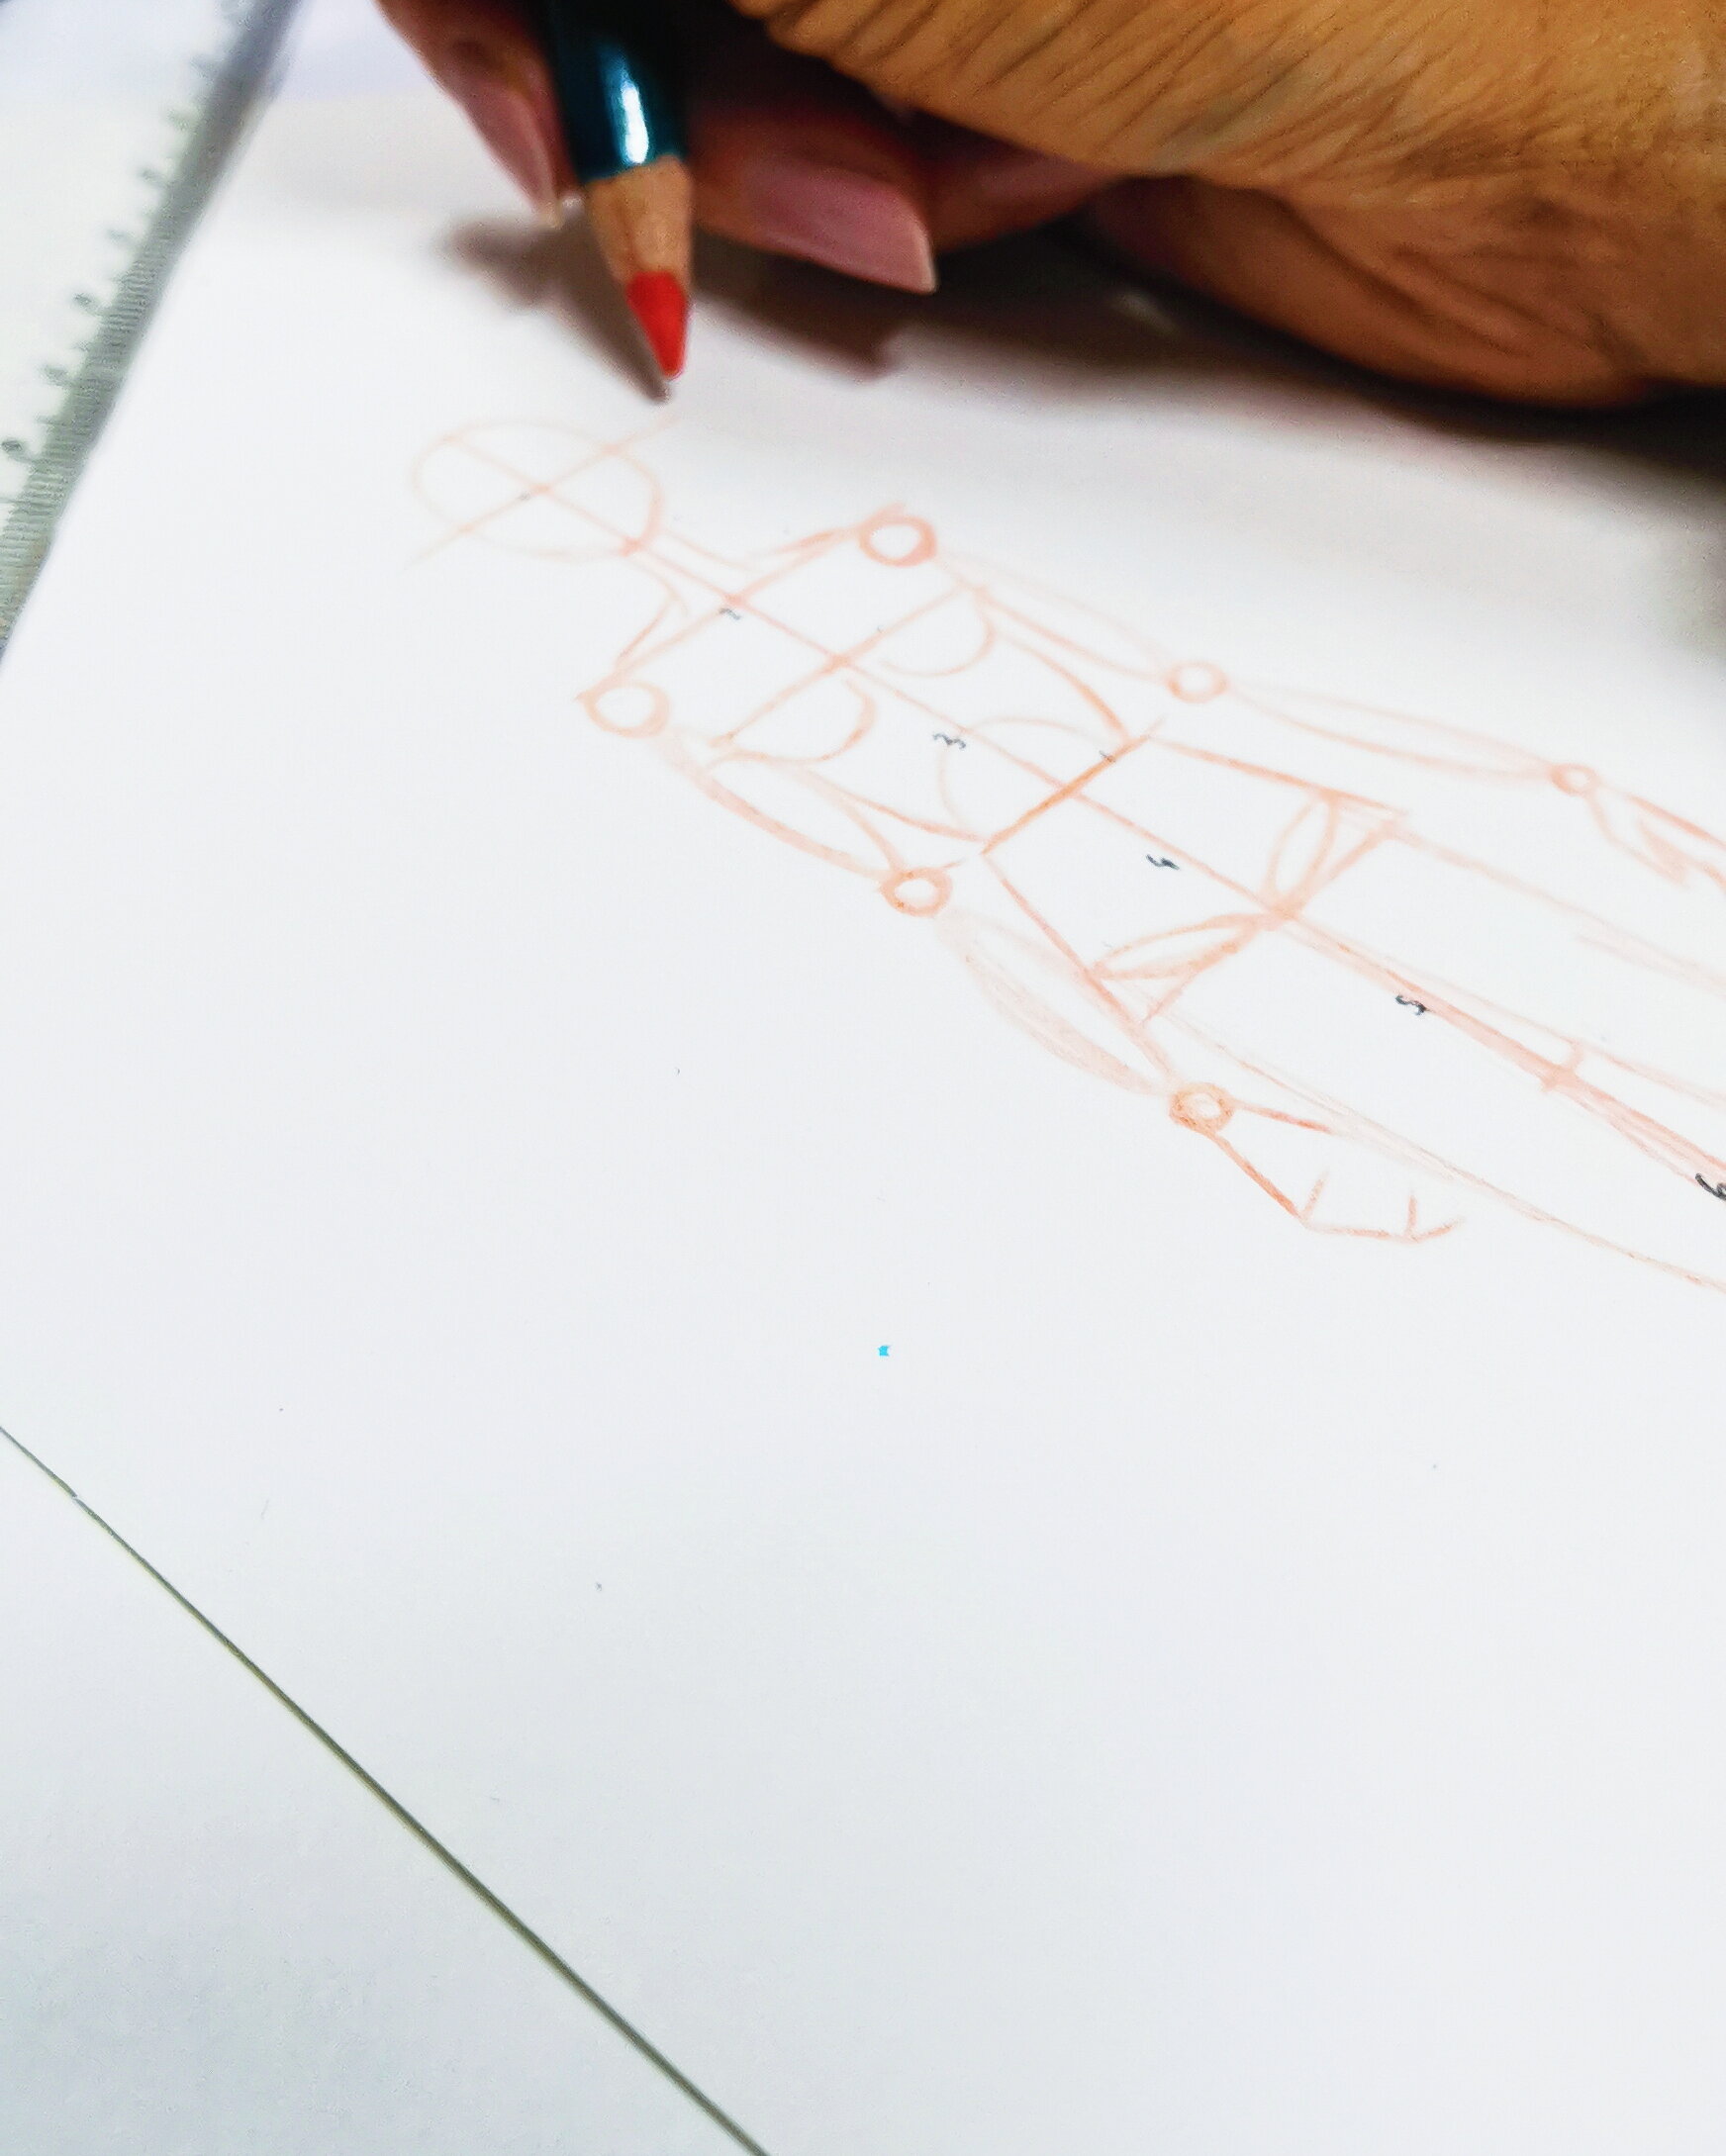
Referring back to the strapless garment analogy, place your breasts under the second line. Please note: your preferred size of breast will affect how the shapes connect to the arm and body, so do bare this in mind. The tops of the thighs are rendered as ovals that sit just inside the hip to low waist box. Feel free to move these below the box line to experiment with proportion and see what a difference it makes!
Using basic ovals, flesh out the arms and legs whilst suggesting the rib cage with a crescent moon shape that mimics the organic lines of the body. Your neck can be incorporated above the shoulder line, not forgetting the natural slope of the shoulders. Traditionally in fashion drawings, necks are slimmed down to balance the alien-esque proportions we have created by elongating the body.
TOP TIP: A realistic figure is 7 heads high!
If the hands and feet feel too intricate to render, simply draft out the basic shape and placement. This doesn’t matter too much in this instance due to the purpose of the croquis.
TOP TIP: As a general rule, when wearing a mini-skirt, the hemline should not be above the fingertips. This should help you with the scale of your hands.
Once you have your fashion figure sketched out in your lighter or coloured pencil you can review your work and start to see the final form coming together. You don’t necessarily need to erase anything as we will be going back in with a darker colour but now is the time to tweak until you are happy.
Marking a horizontal line halfway down the head will represent the eyeline and once ready, you can trace over your base with a sharp, dark pencil. Mechanical pencils are perfect for this providing a thin, dark line for accuracy.
Finally, drafting the garment fit lines inclusive of the armholes, neckline, princess seams and centre front is a fantastic base for when you come to designing garments on top of your croquis.
