Crys Backpack | Sewalong
Our most ambitious pattern (yet) has landed in celebration of all things sustainable.
Follow the instructions to up-cycle an unloved shirt into a new bag and close the loop on circular design, one stitch at a time. Let’s jump straight in!


NOTES ON CHOOSING AND DECONSTRUCTING YOUR SHIRT
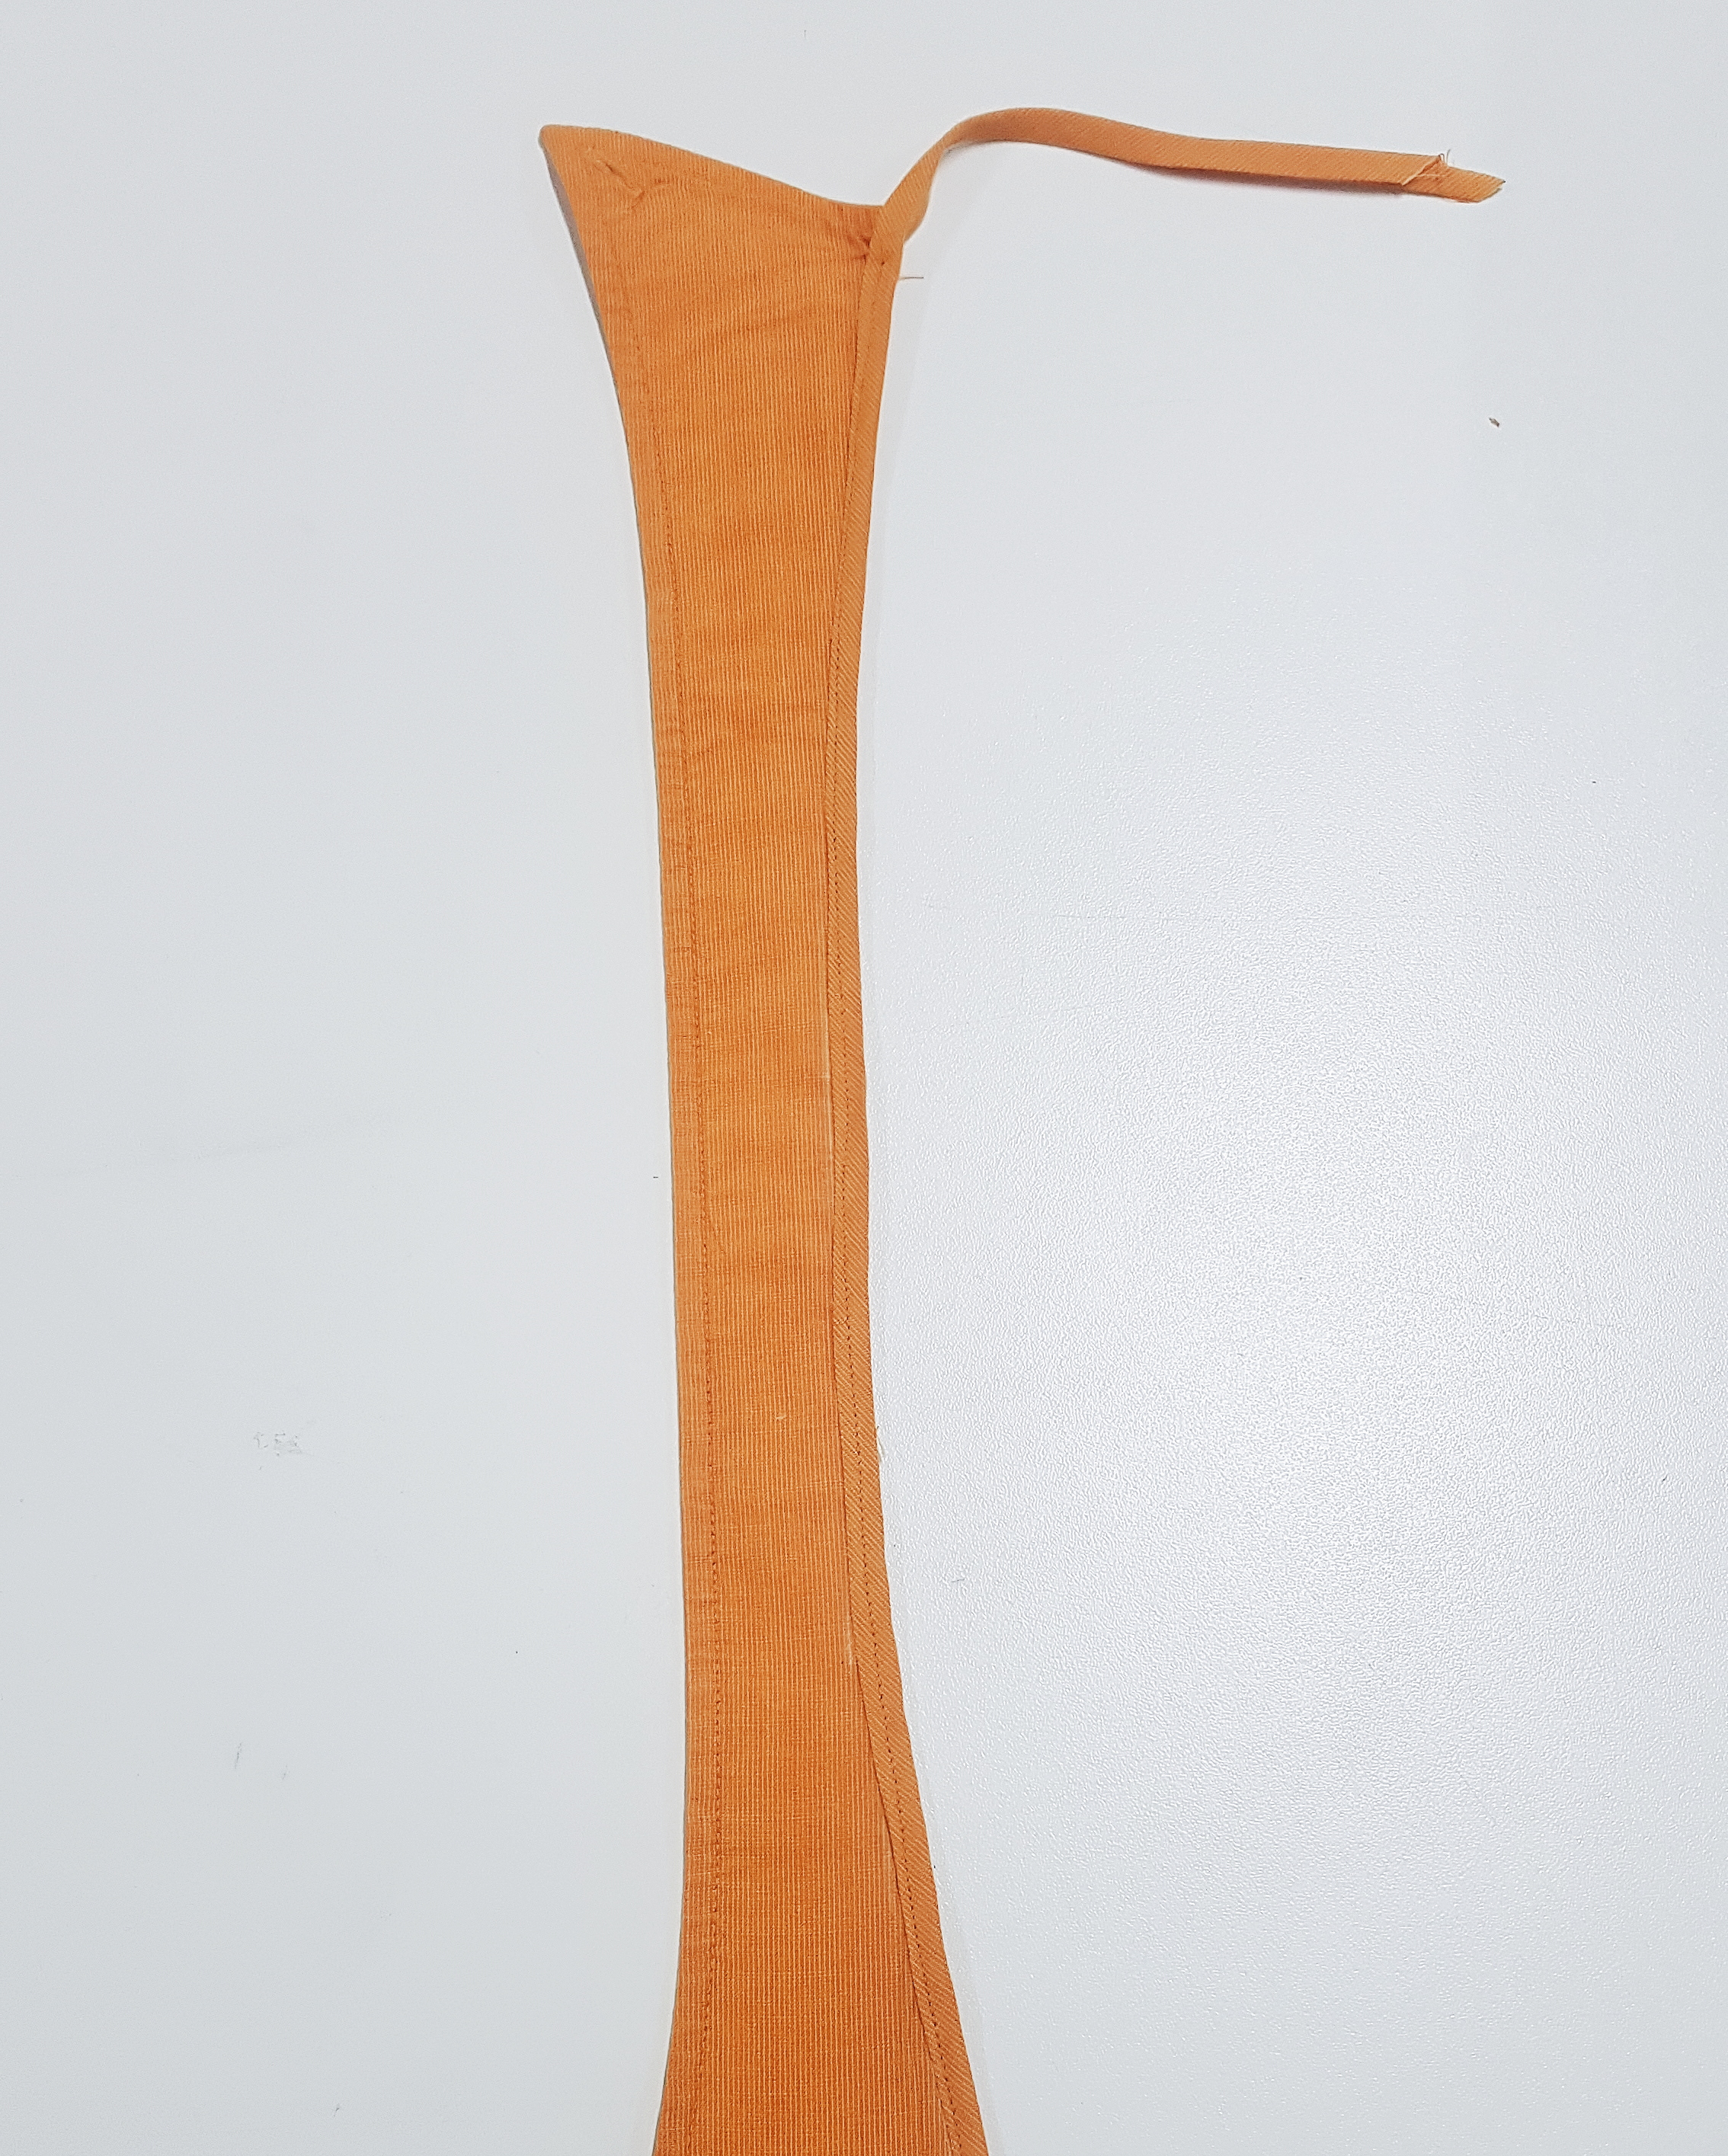
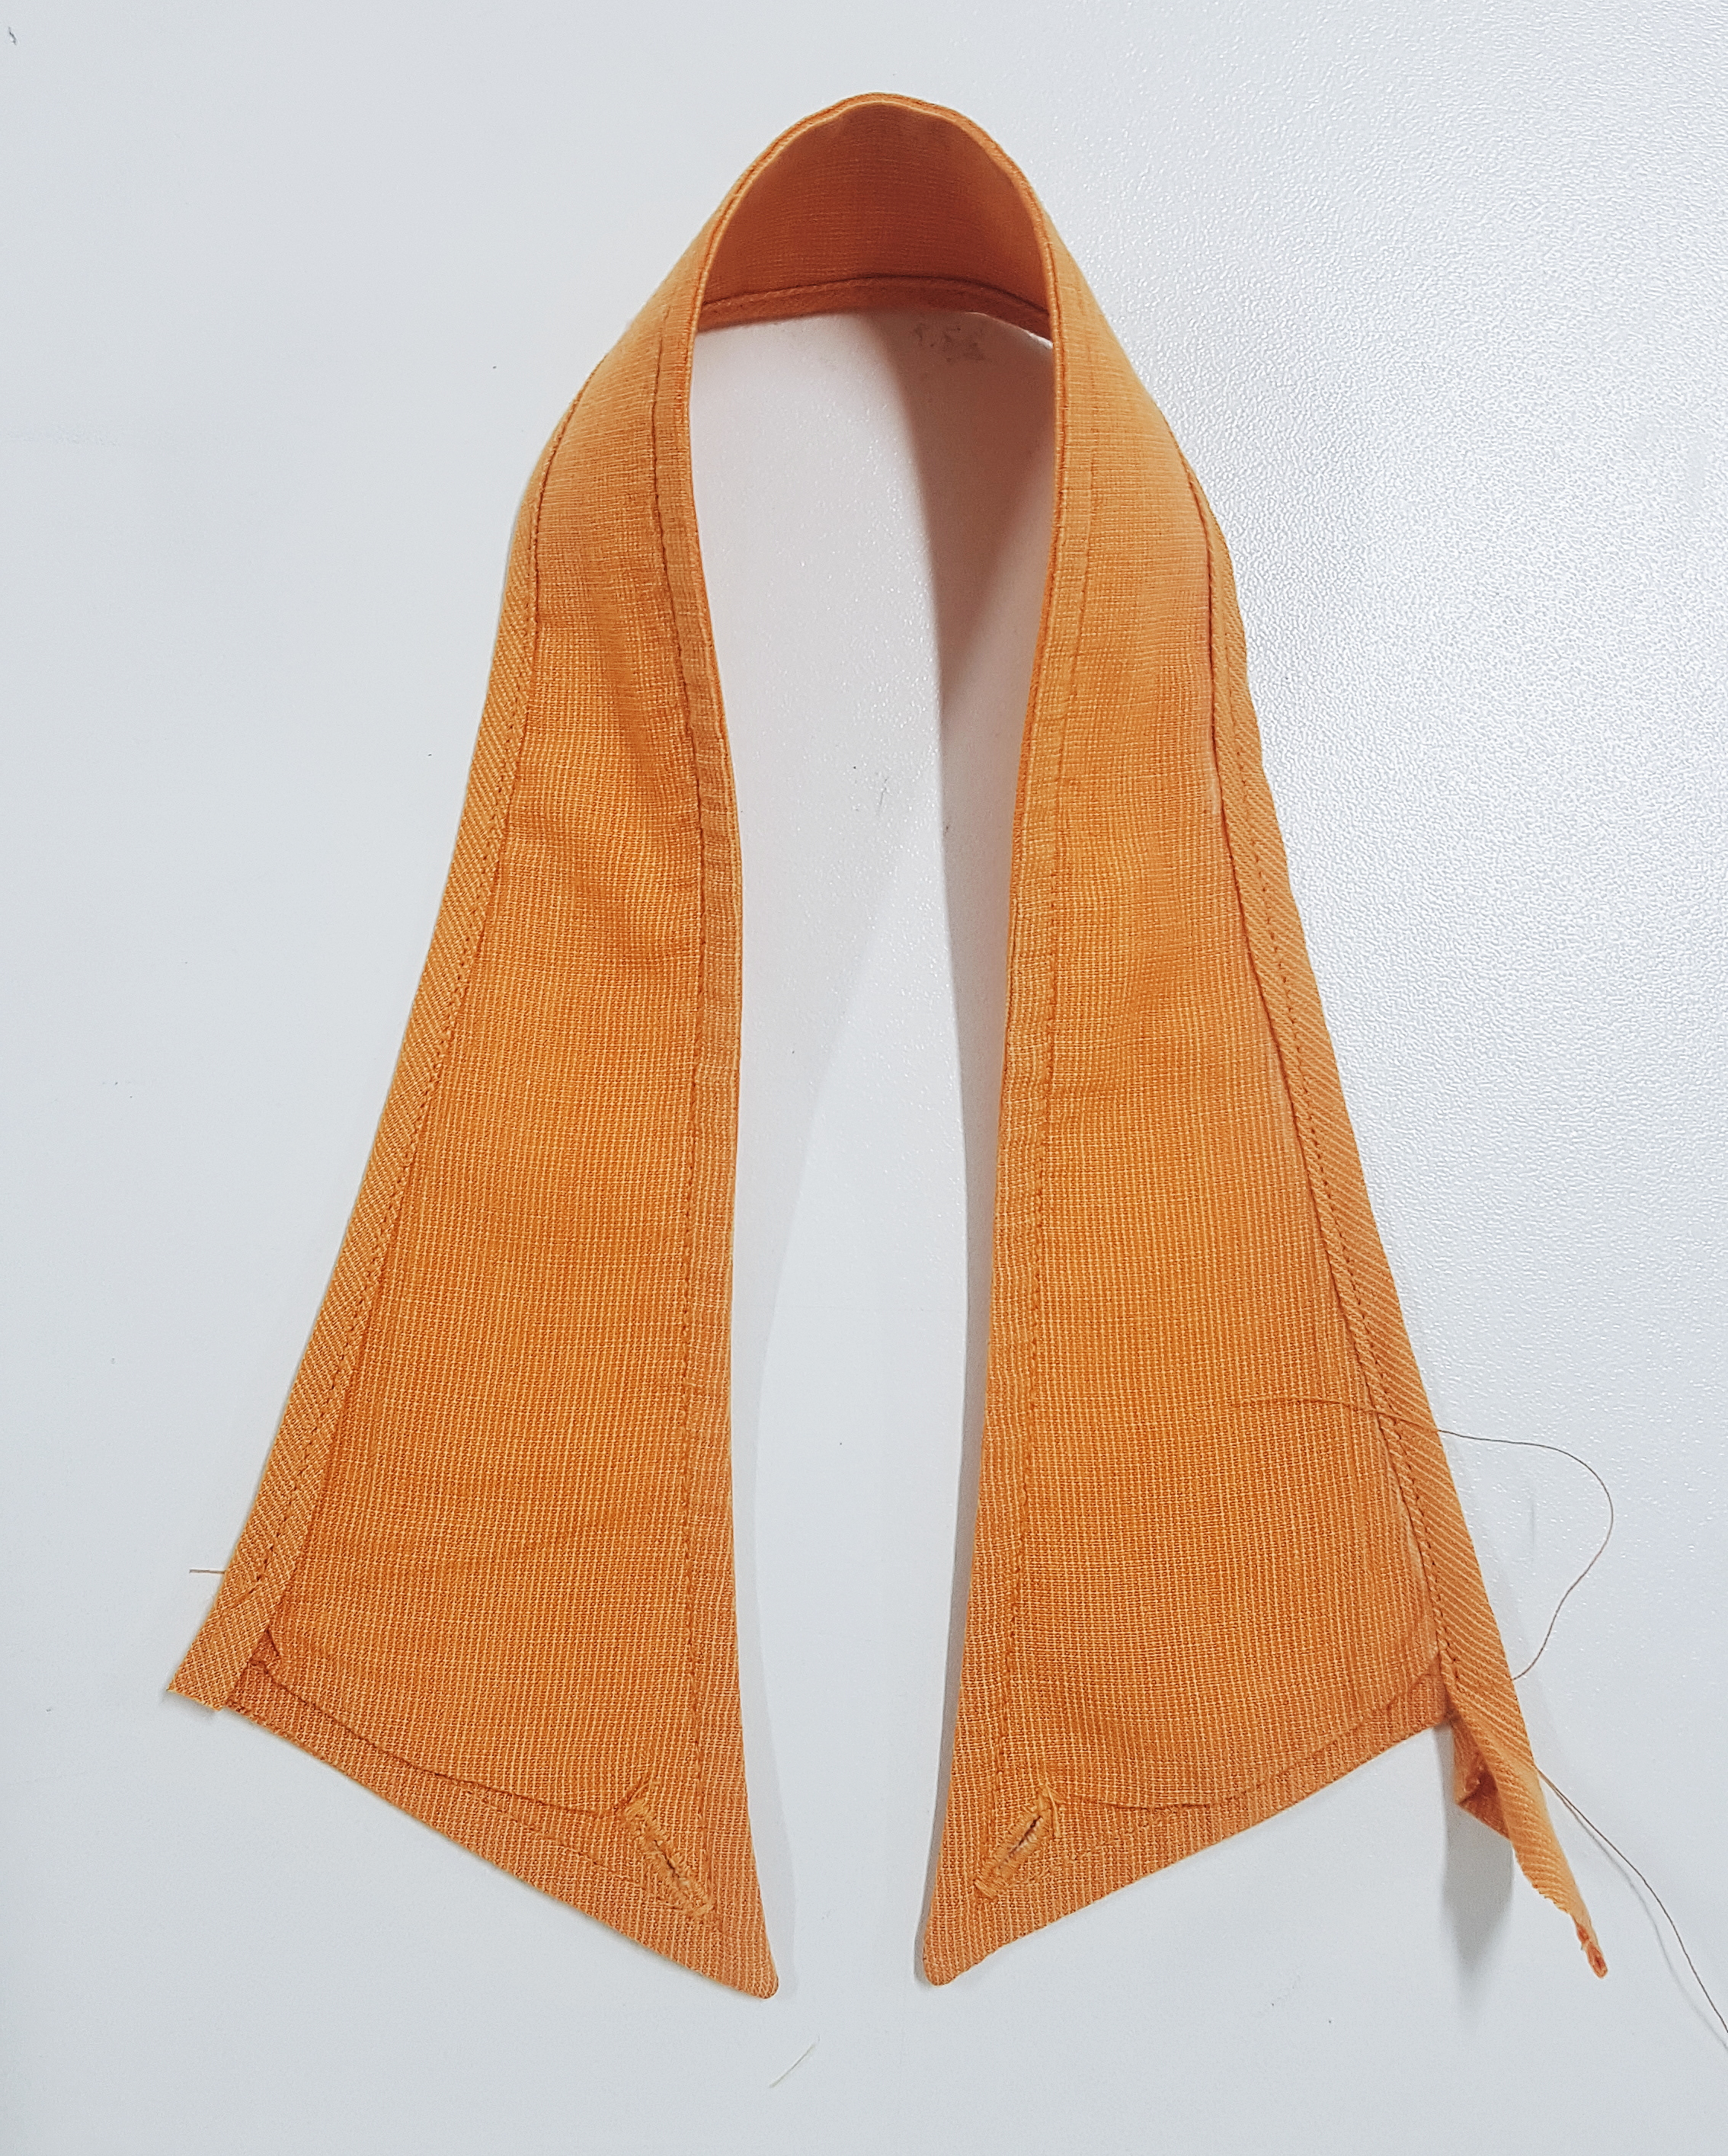
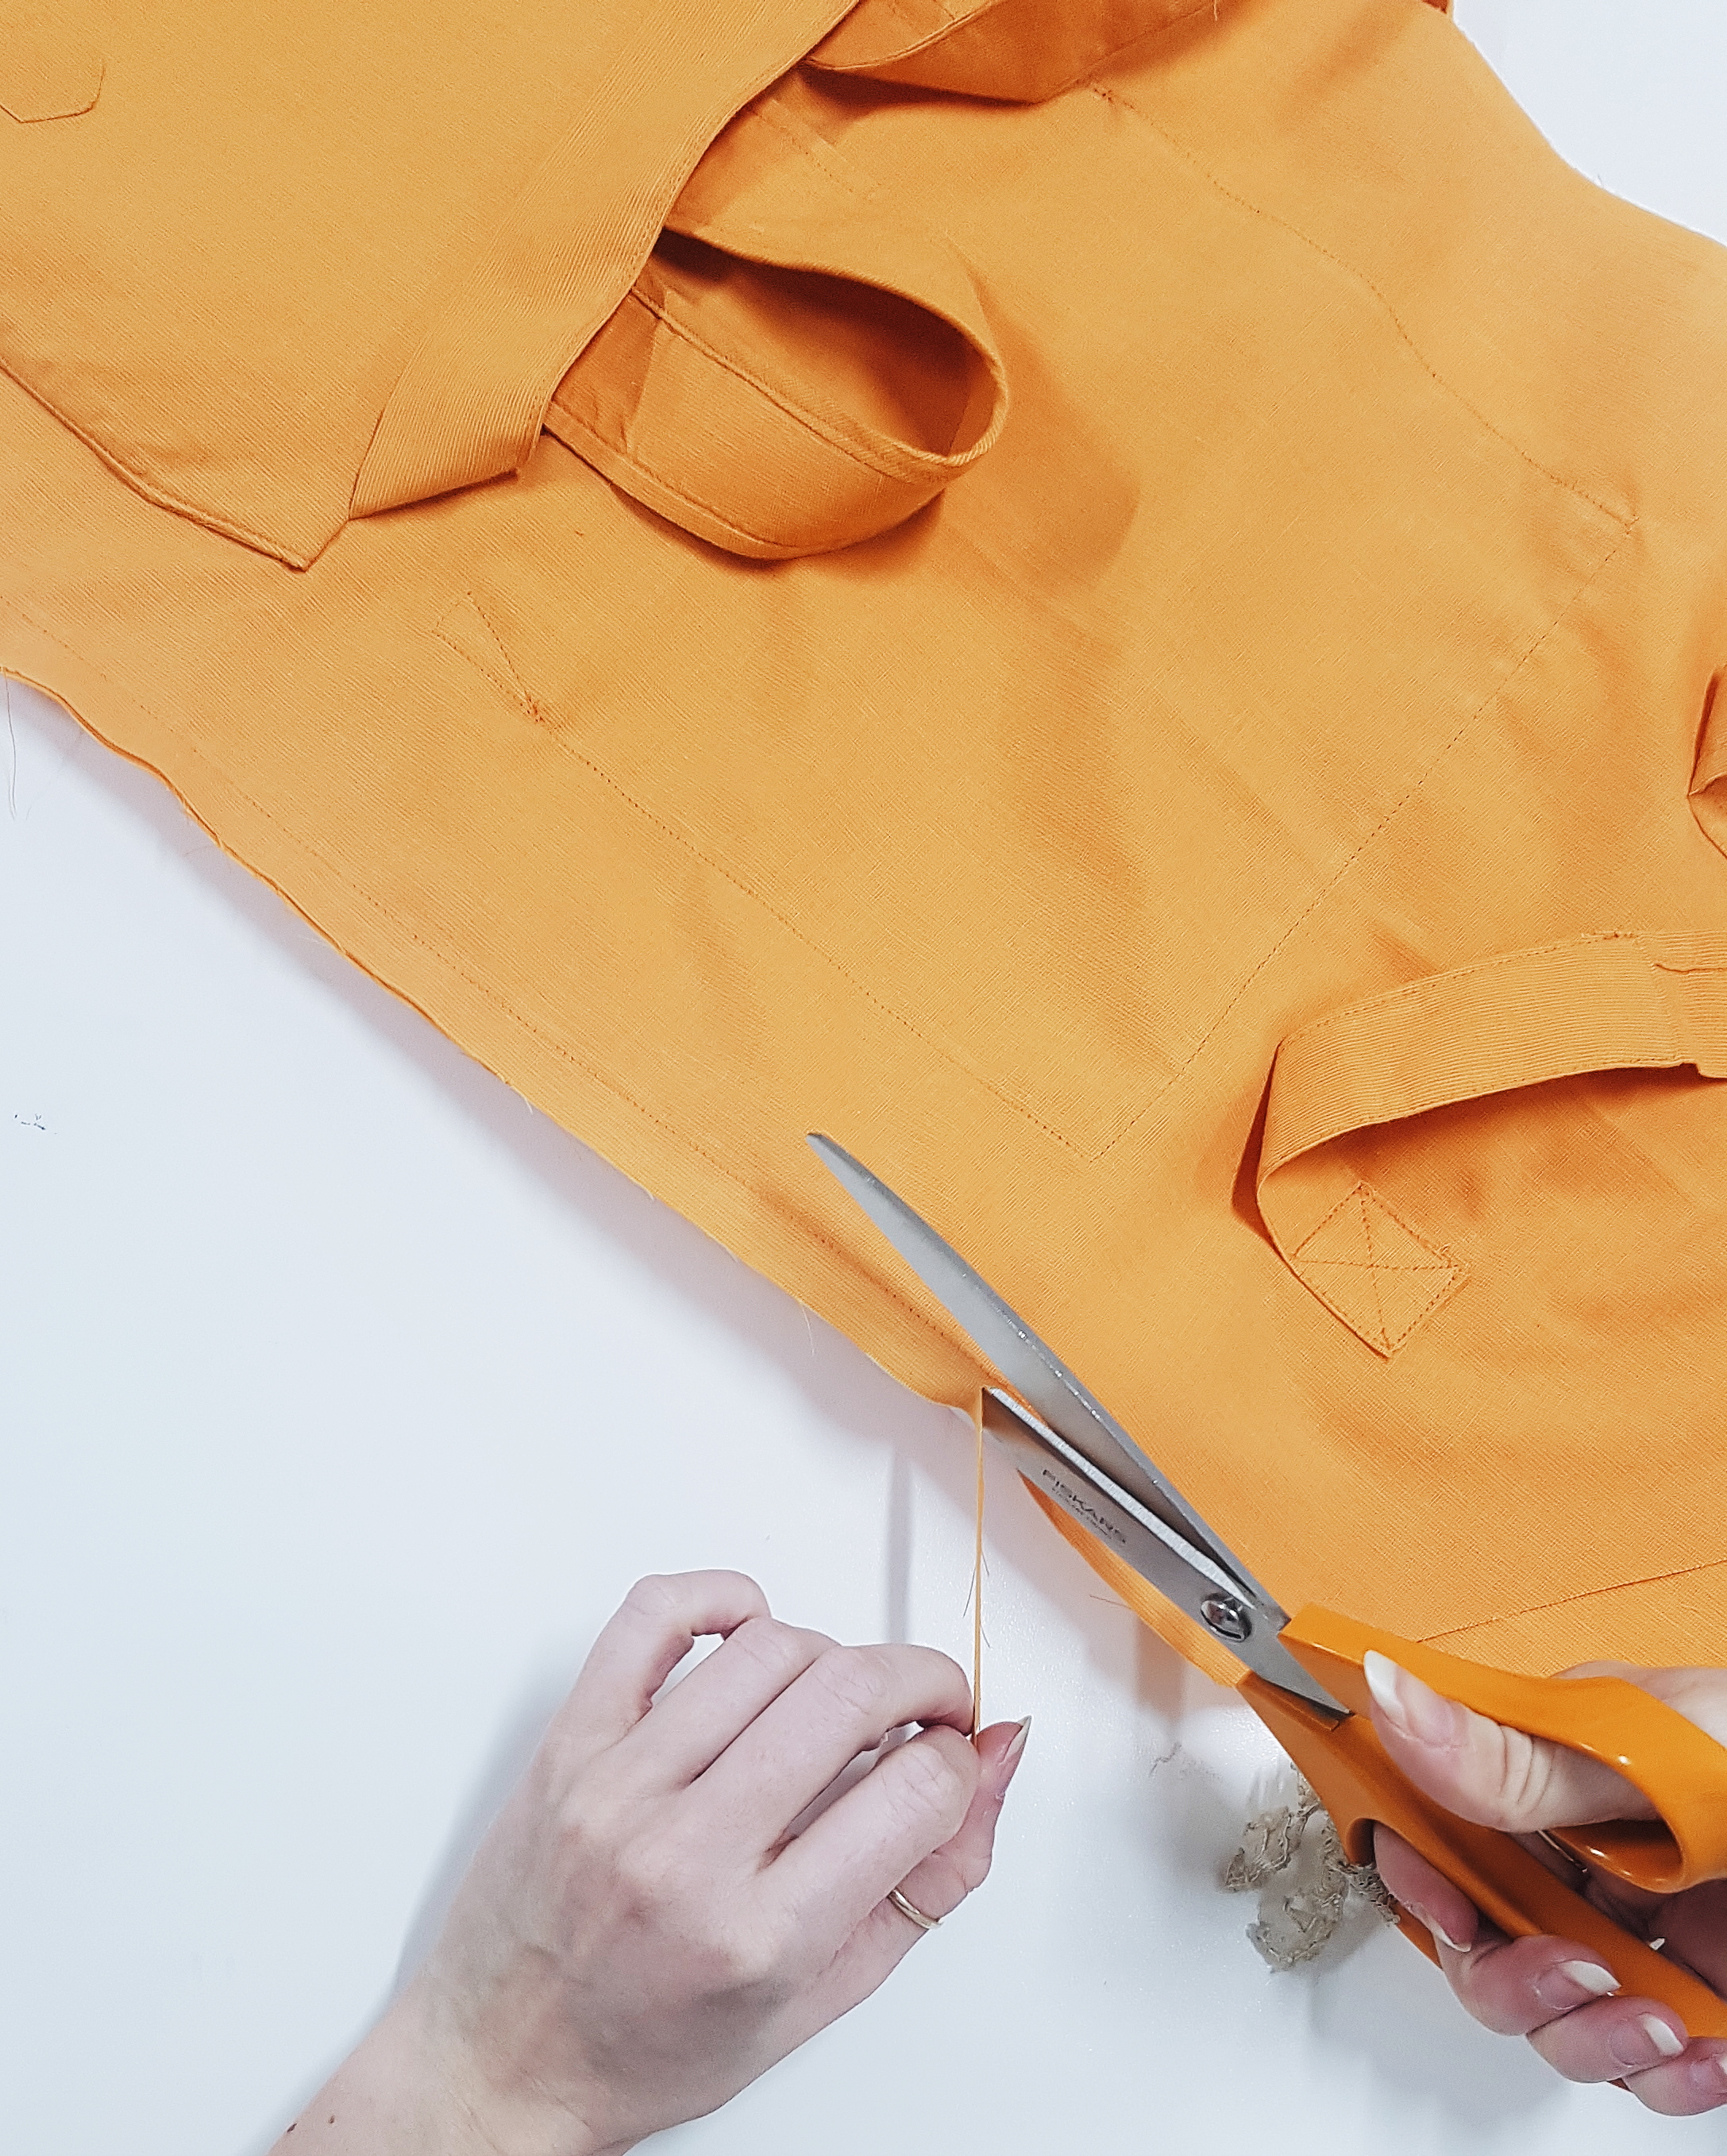
The pattern is designed to be applied to a large long sleeve shirt, there is nothing stopping you from combining garments and mix-matching textiles. It is advised you only need to unpick your collar and can carefully cut along the seams elsewhere.

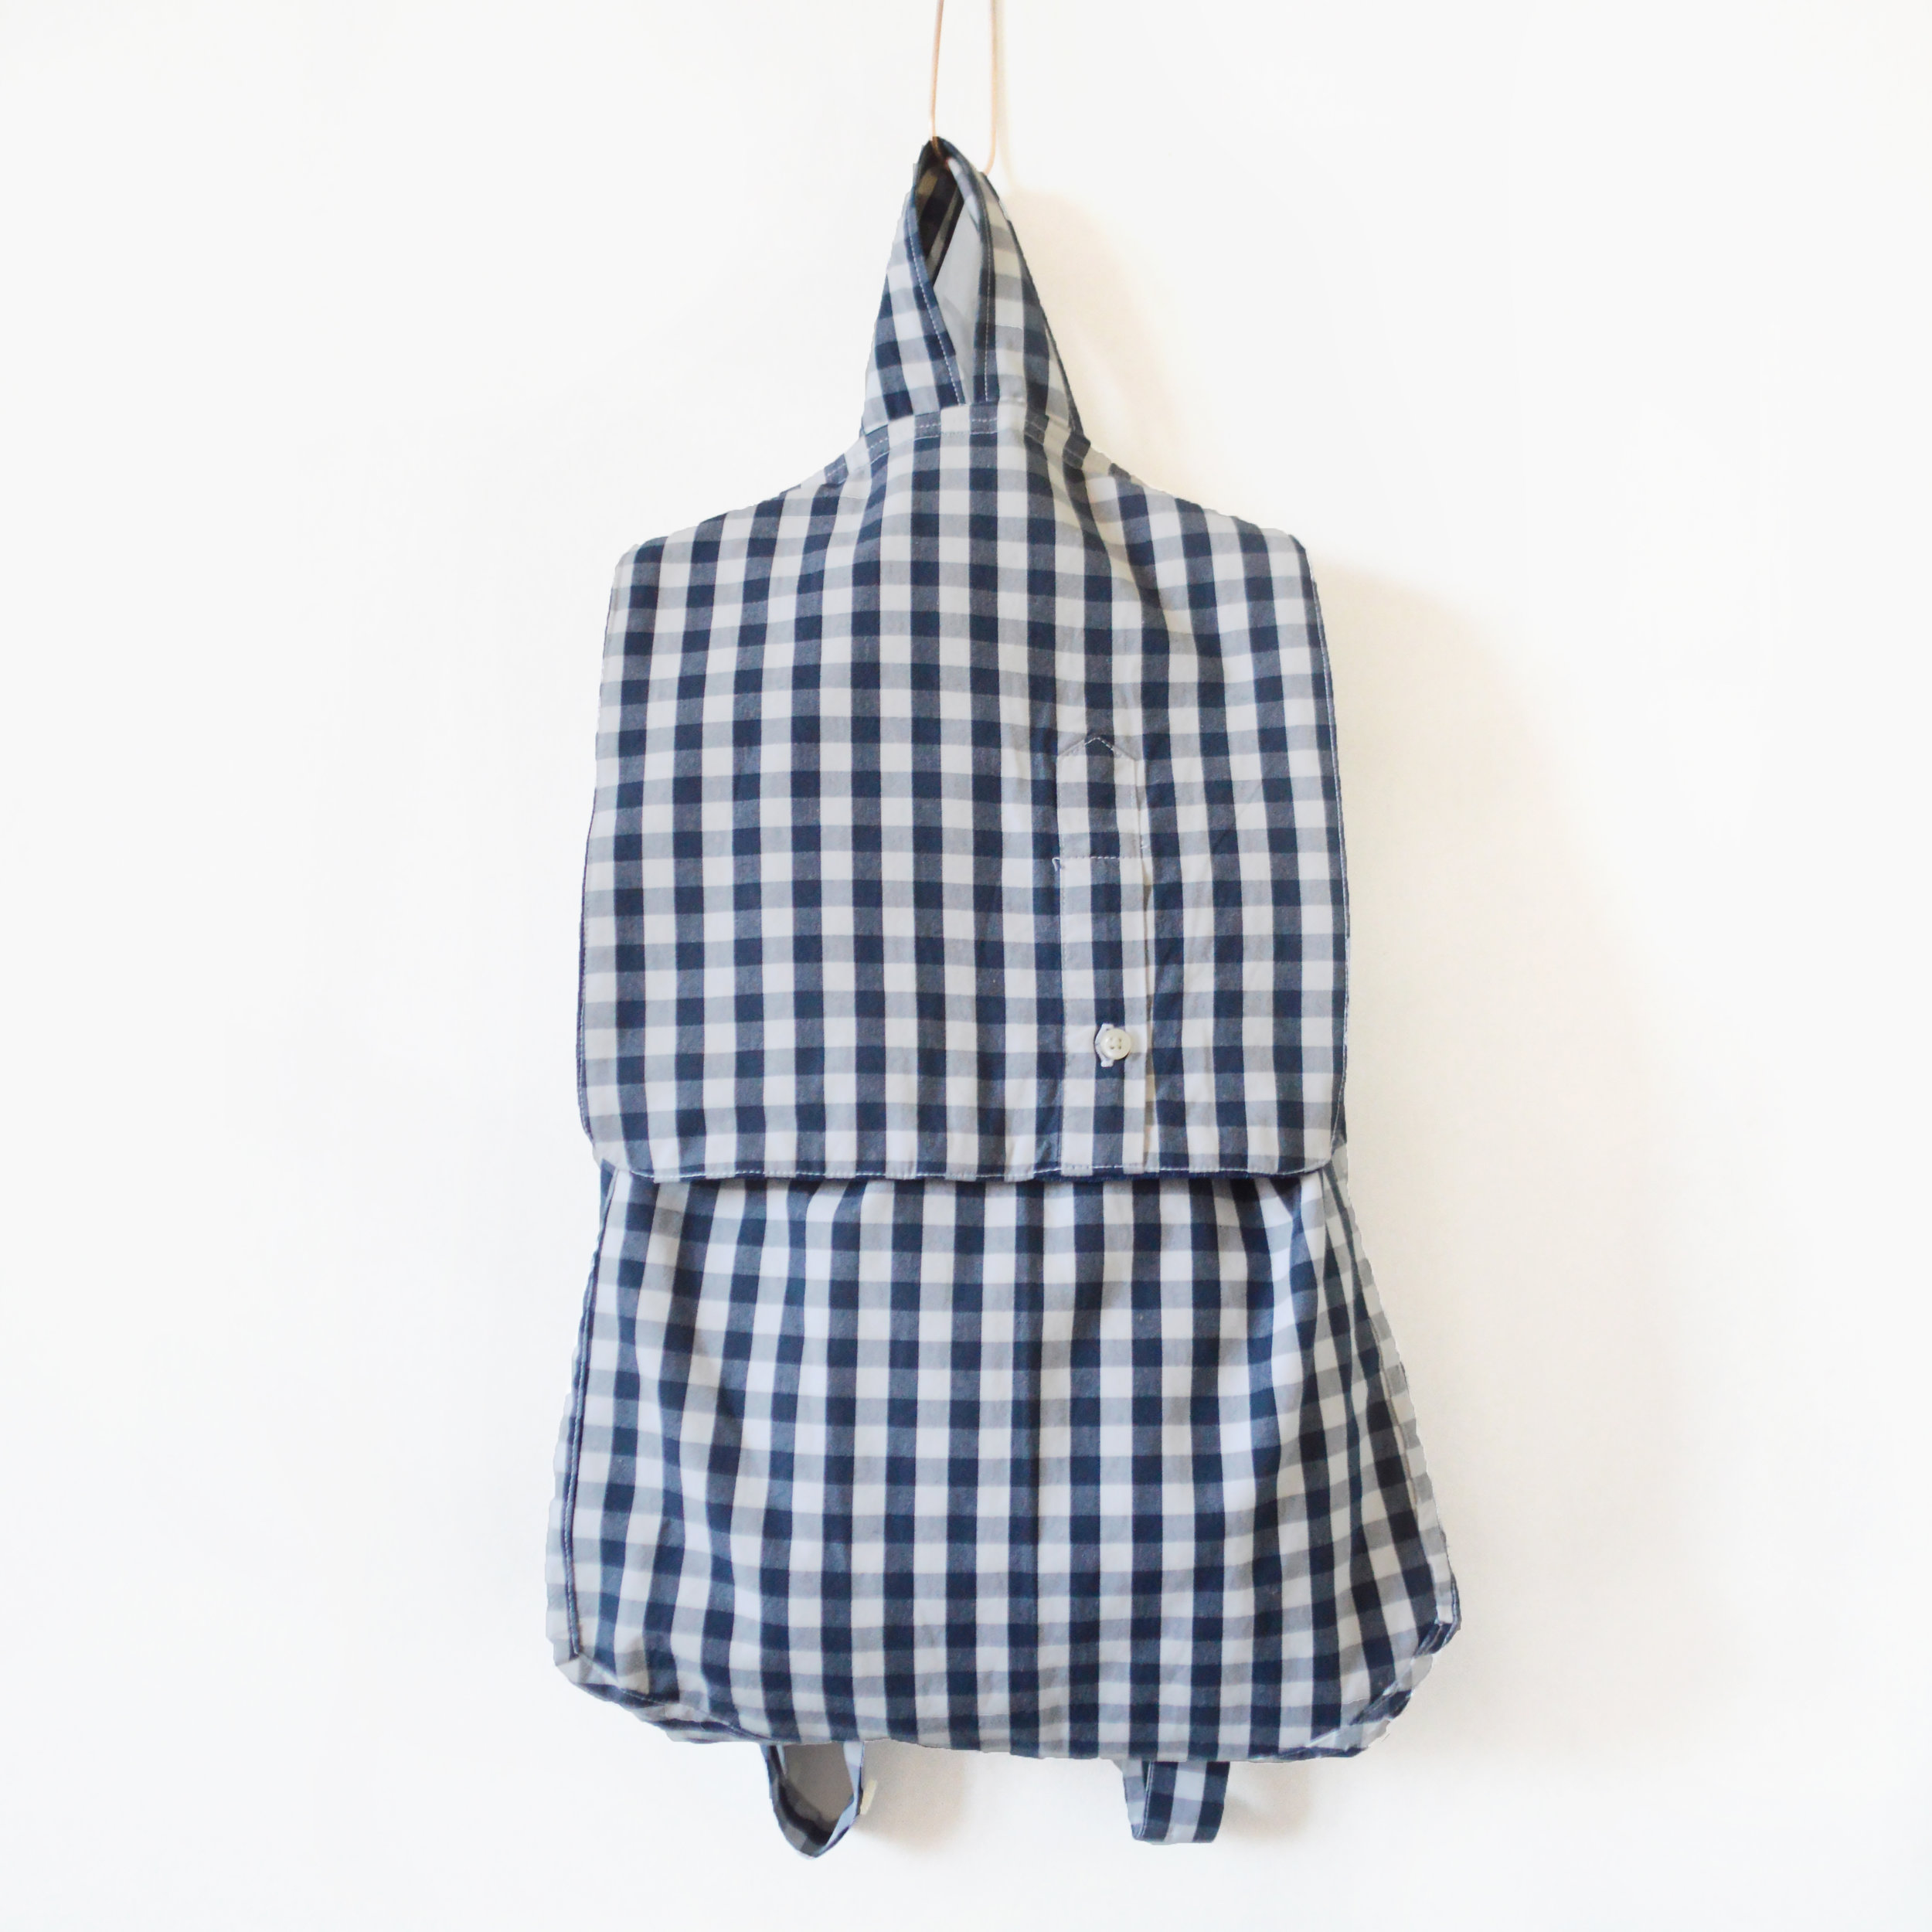
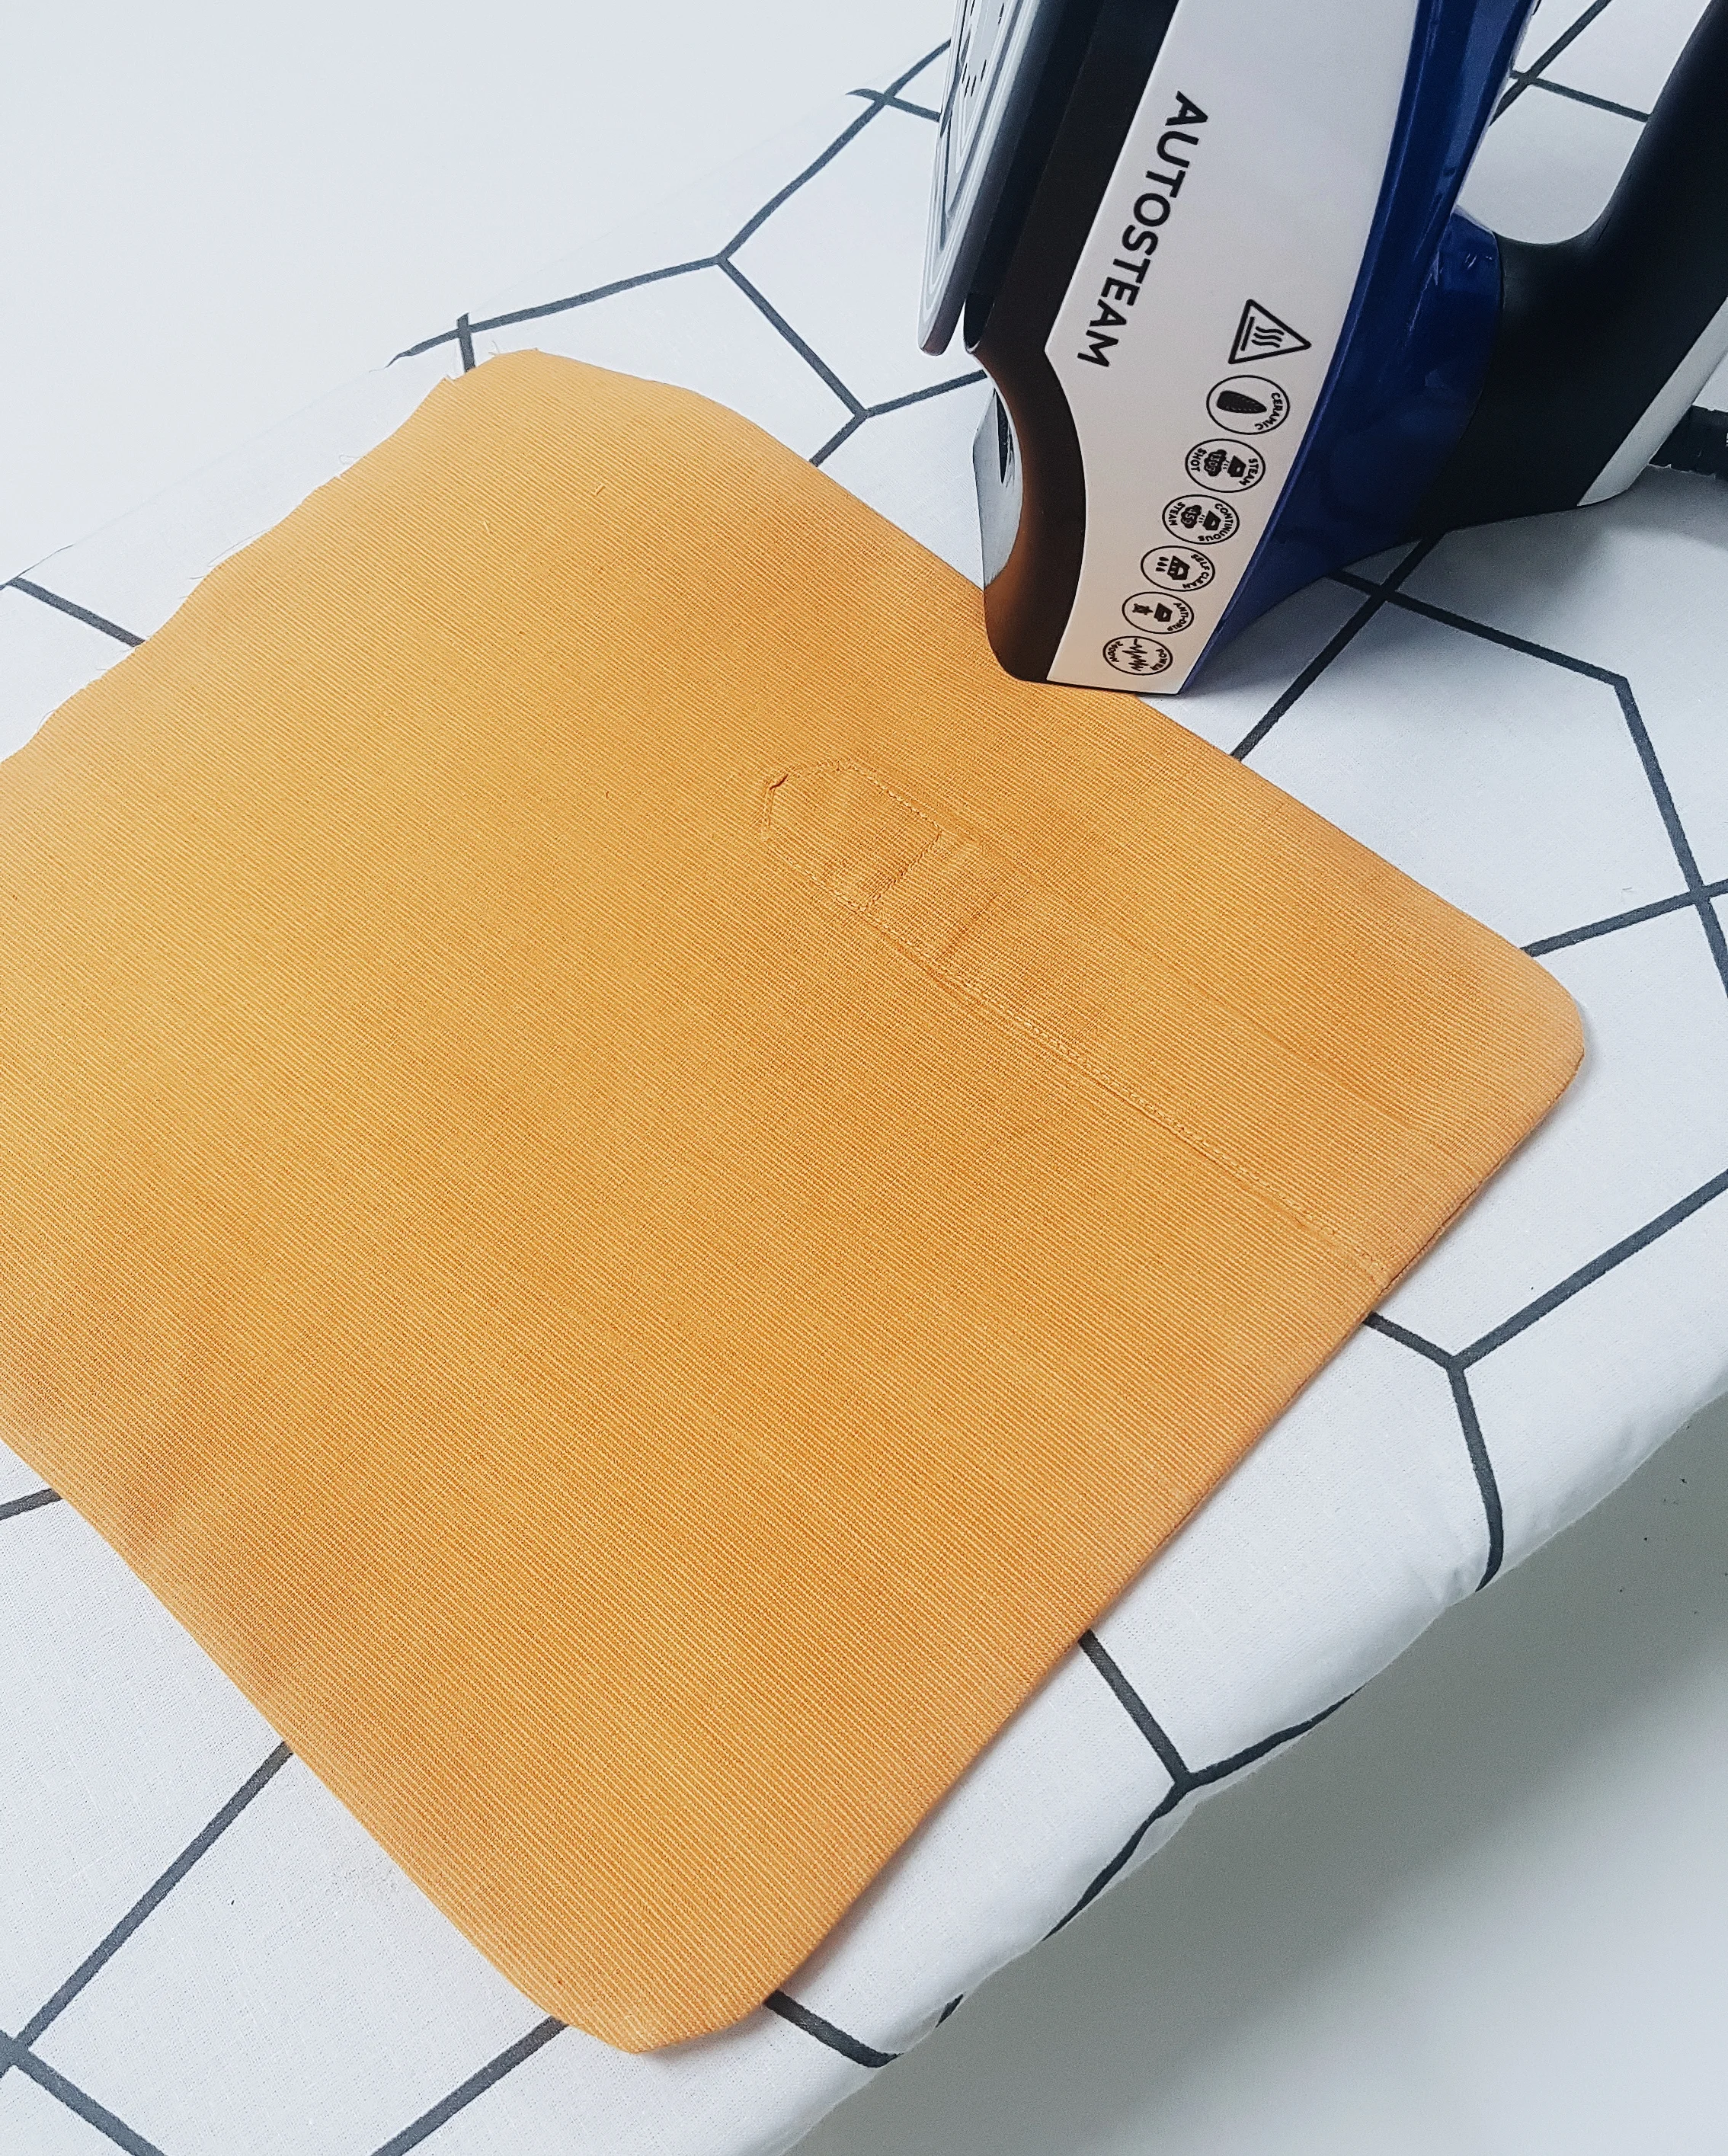
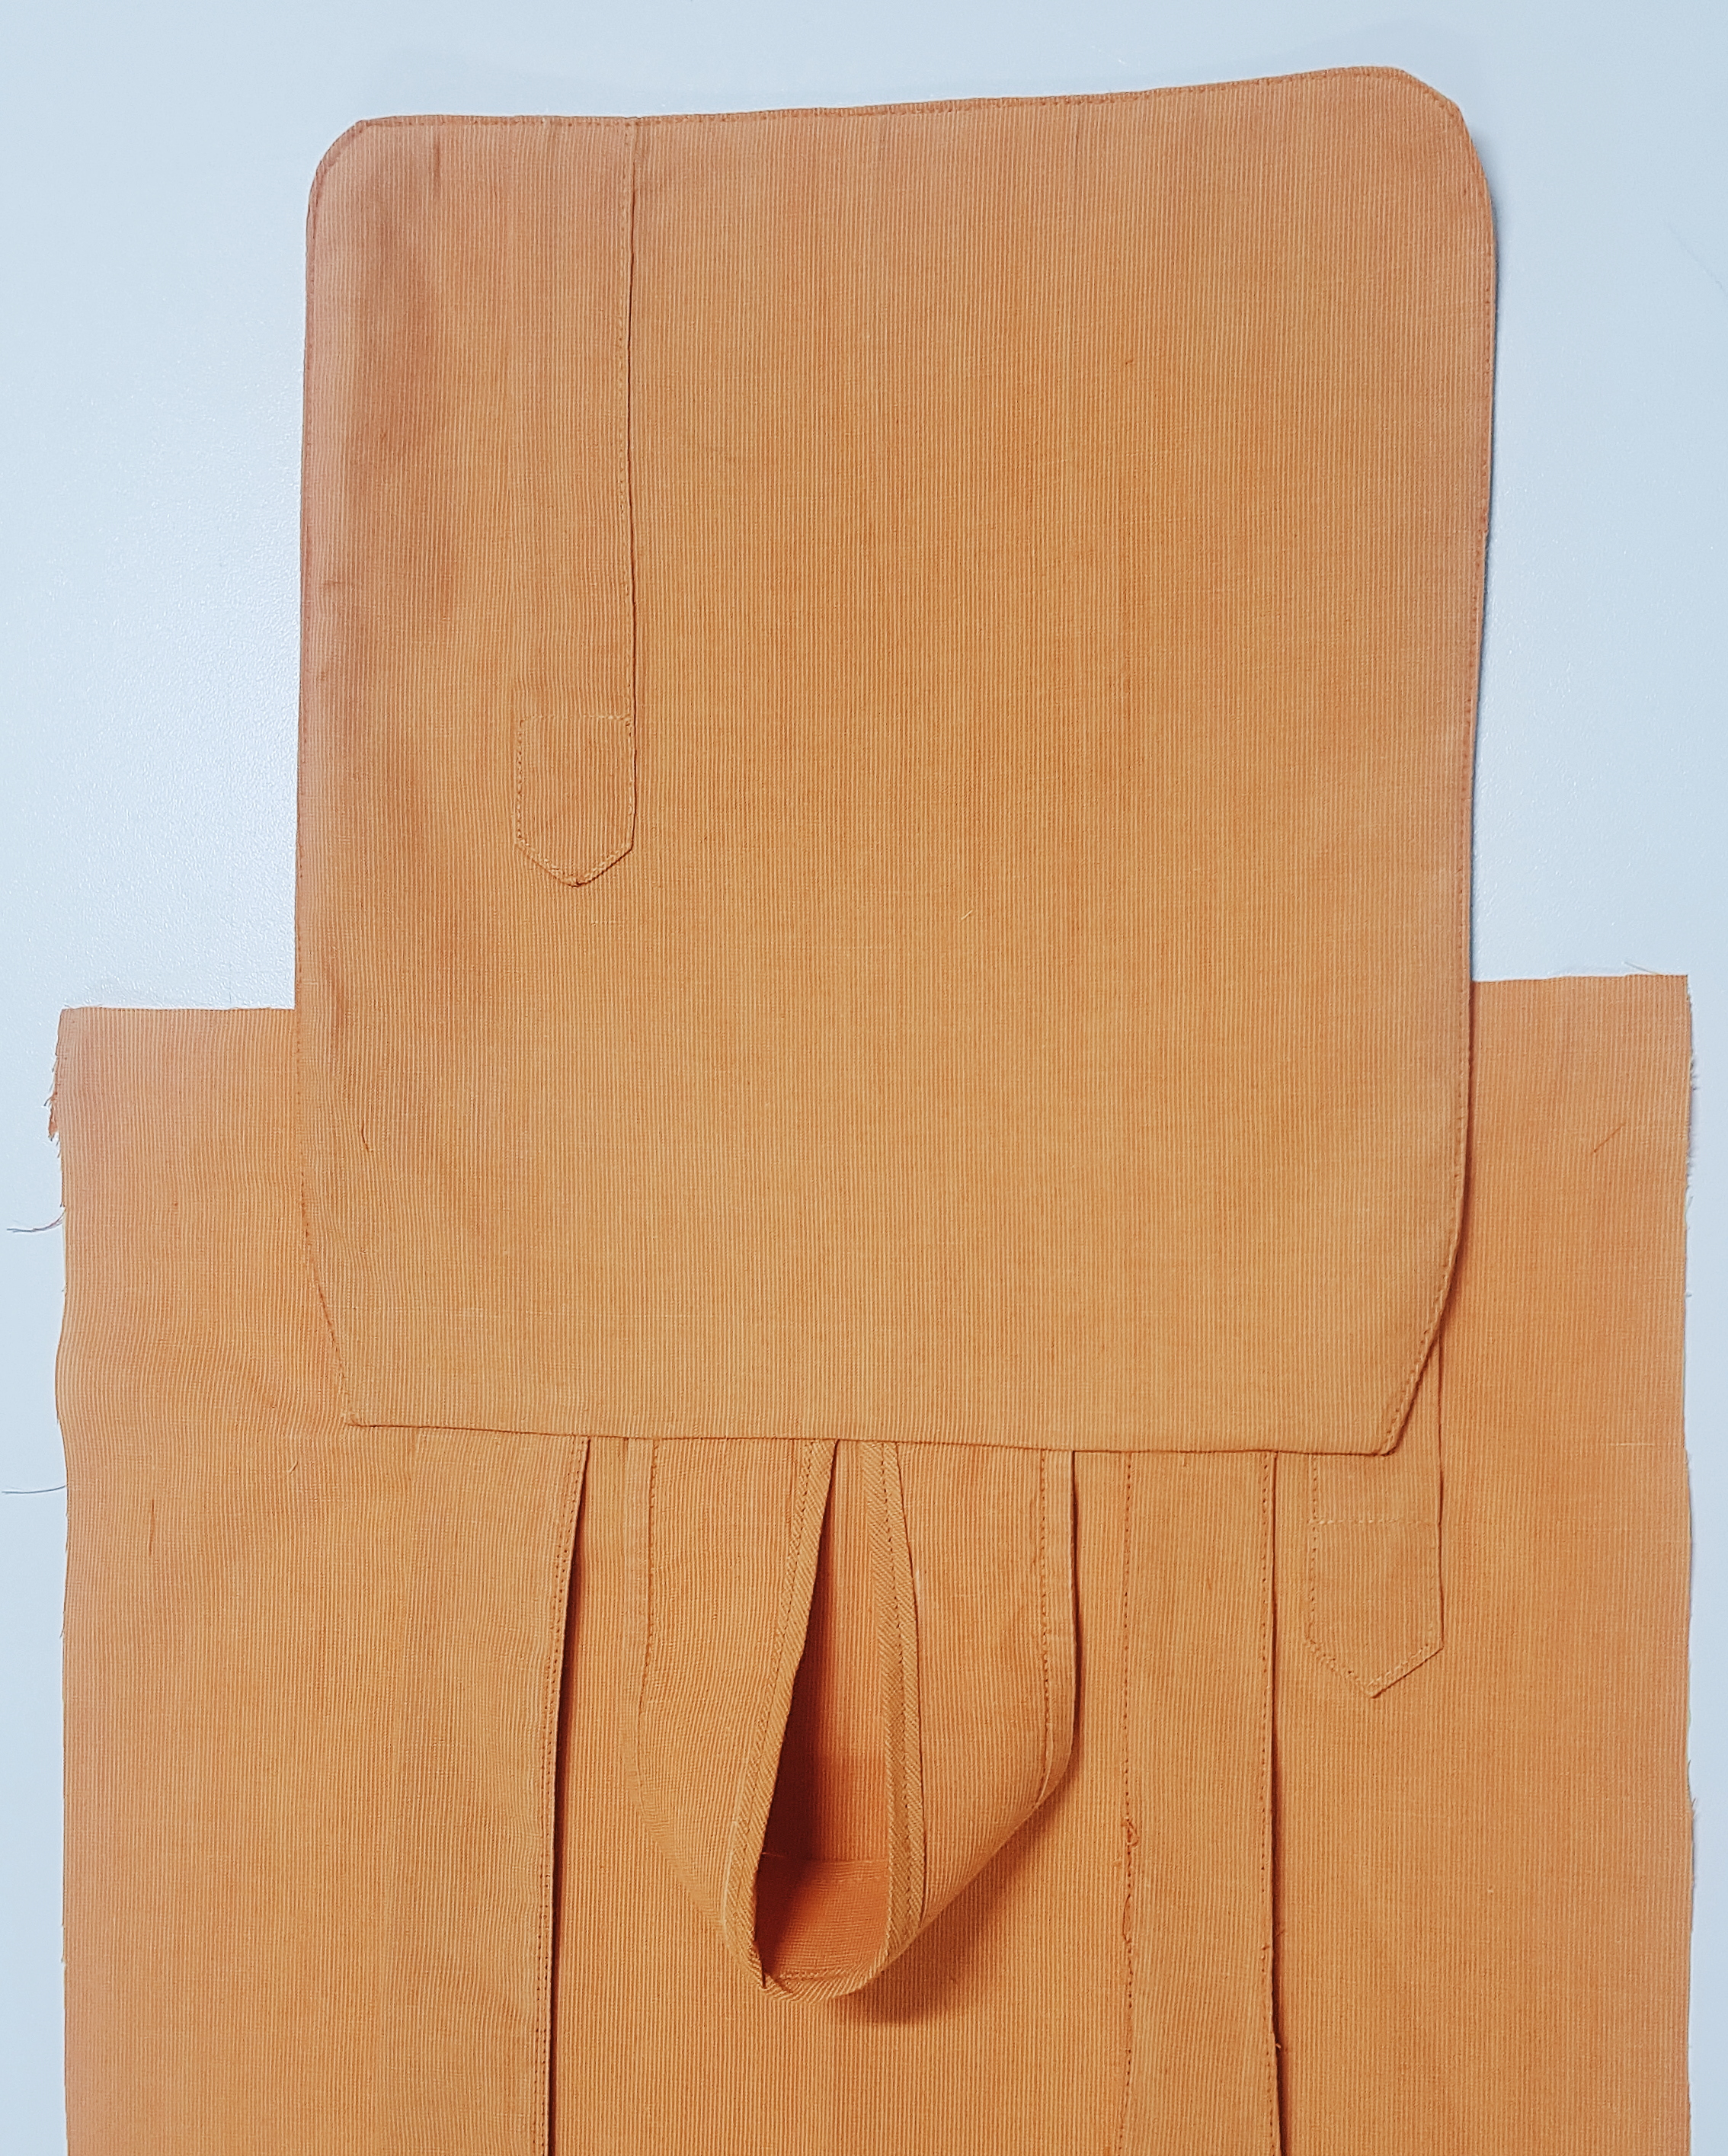
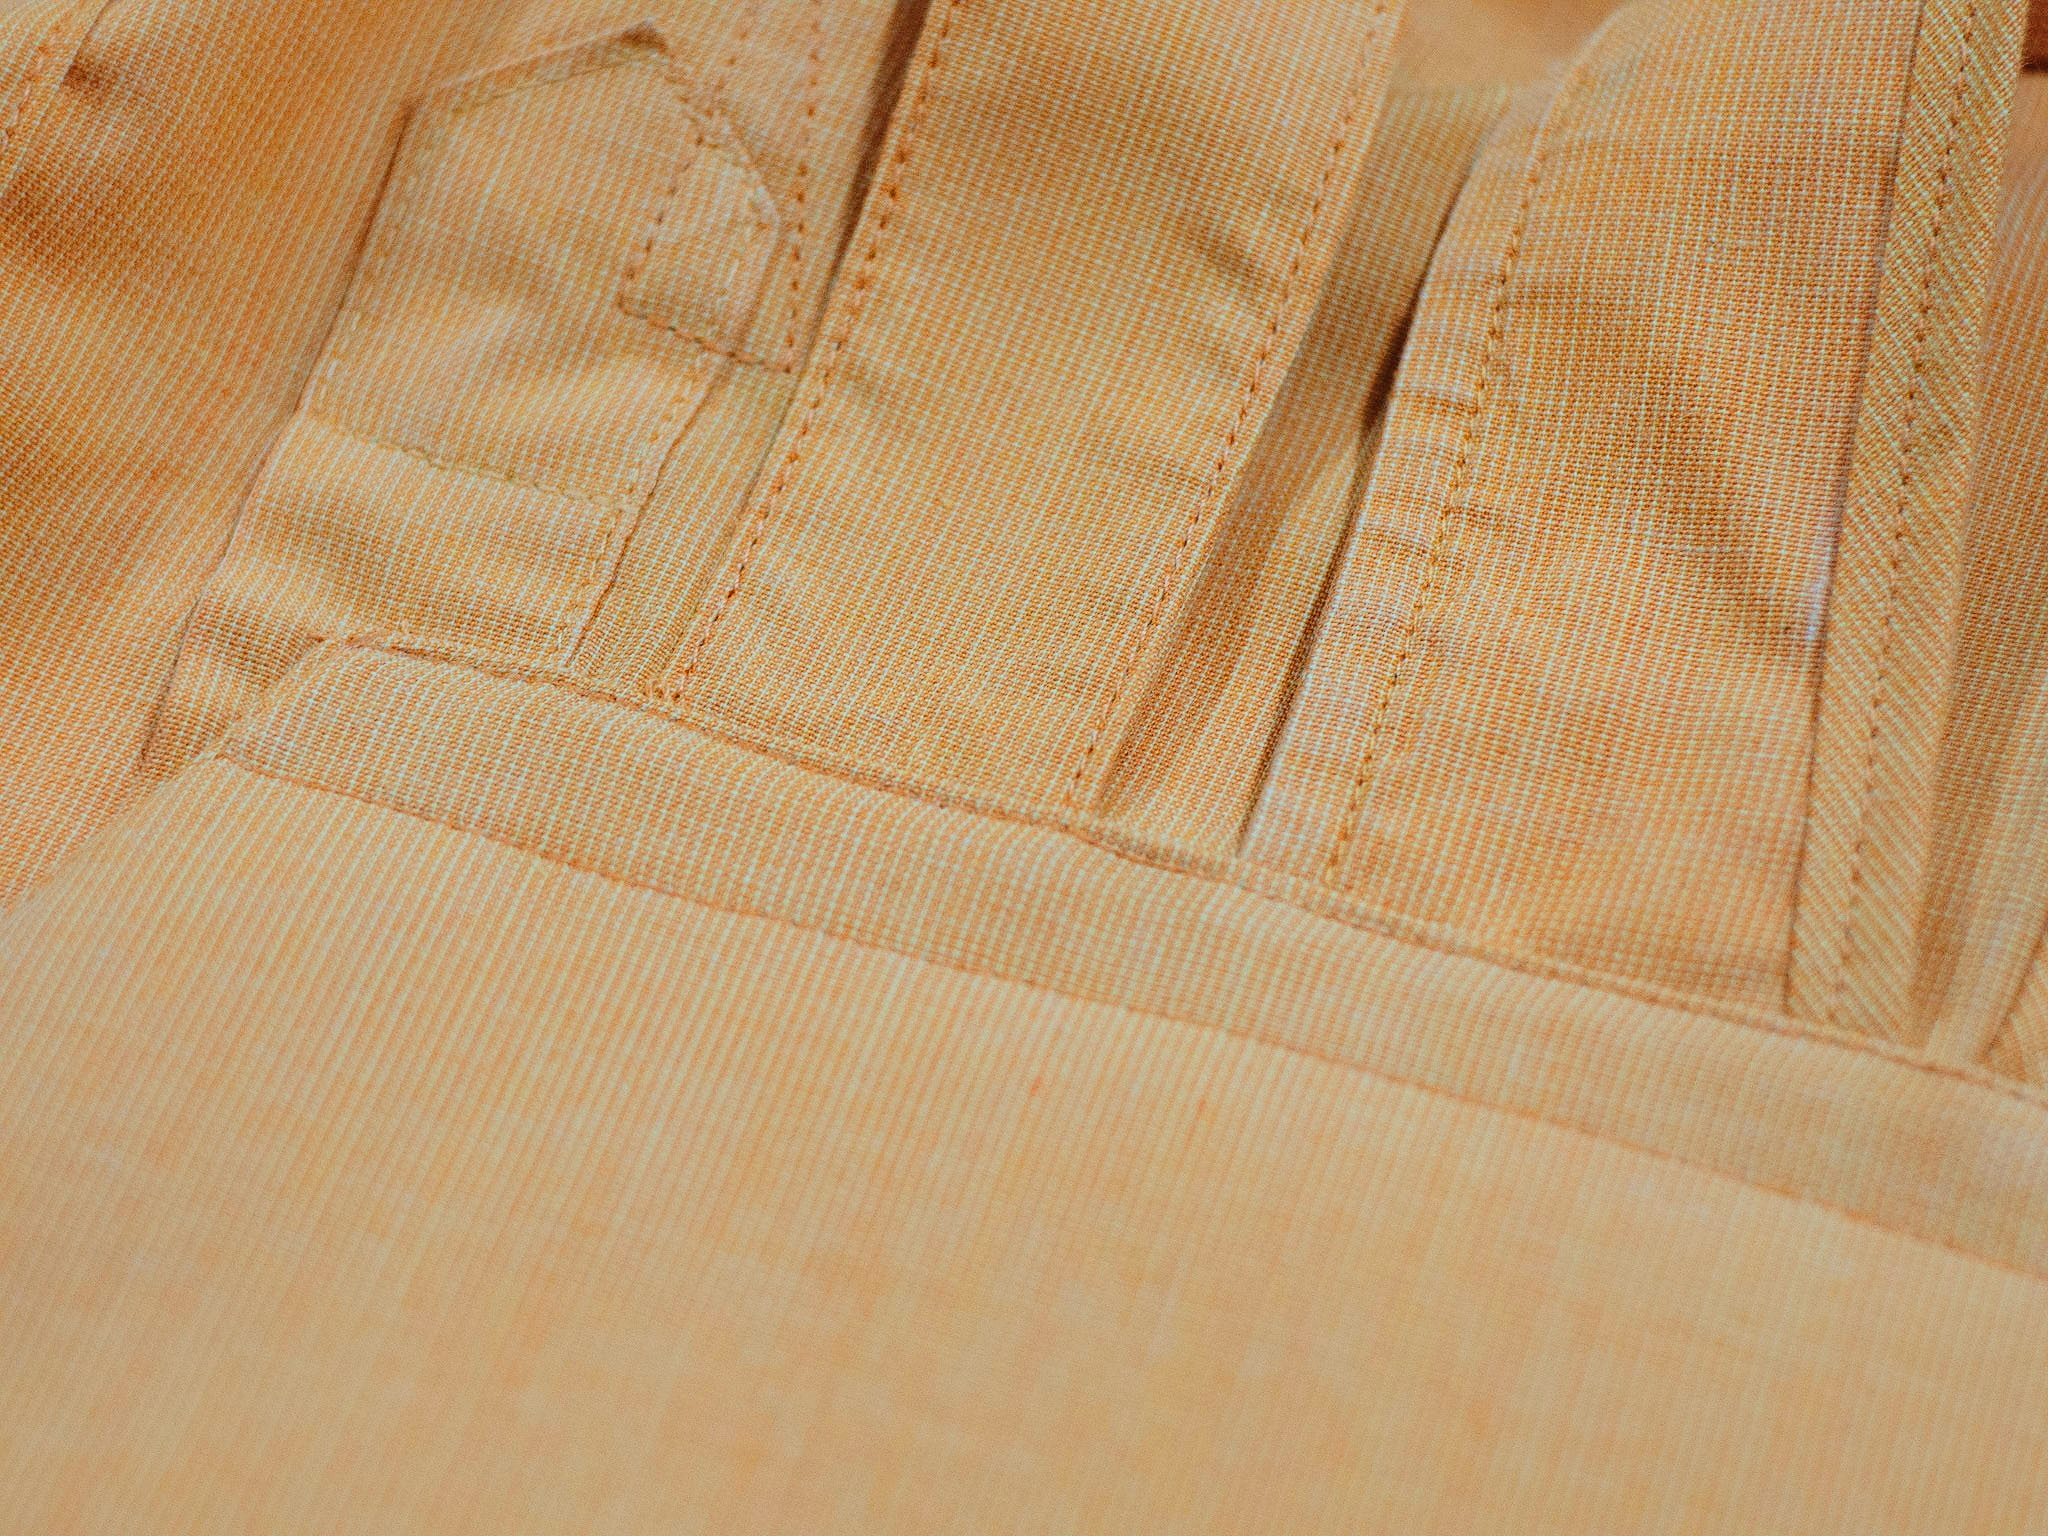
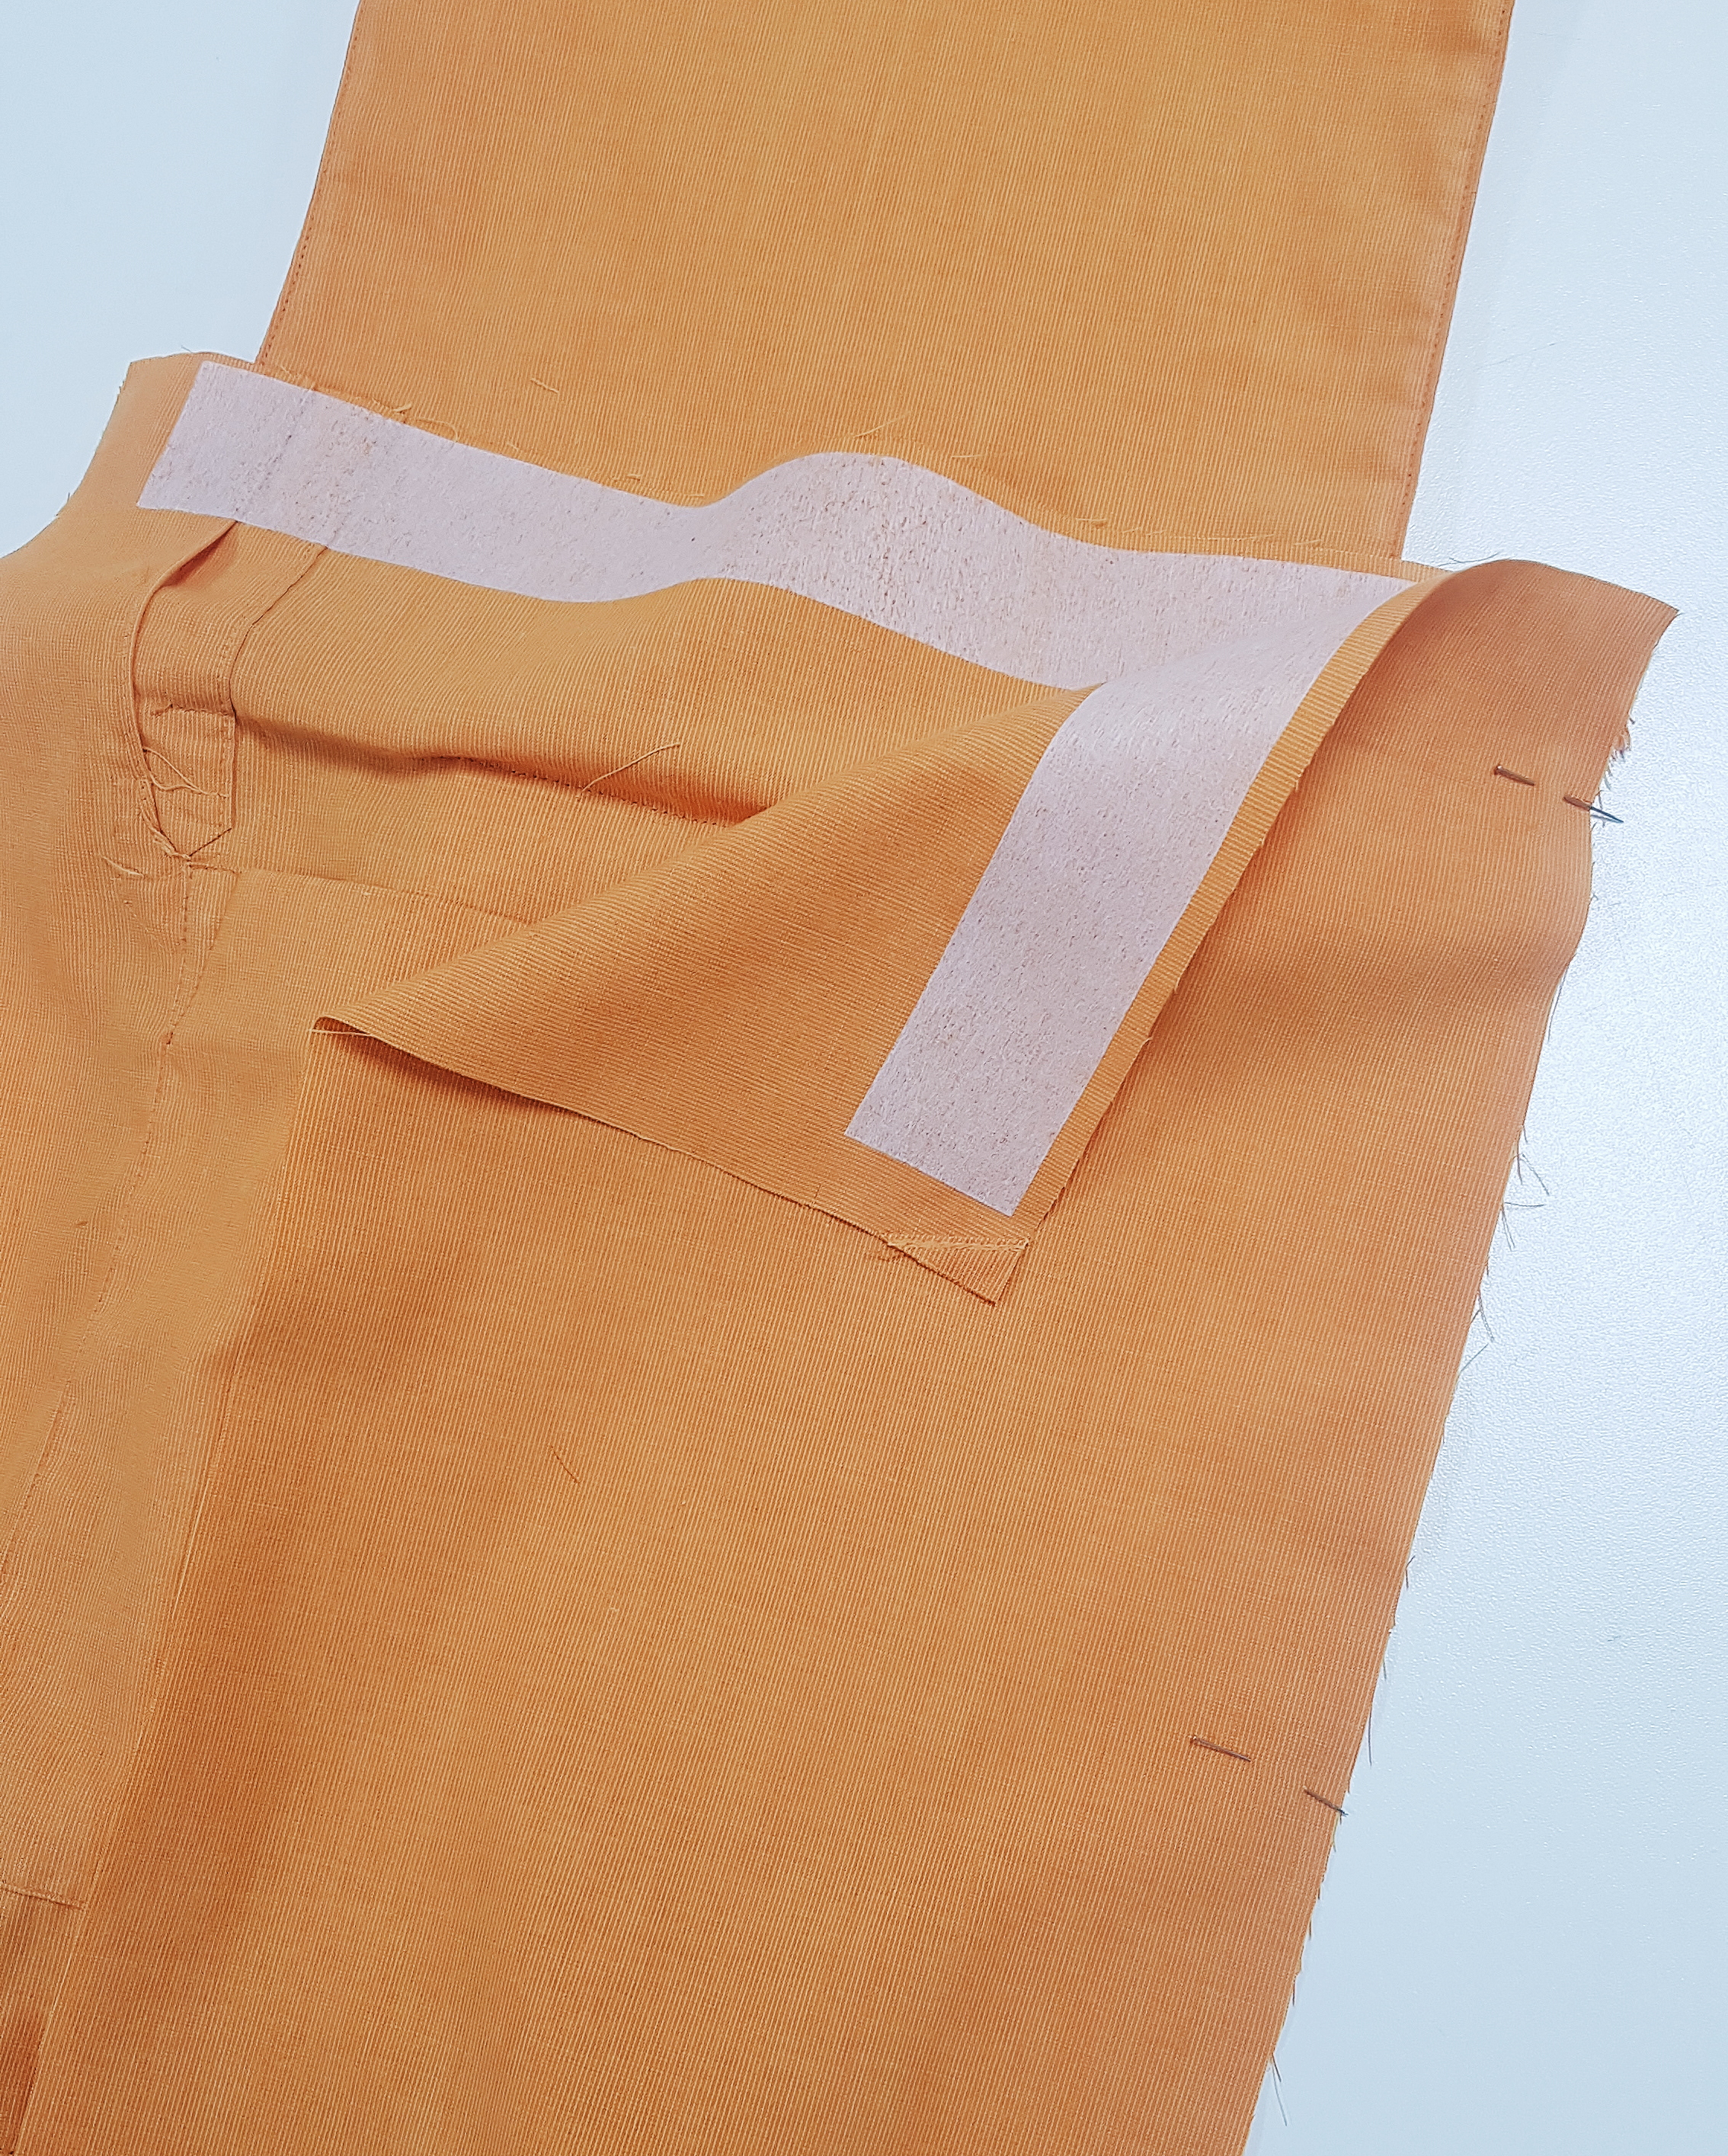
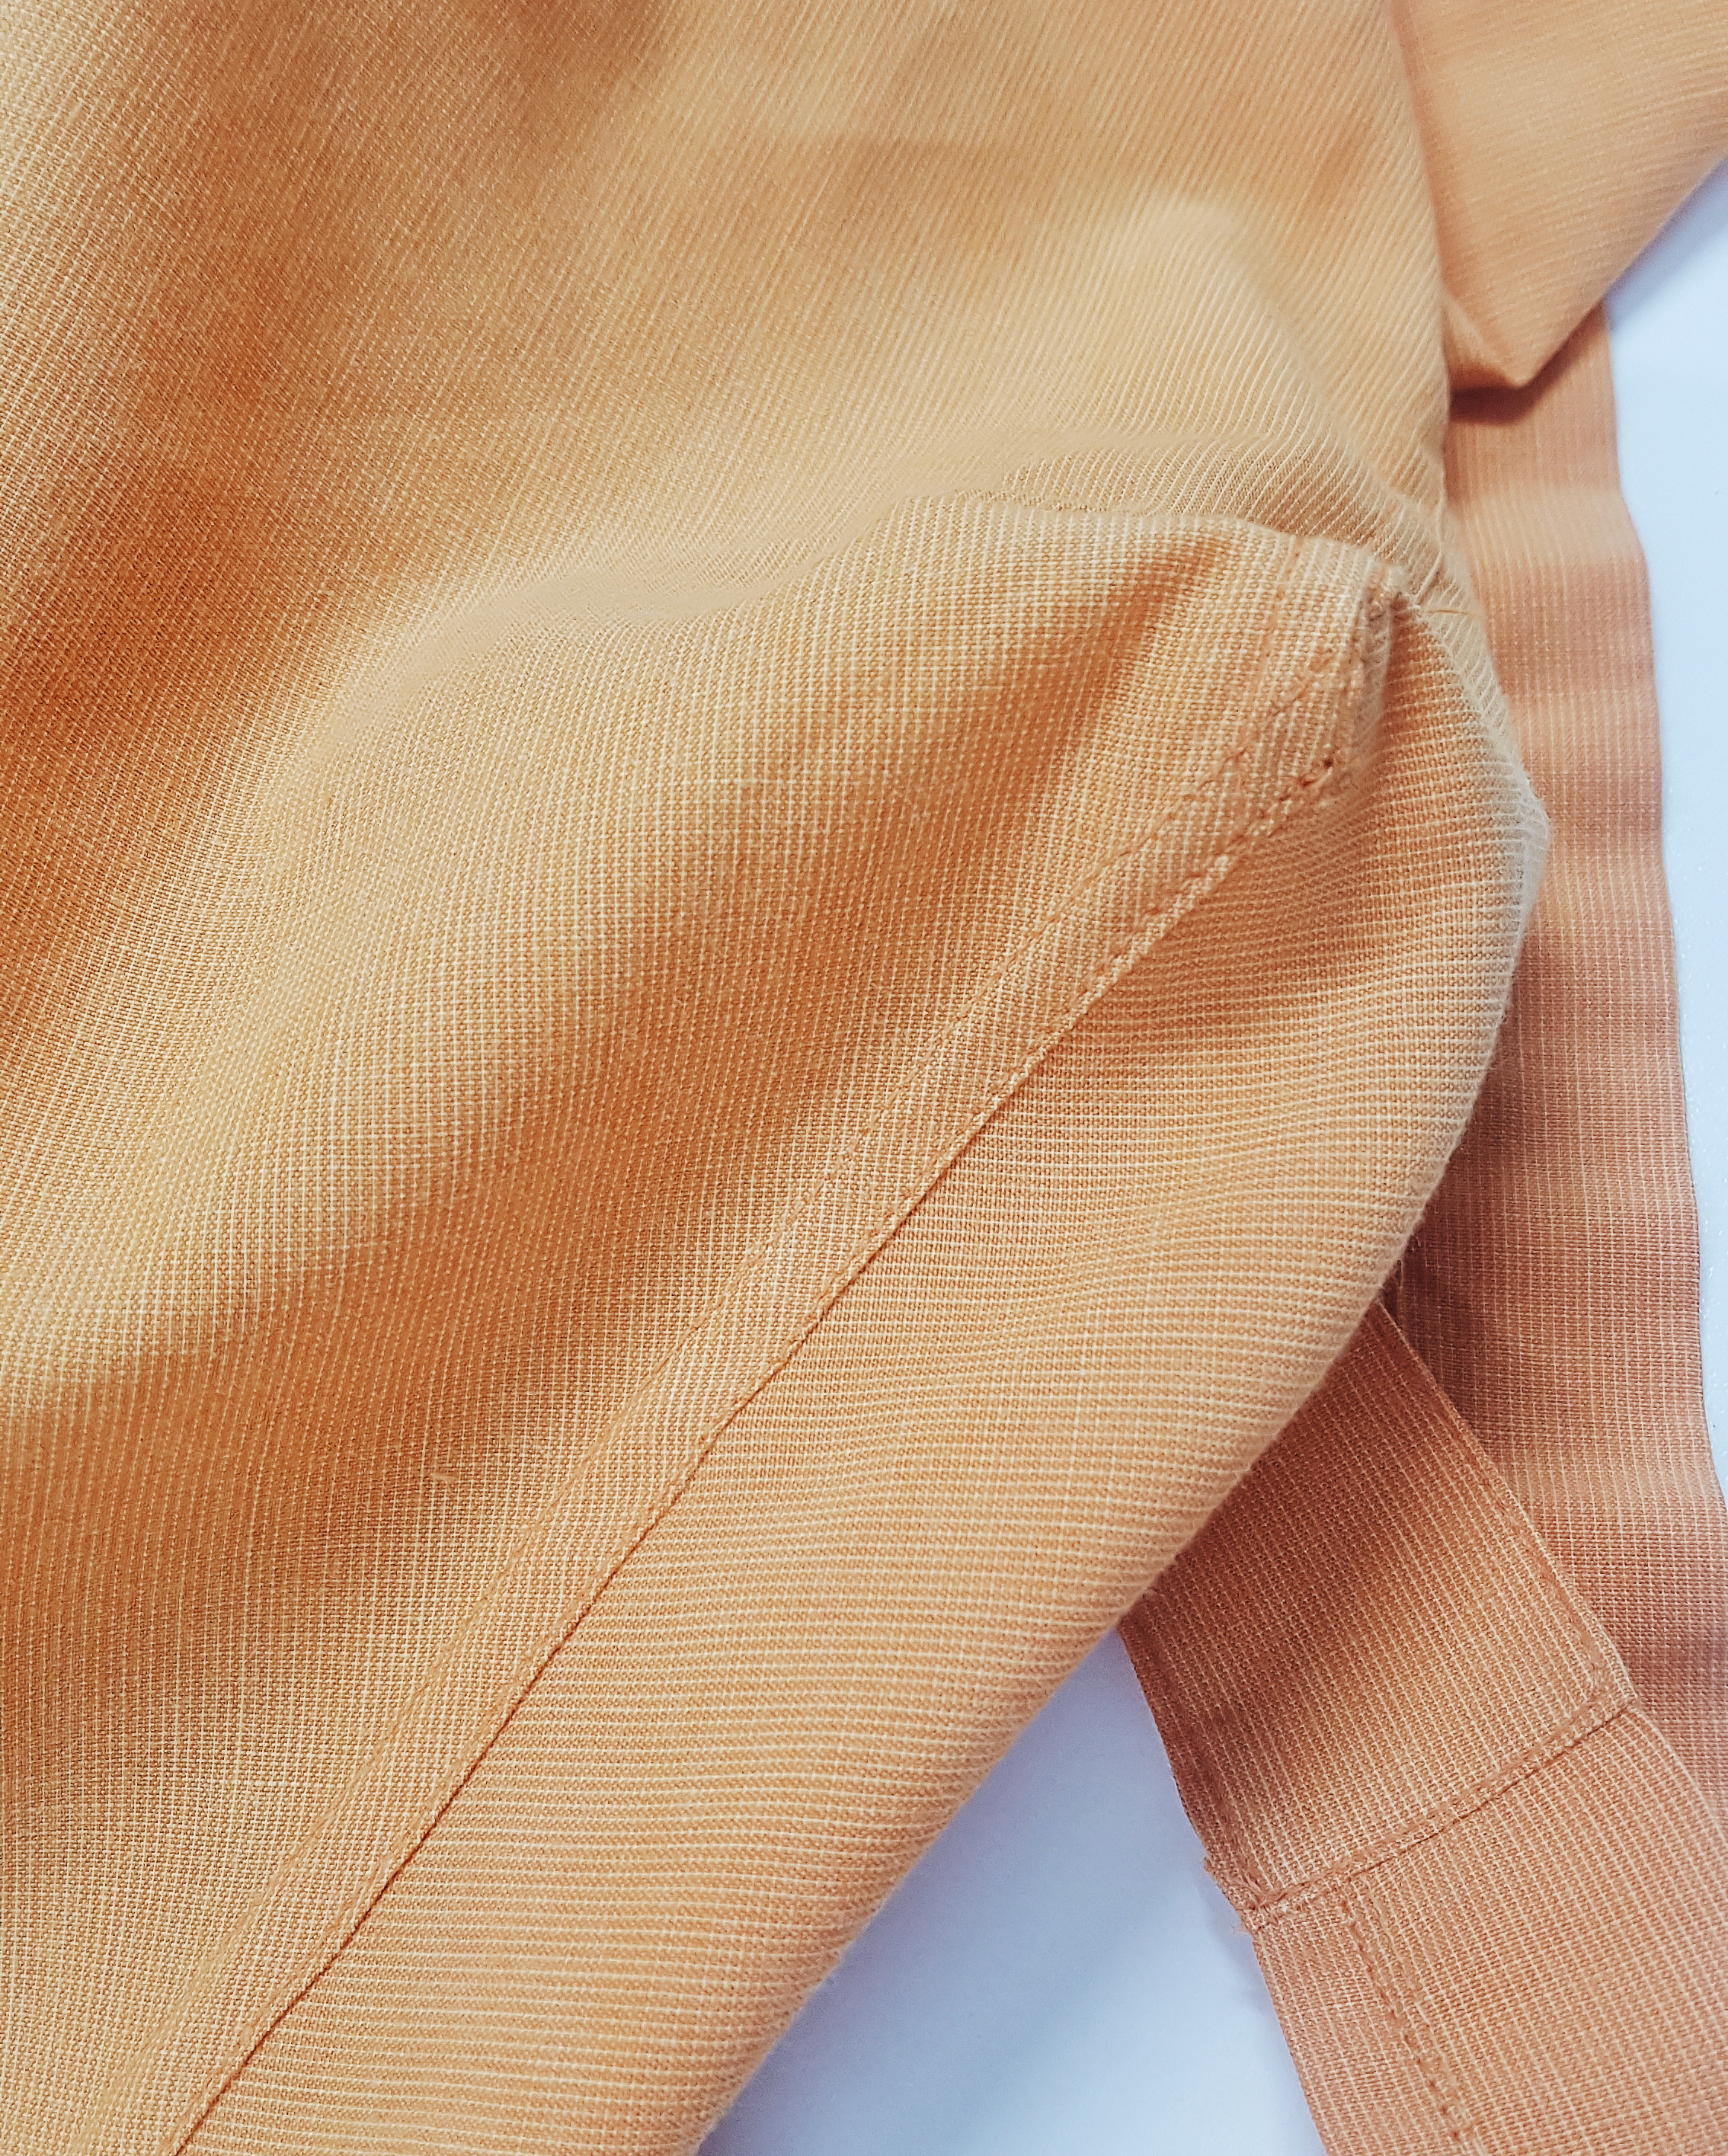
Ensure you iron all of your pieces flat to maximise the textile space you have to work with. When placing your pattern pieces, exercise your creative license and consider the final placement of the original shirt features when transformed into the backpack. I often keep the patch pocket as an outer pocket on the side panel of the bag and try to incorporate the shirt’s centre back pleat or sleeve plackets into a visible area, often on the pocket flap.
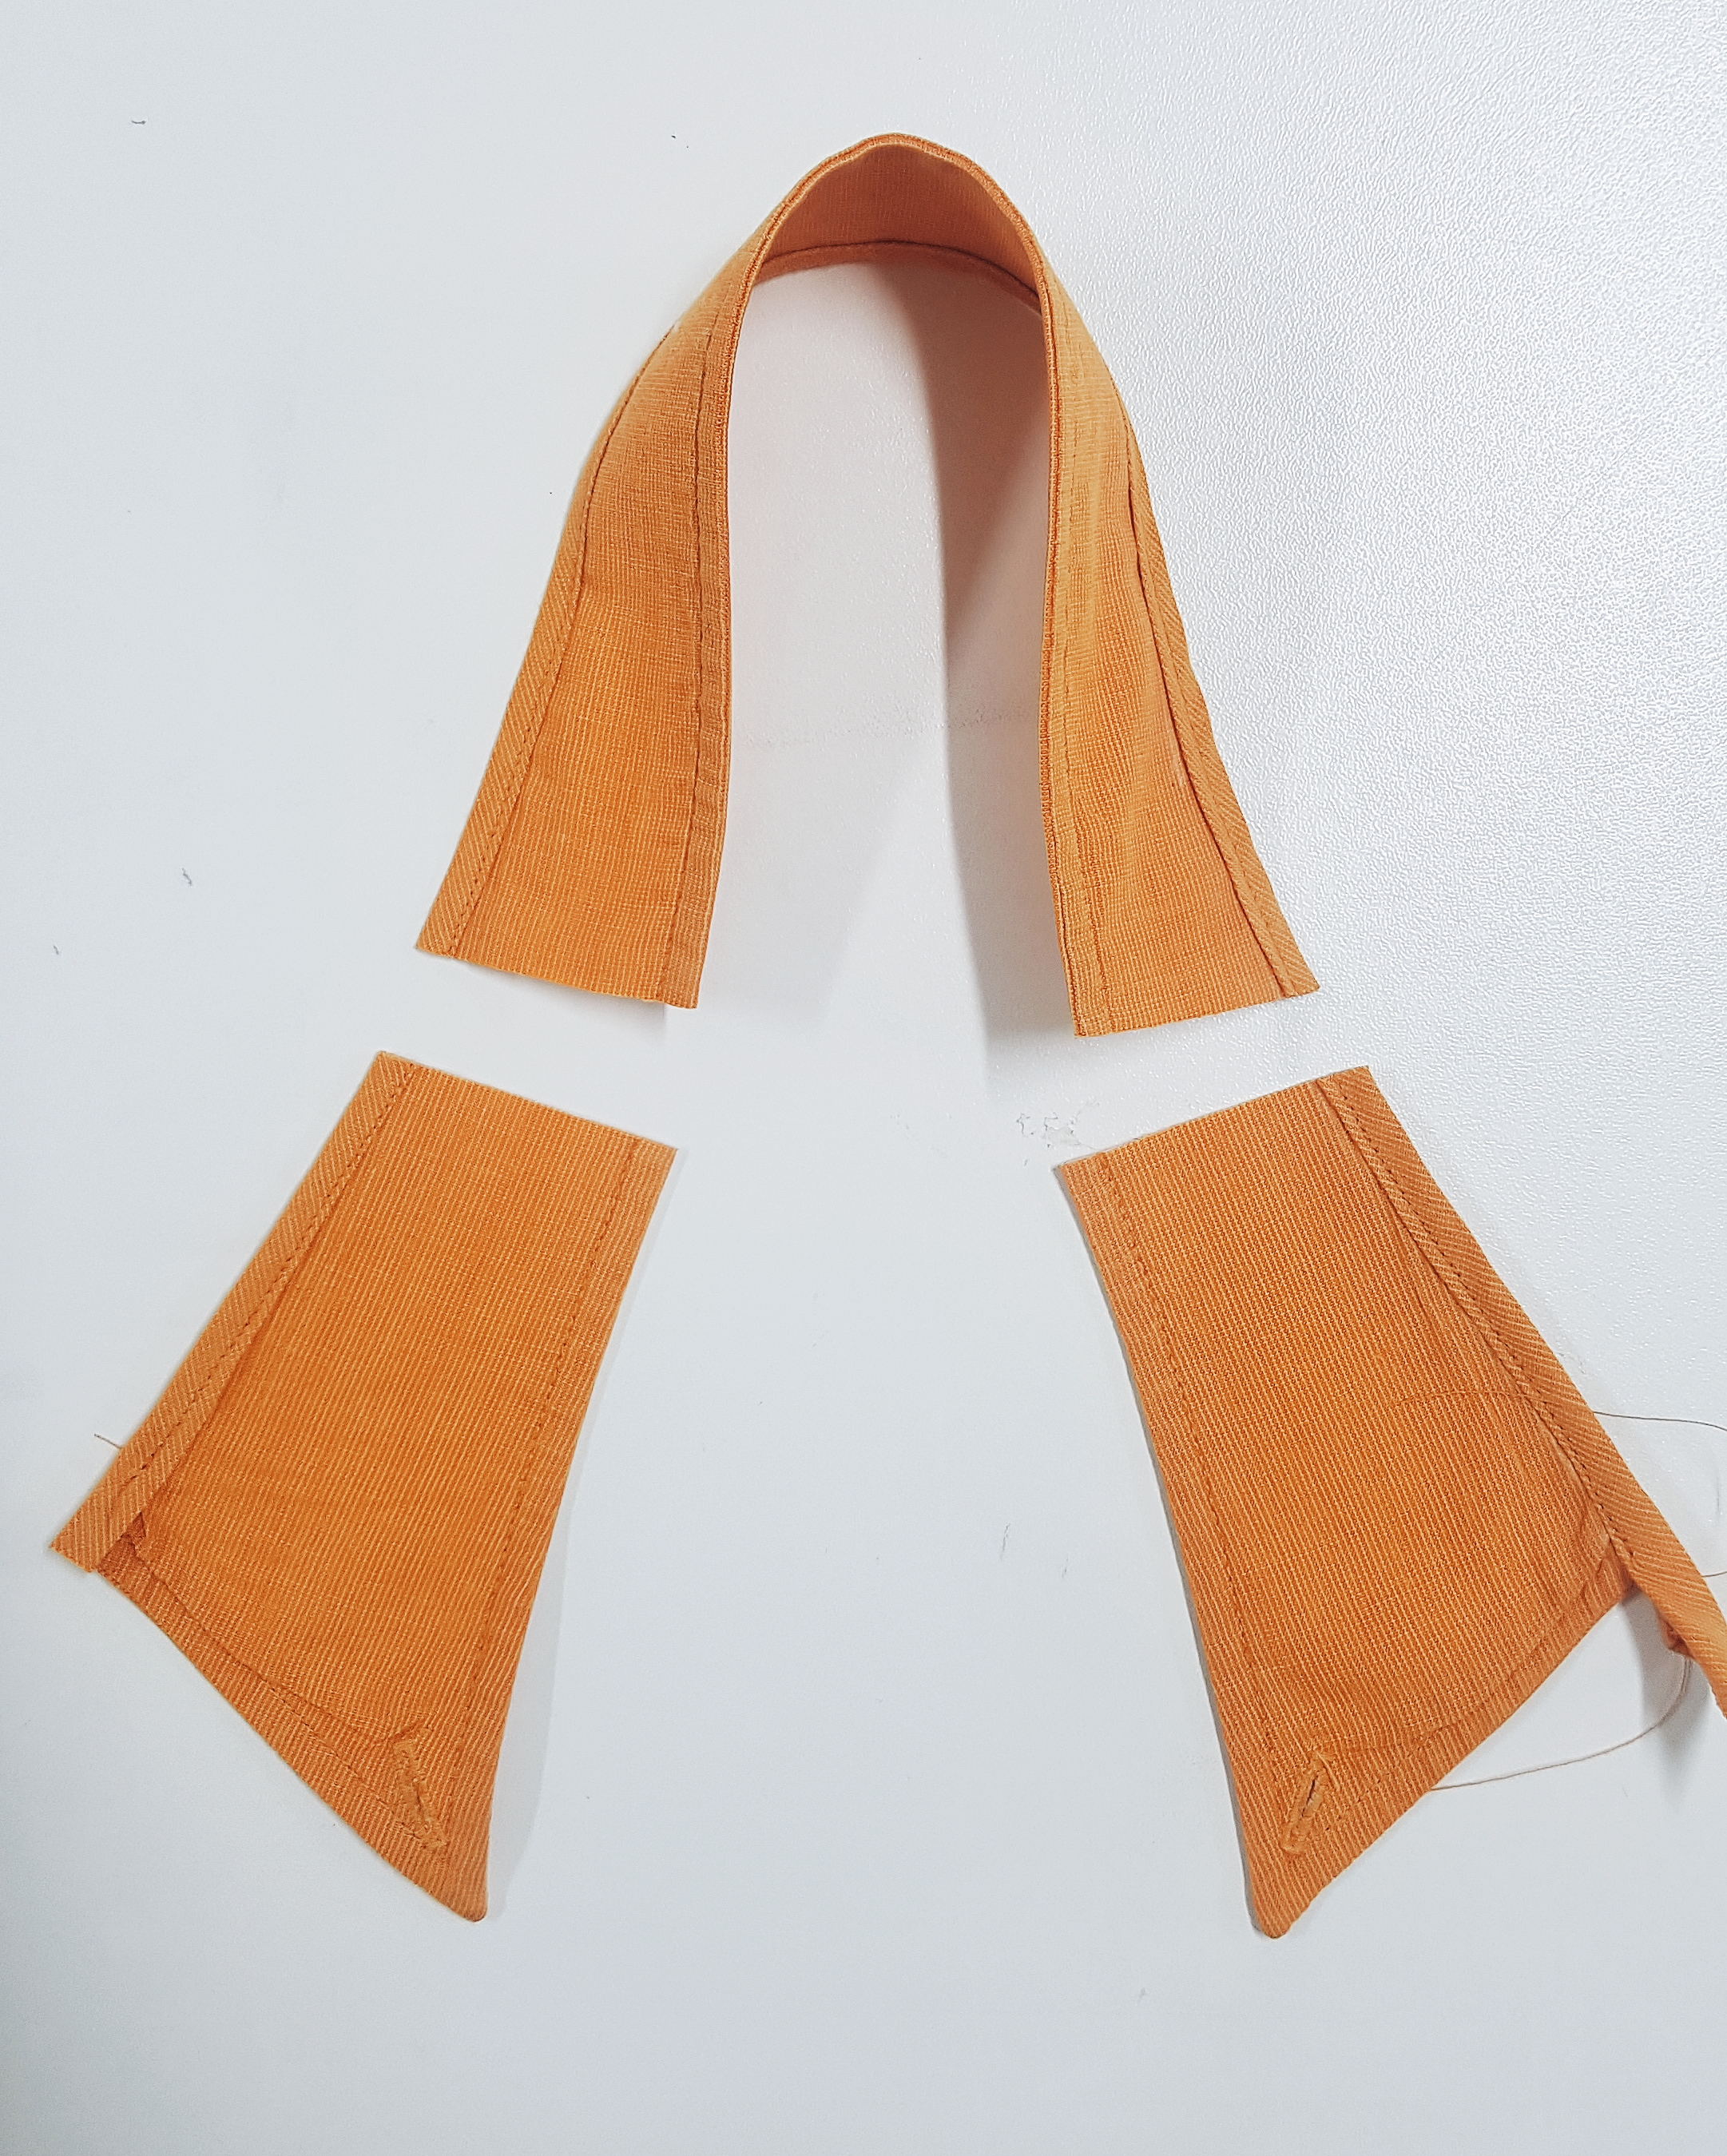
STEP ONE
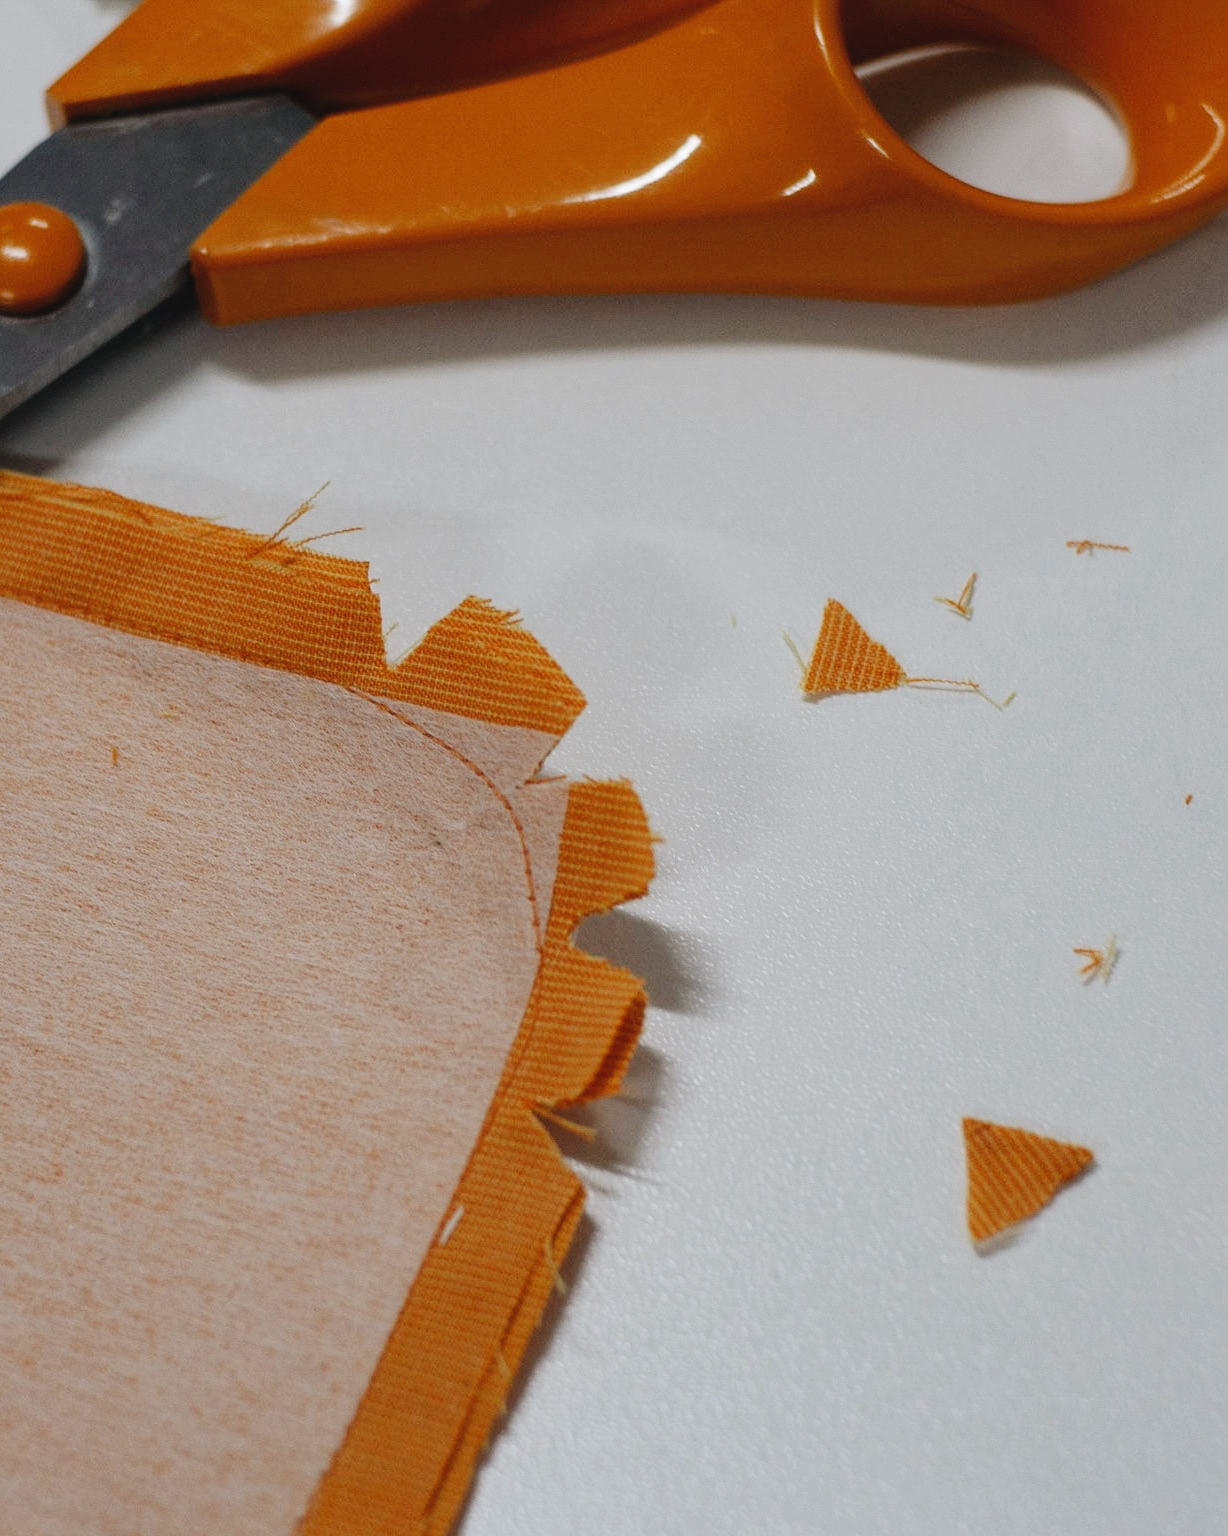
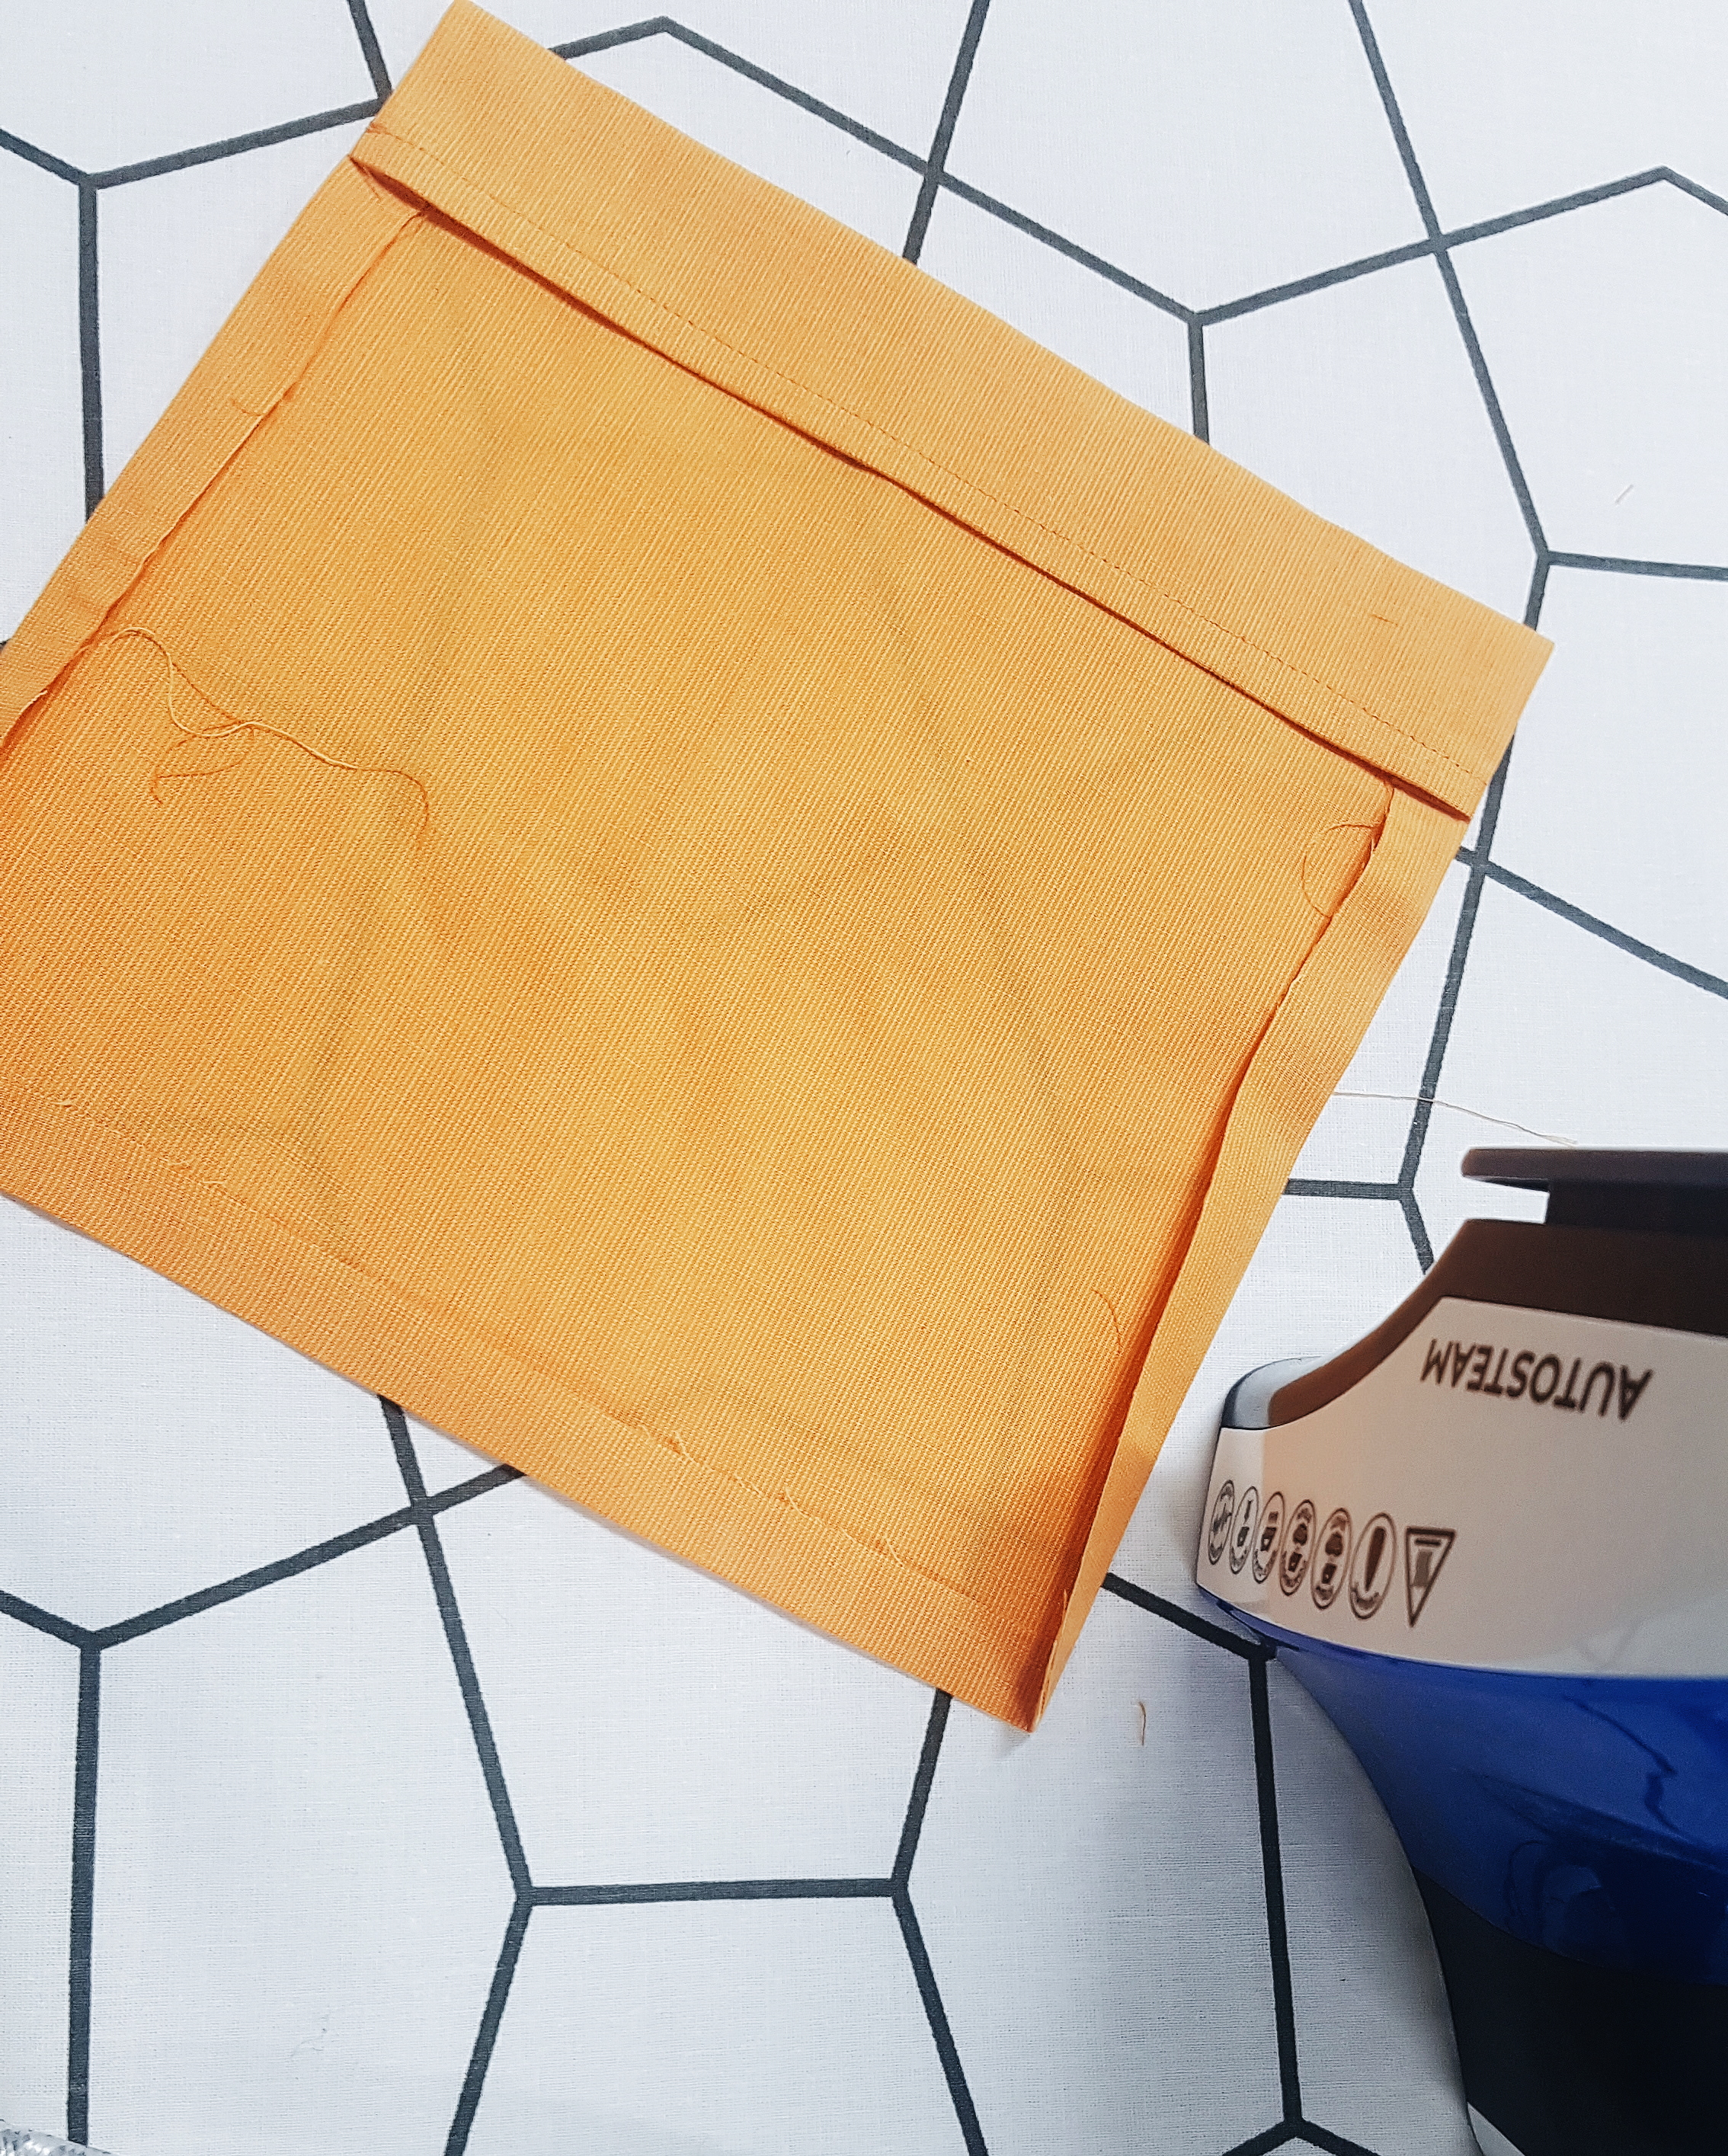
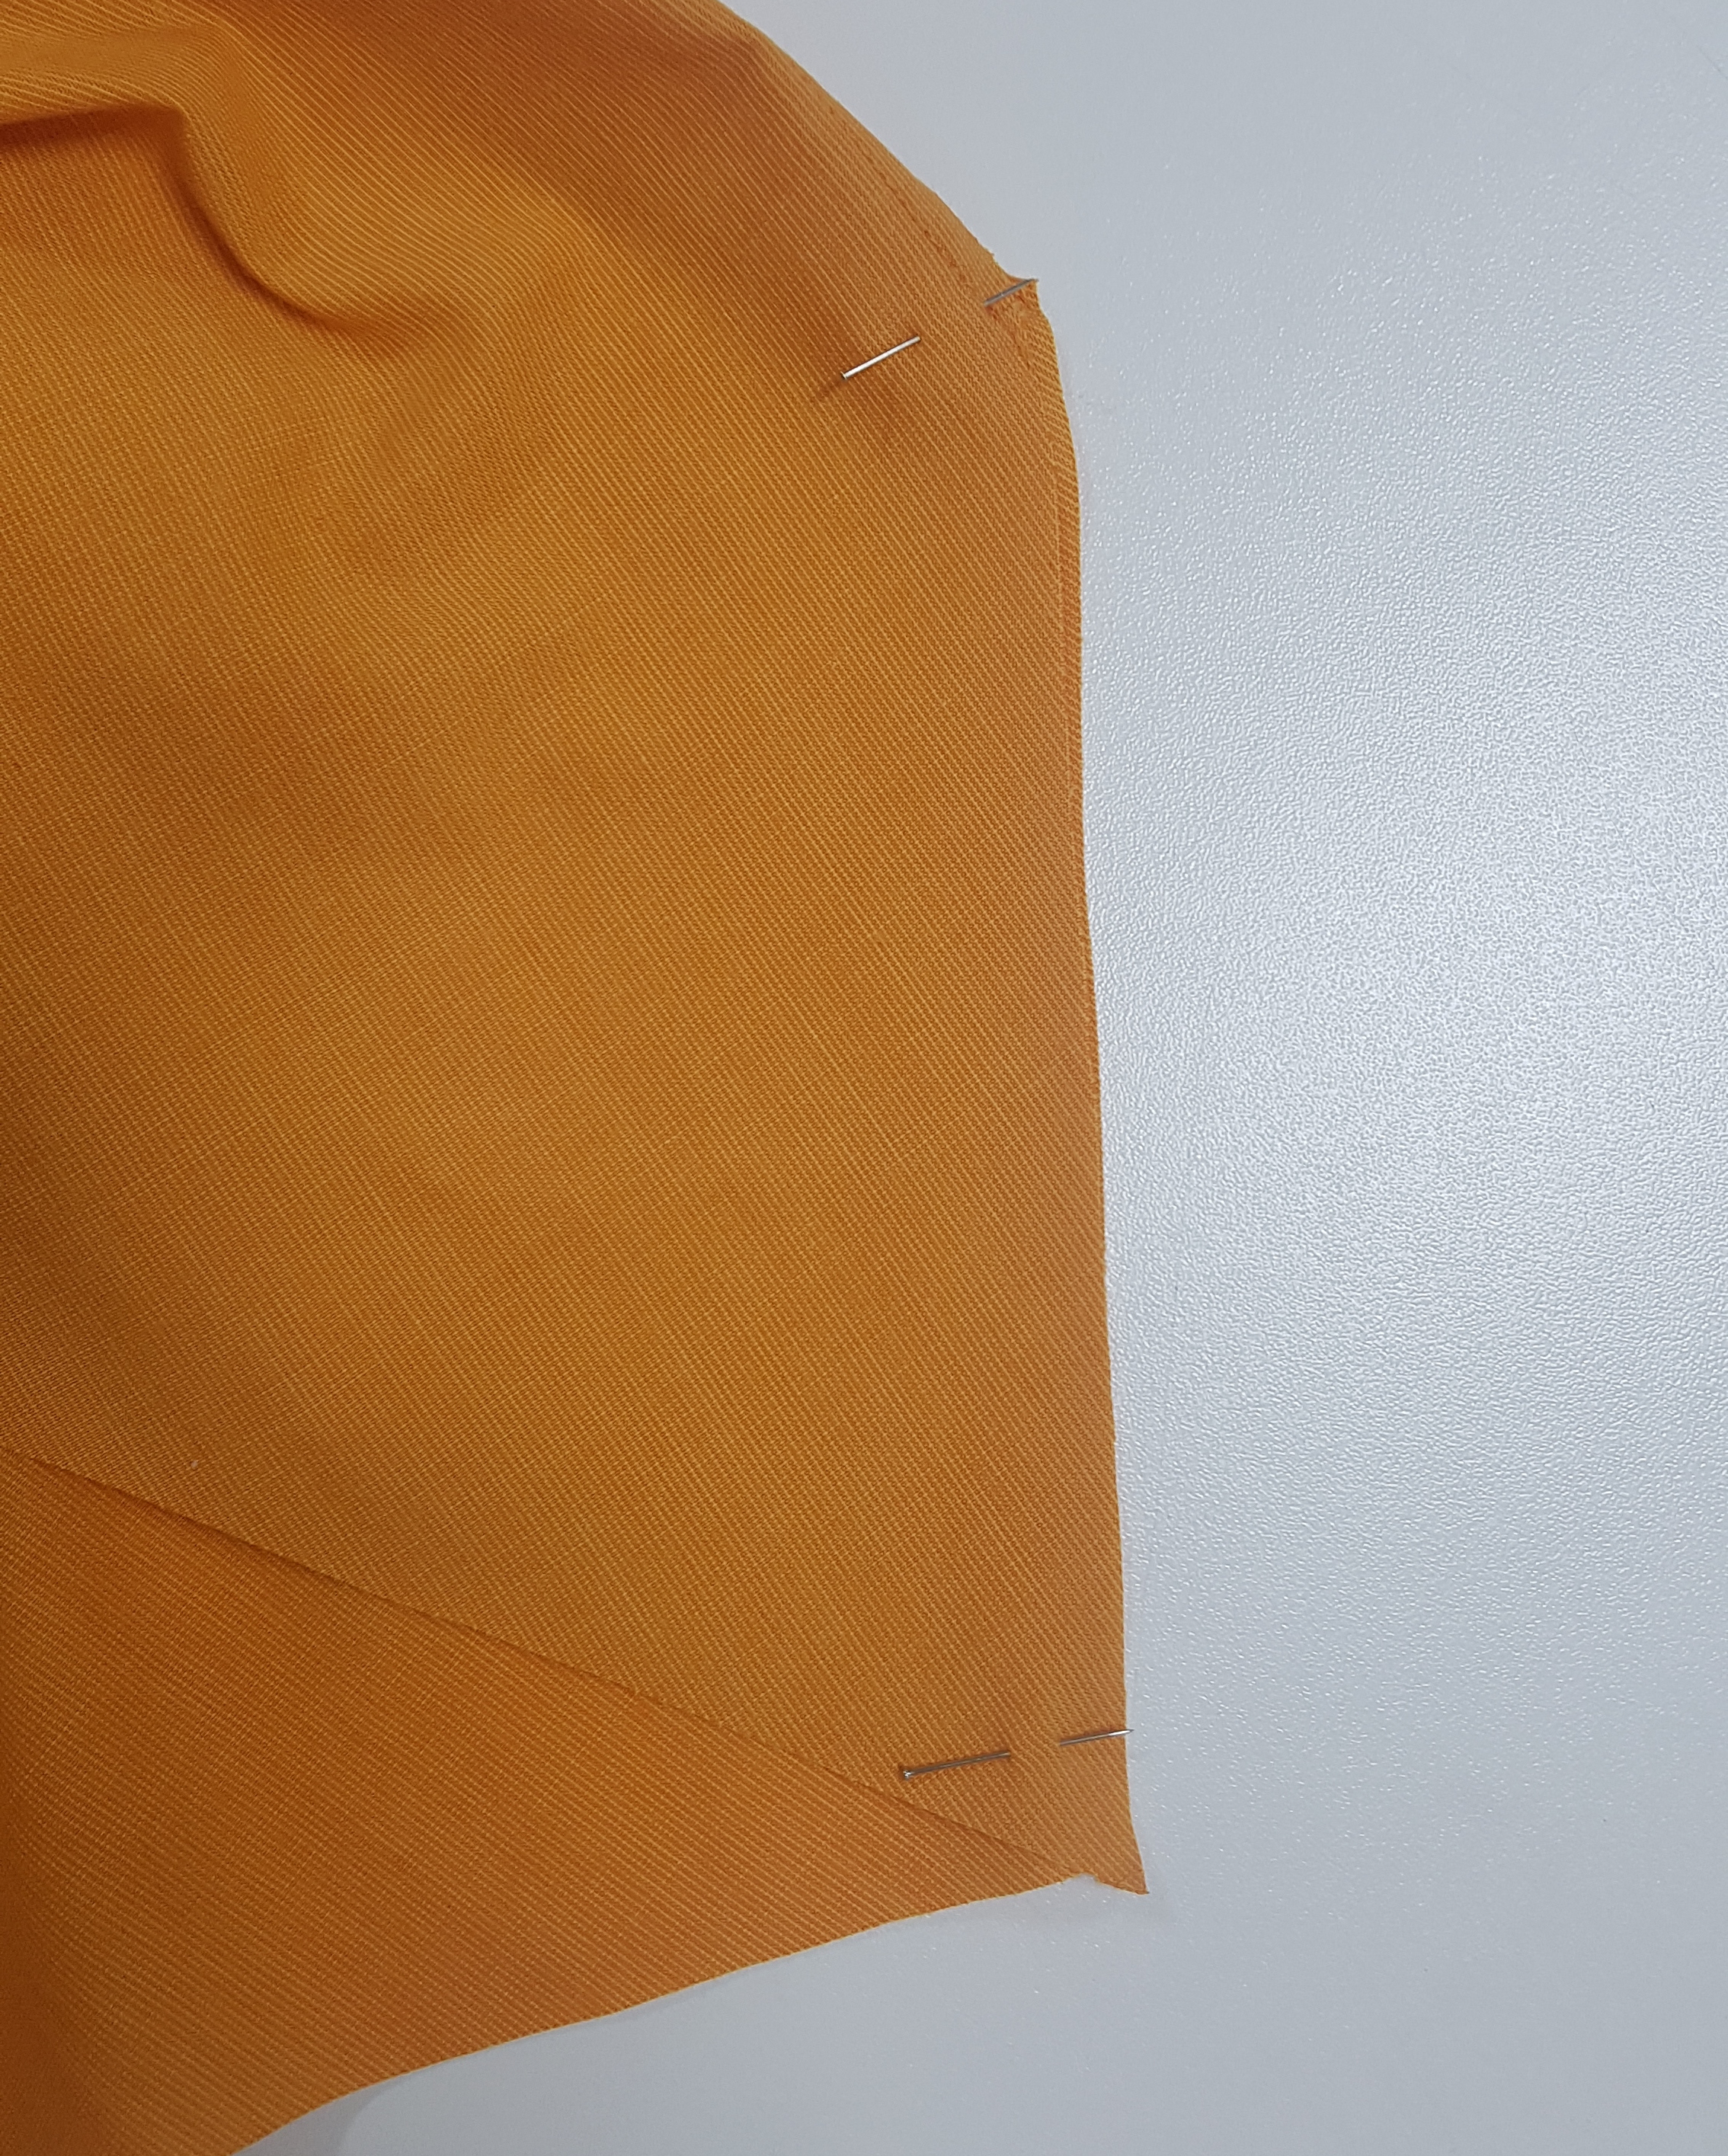
Place your fused pocket flaps right sides together, pinning around the edges and sewing your 1cm seam allowance. Notch your corners and clip any excess before bagging out (turning the right side through) and pressing. Edge stitch.

STEP TWO
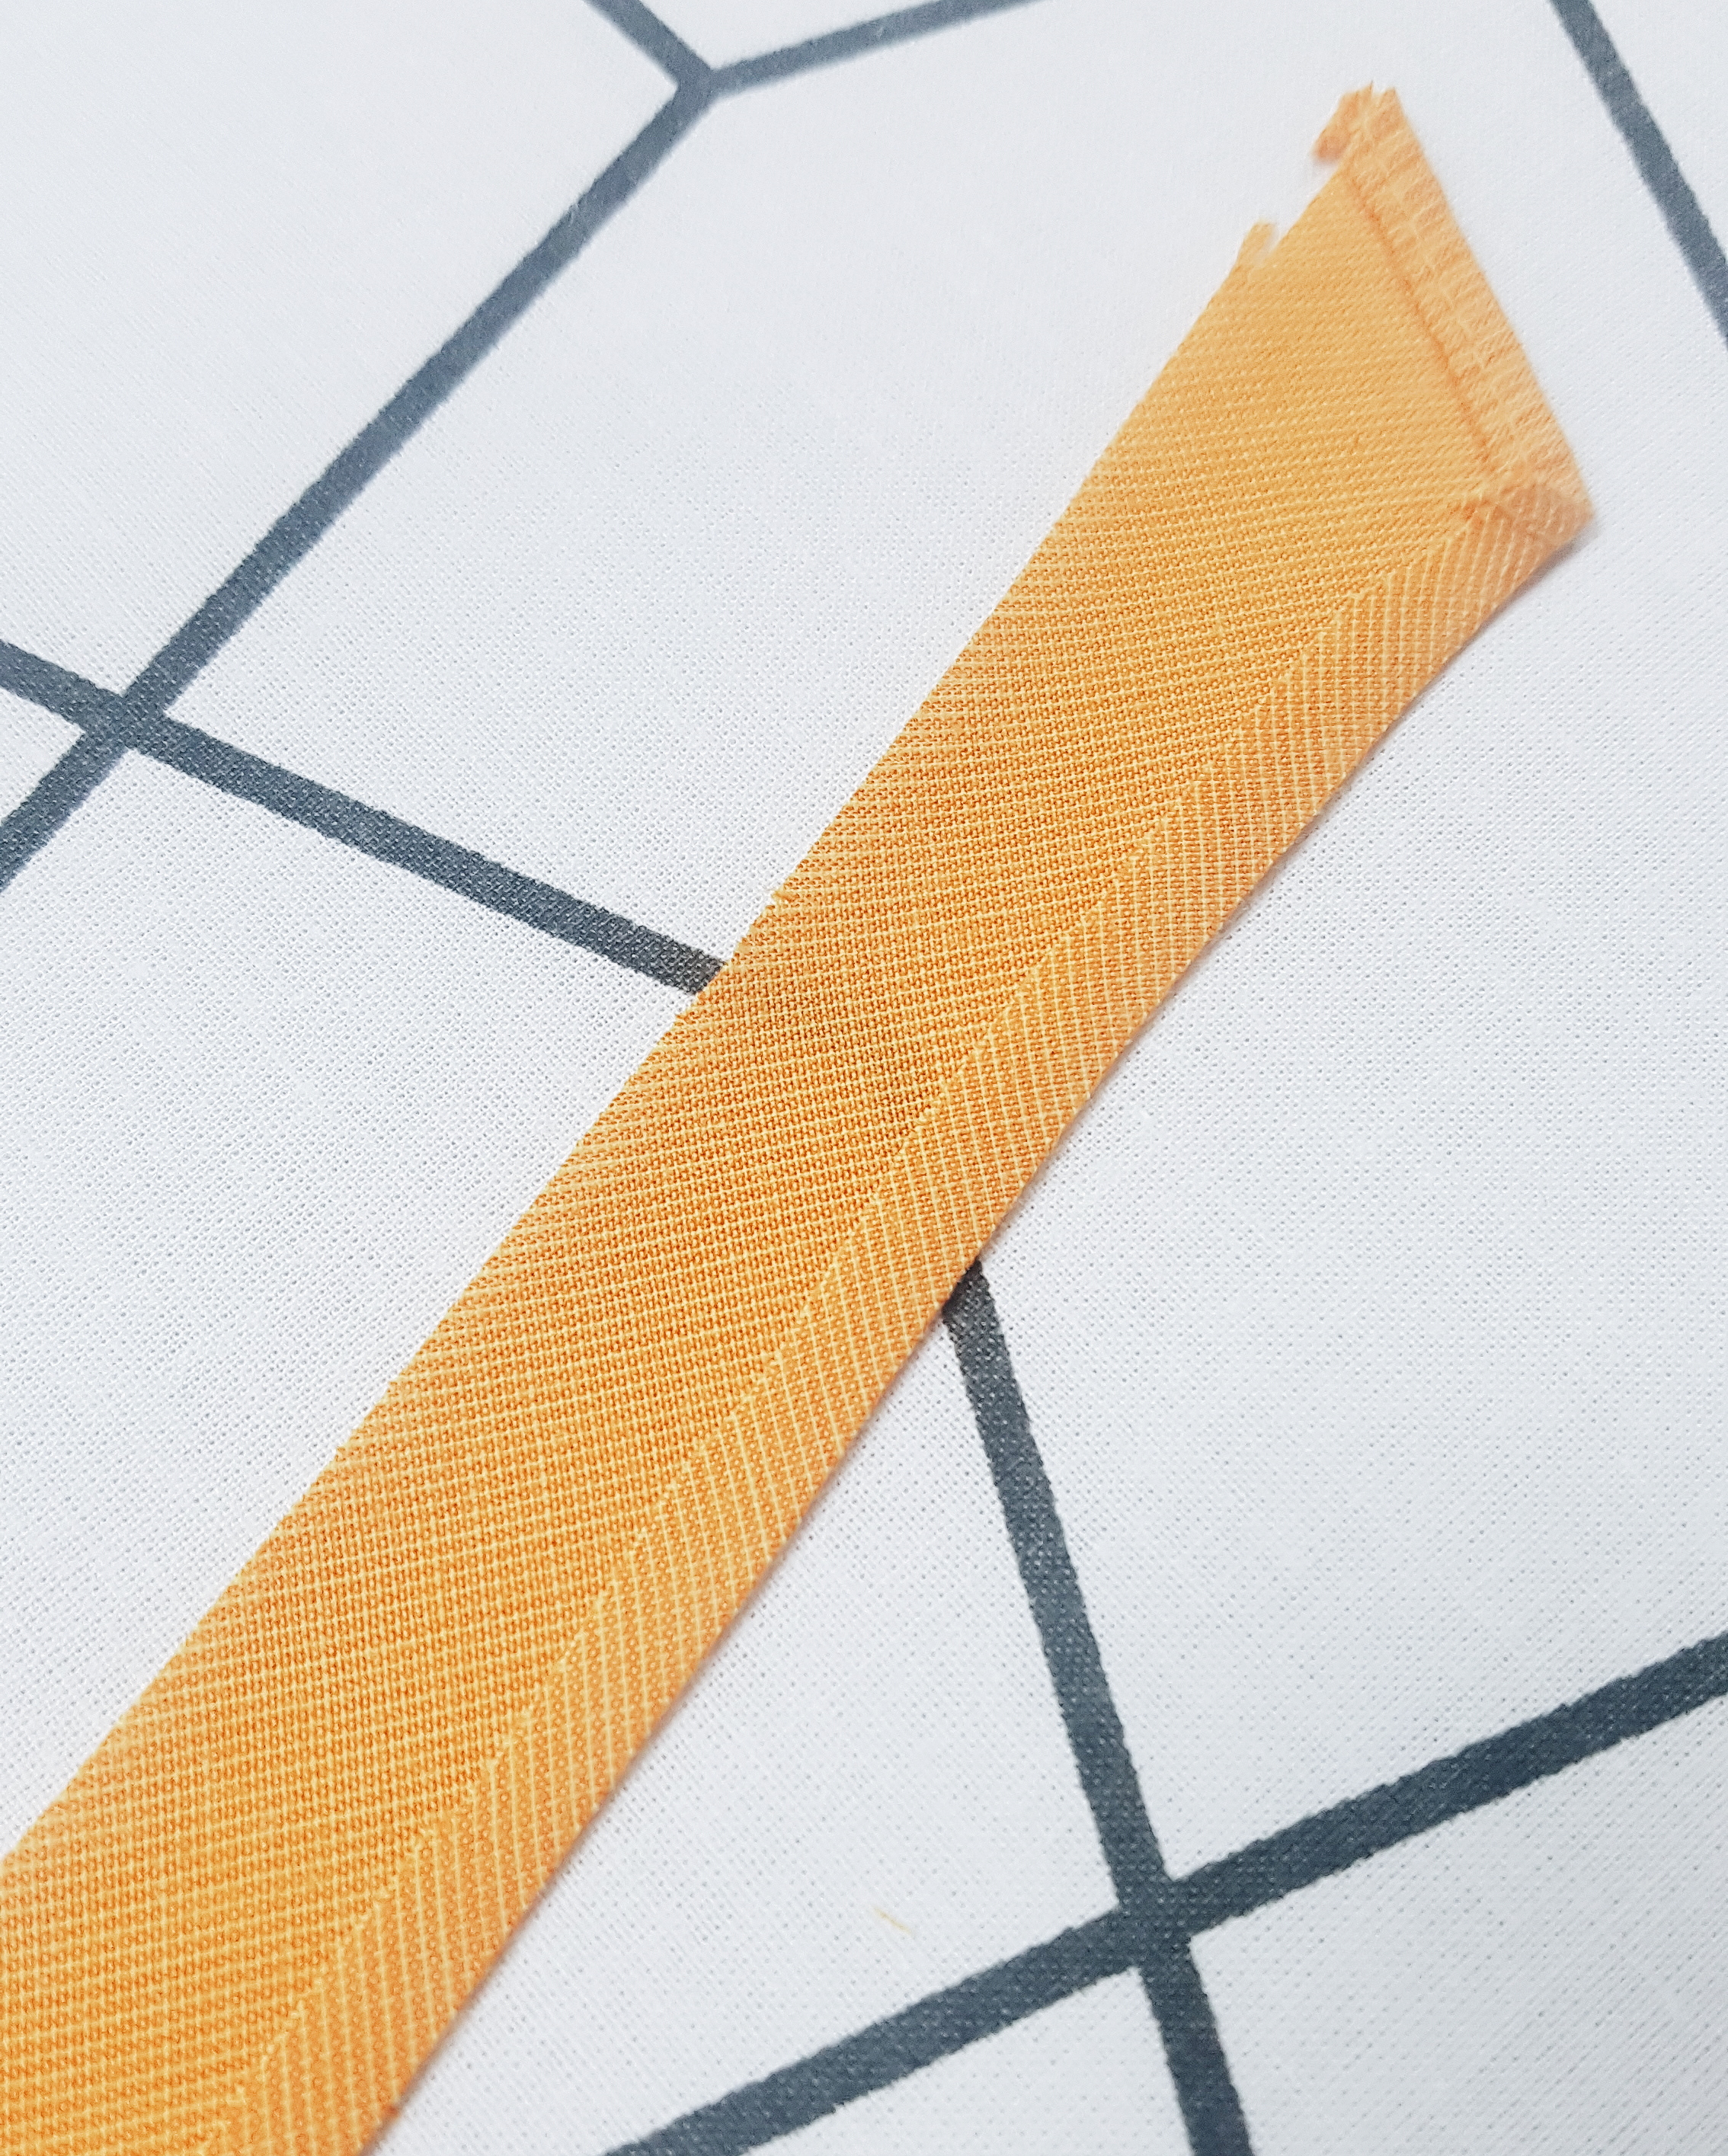
Bias tape is used on multiple occasions throughout the construction of this backpack. If your scraps allow it or you have a particular textile and print design in mind, you can make your own to neaten the edges and add an extra flair to your bag.
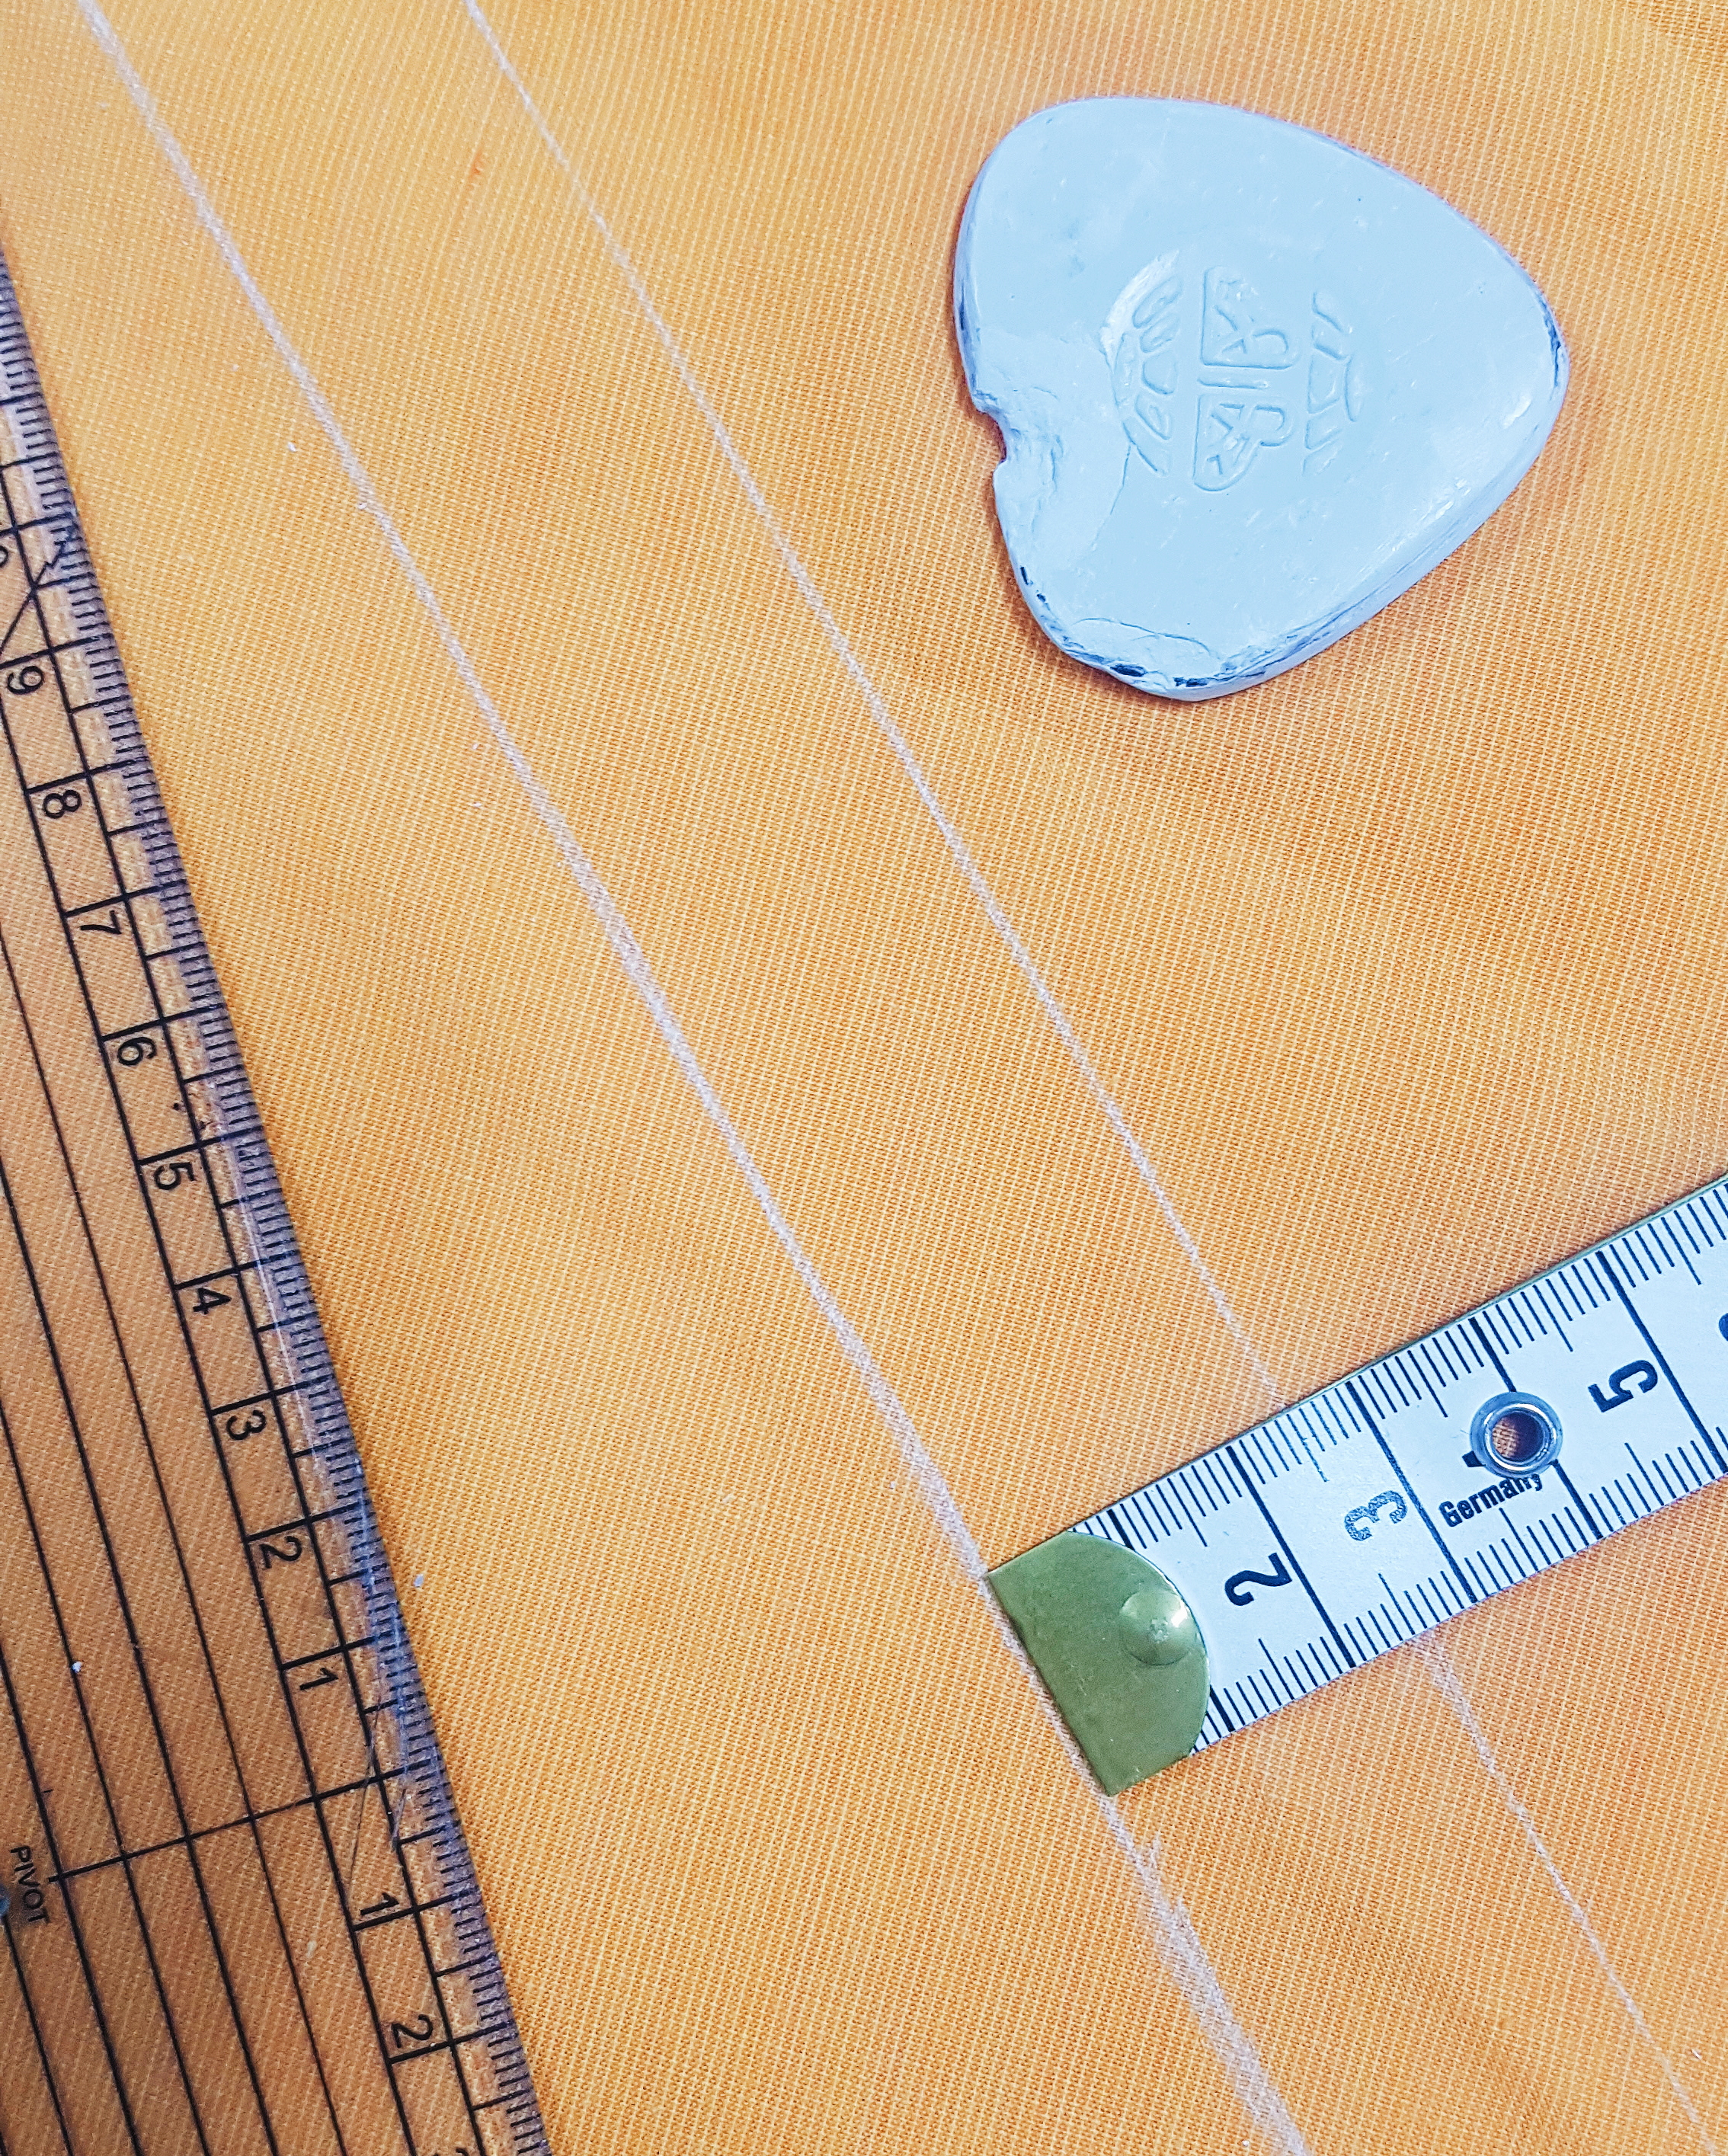
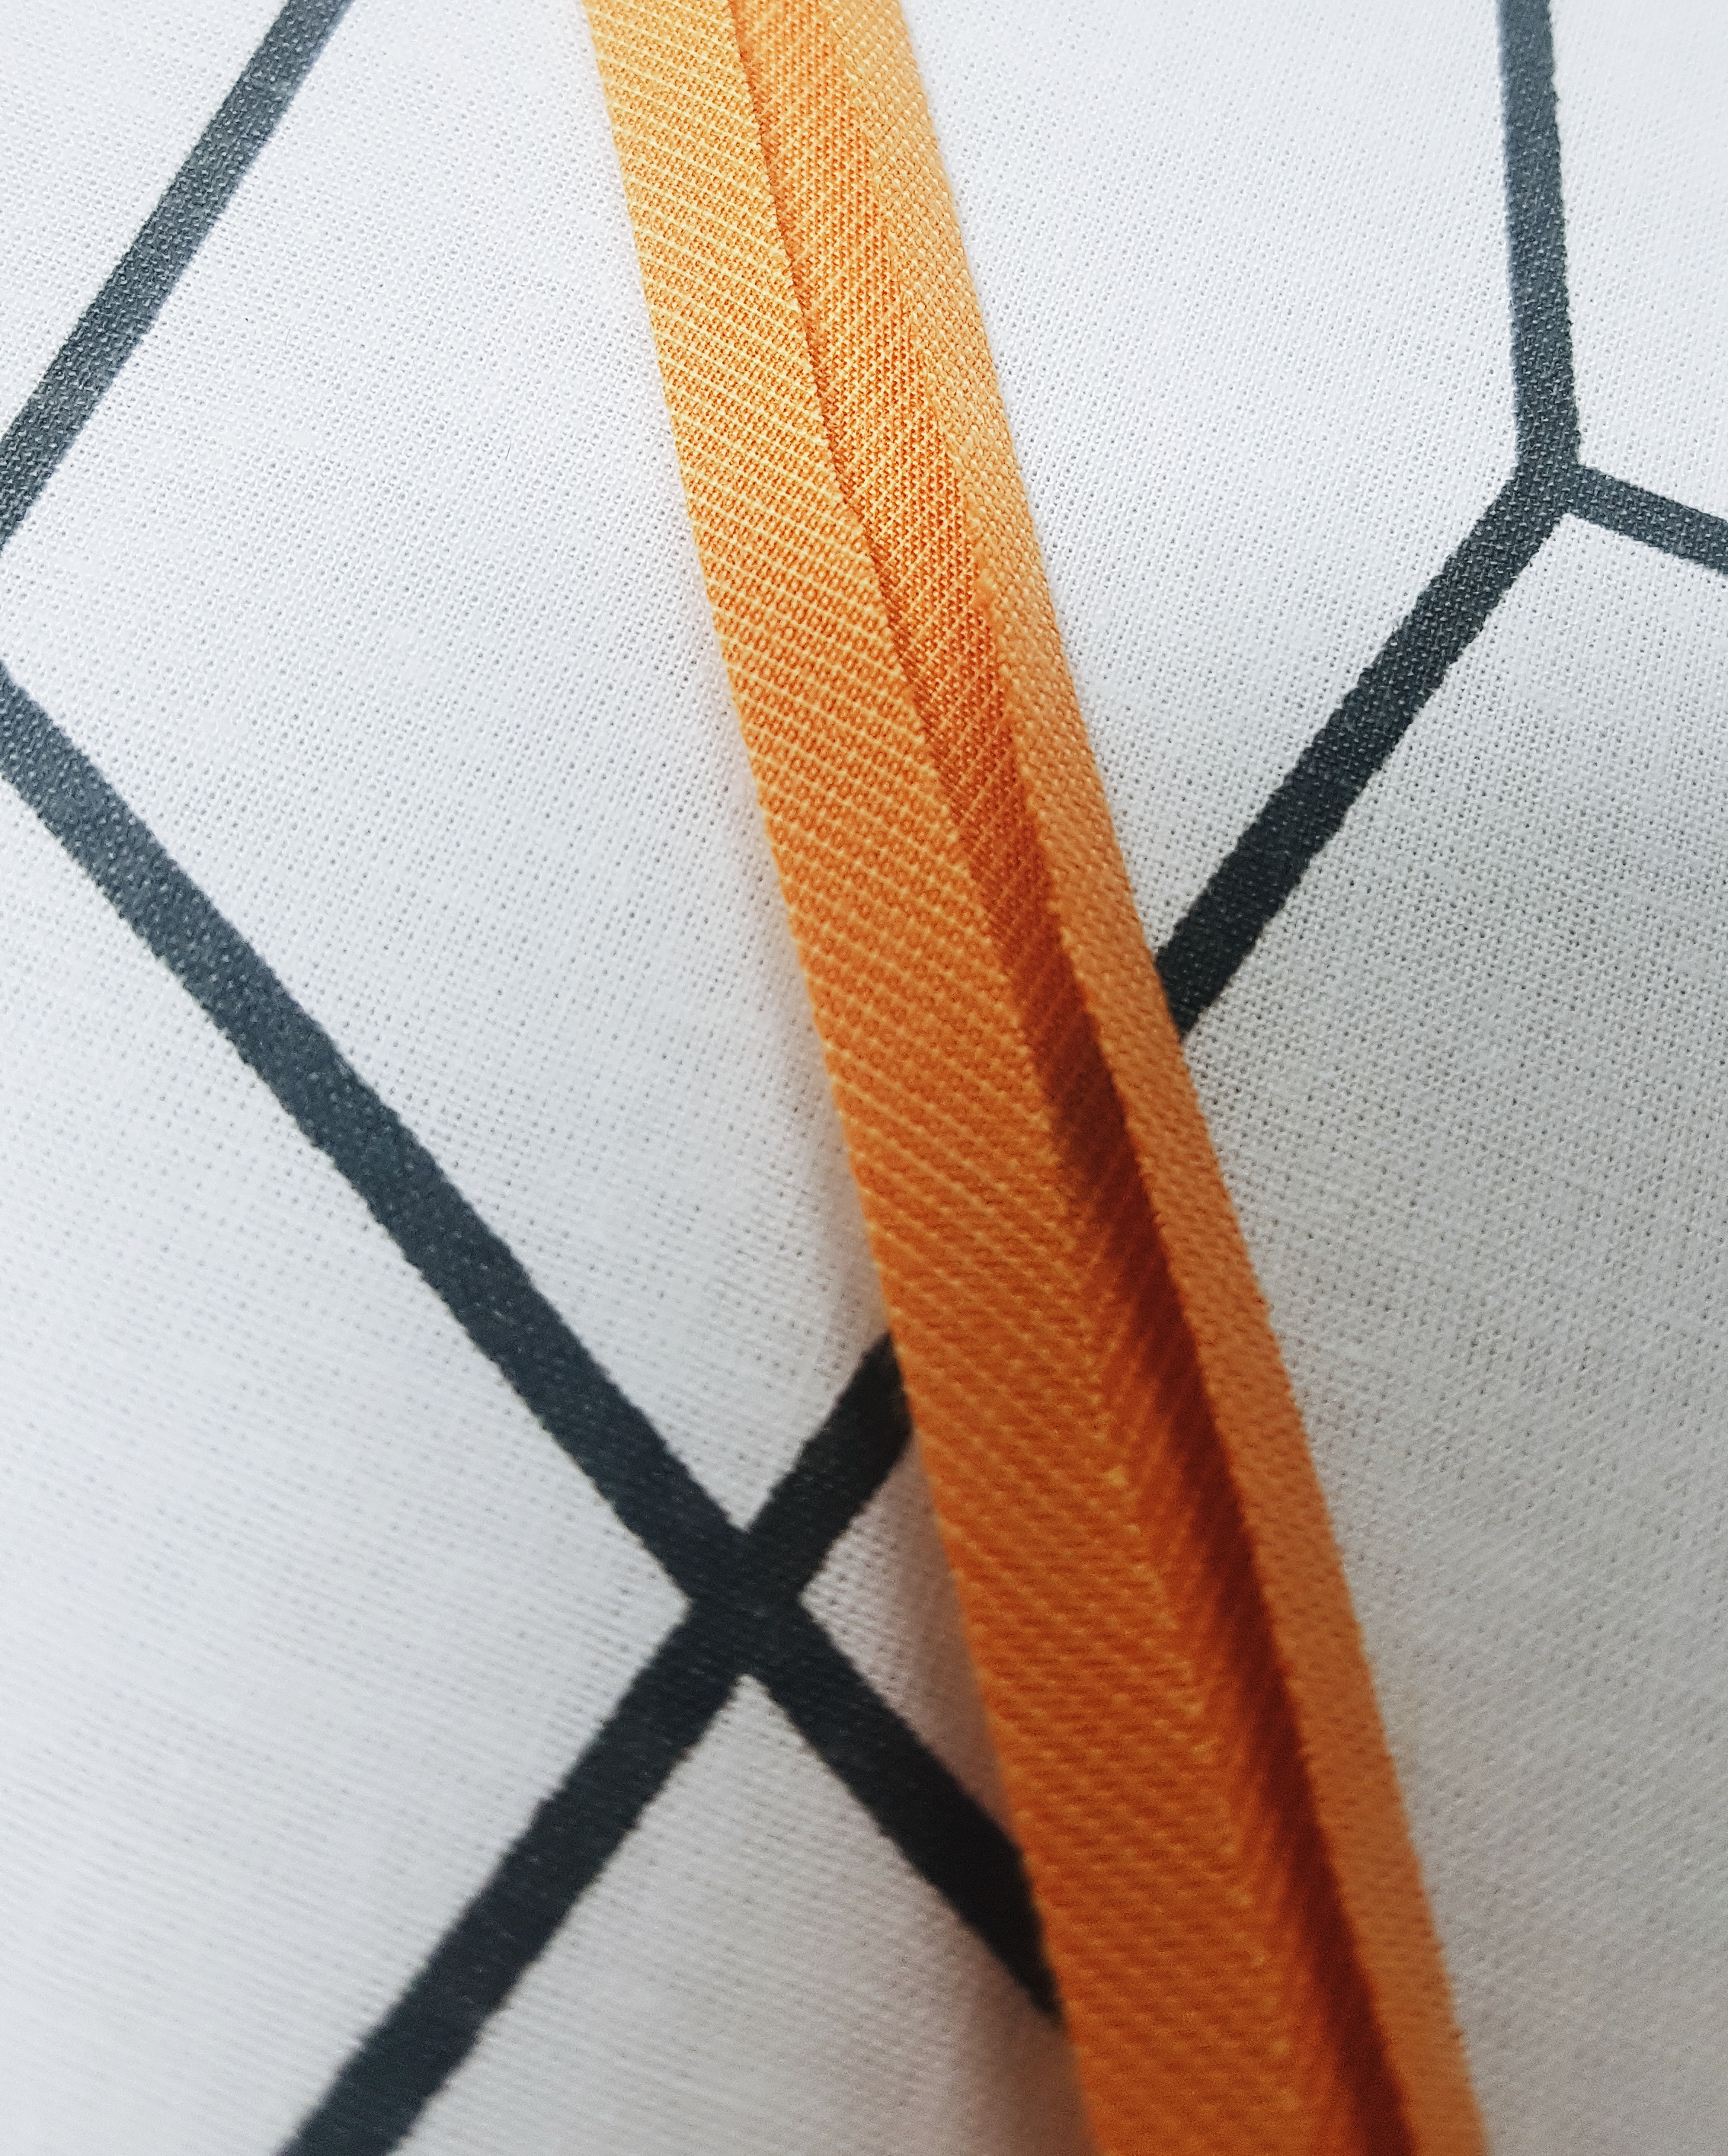
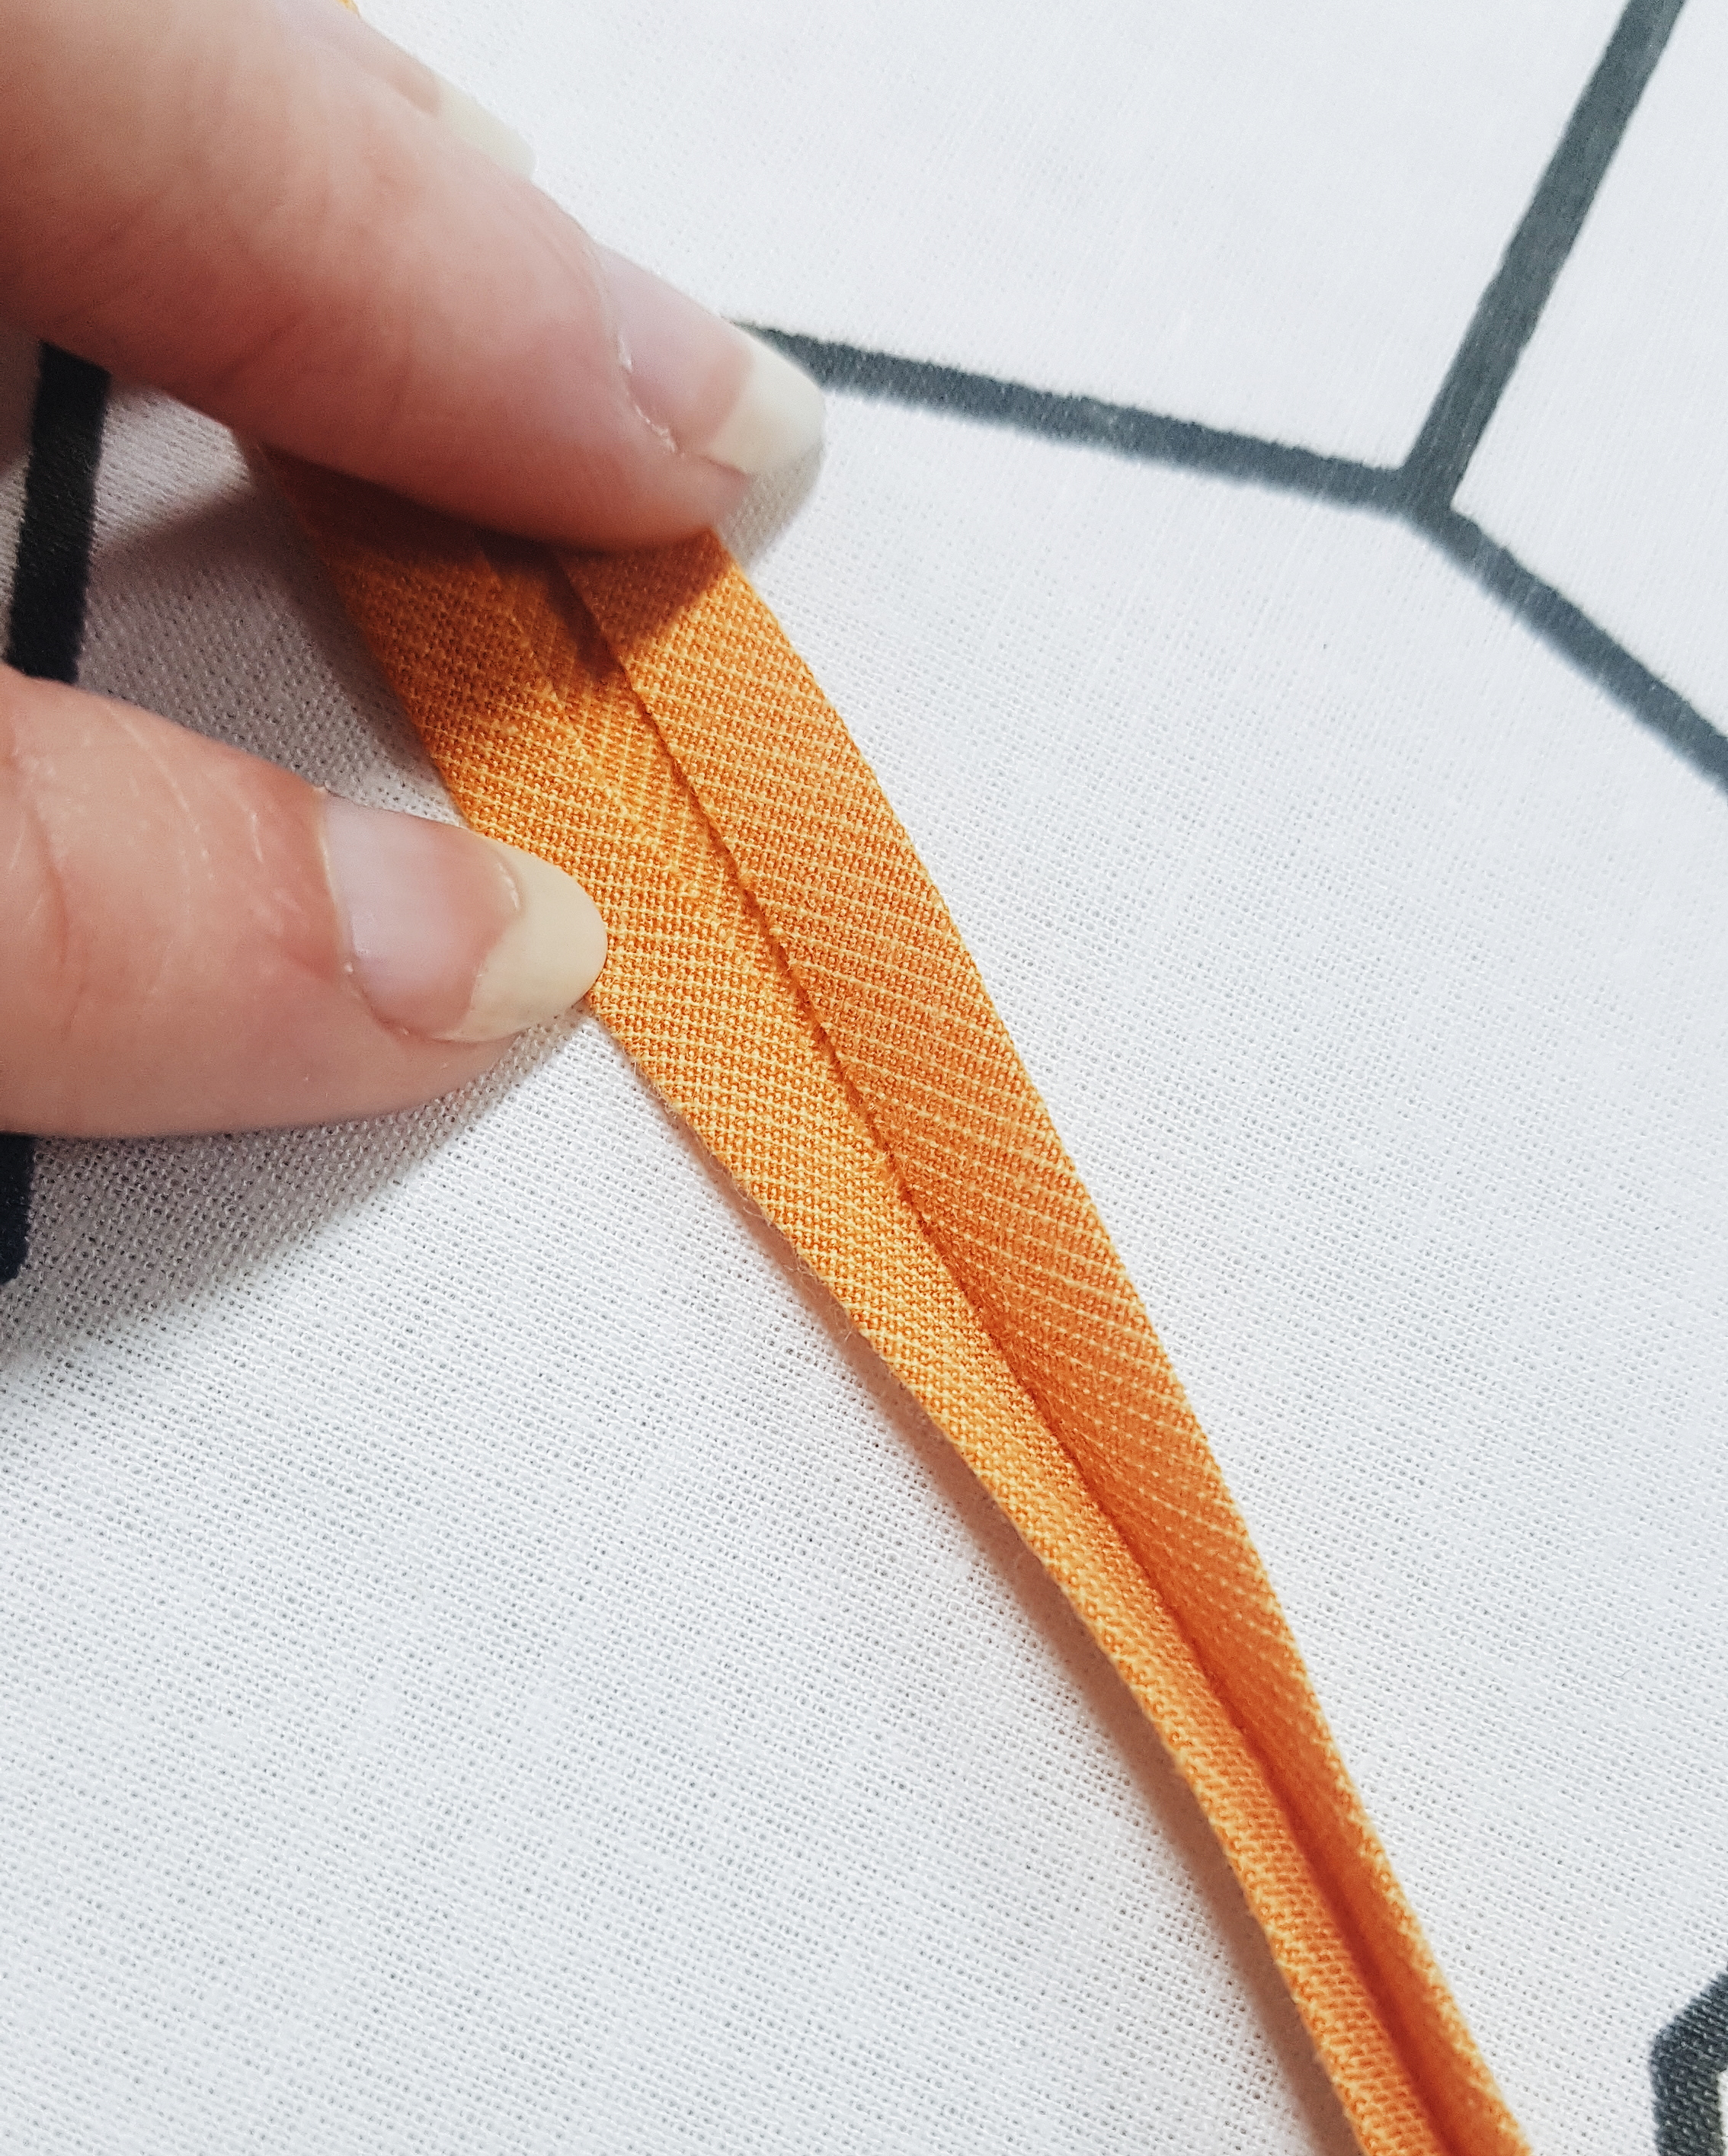
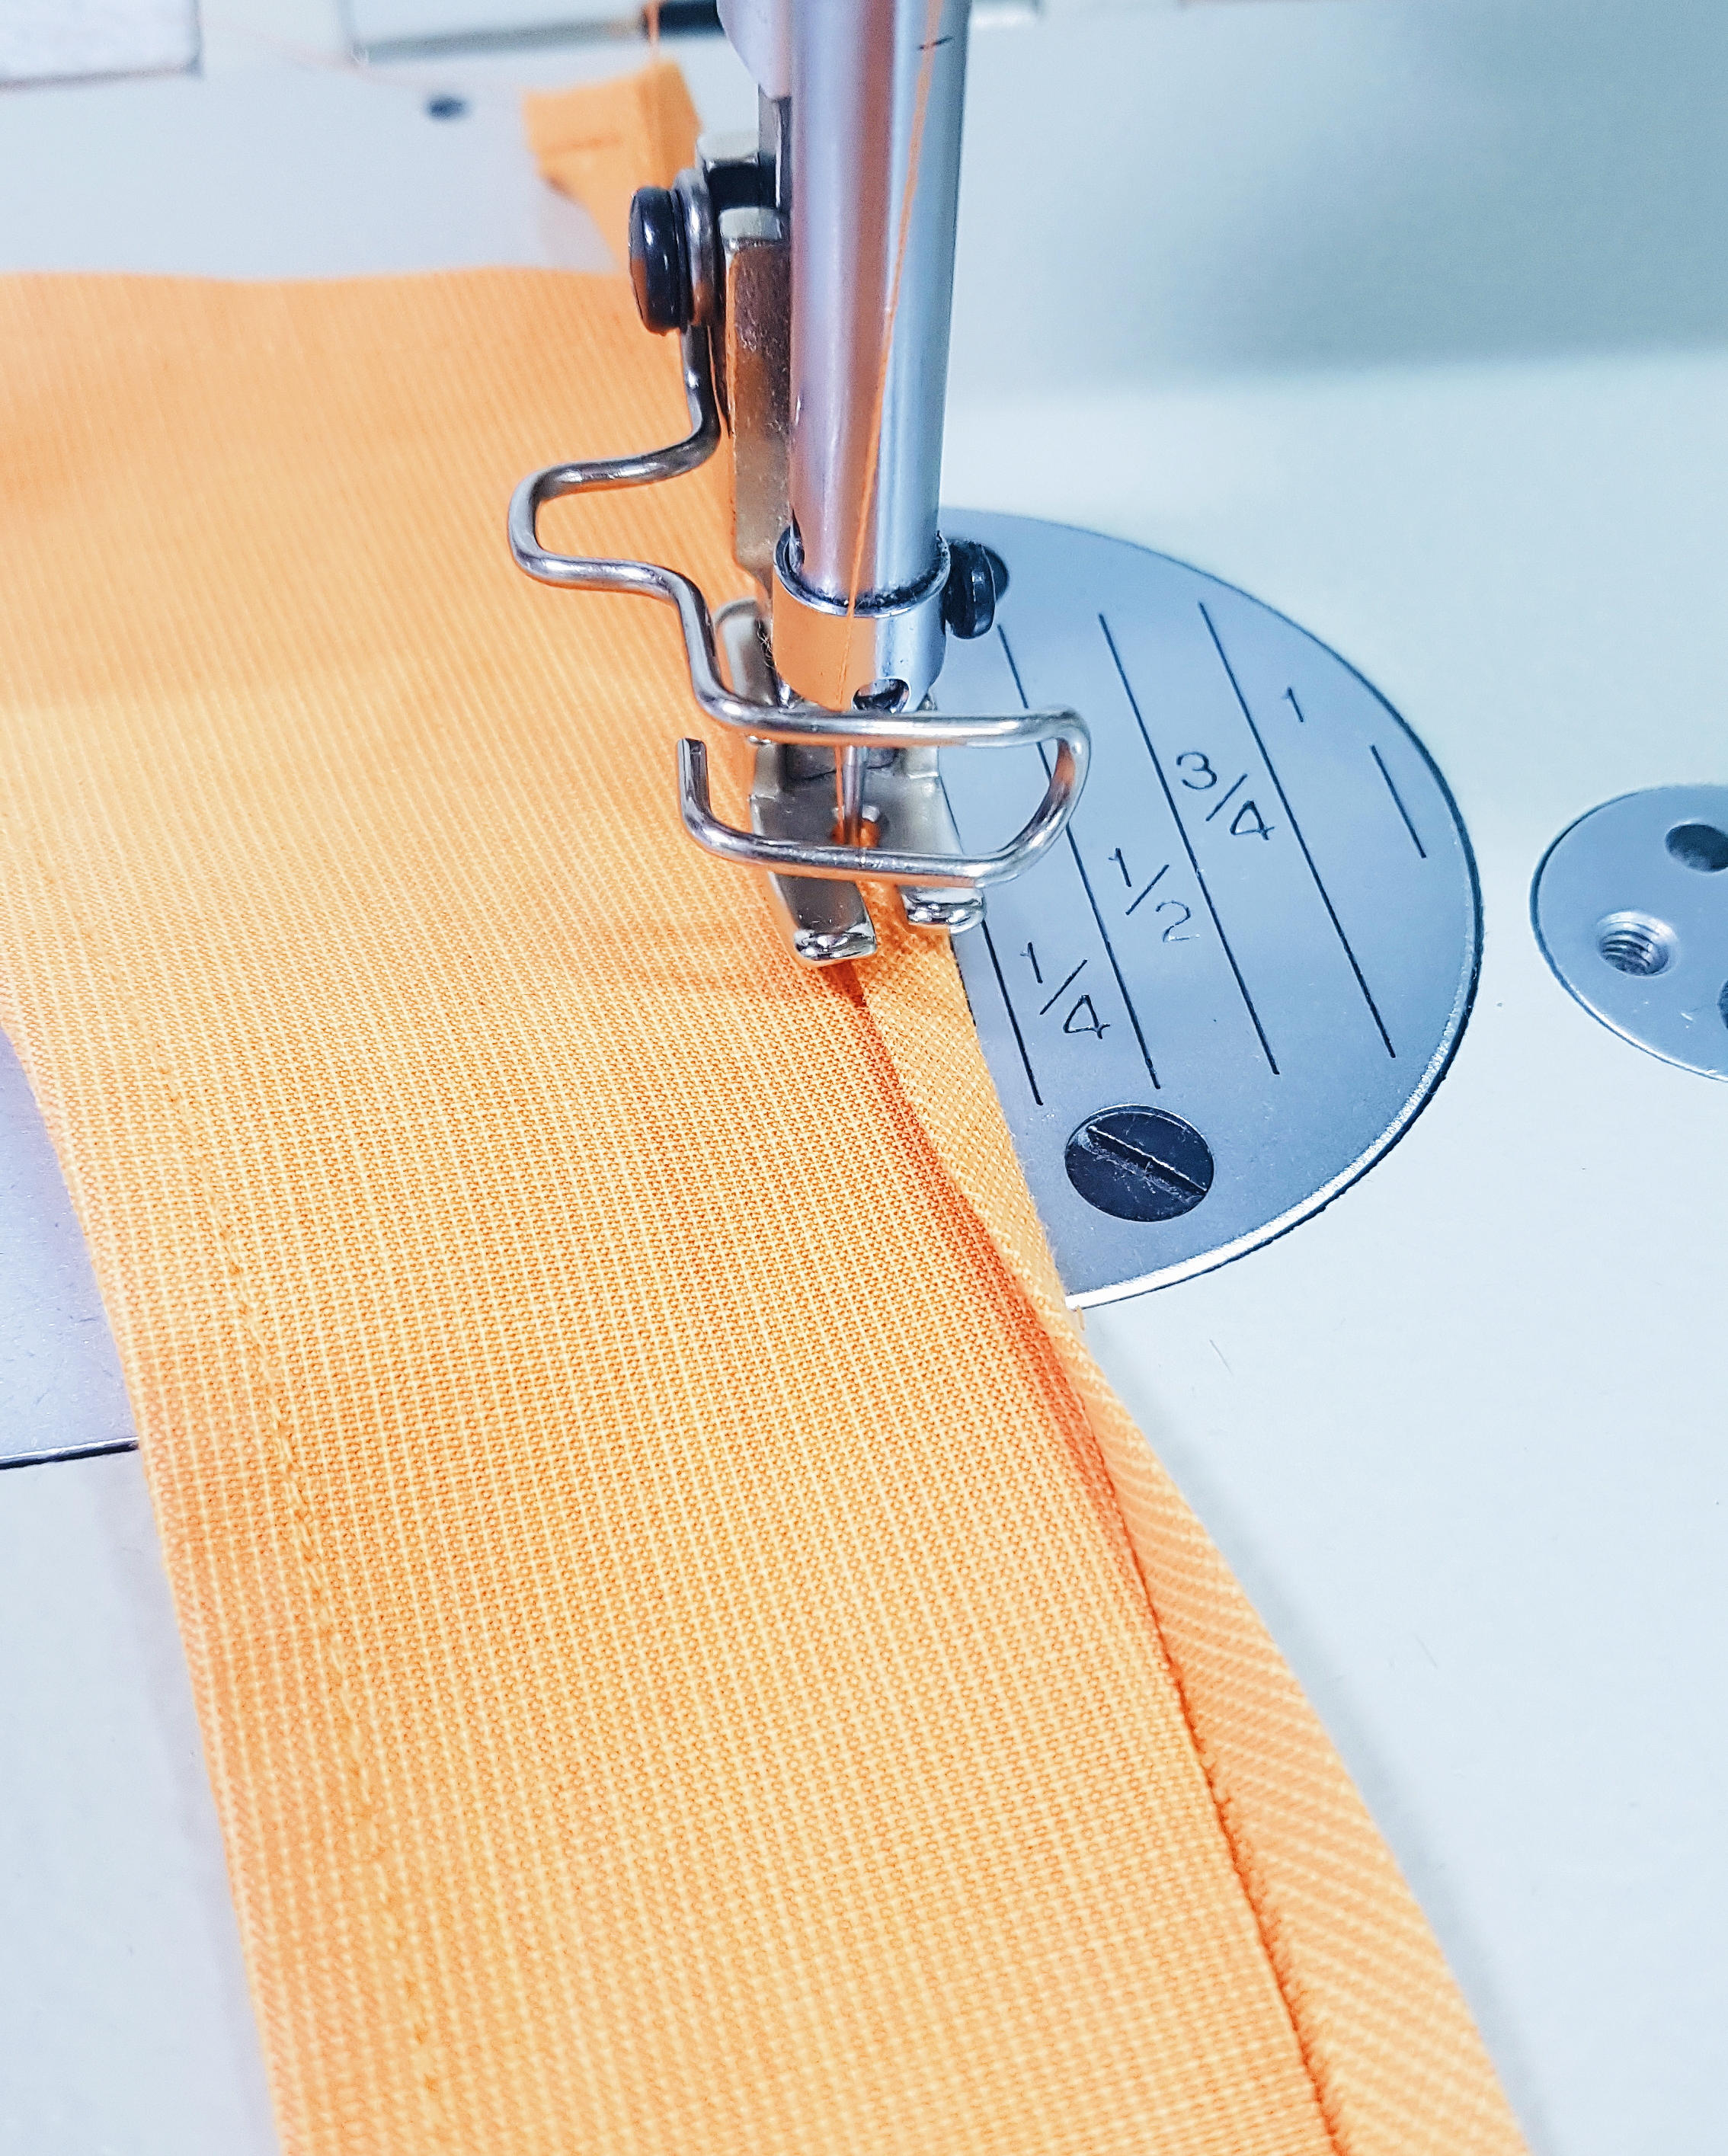
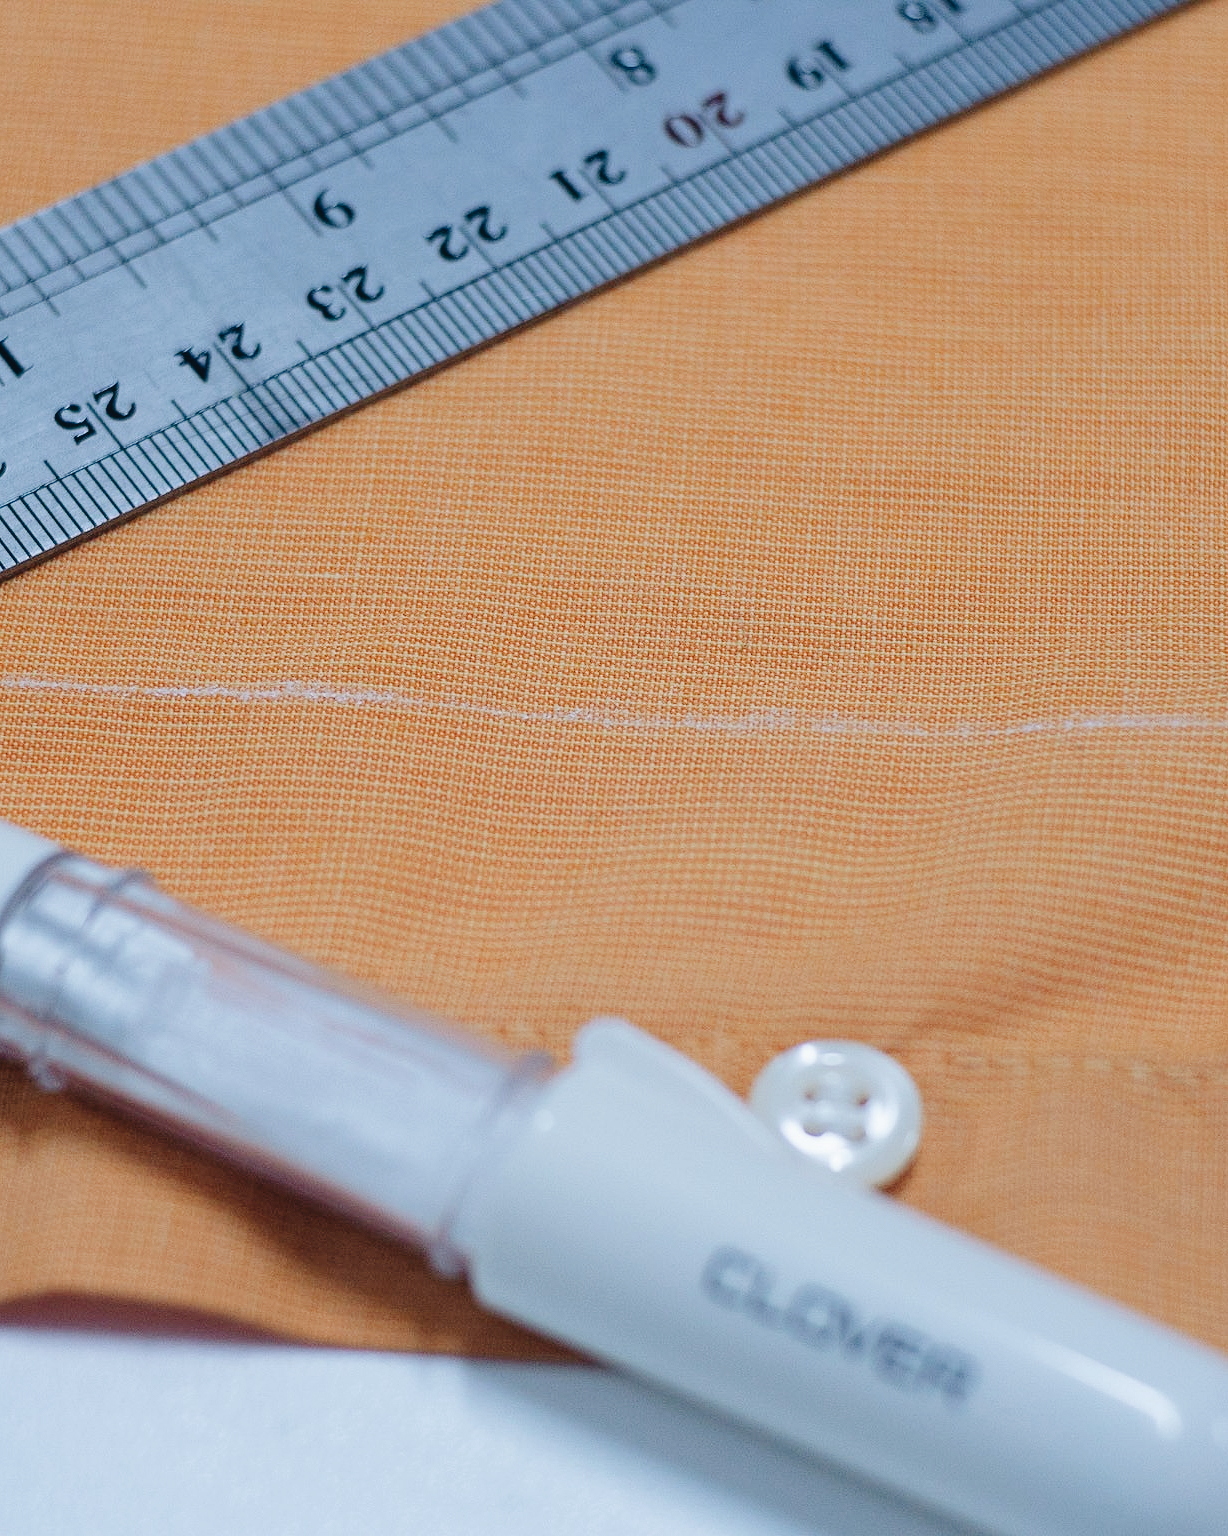
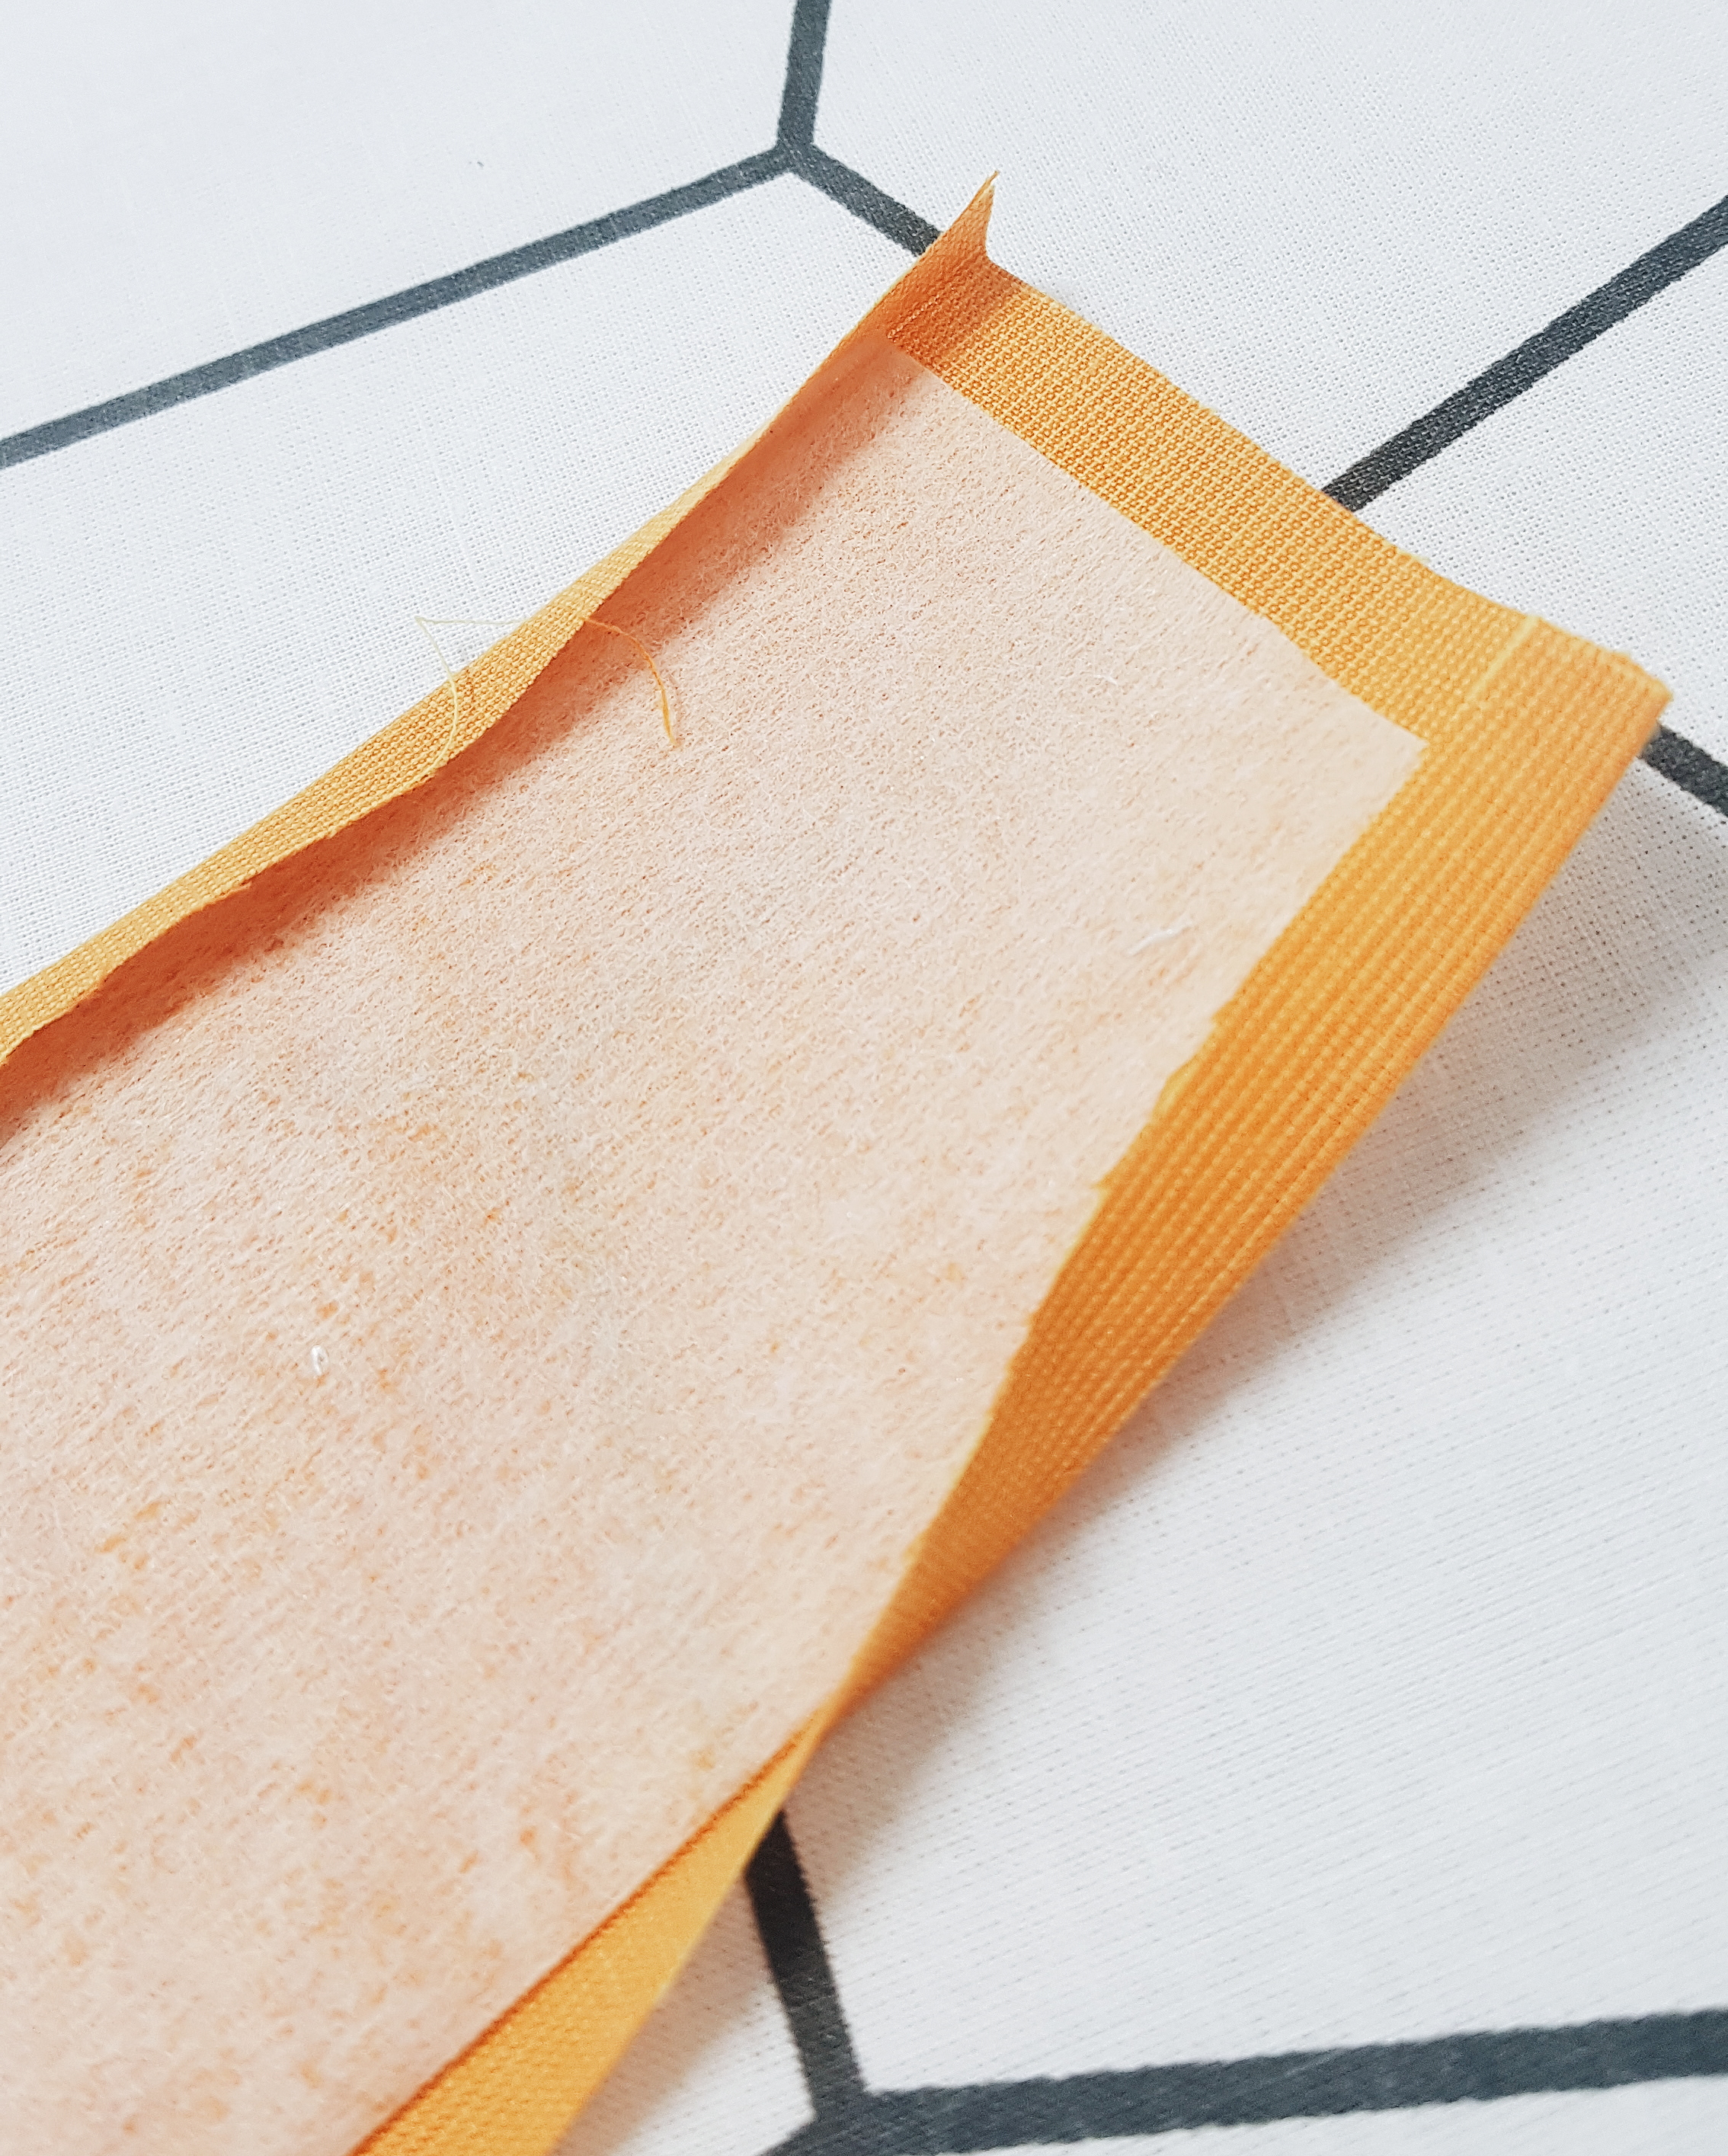
Simply cut your chosen fabric at a 45-degree angle to the grain no less than 2.5cm wide. Use an iron to fold both long edges of your piece in by 0.5cm before pressing the strip in half for an enclosed finish.
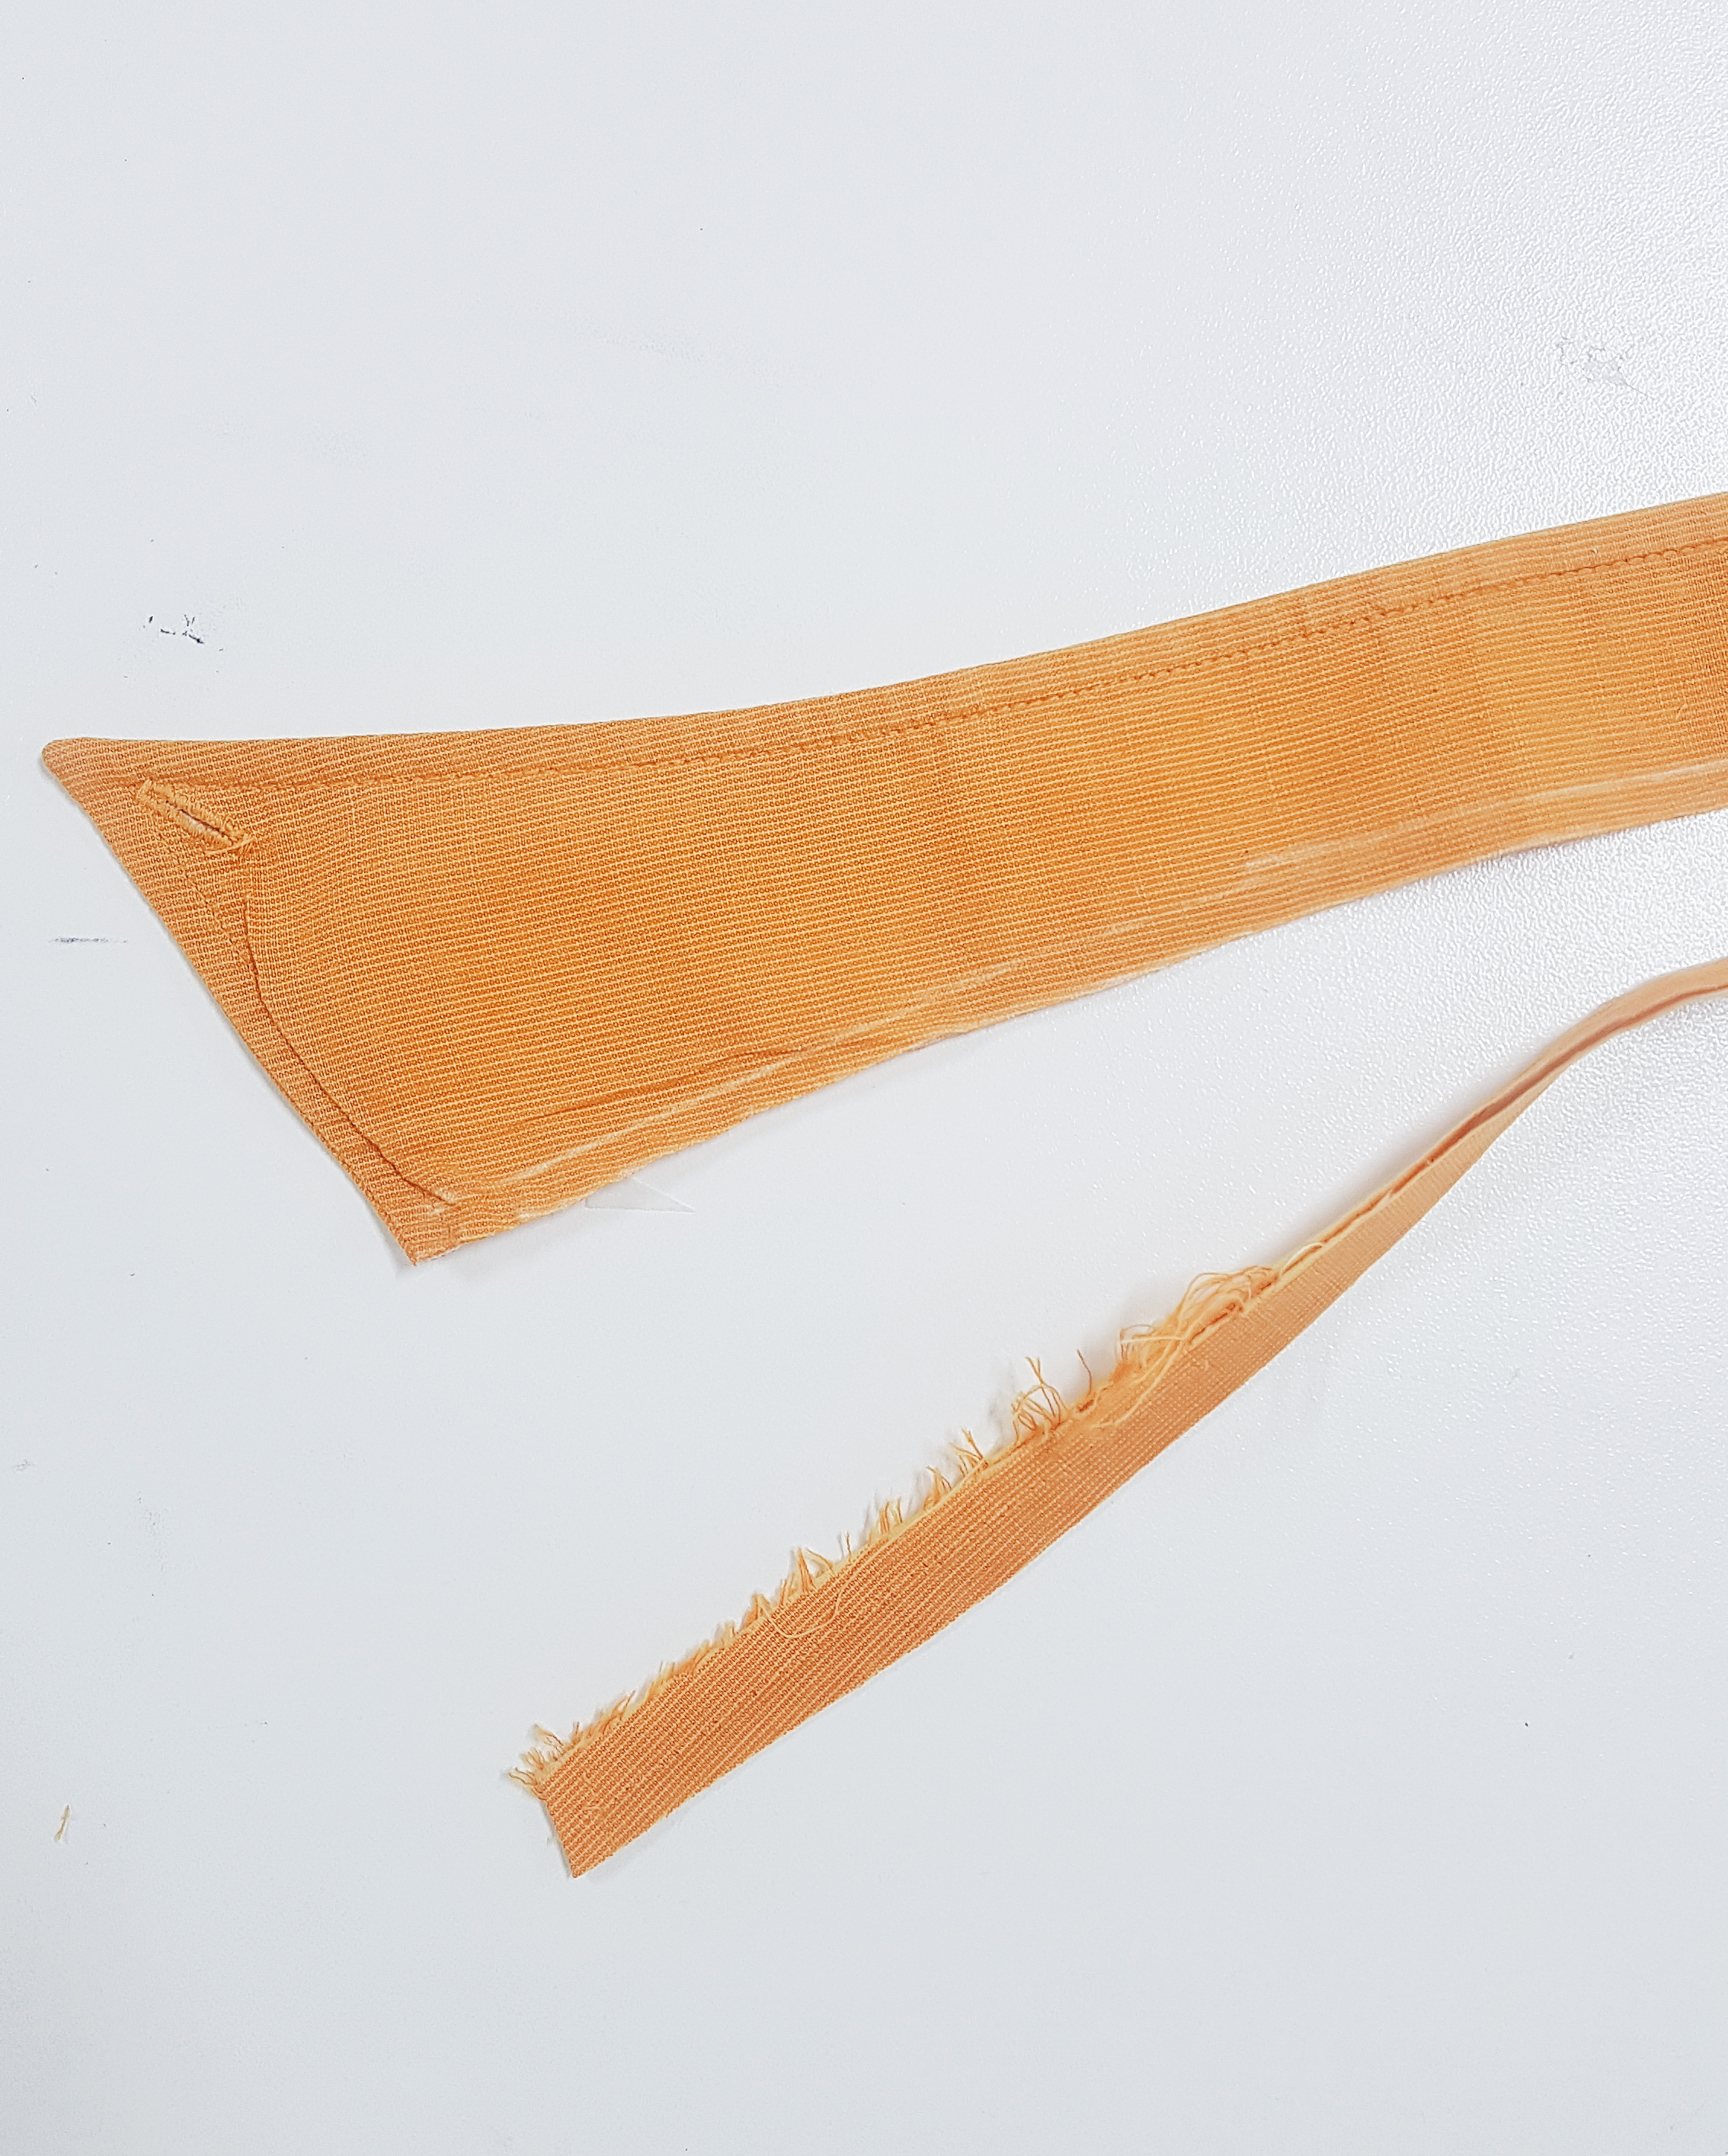
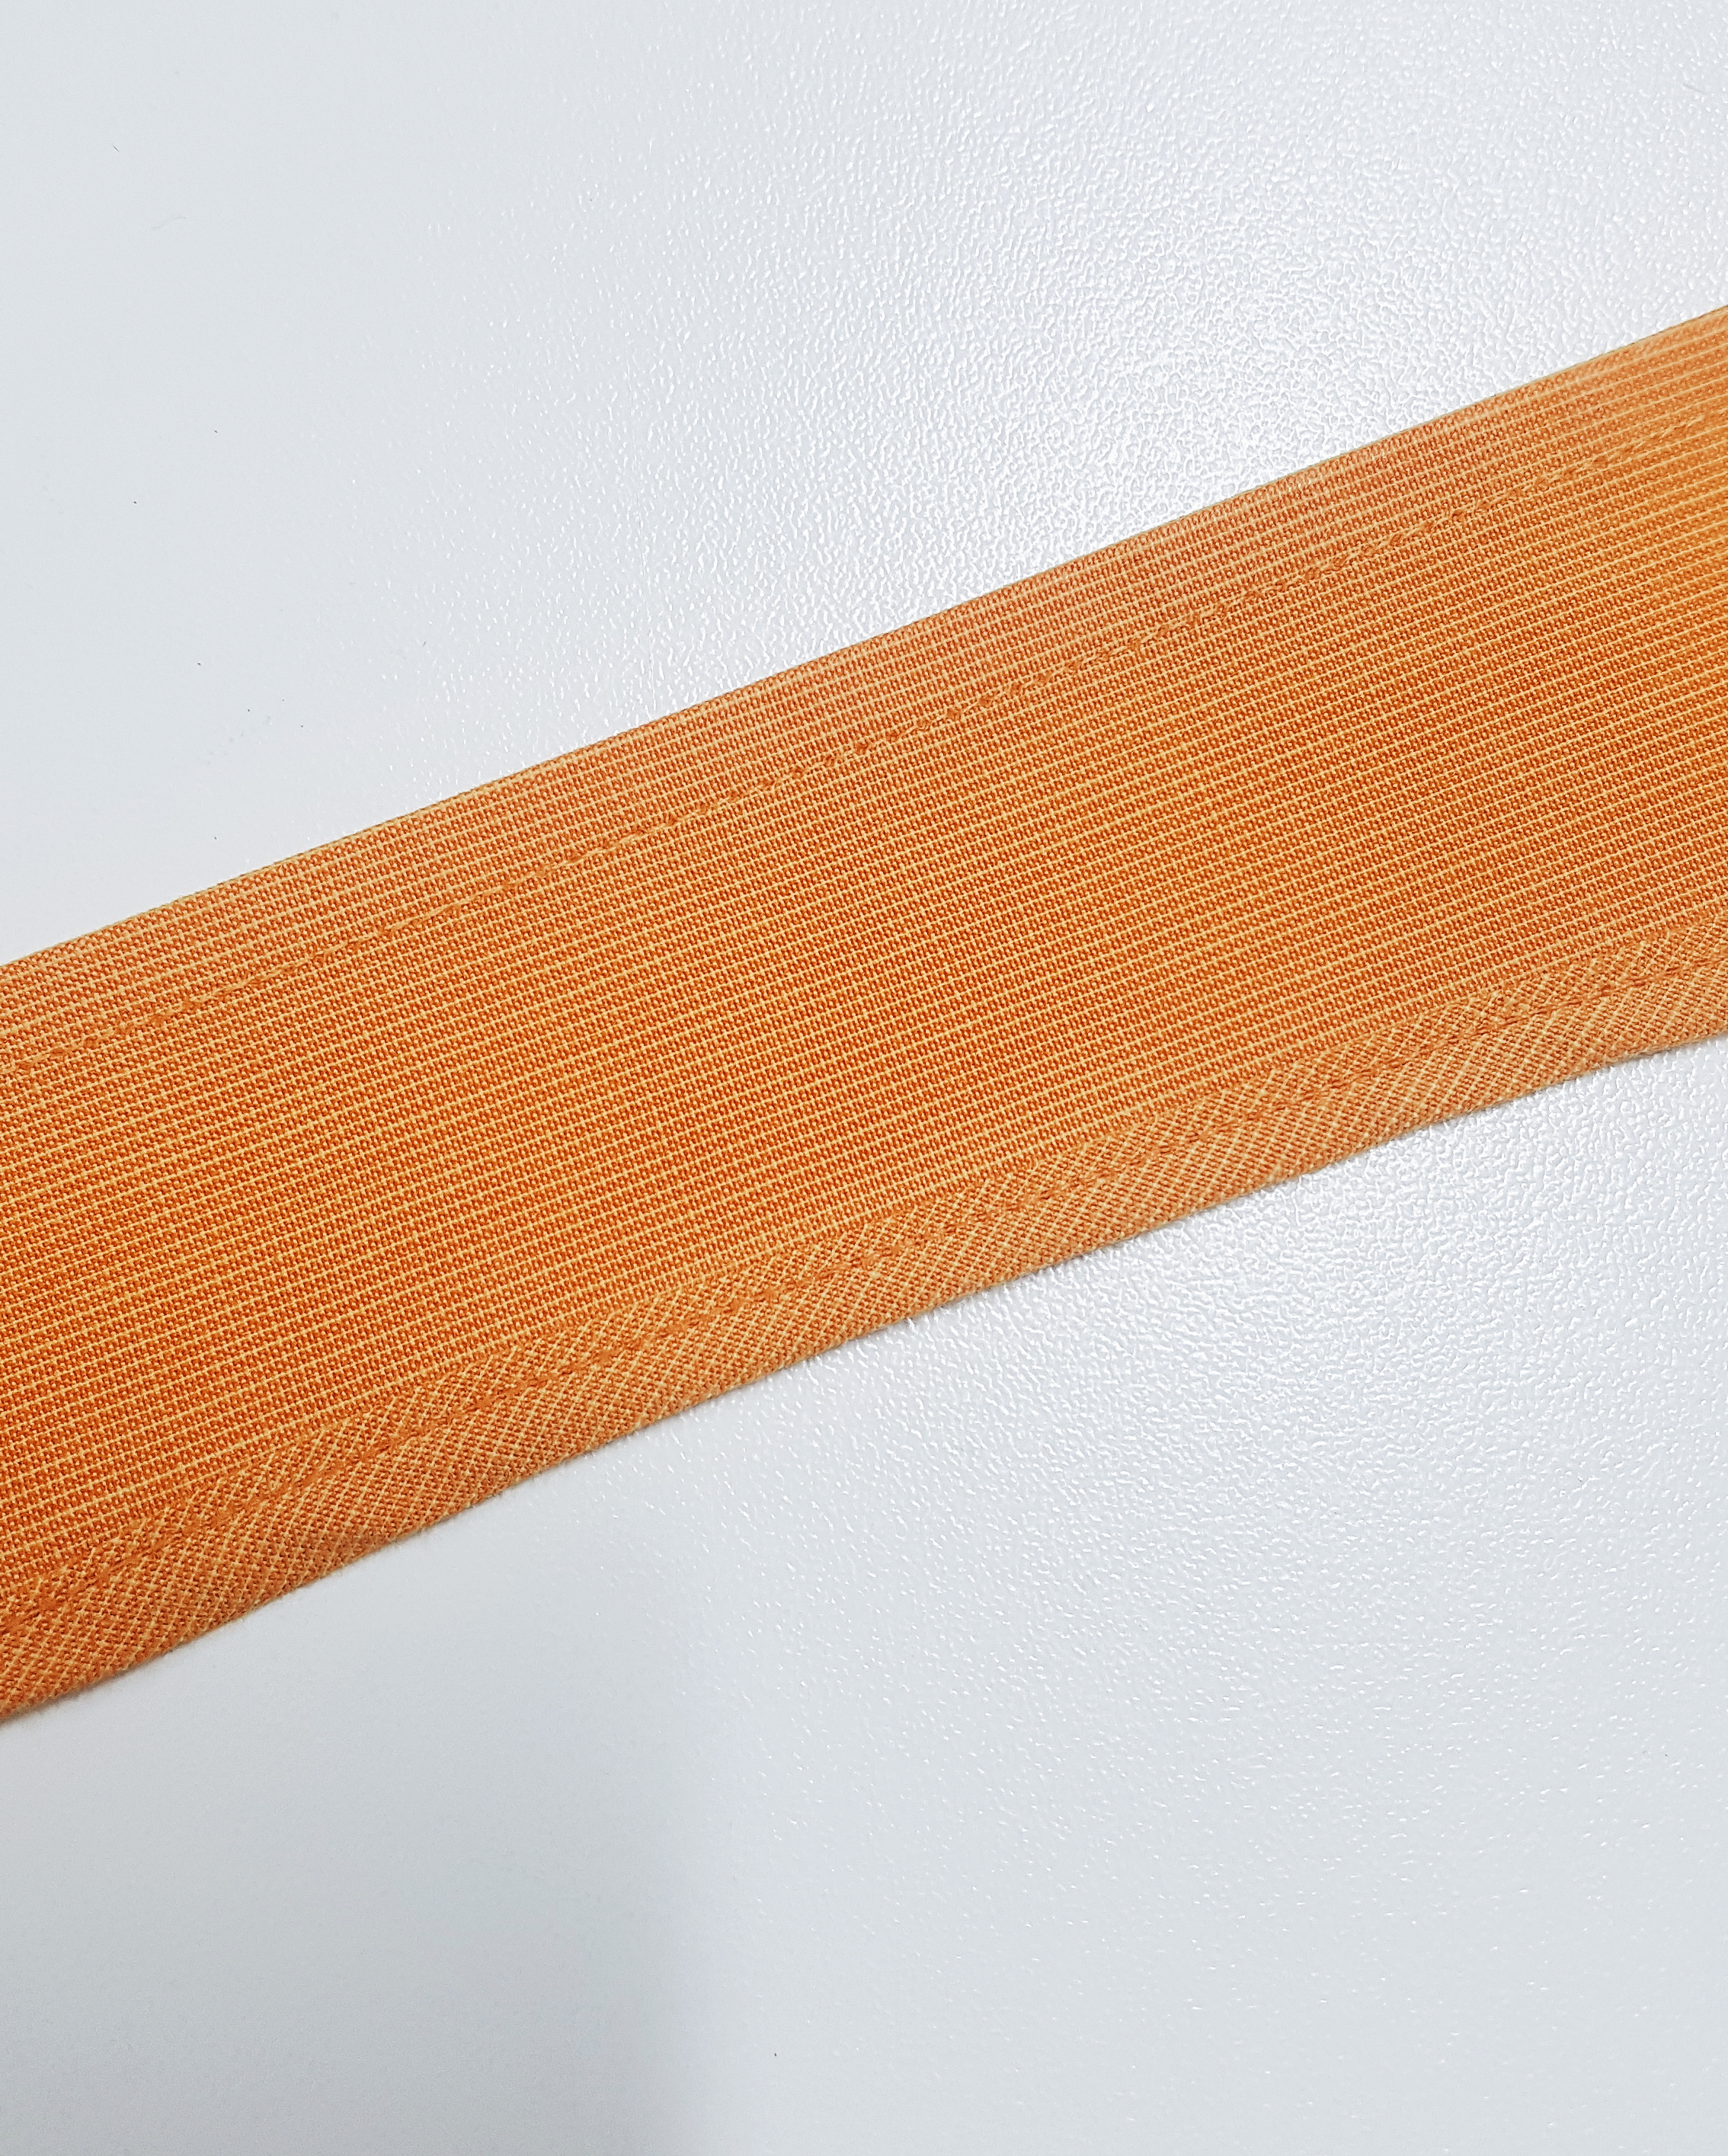
With your chosen bias tape to hand, trim your collar to the desired width of your carry handle and secure your bias tape to the raw edge with a line of stitching. You now have your carry handle! The length can be adjusted when attaching to the pocket flap.
STEP THREe
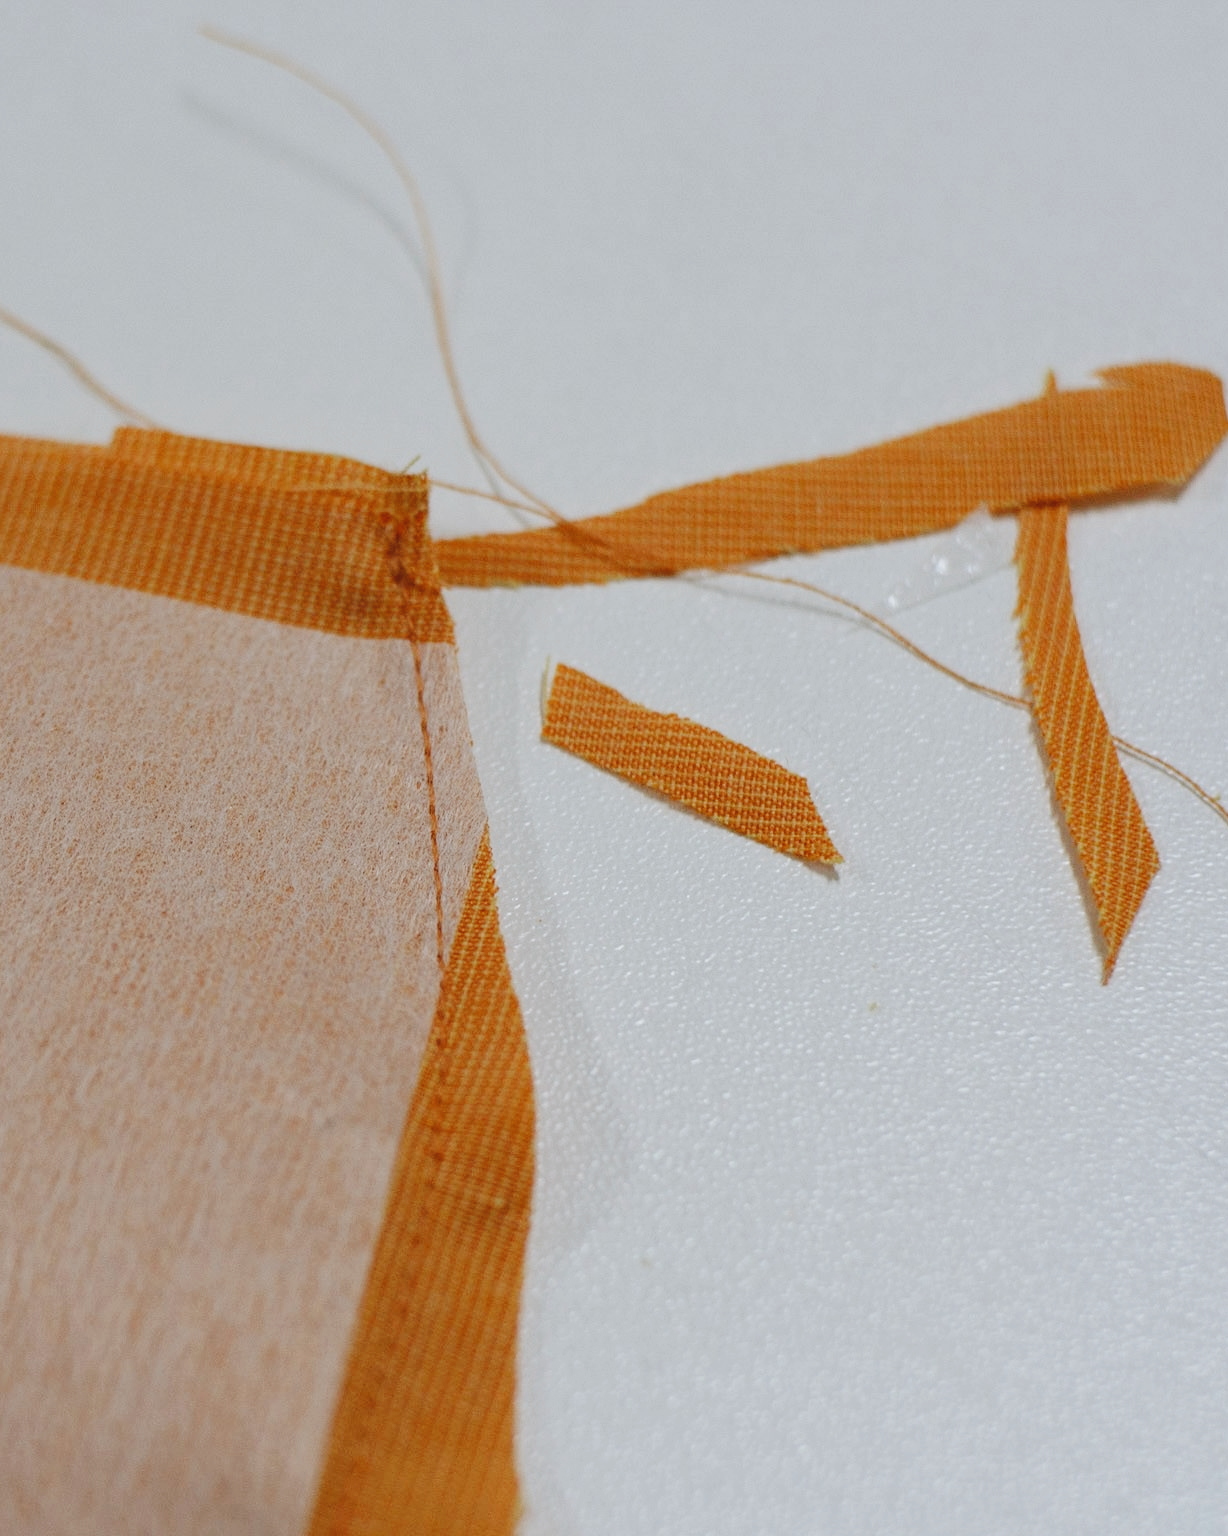
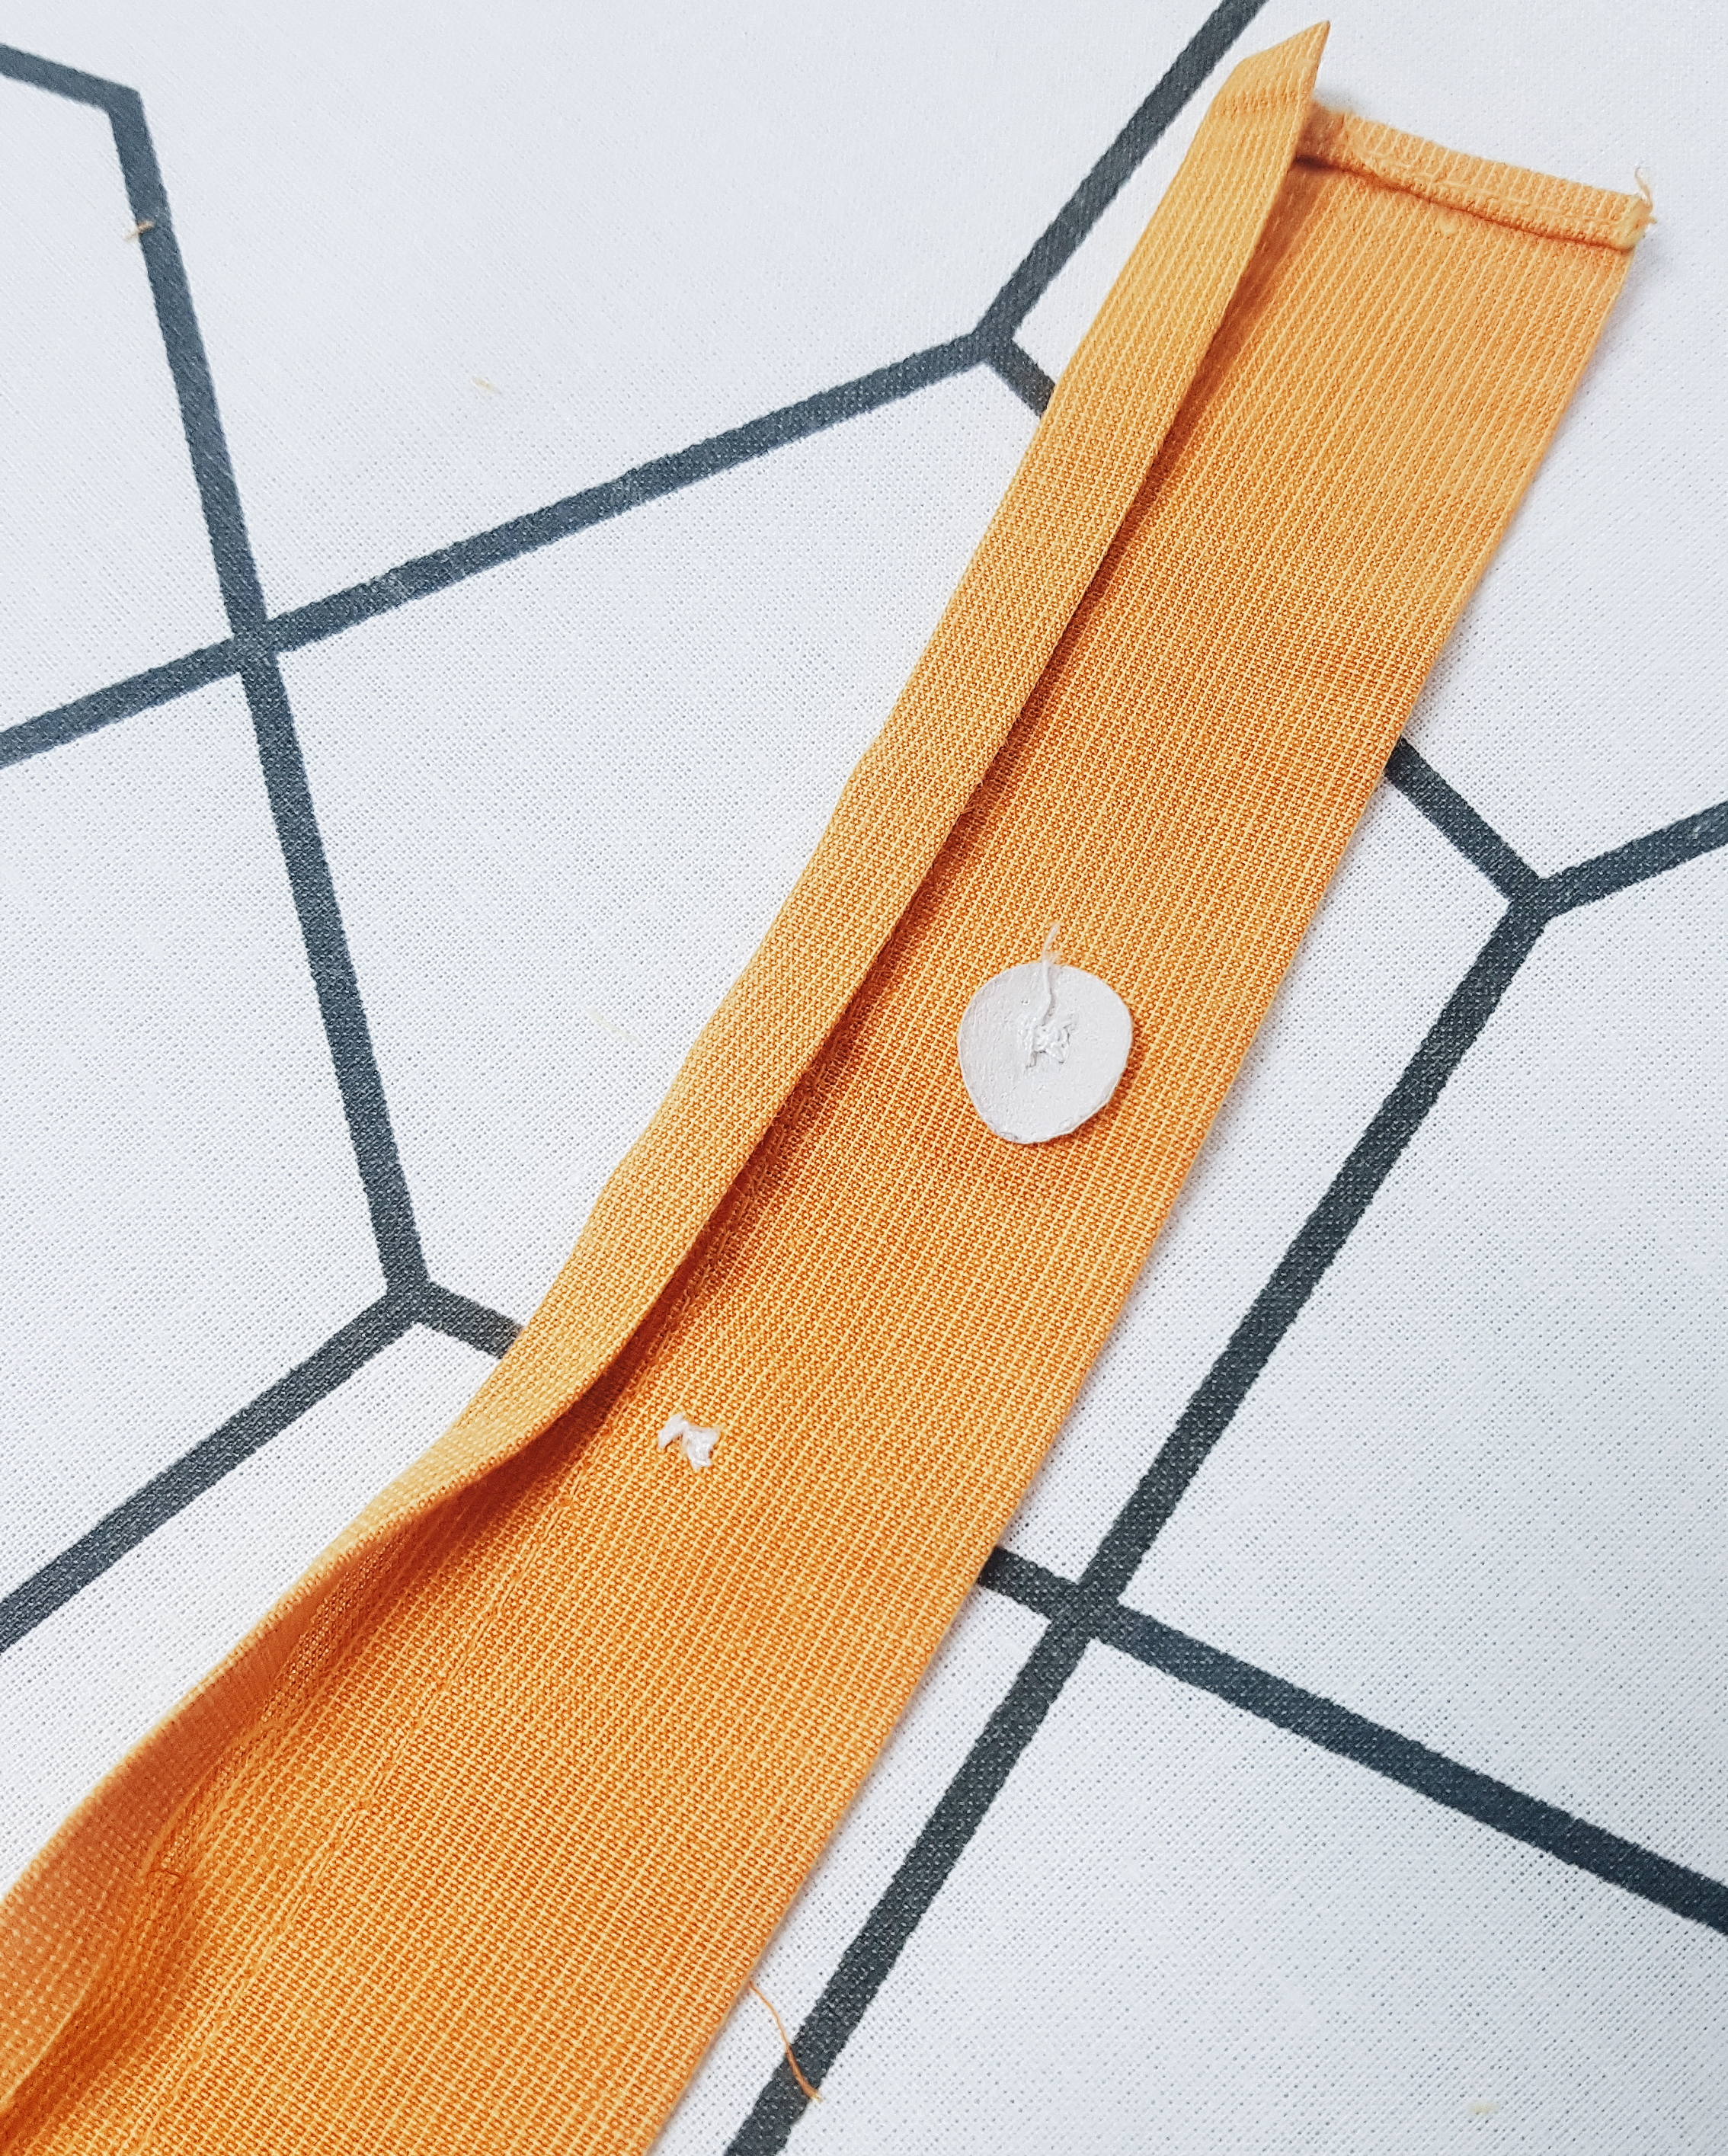
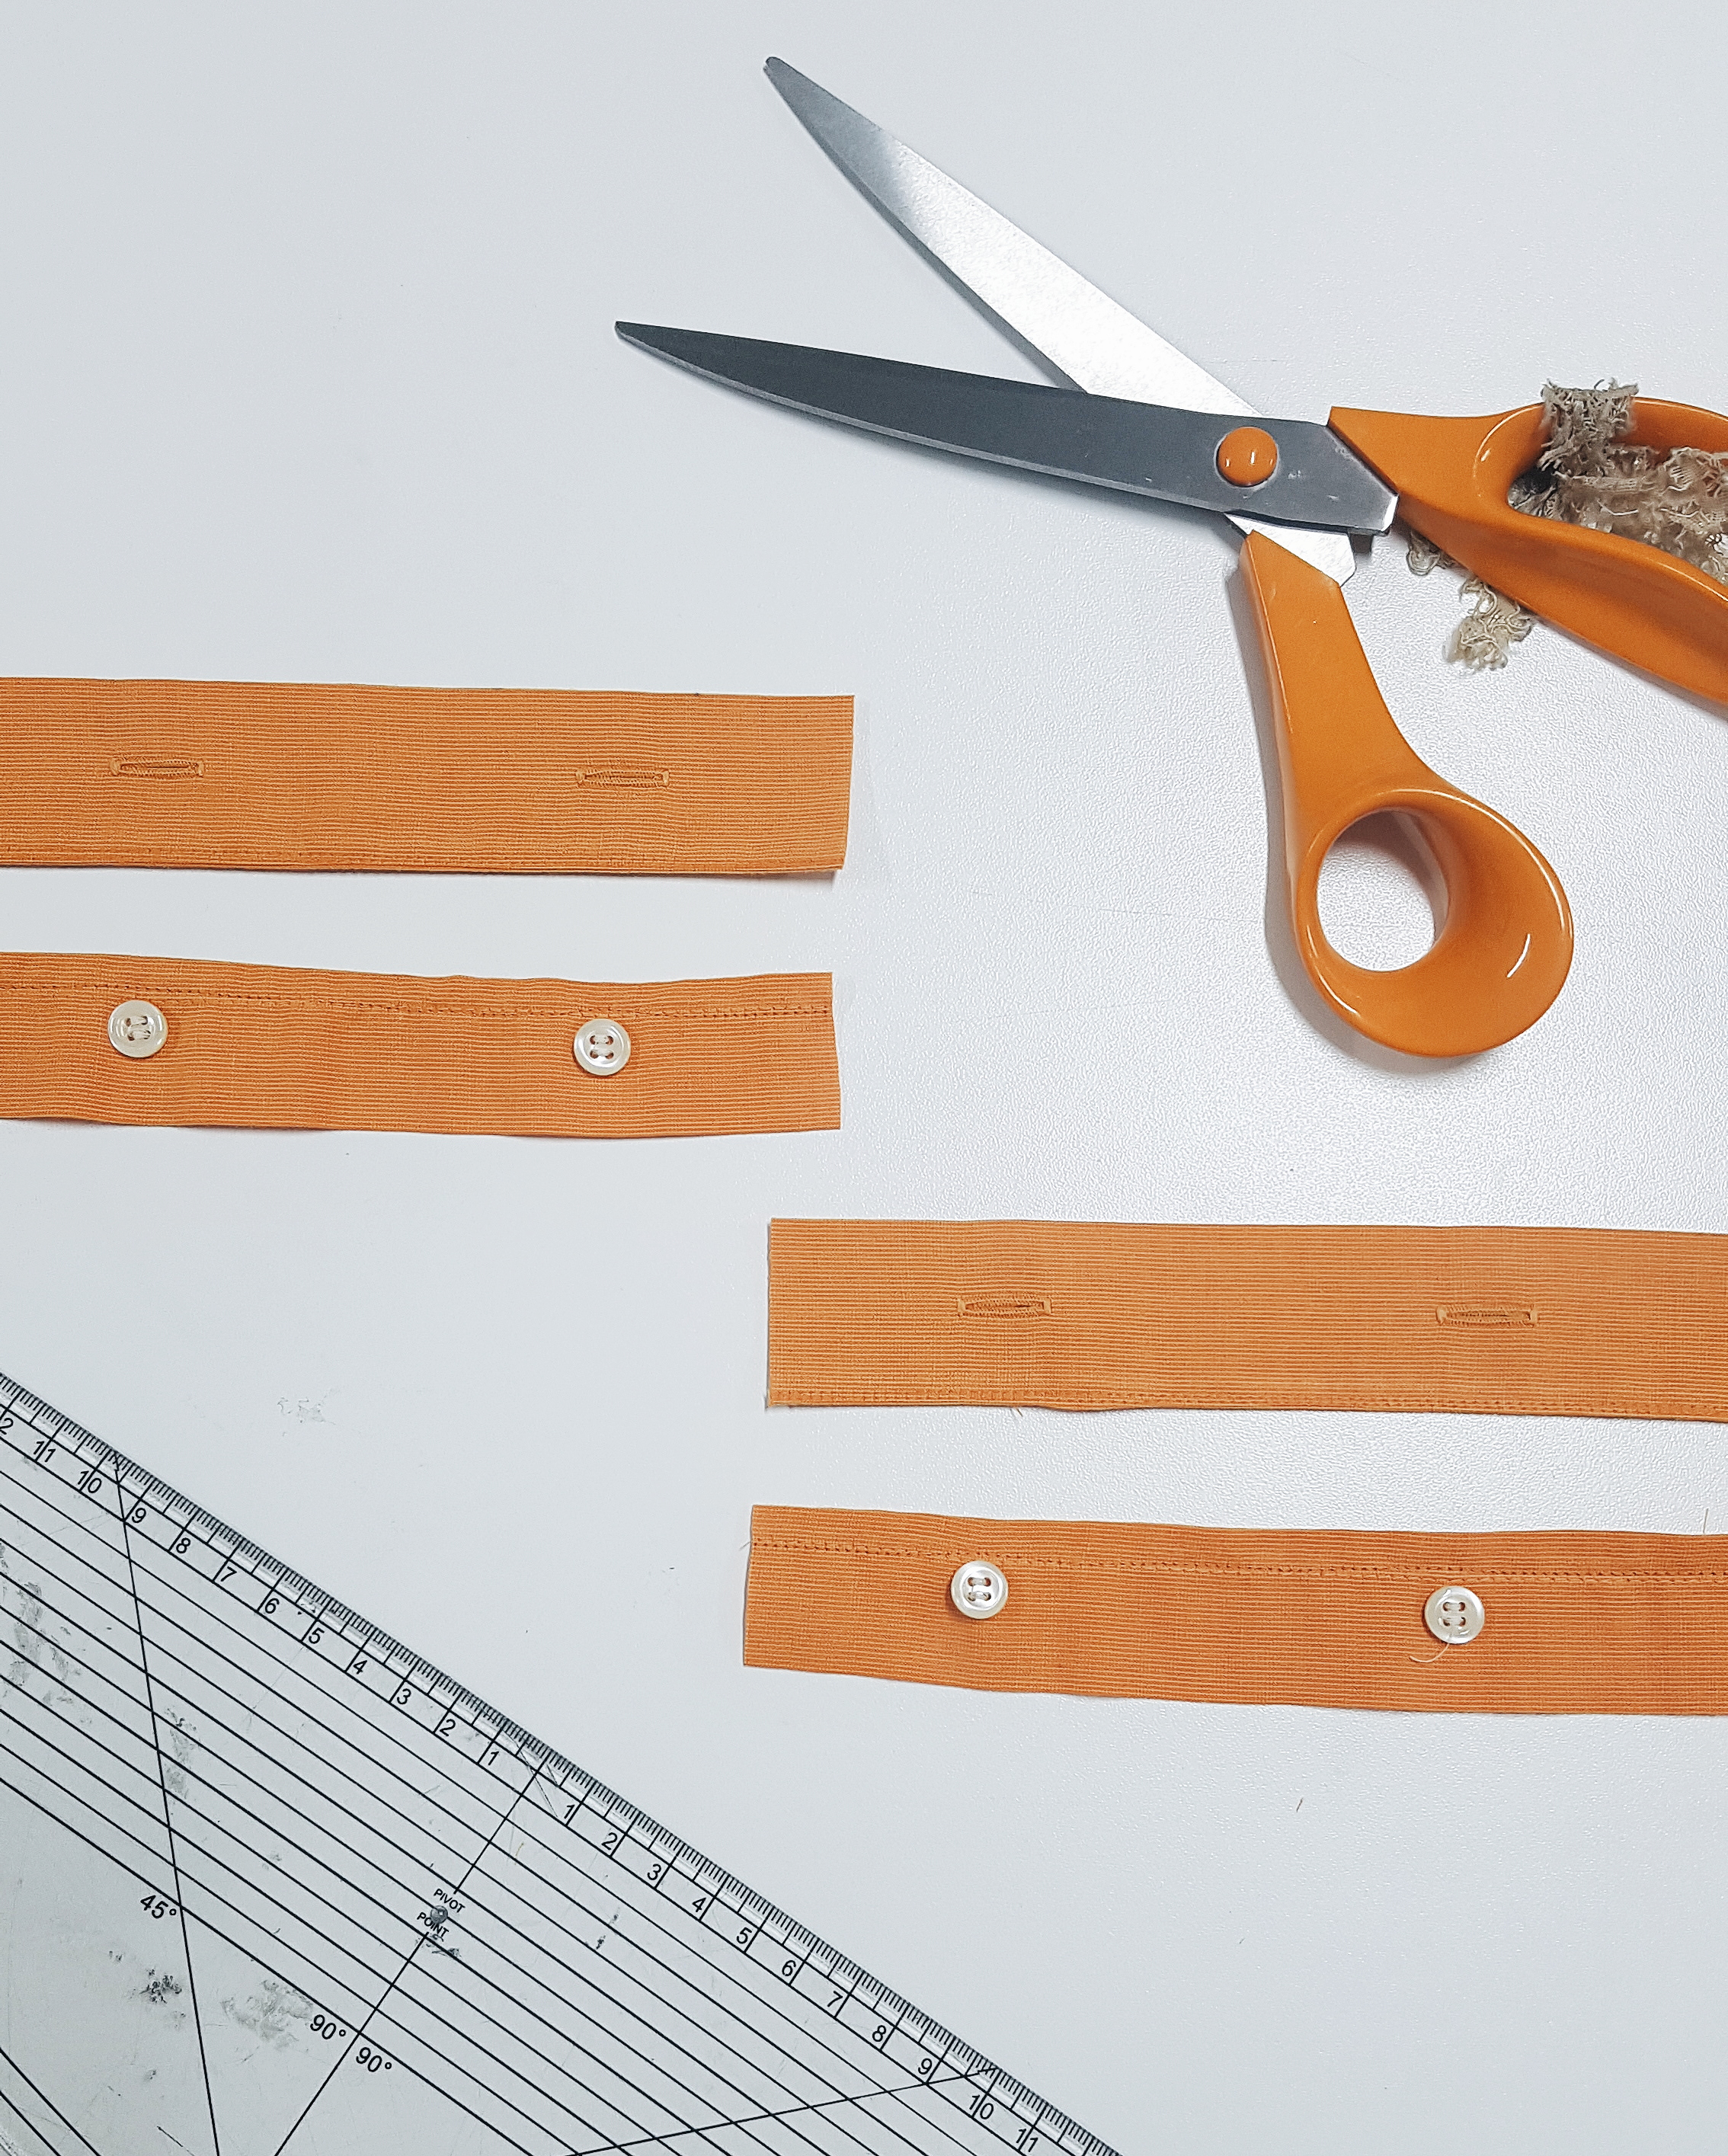
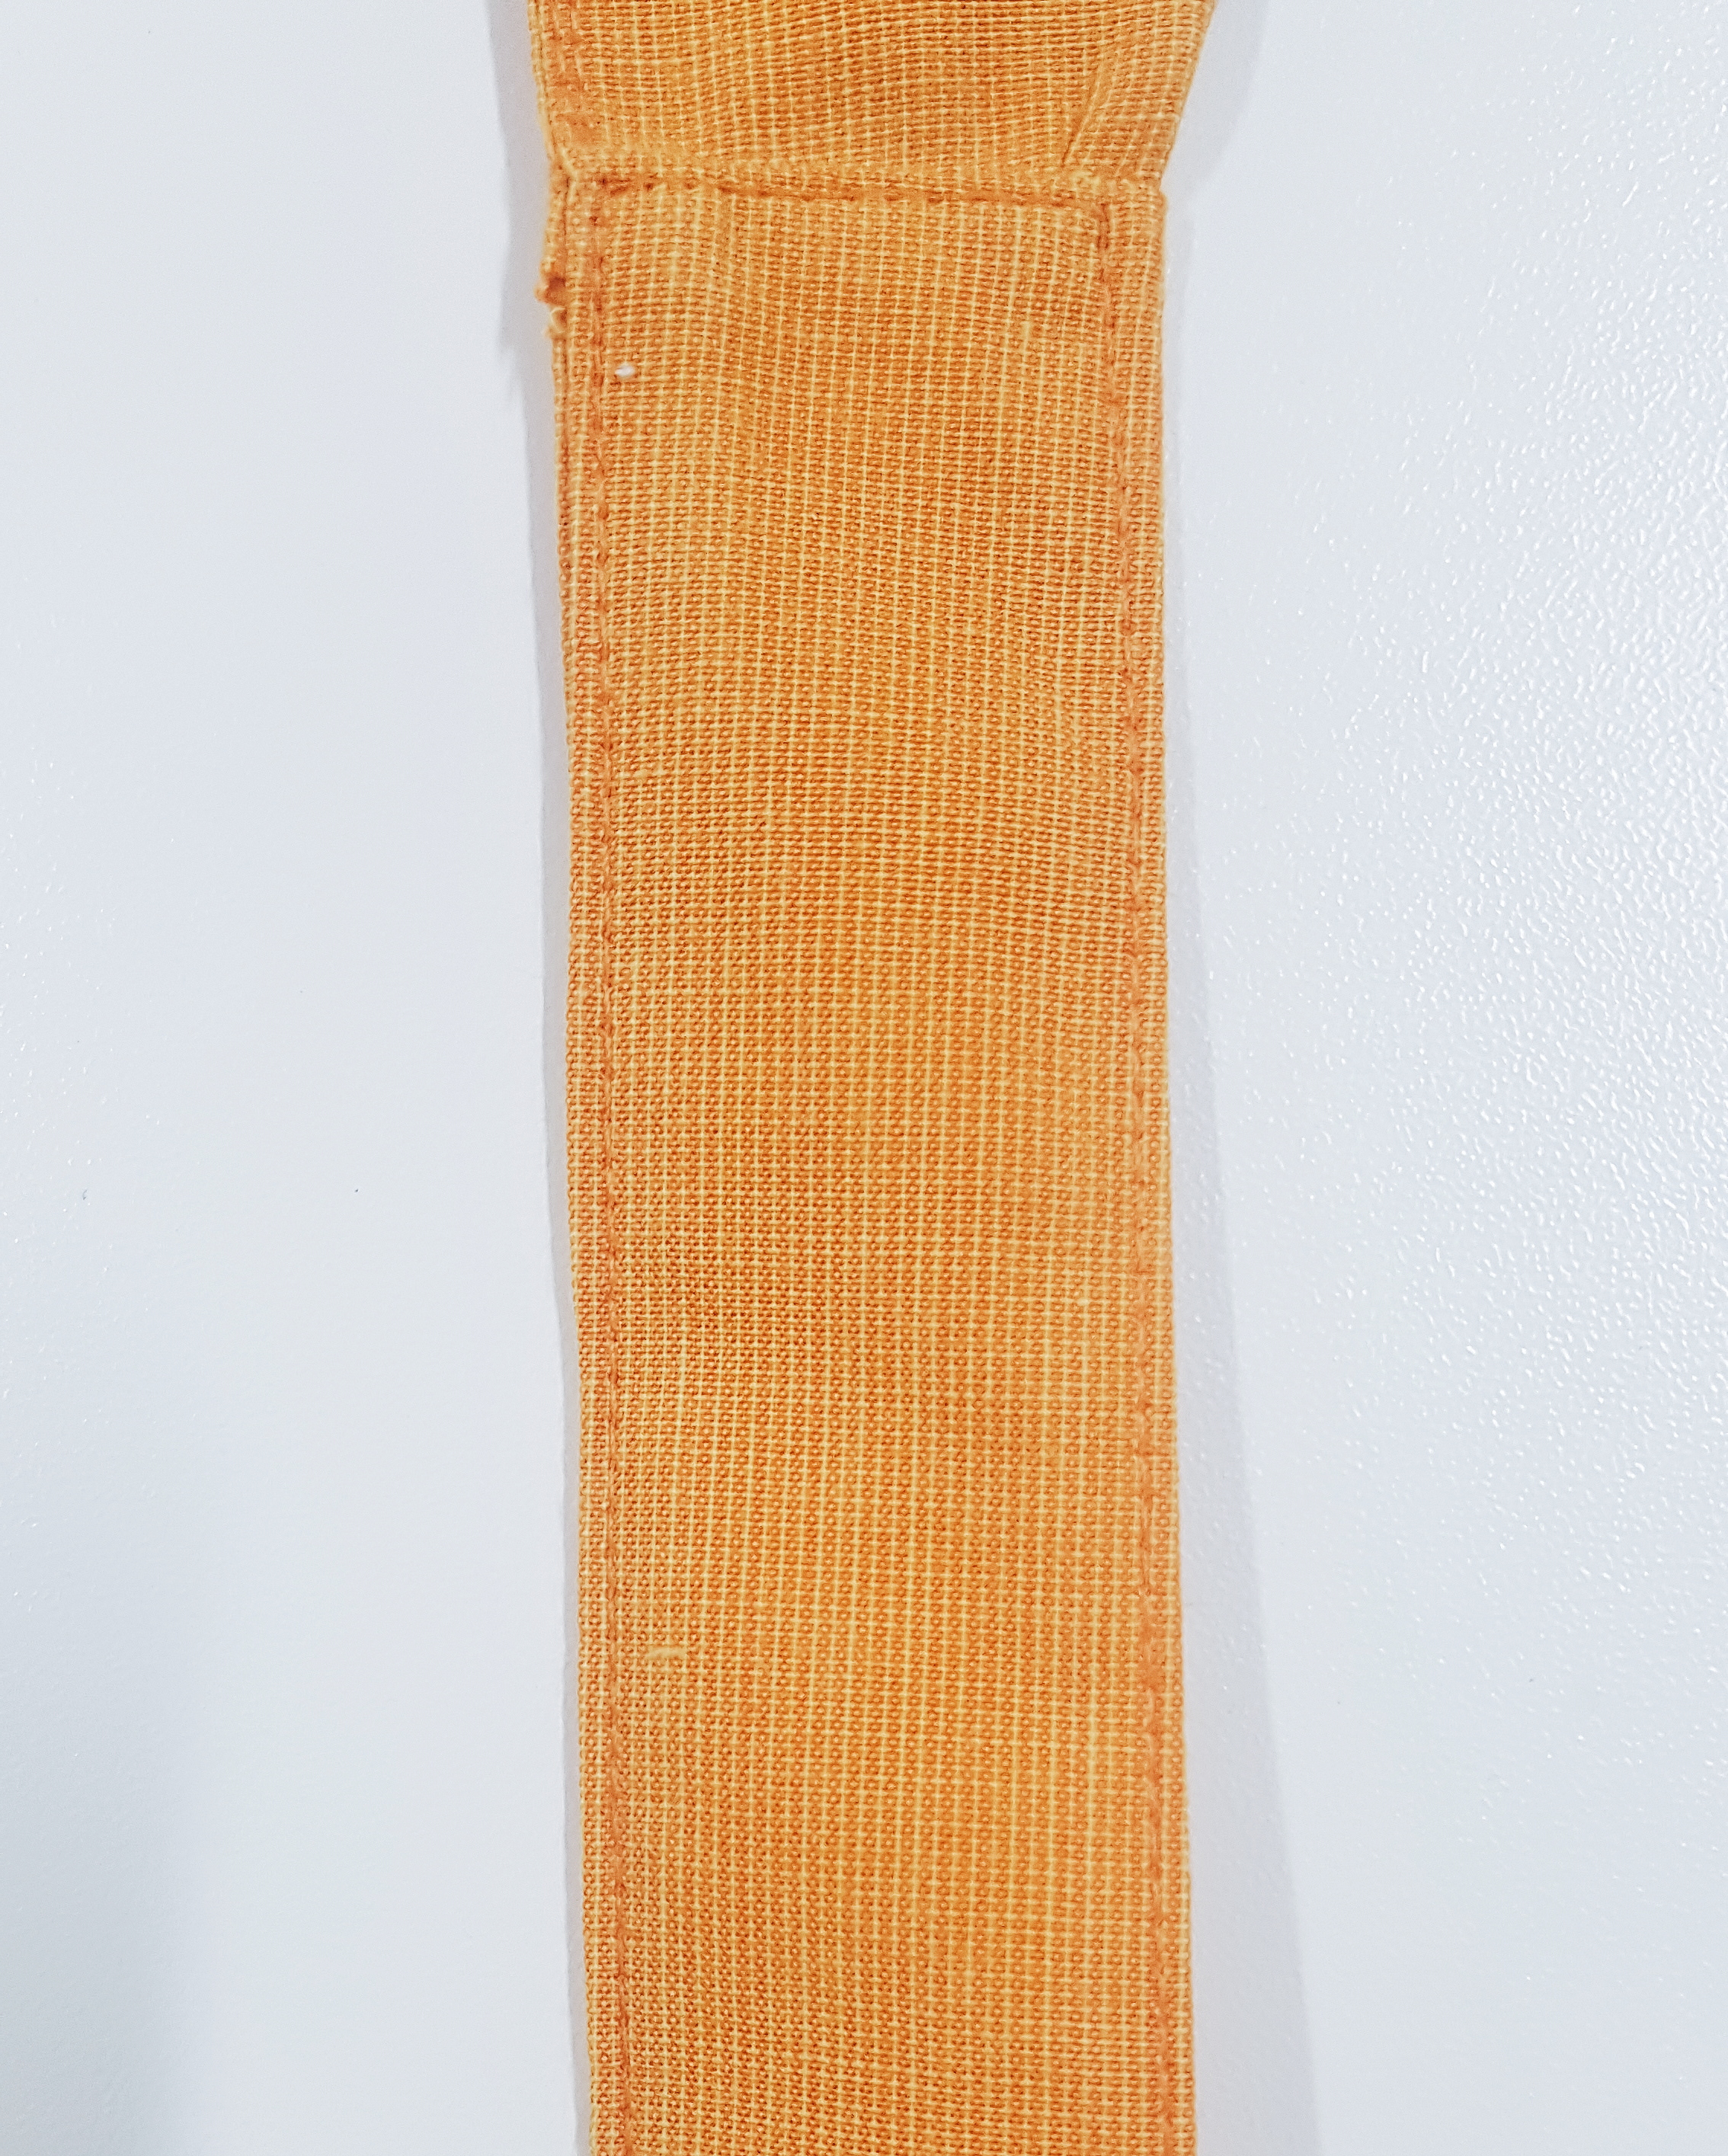
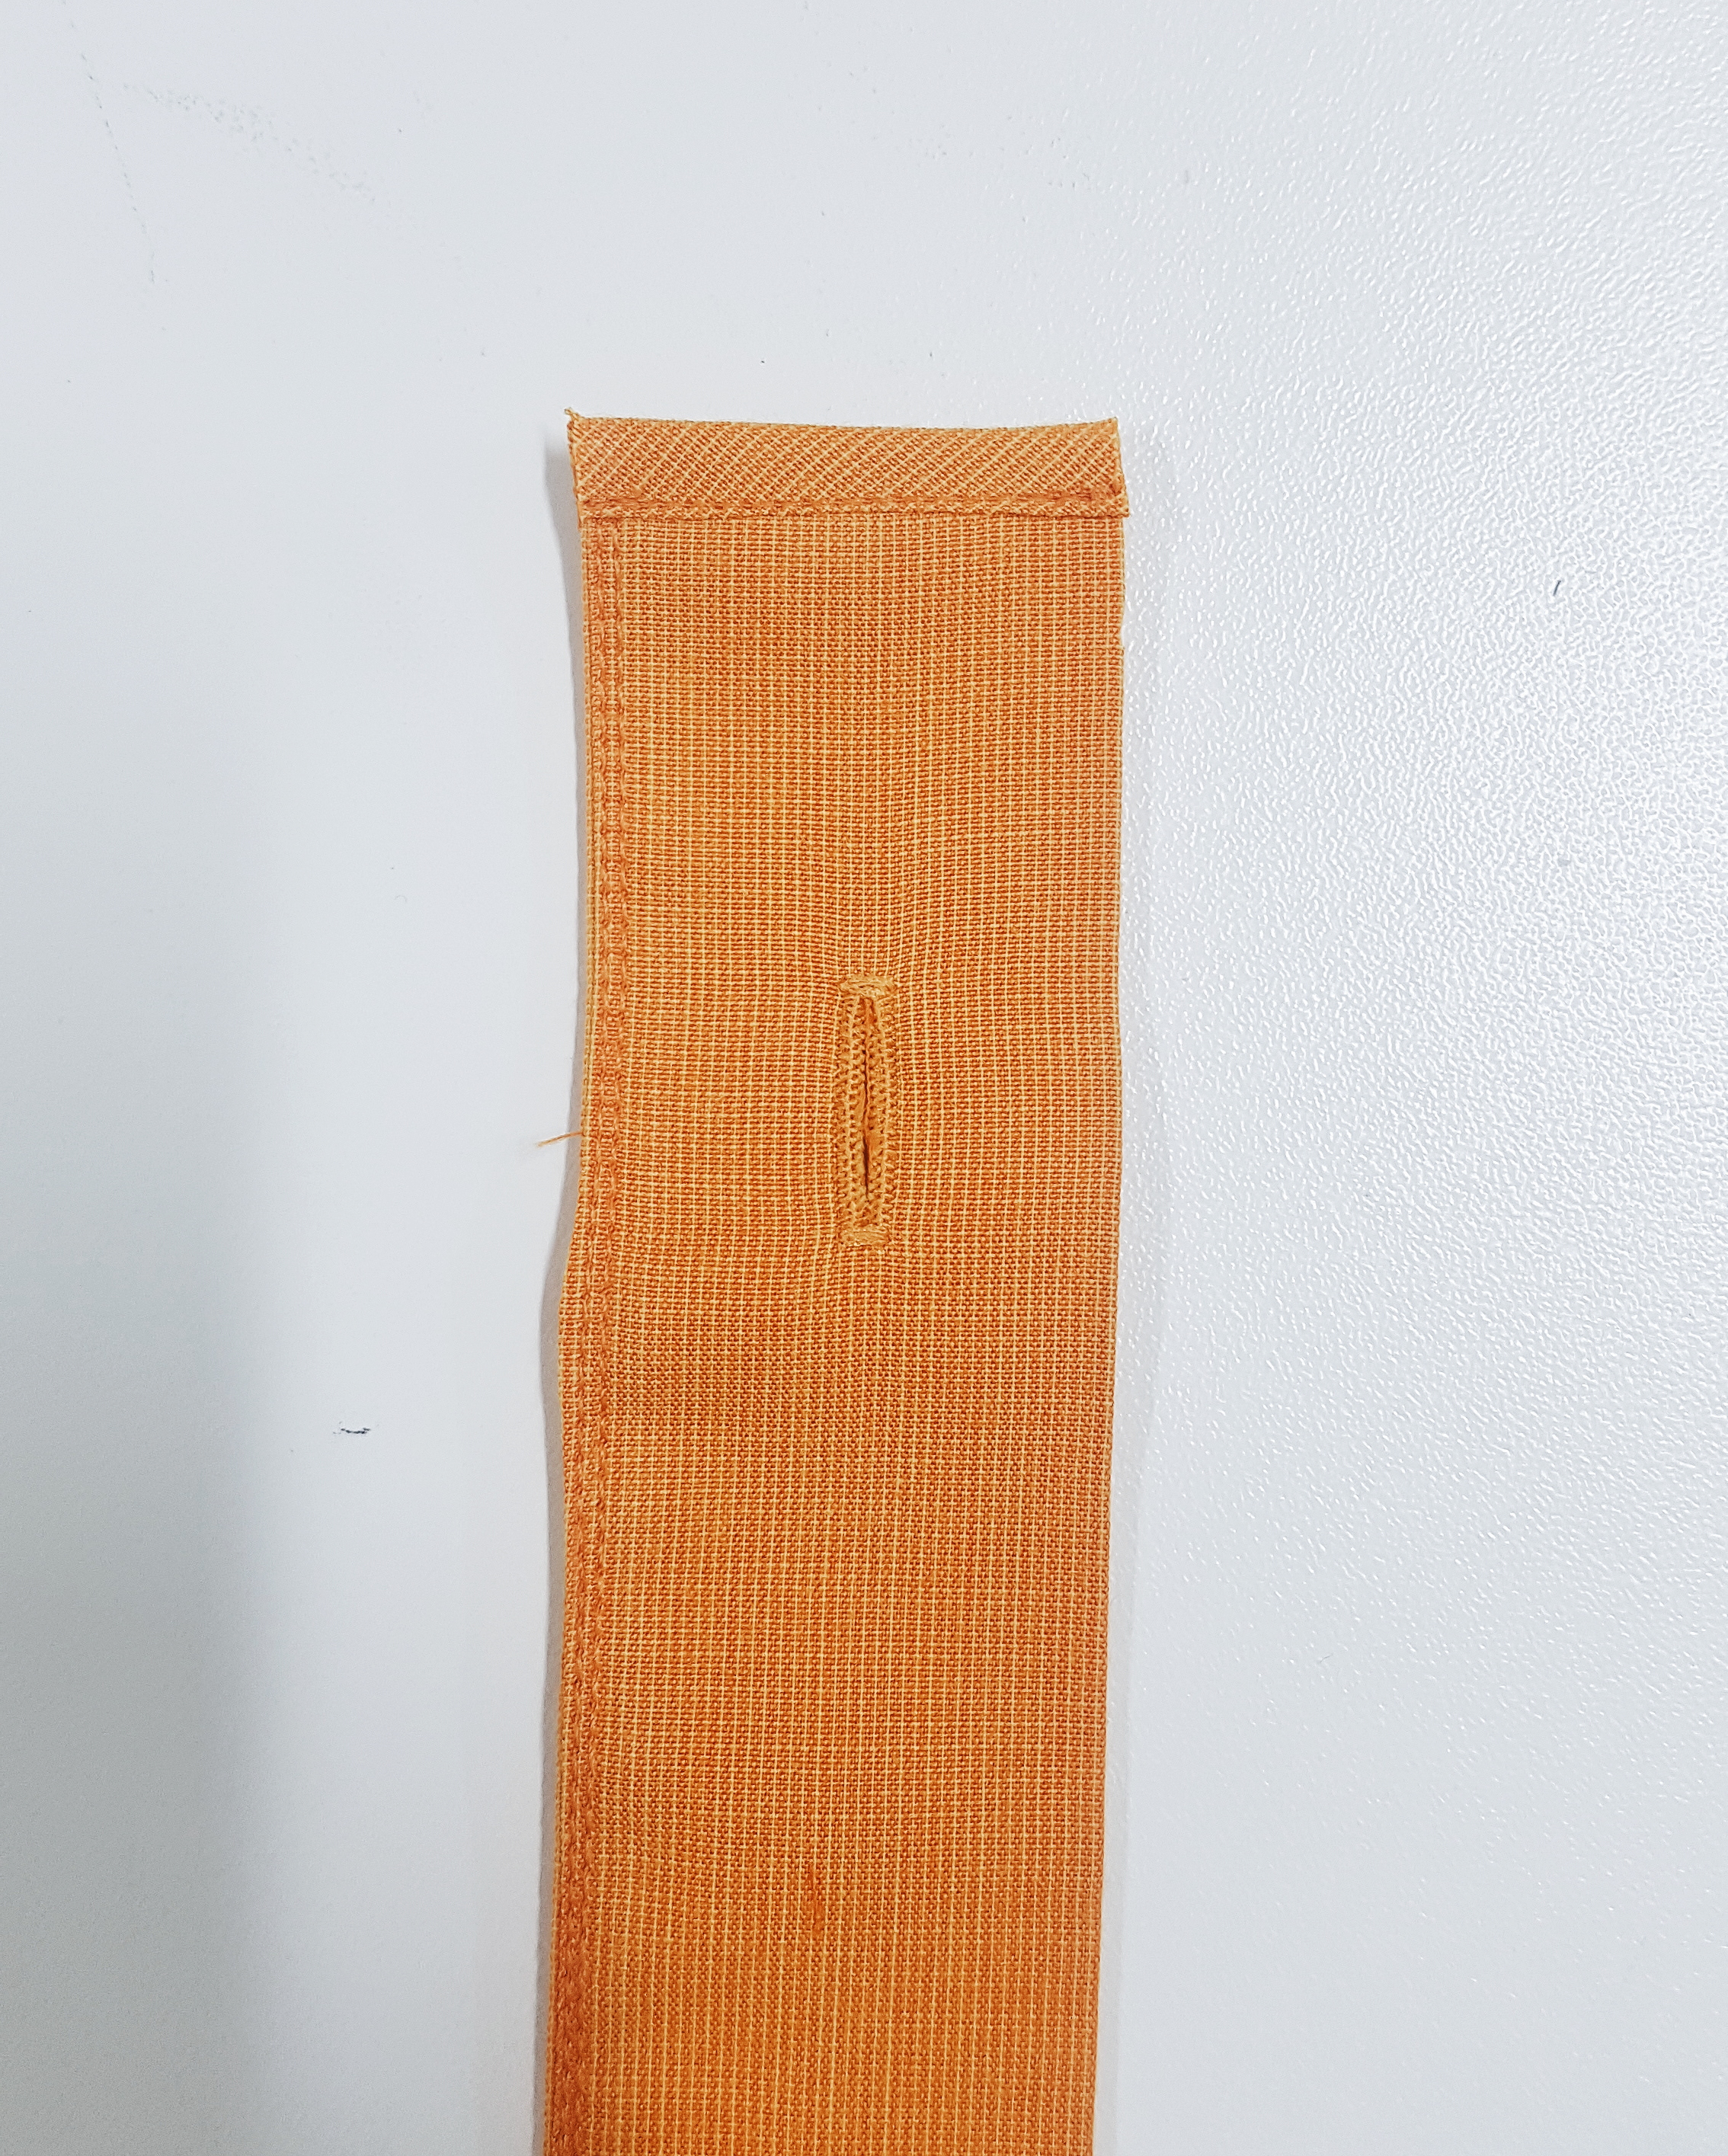
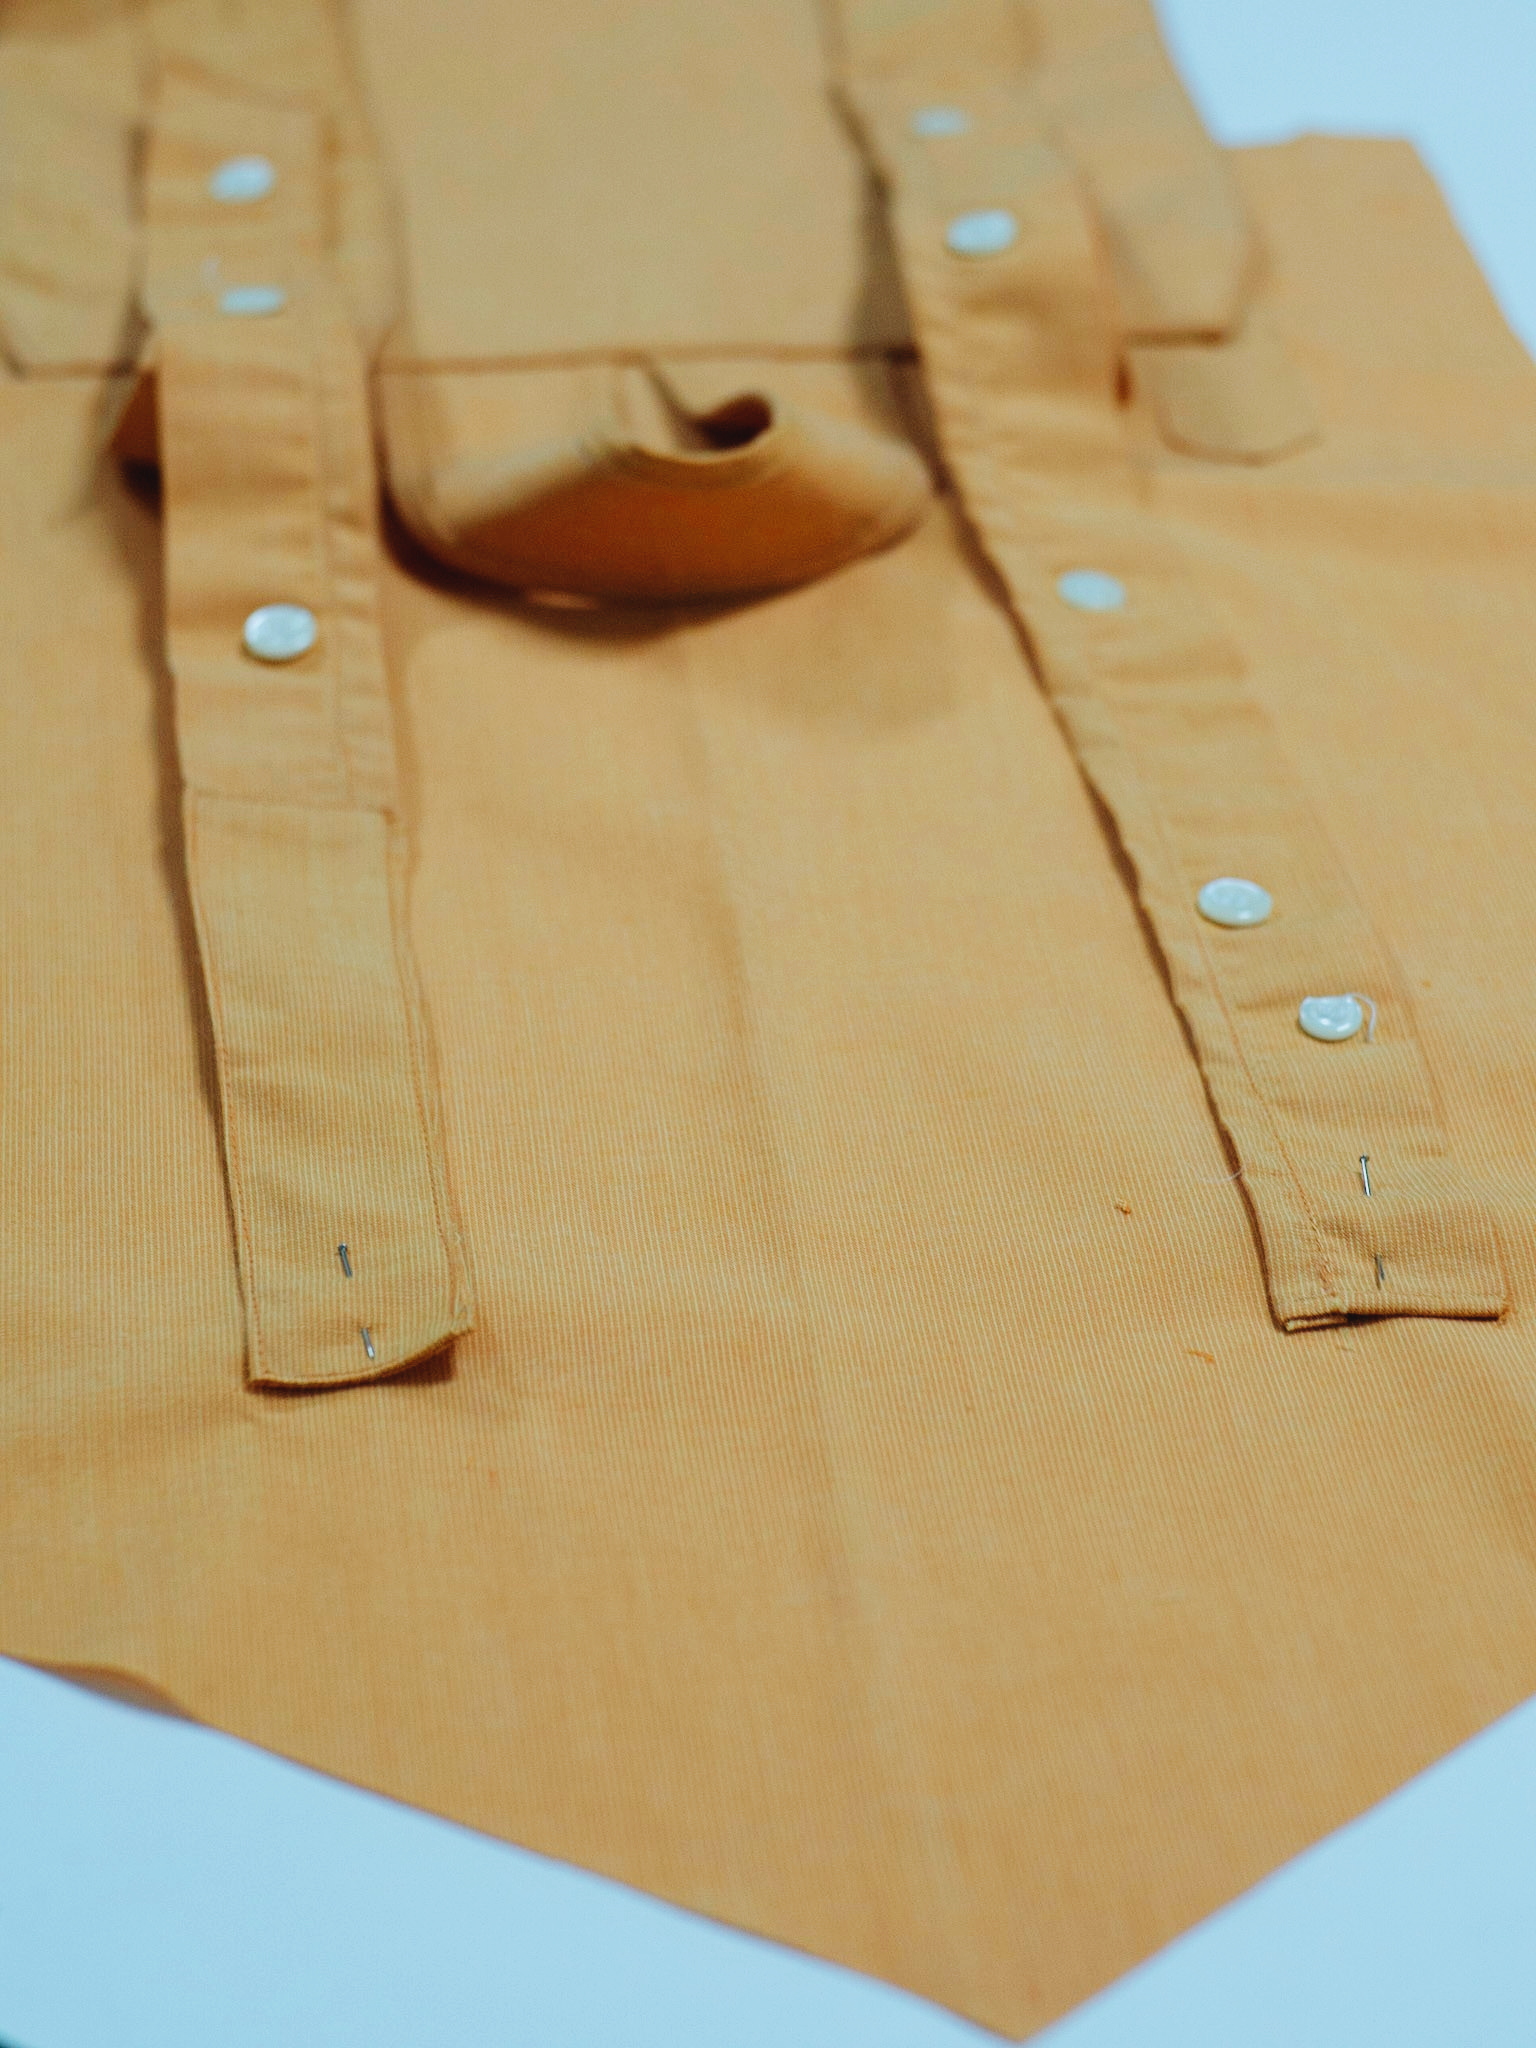
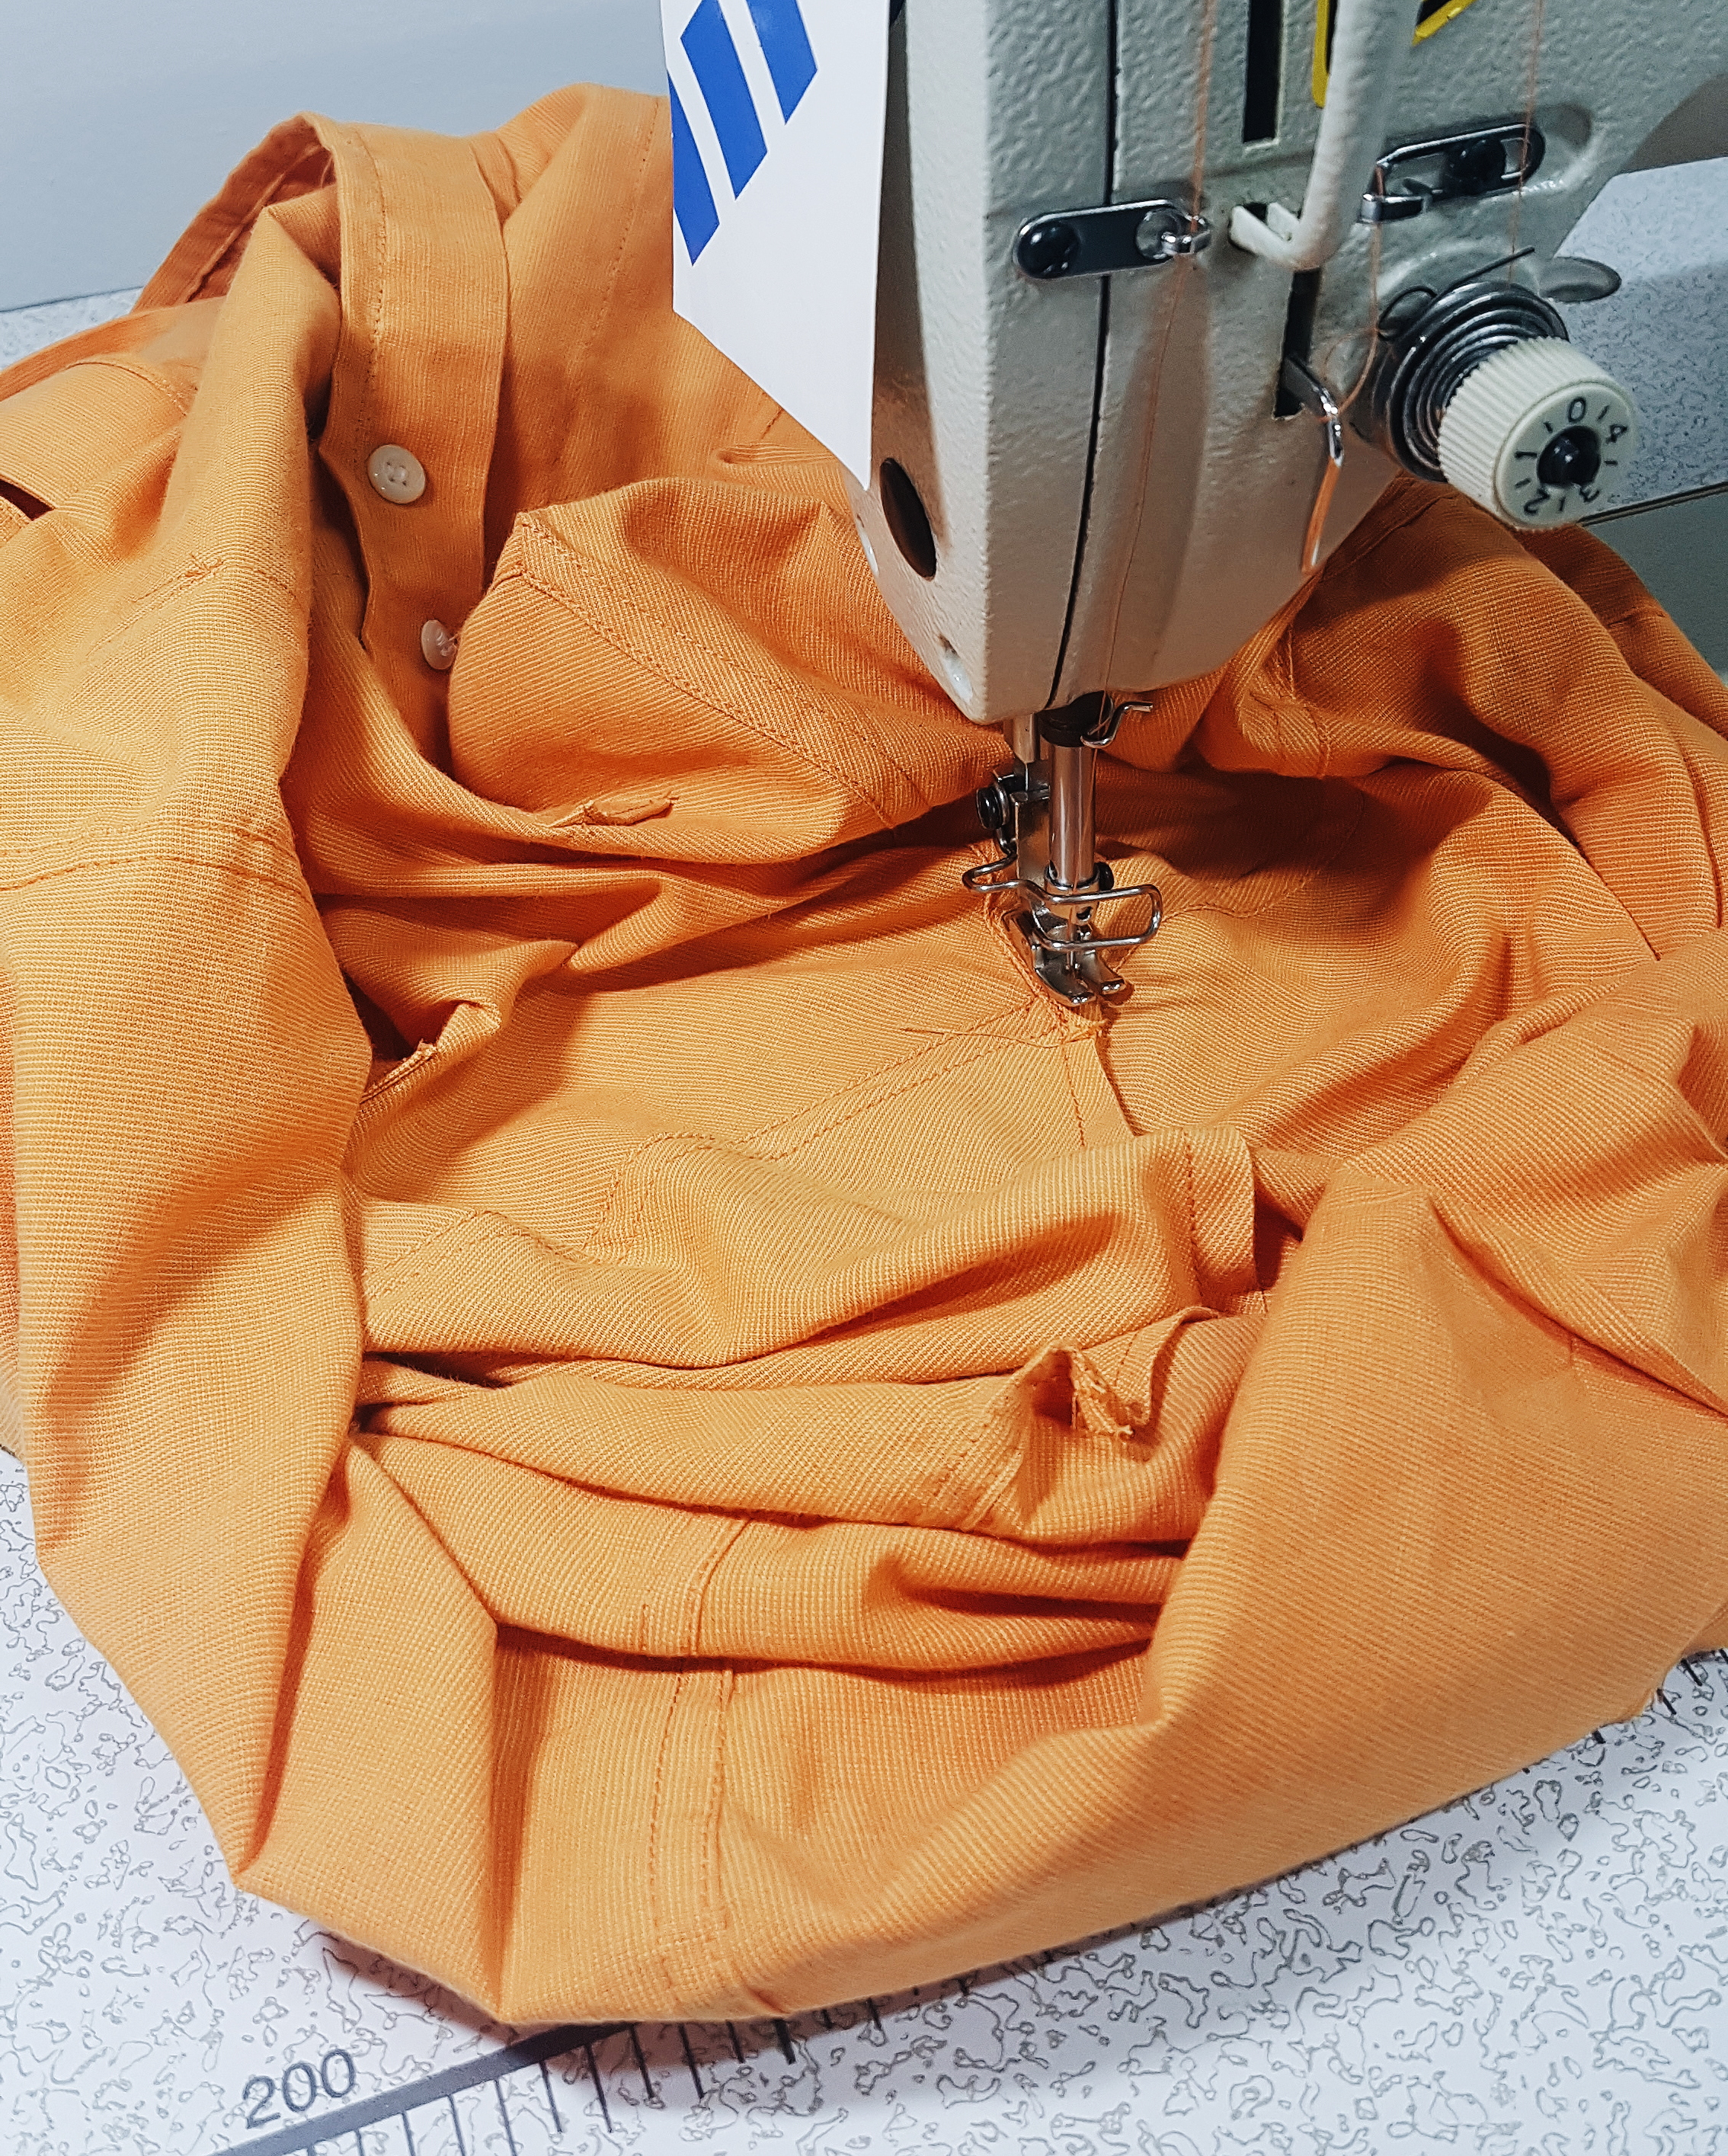
Having taken care to deconstruct your button stands with excess fabric, press the excess over on the wrong side twice to create a double hem style finish. Apply this to both button hole and button pieces before edge stitching in place.
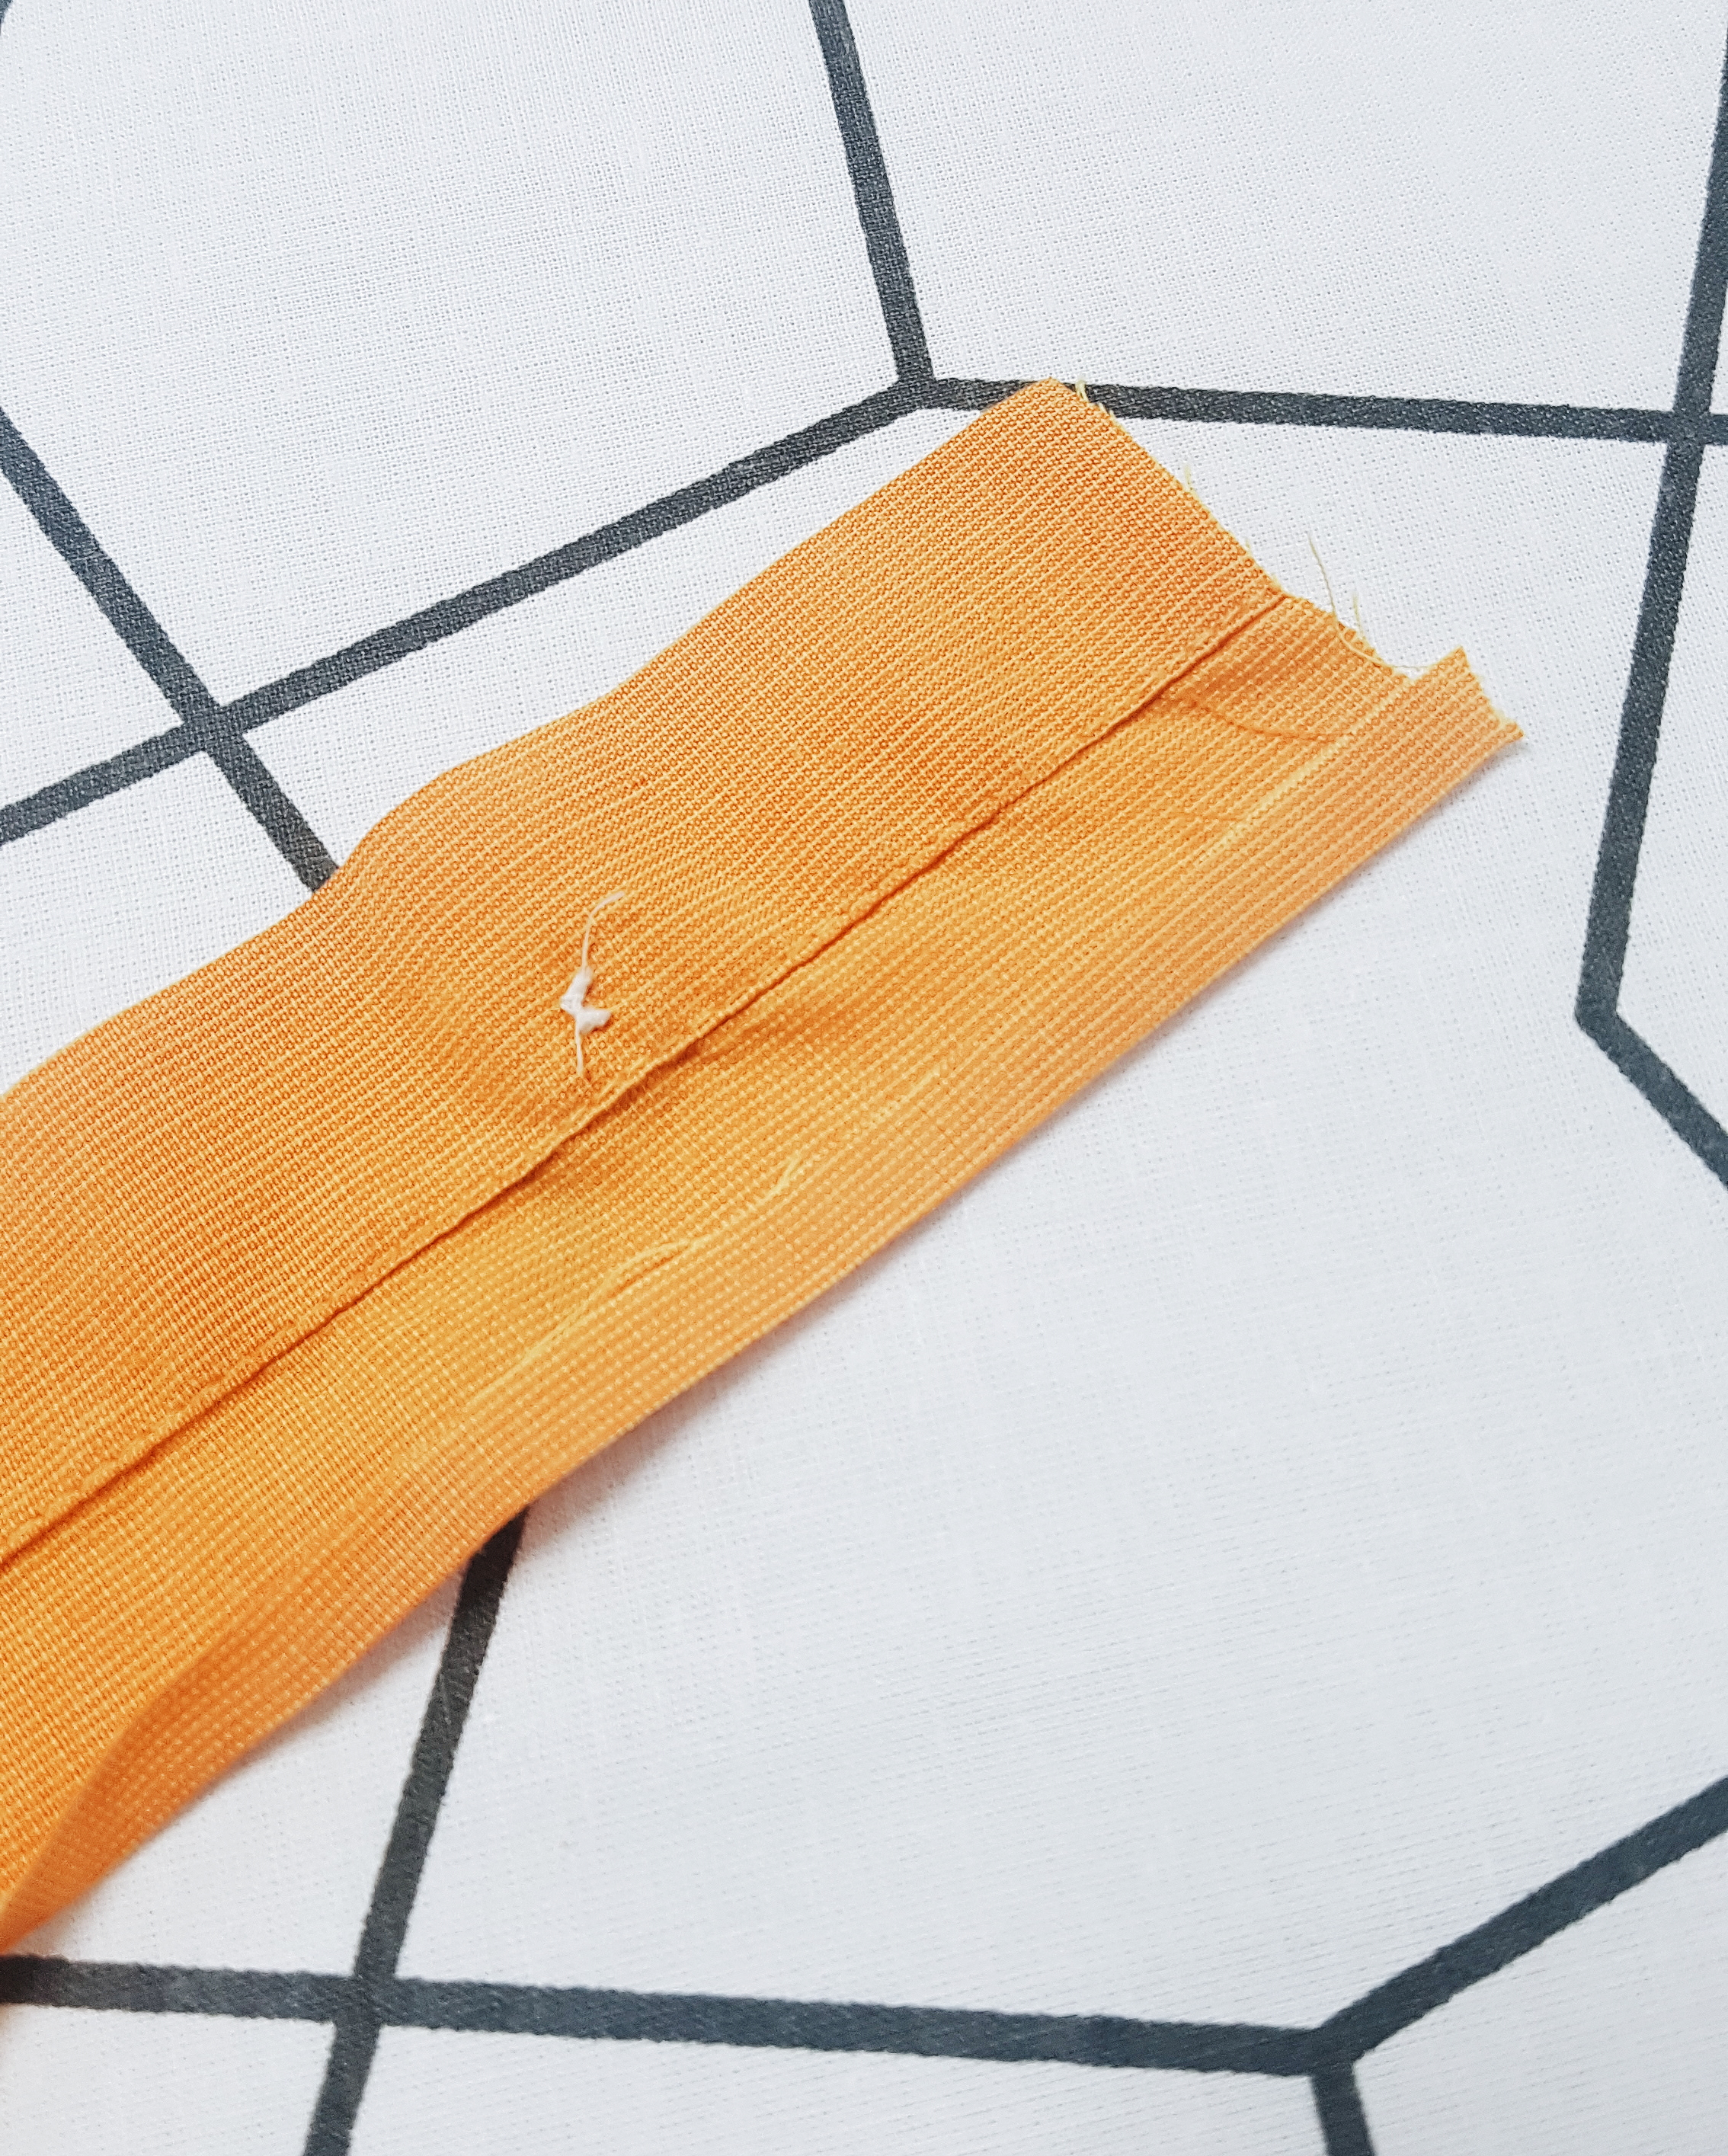

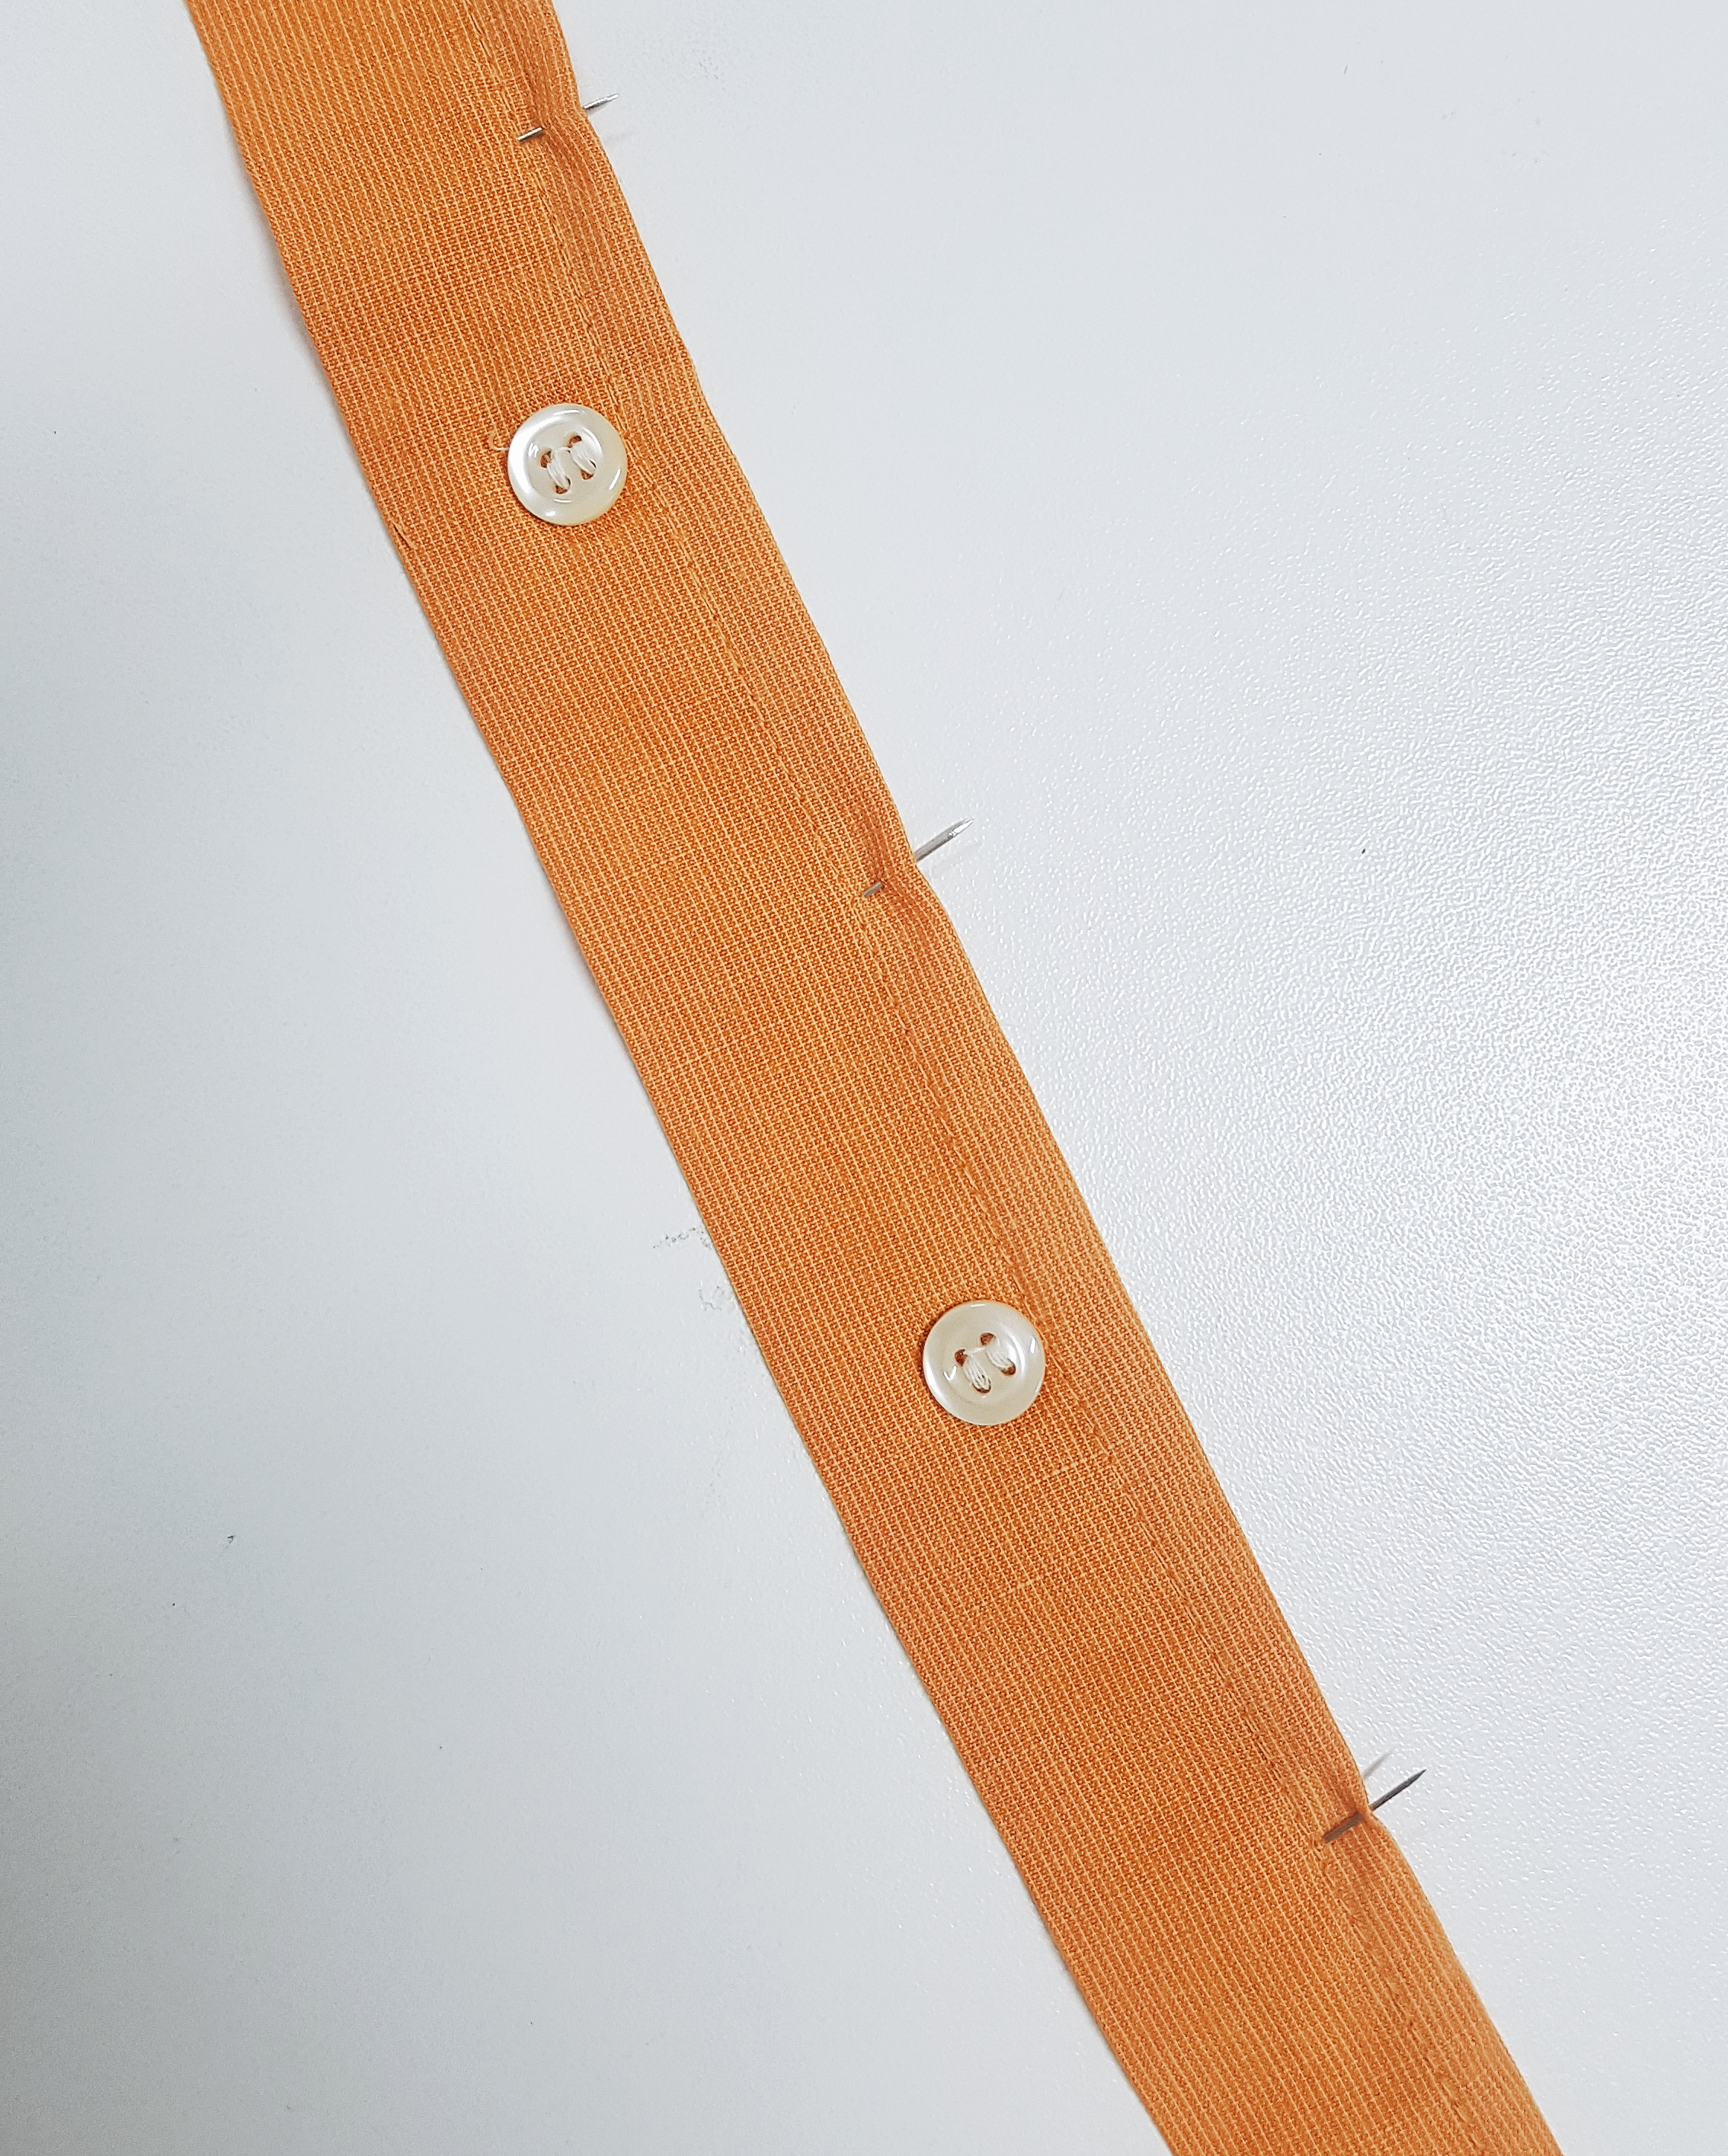
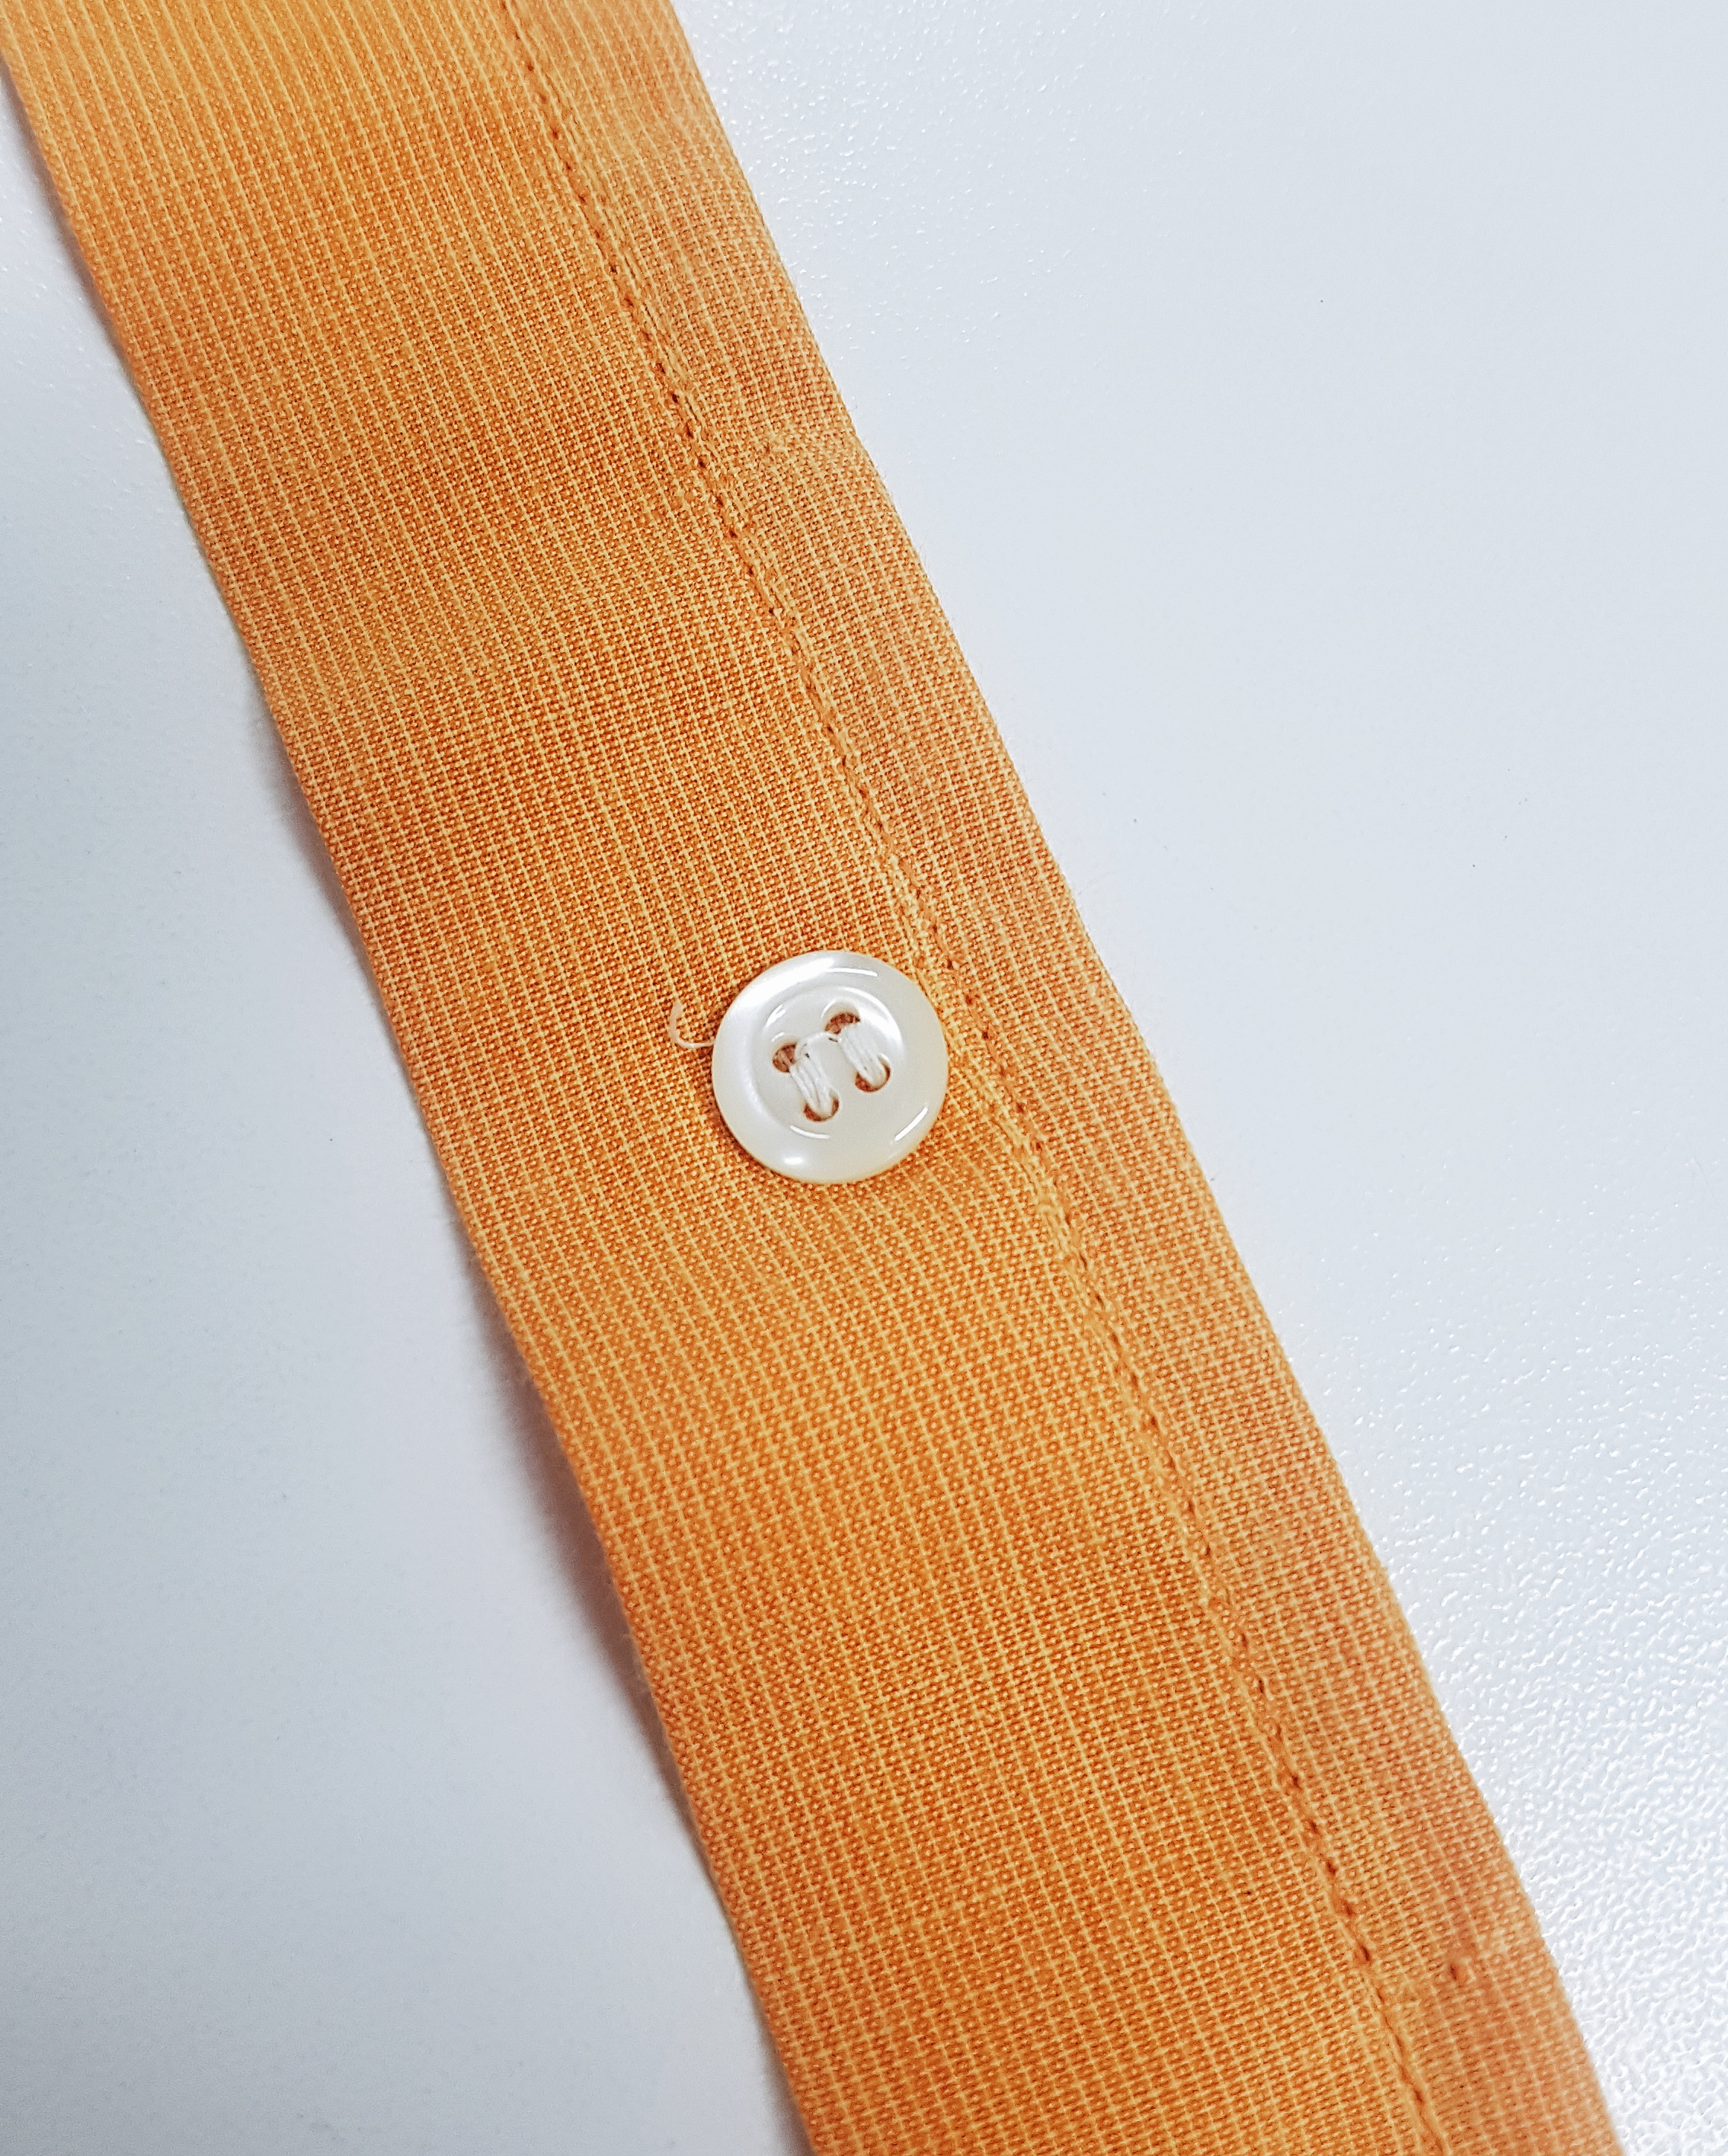
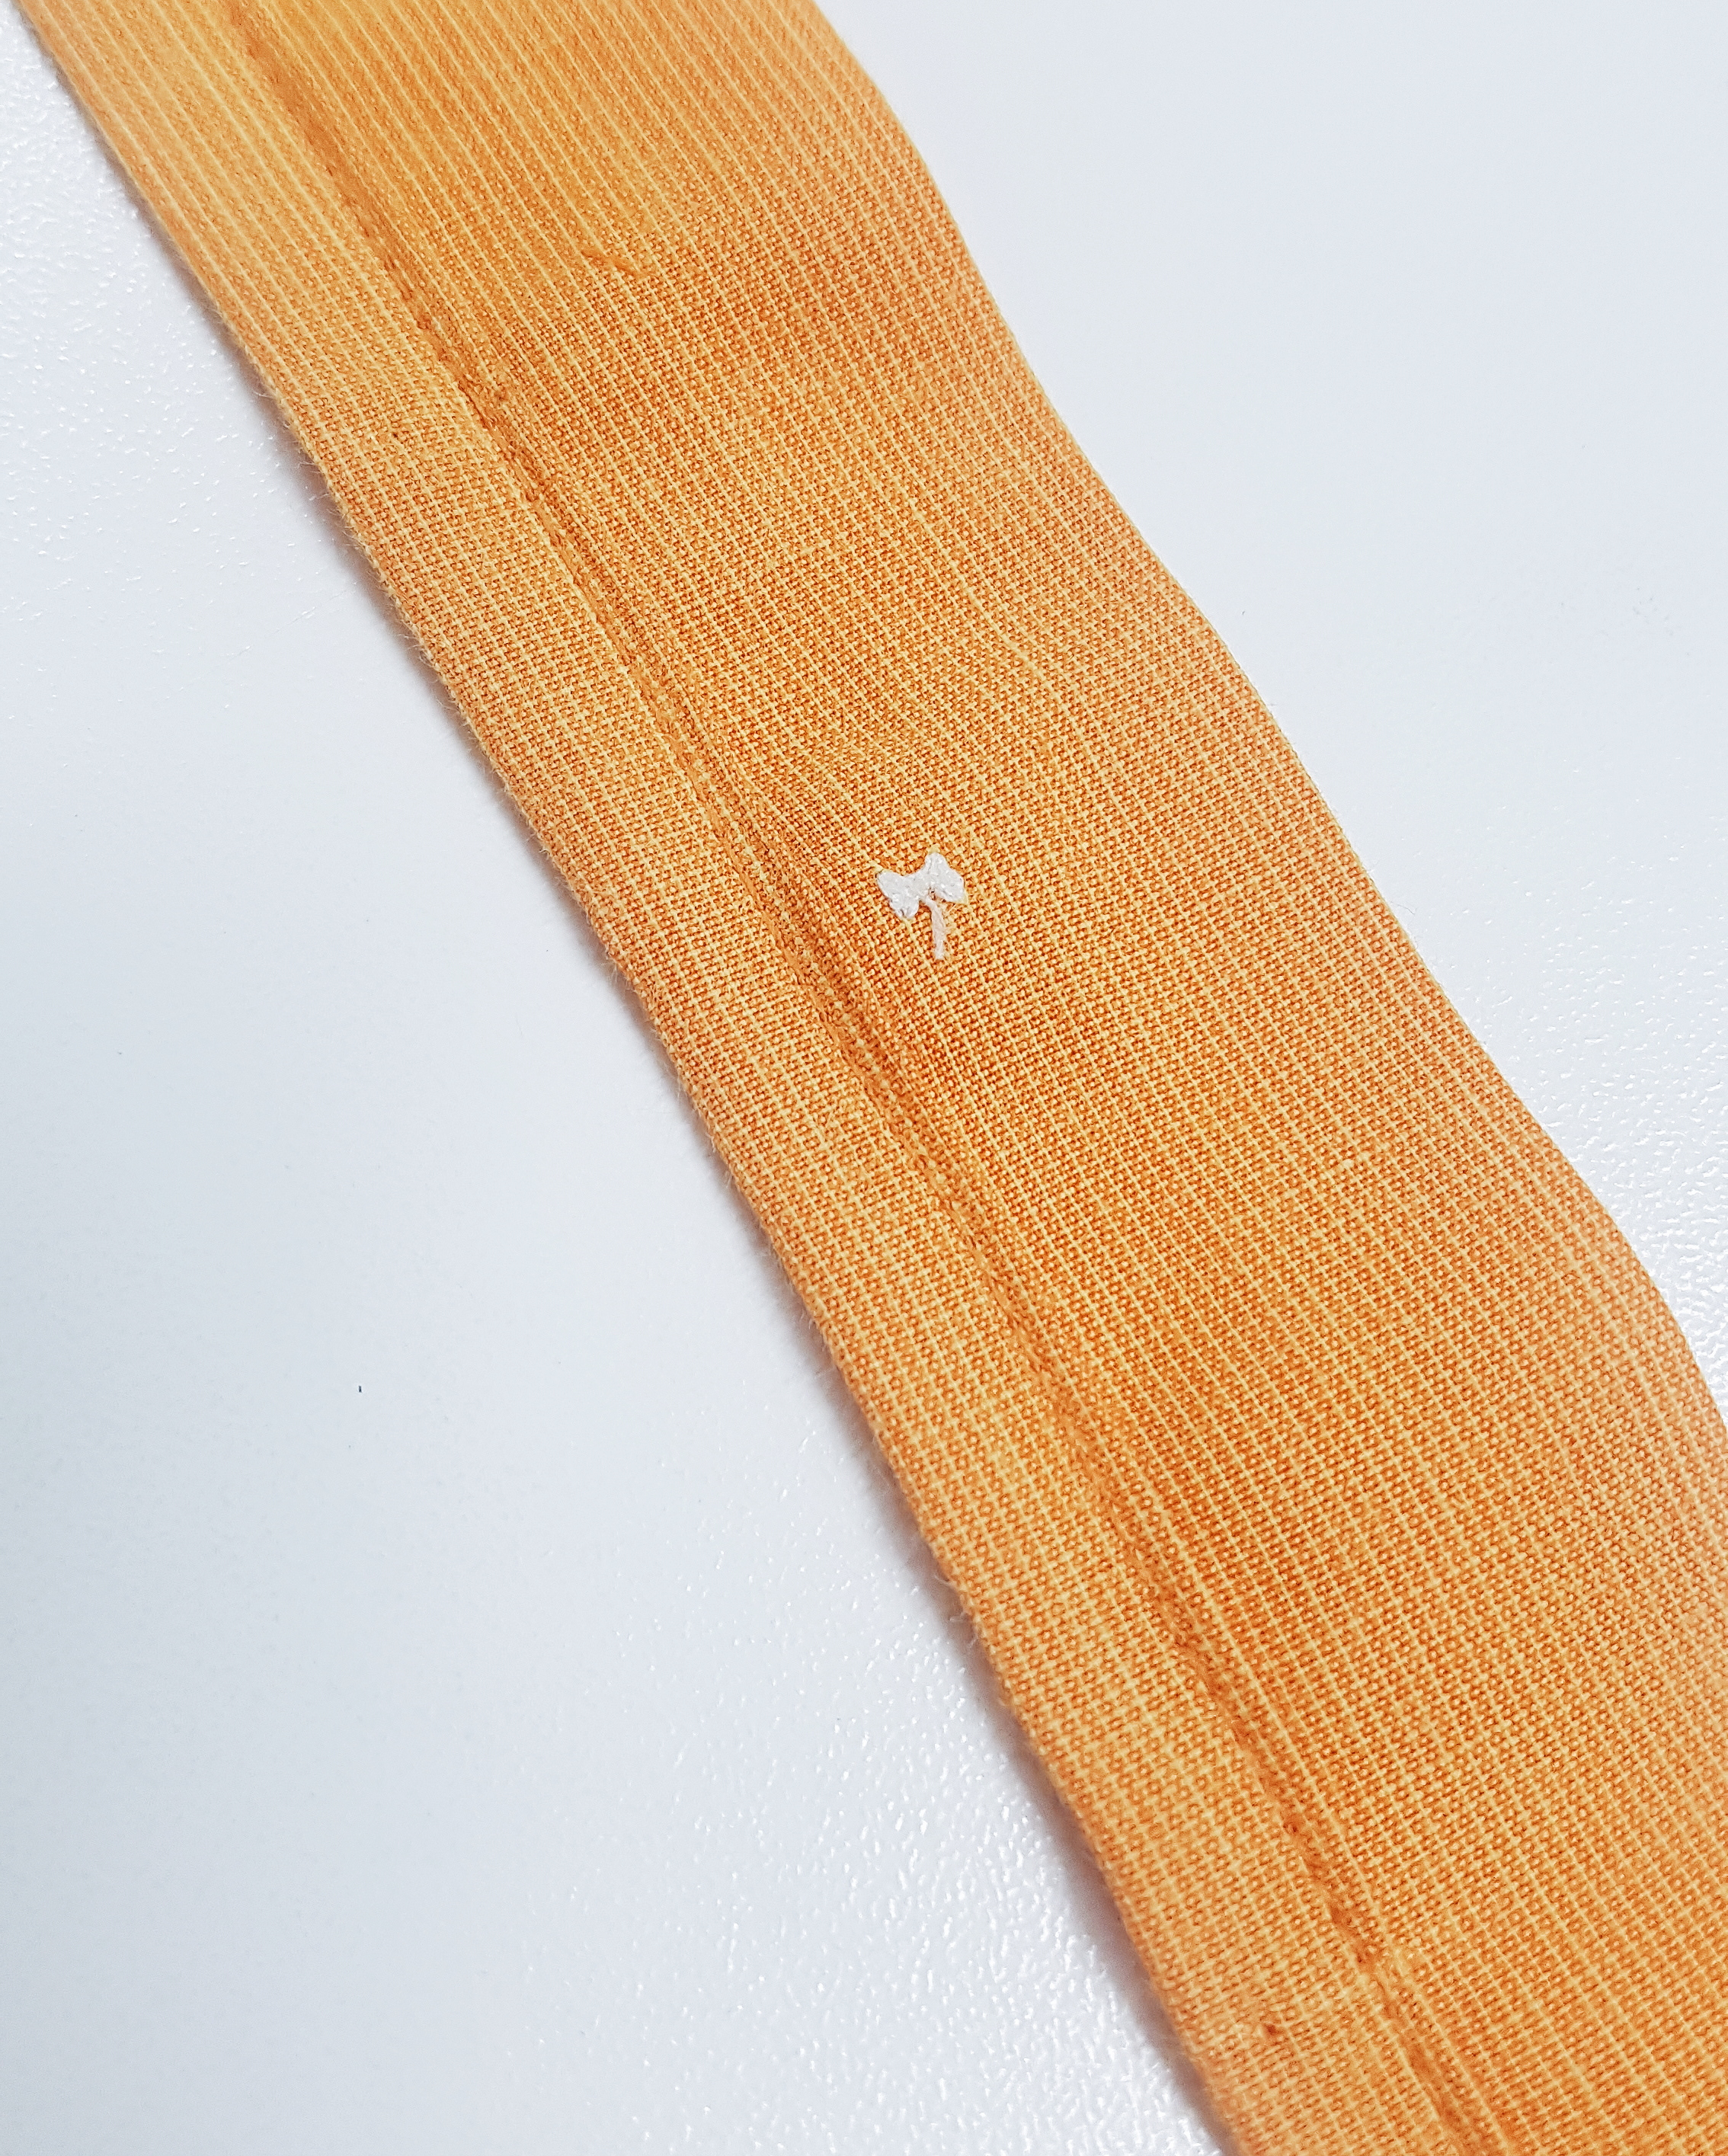
Top tip: if you are struggling to neaten on the button piece as the foot can’t get close enough, use a zipper foot to edge stitch so you can get close to the buttons and finish accordingly.
STEP FOUR
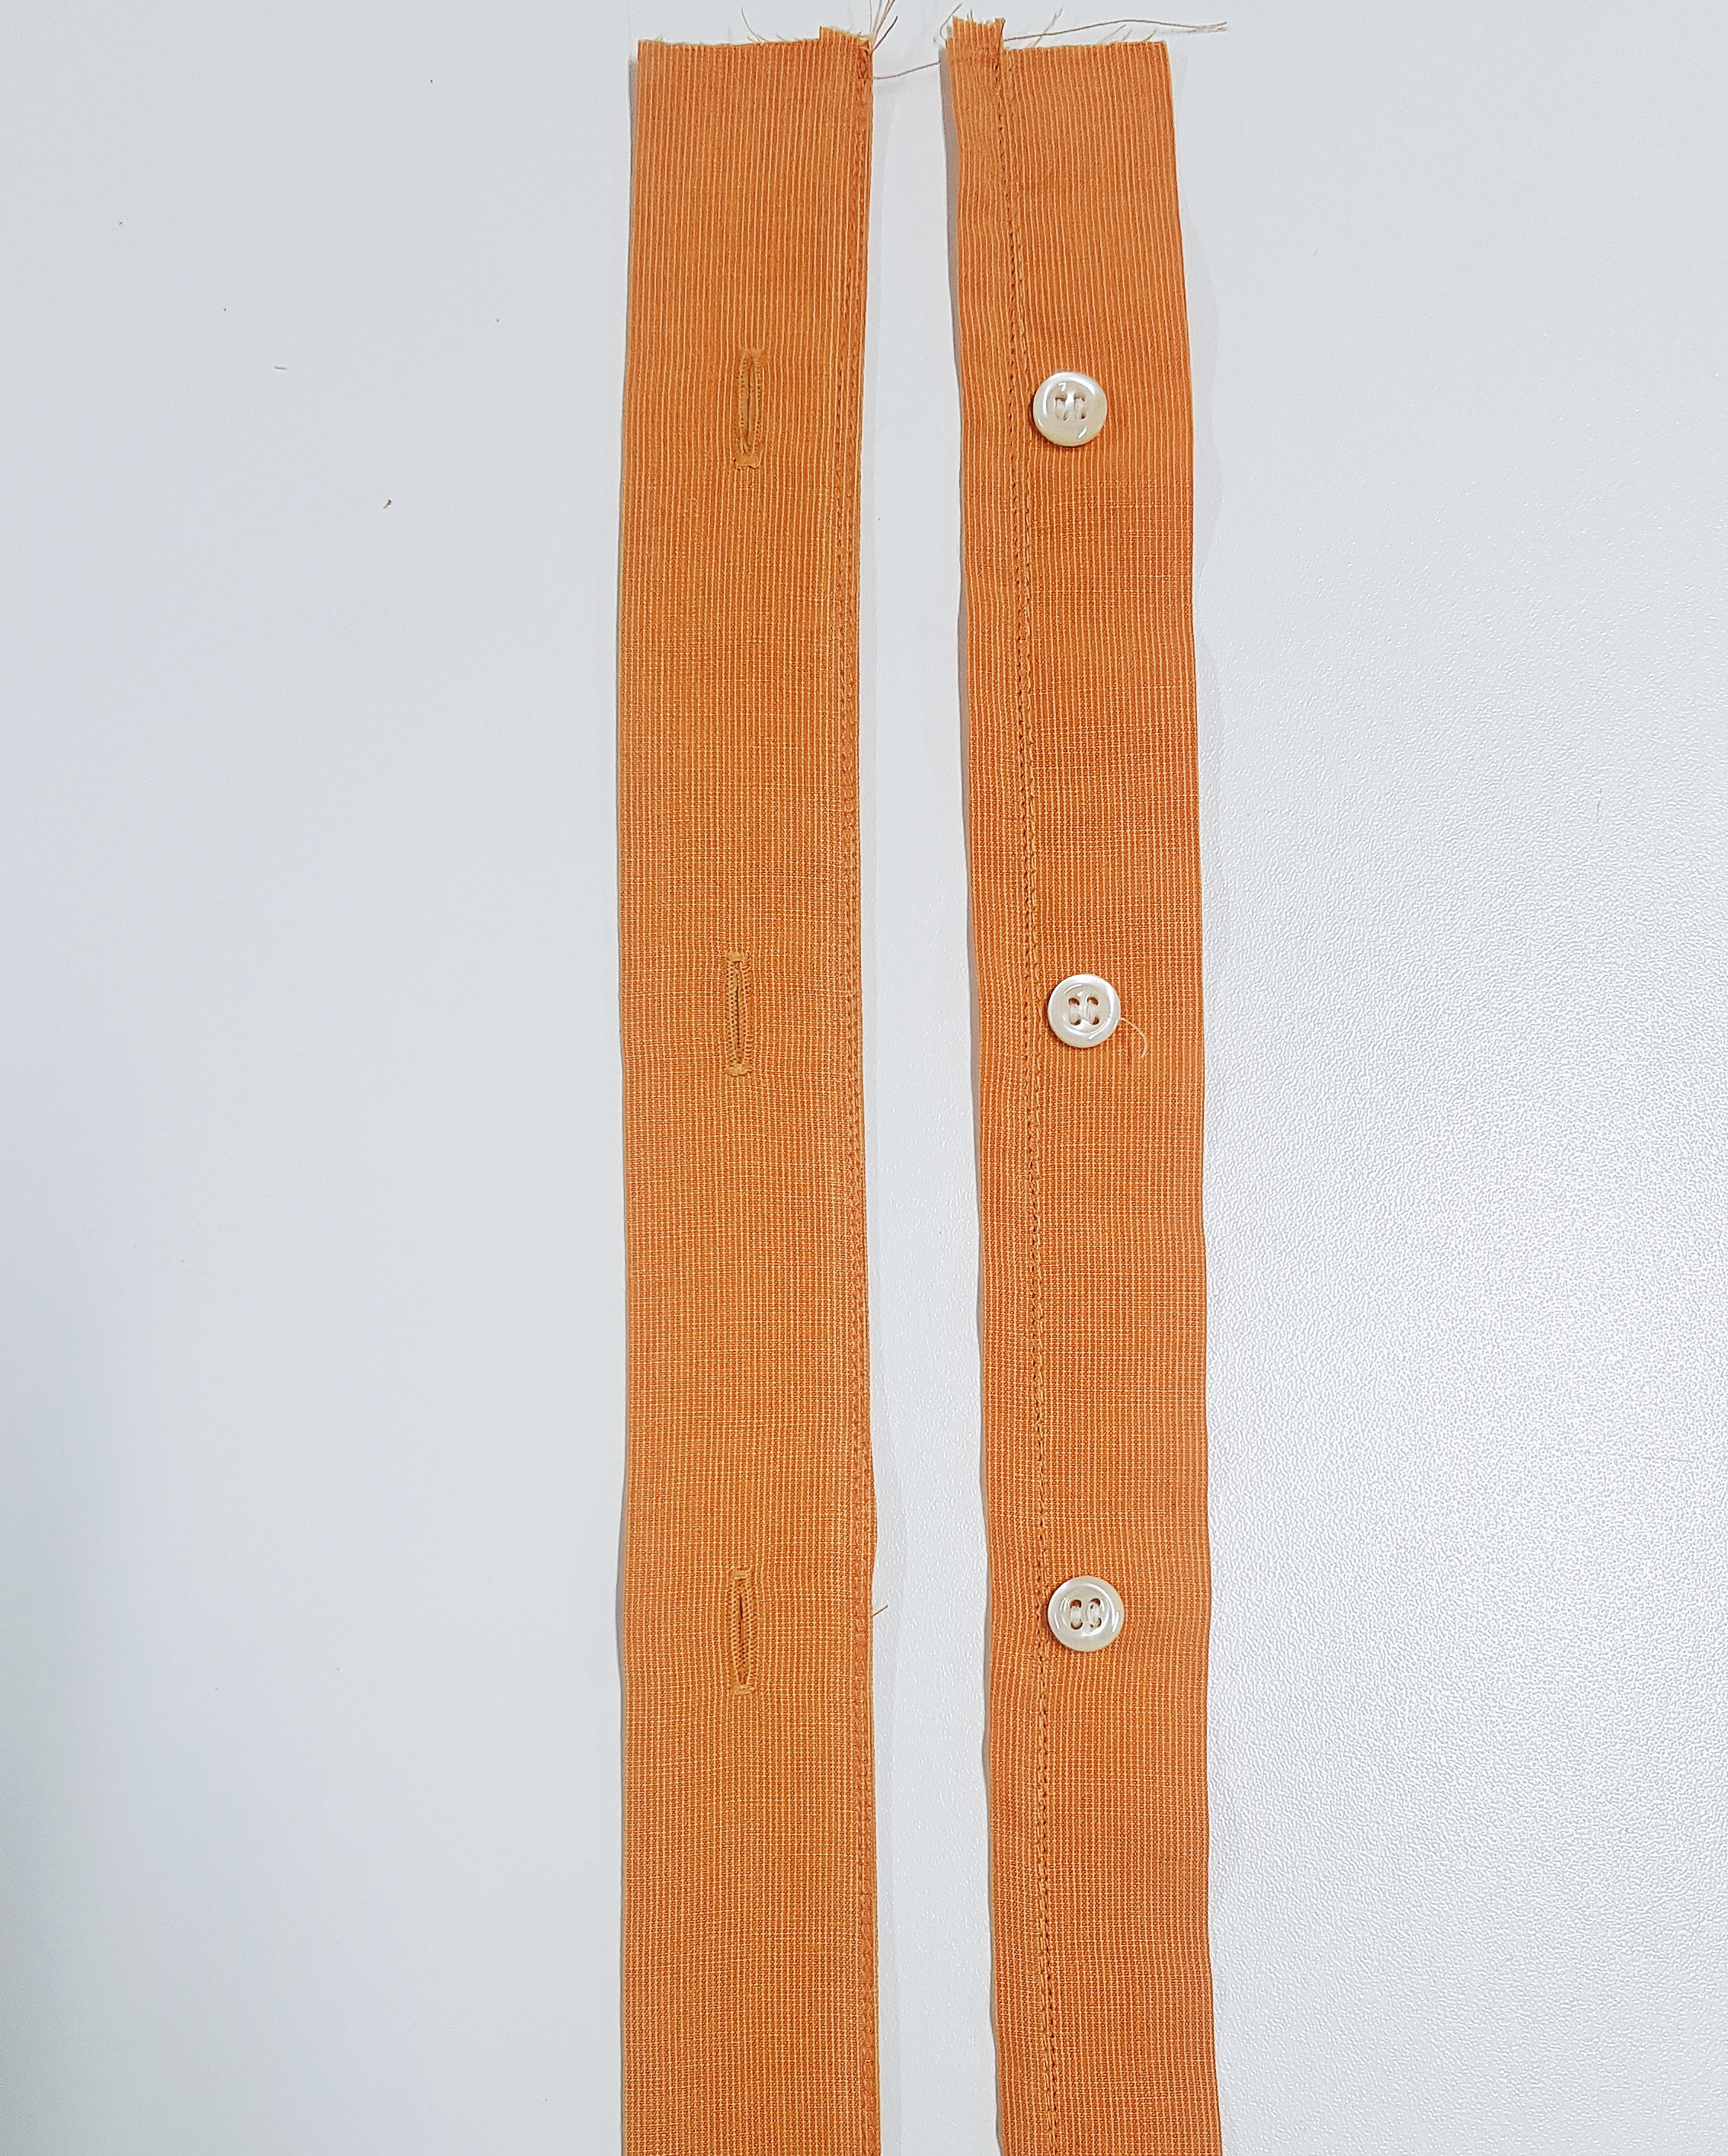
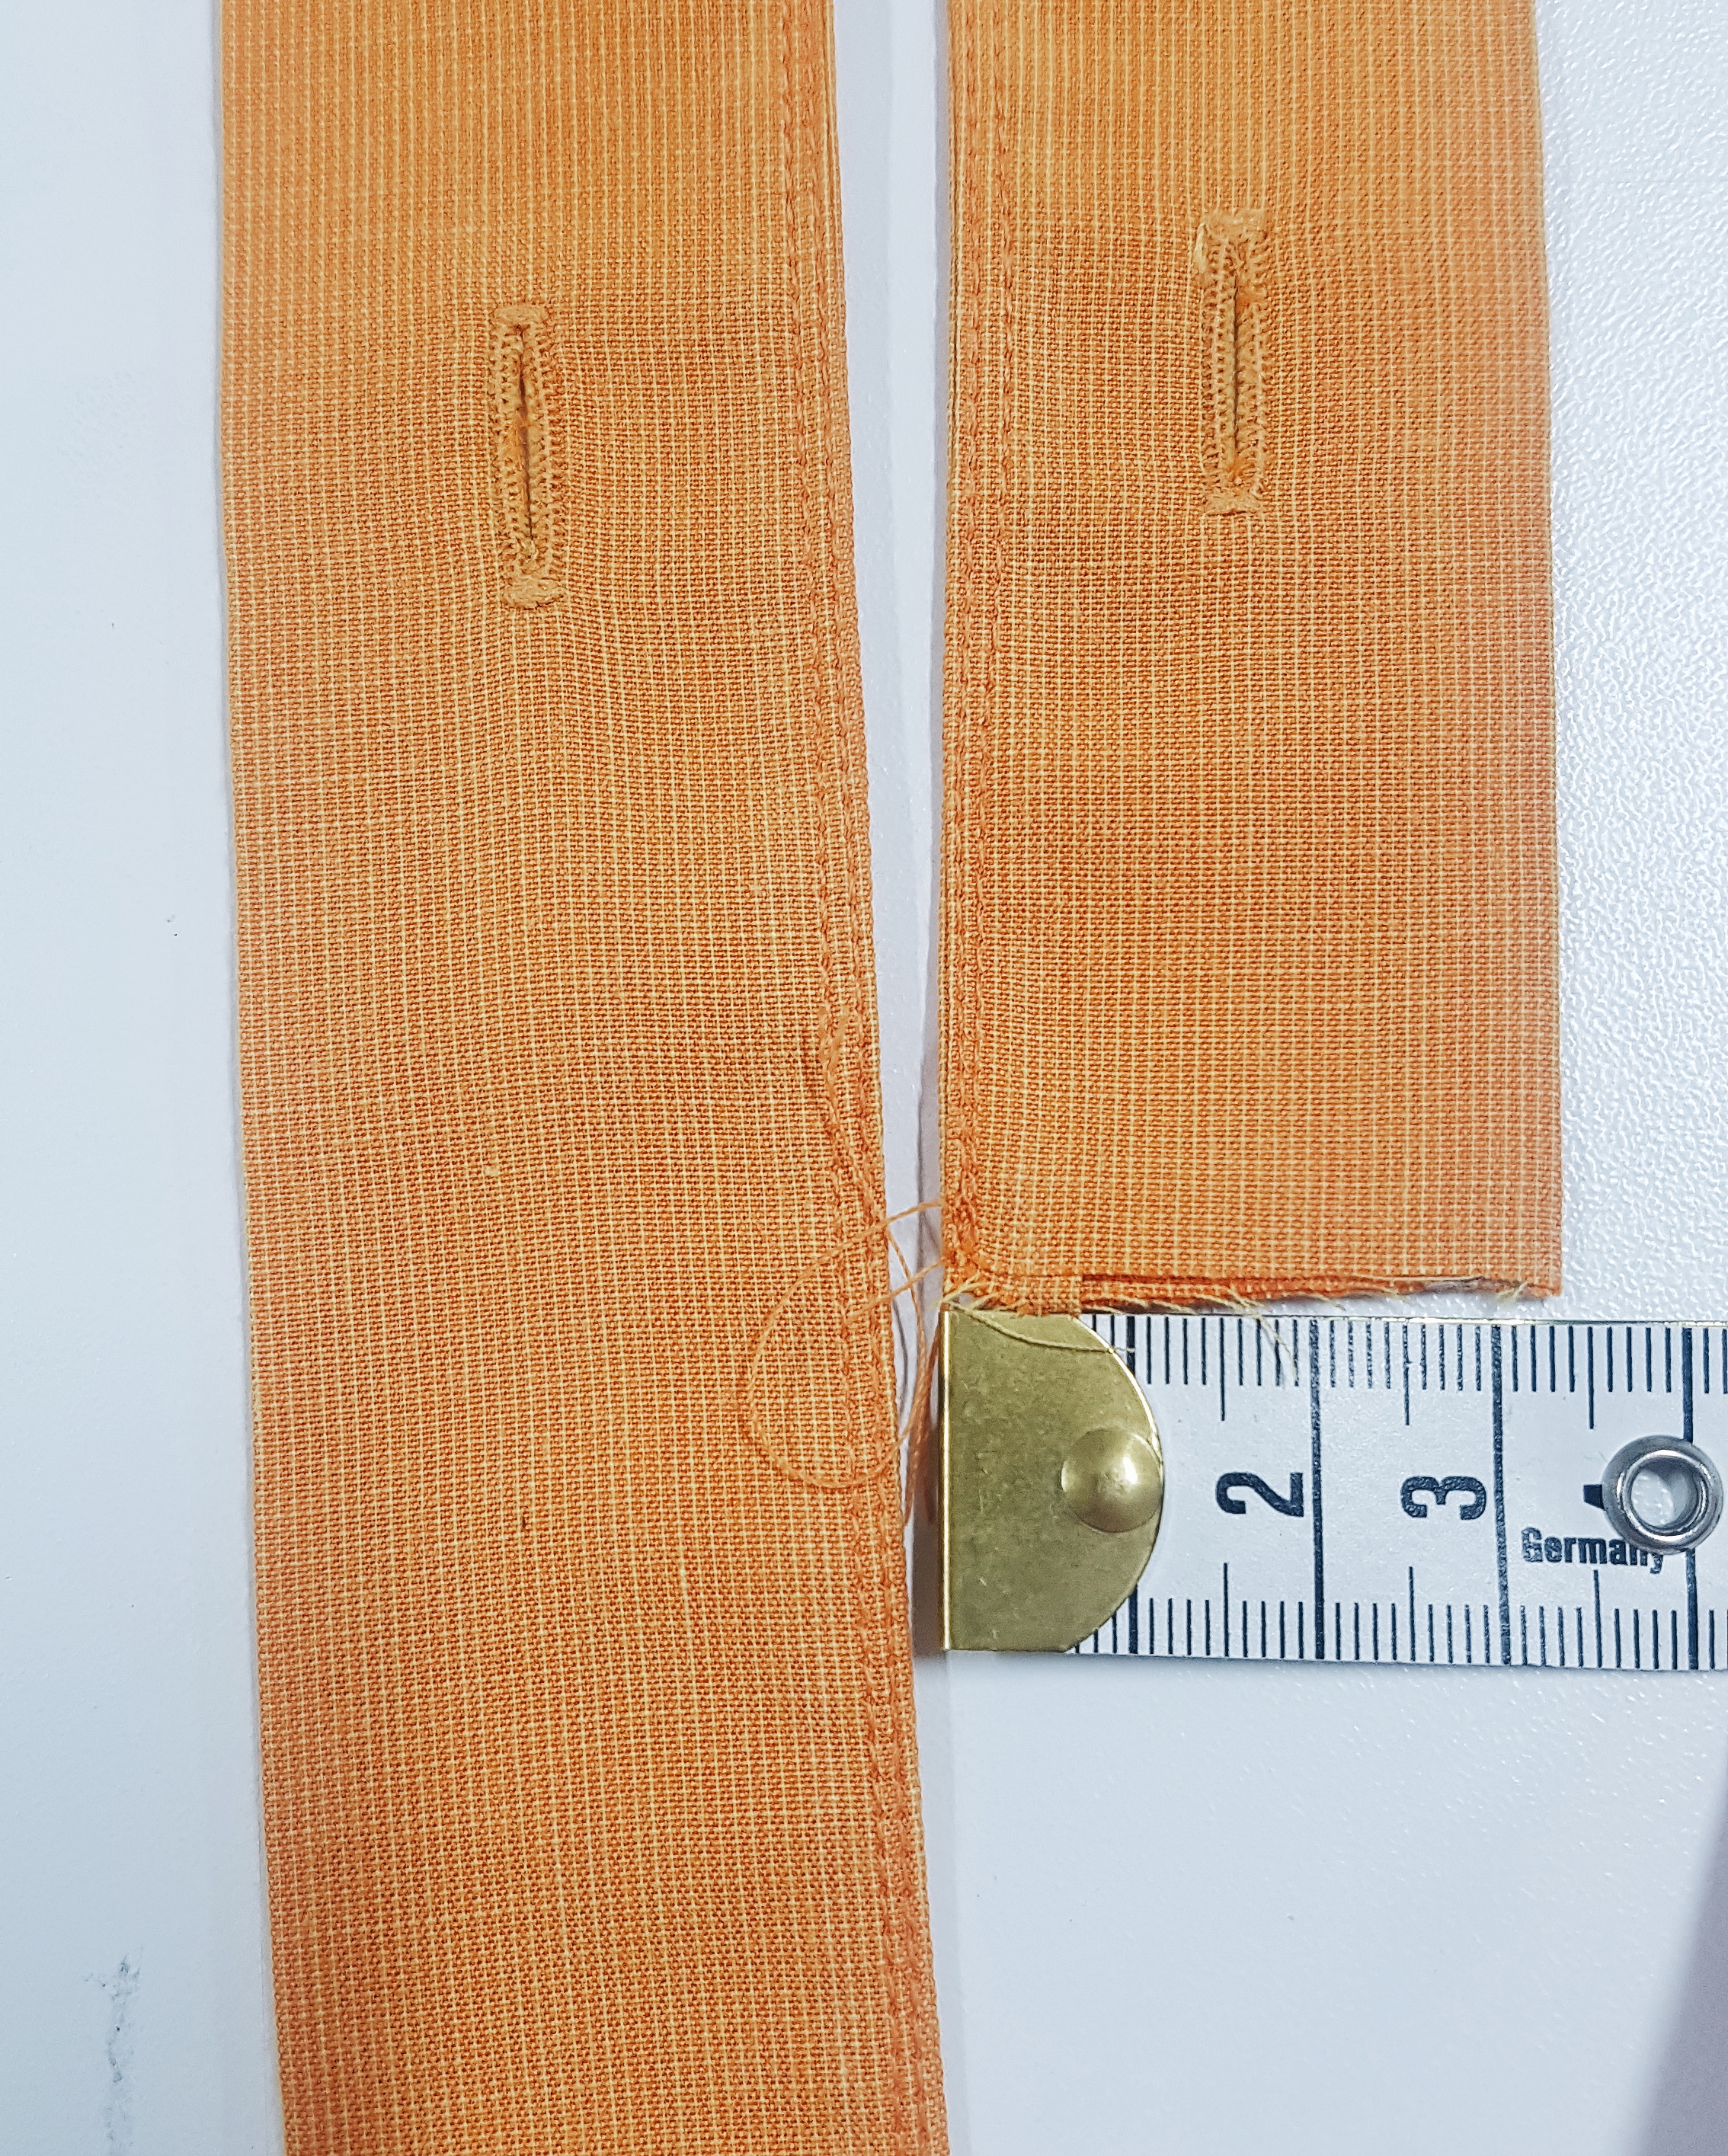
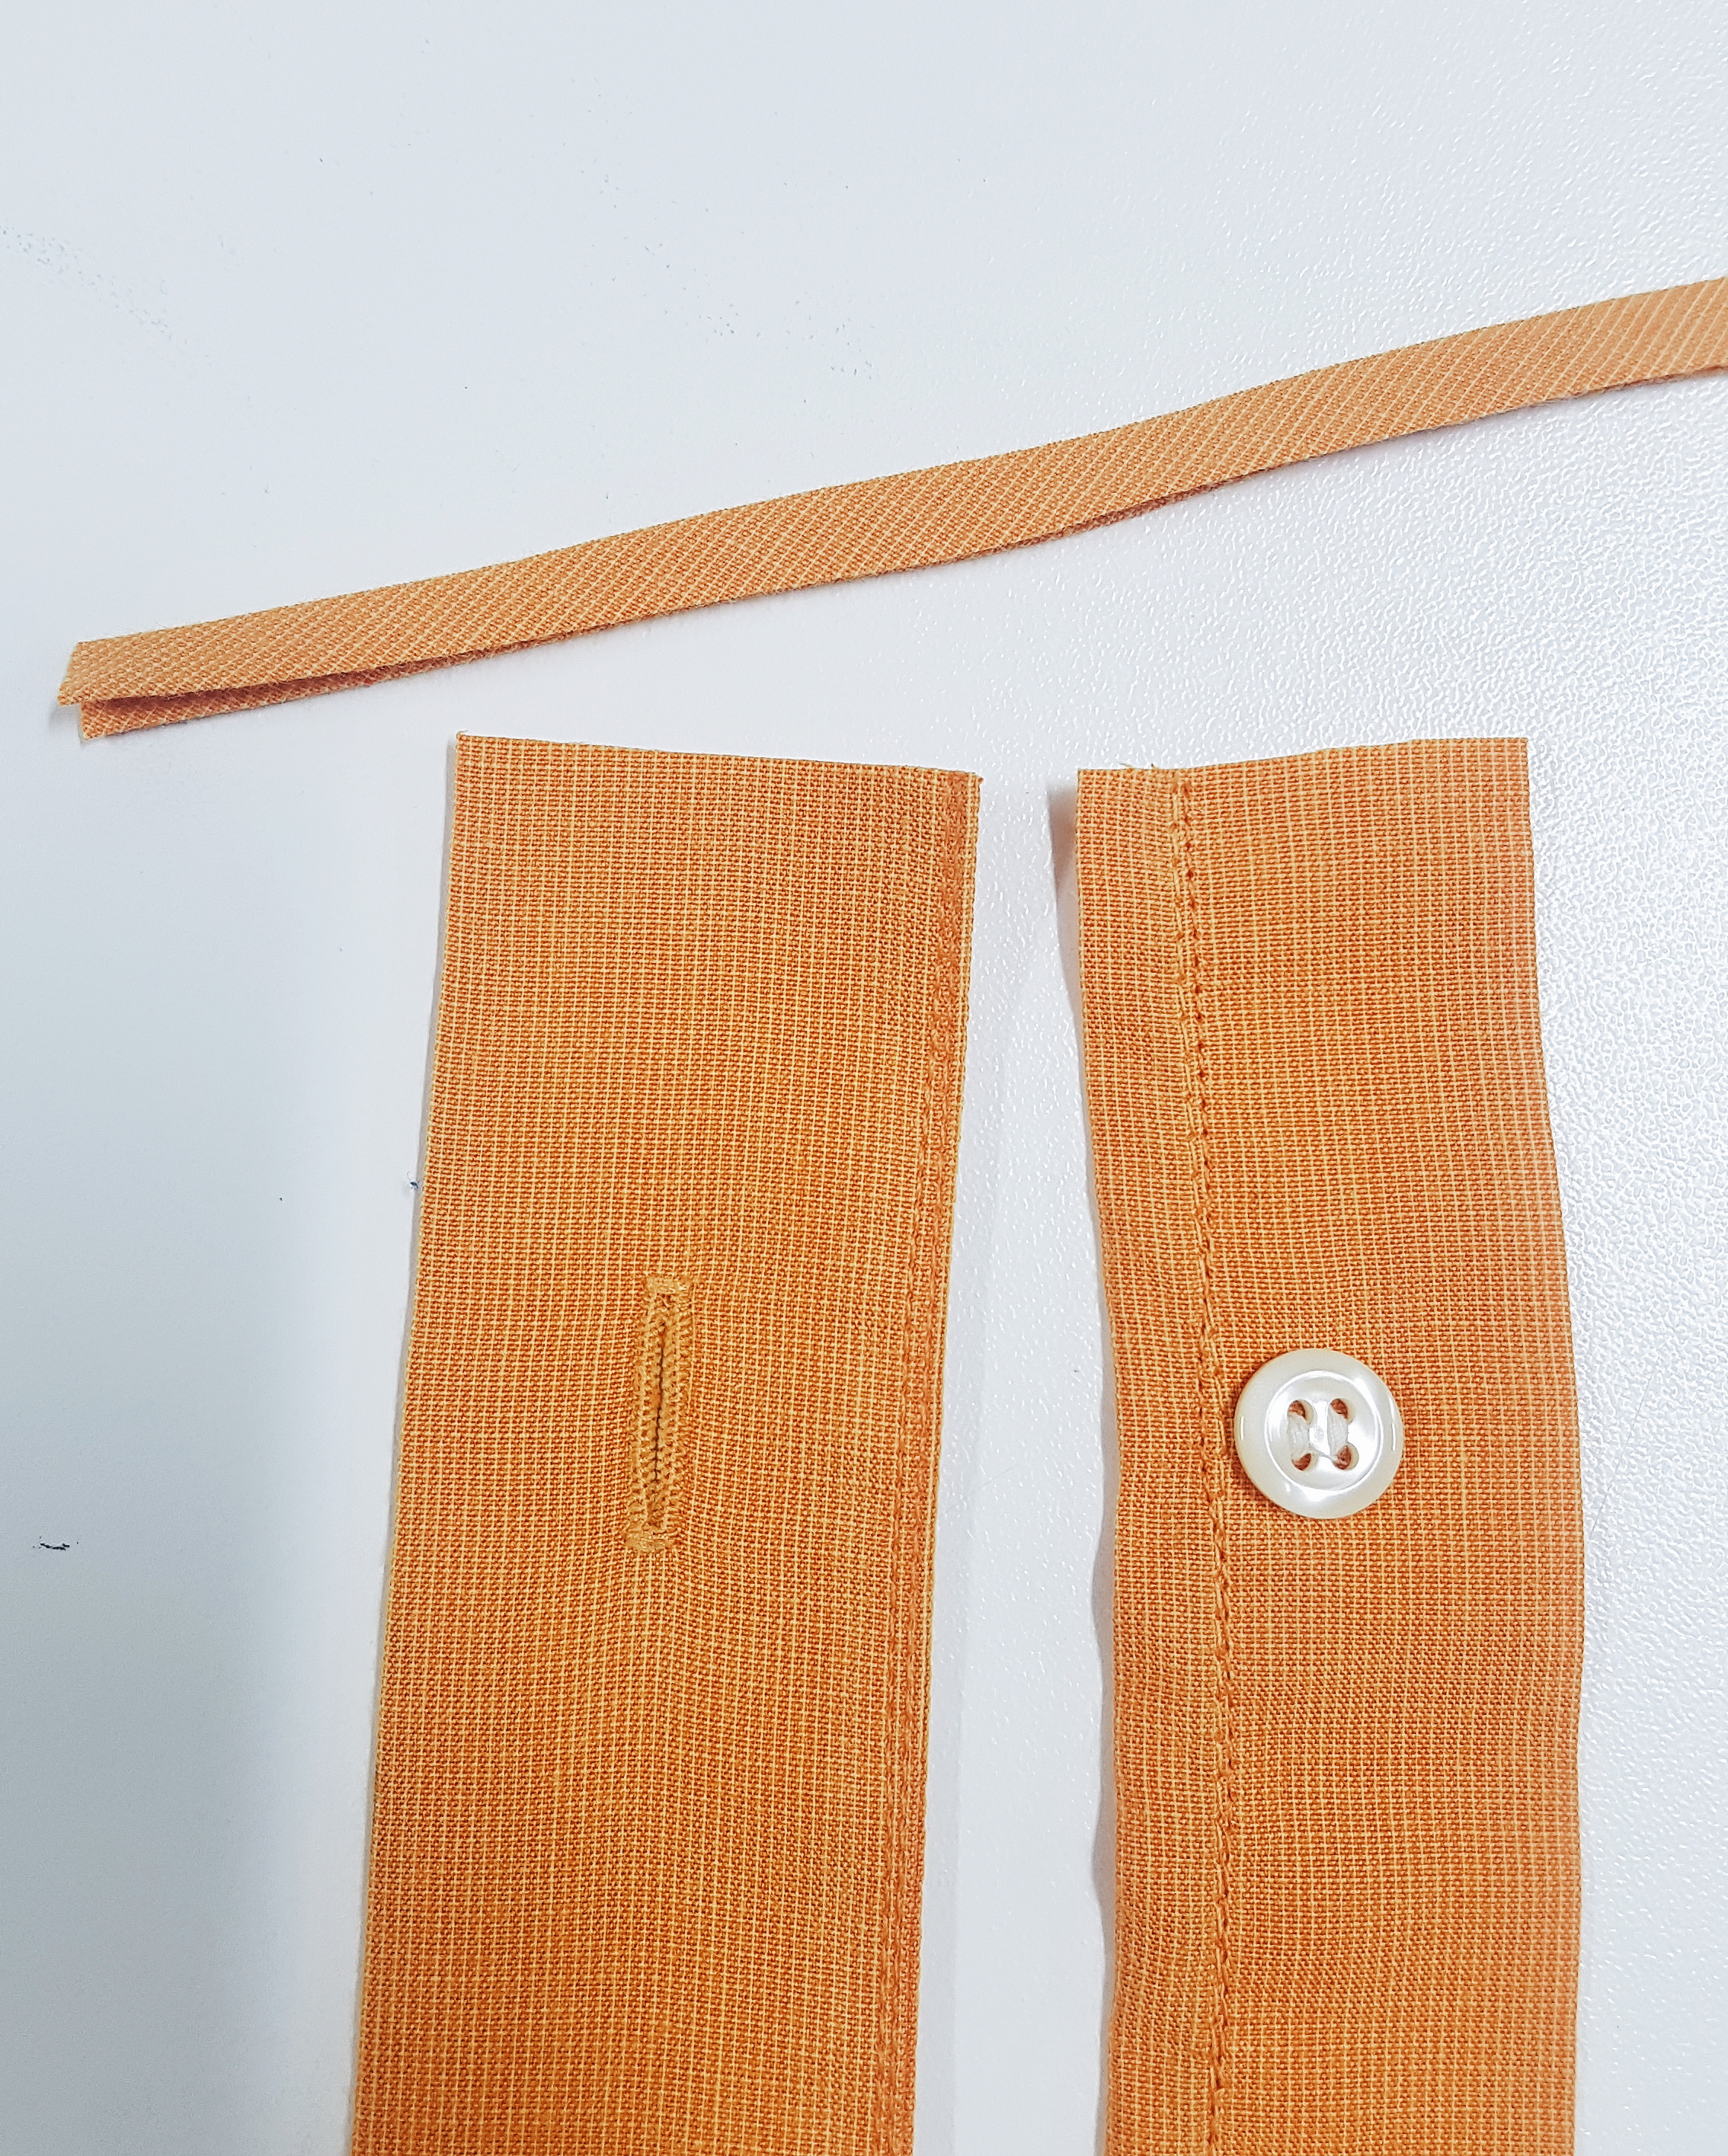
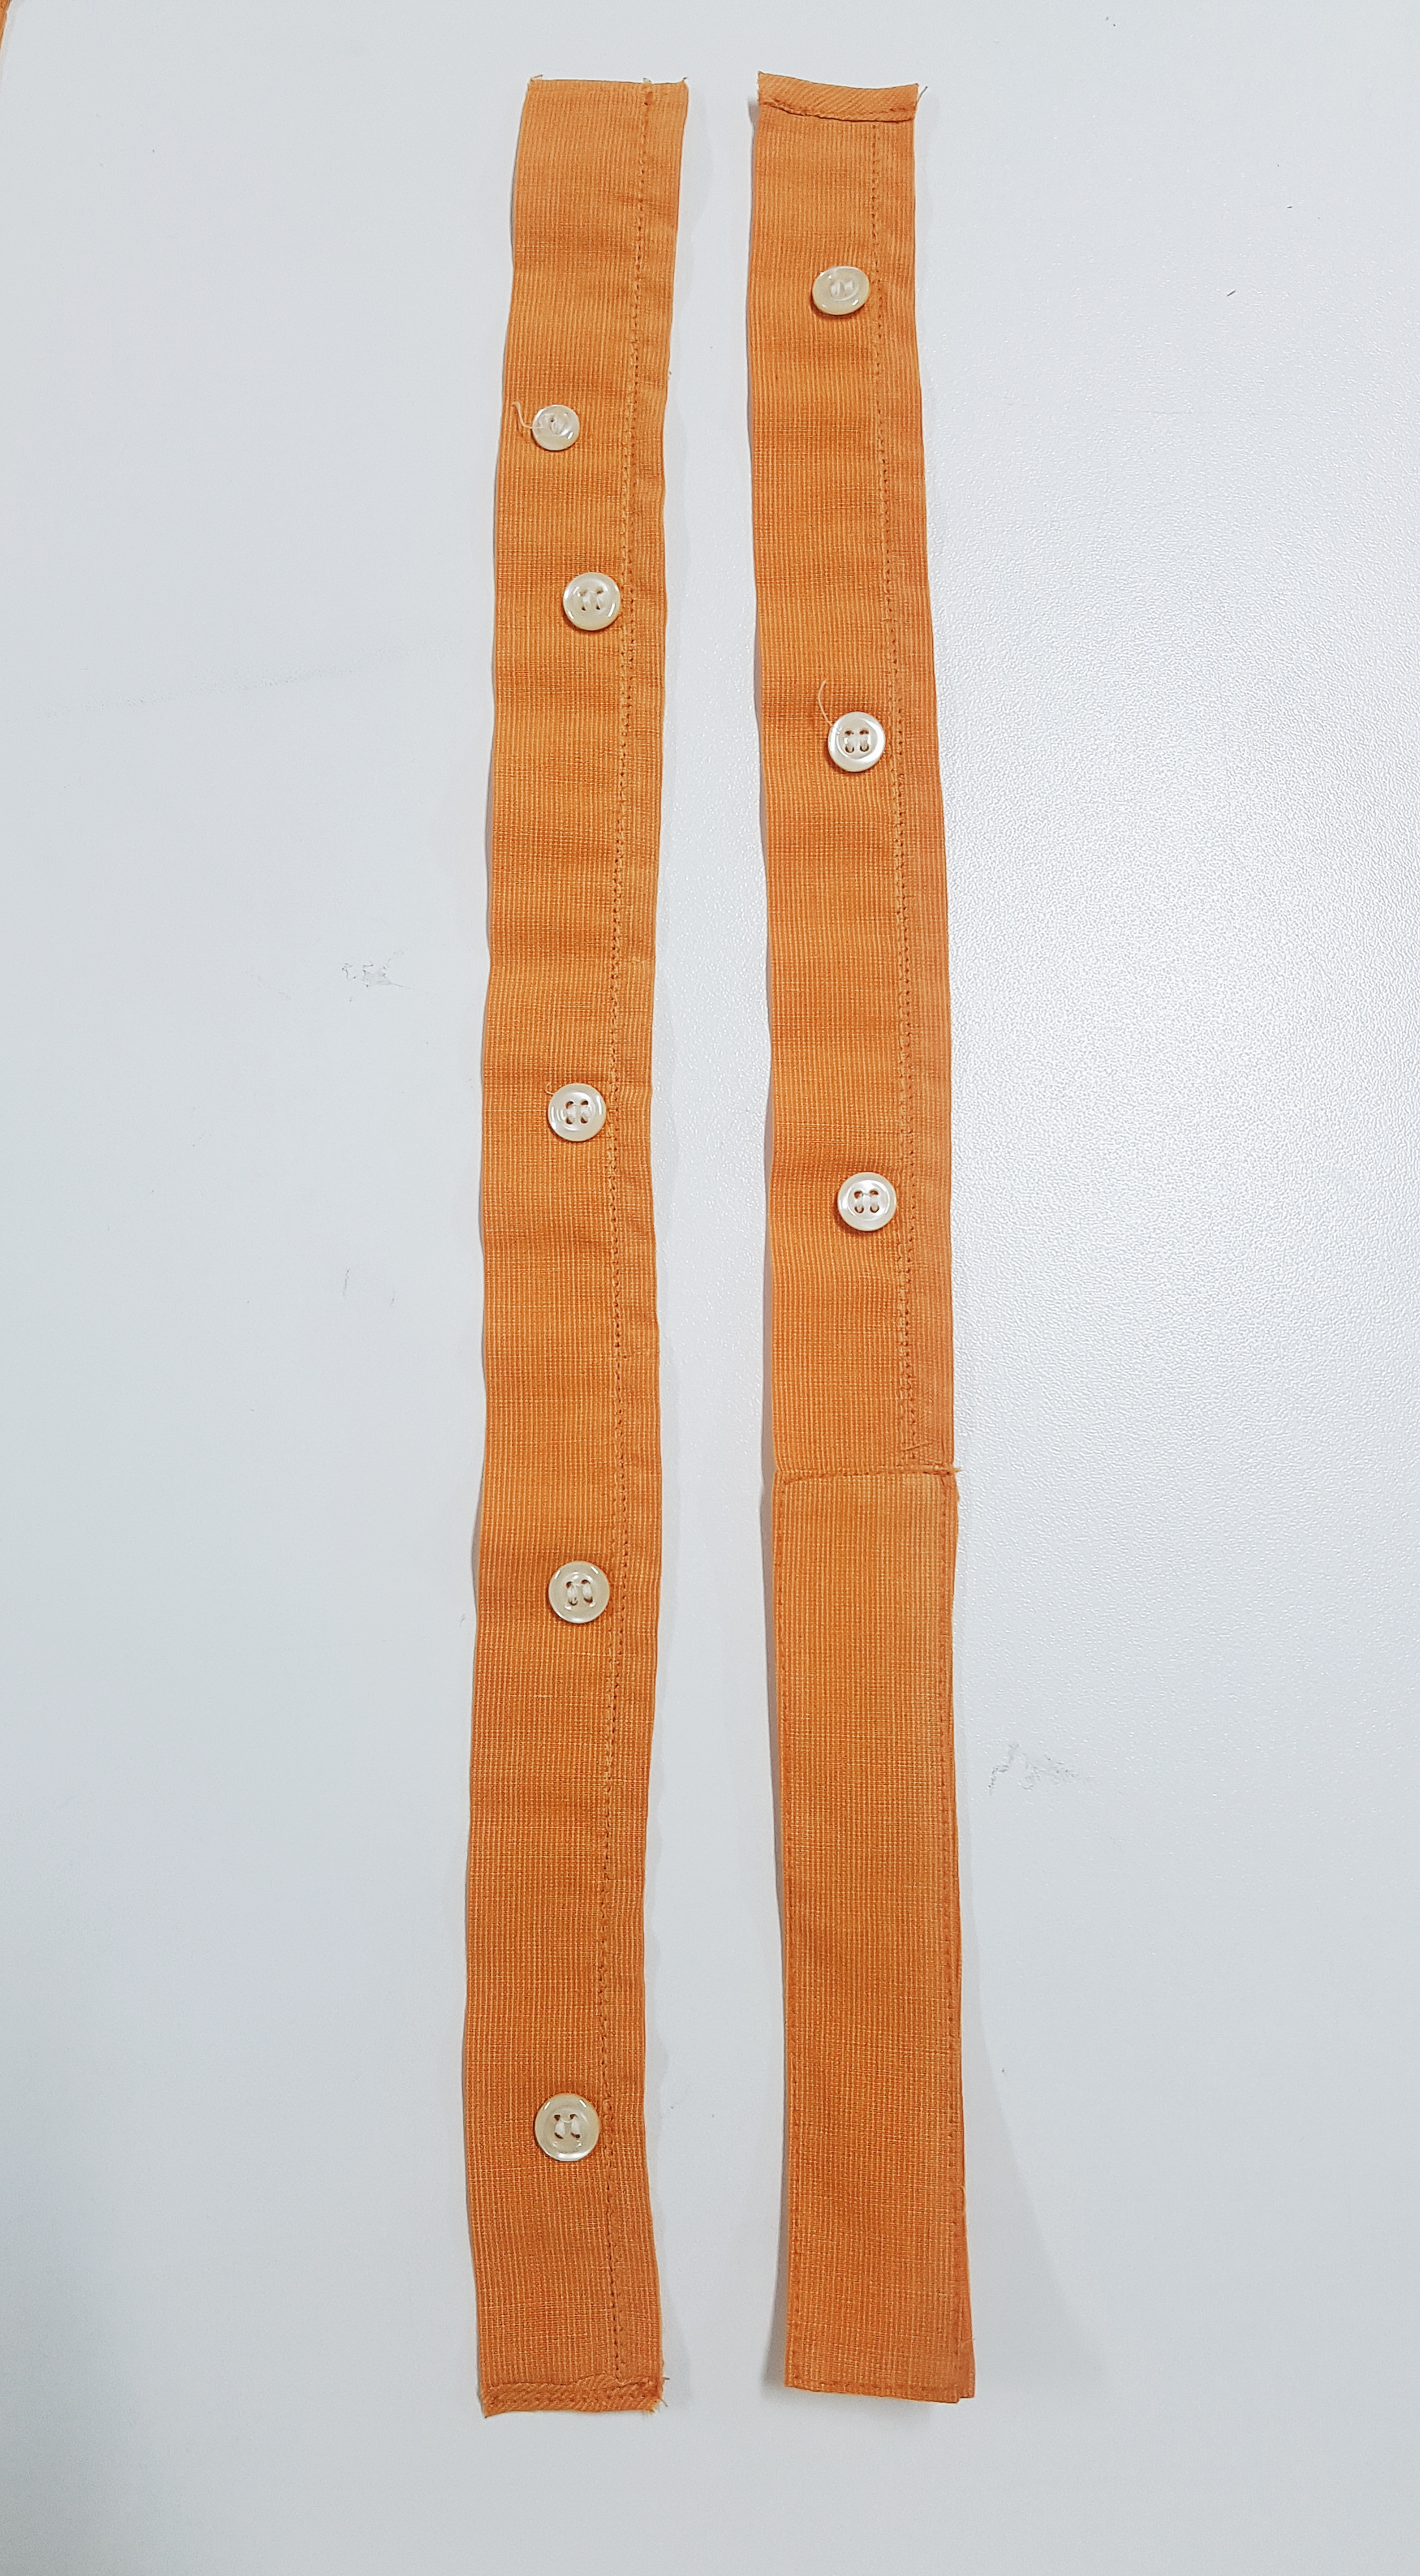
Cut your button stands in half ensuring the lengths maintain the alignment of the buttons to the button hole. You may result in uneven lengths which is totally normal!
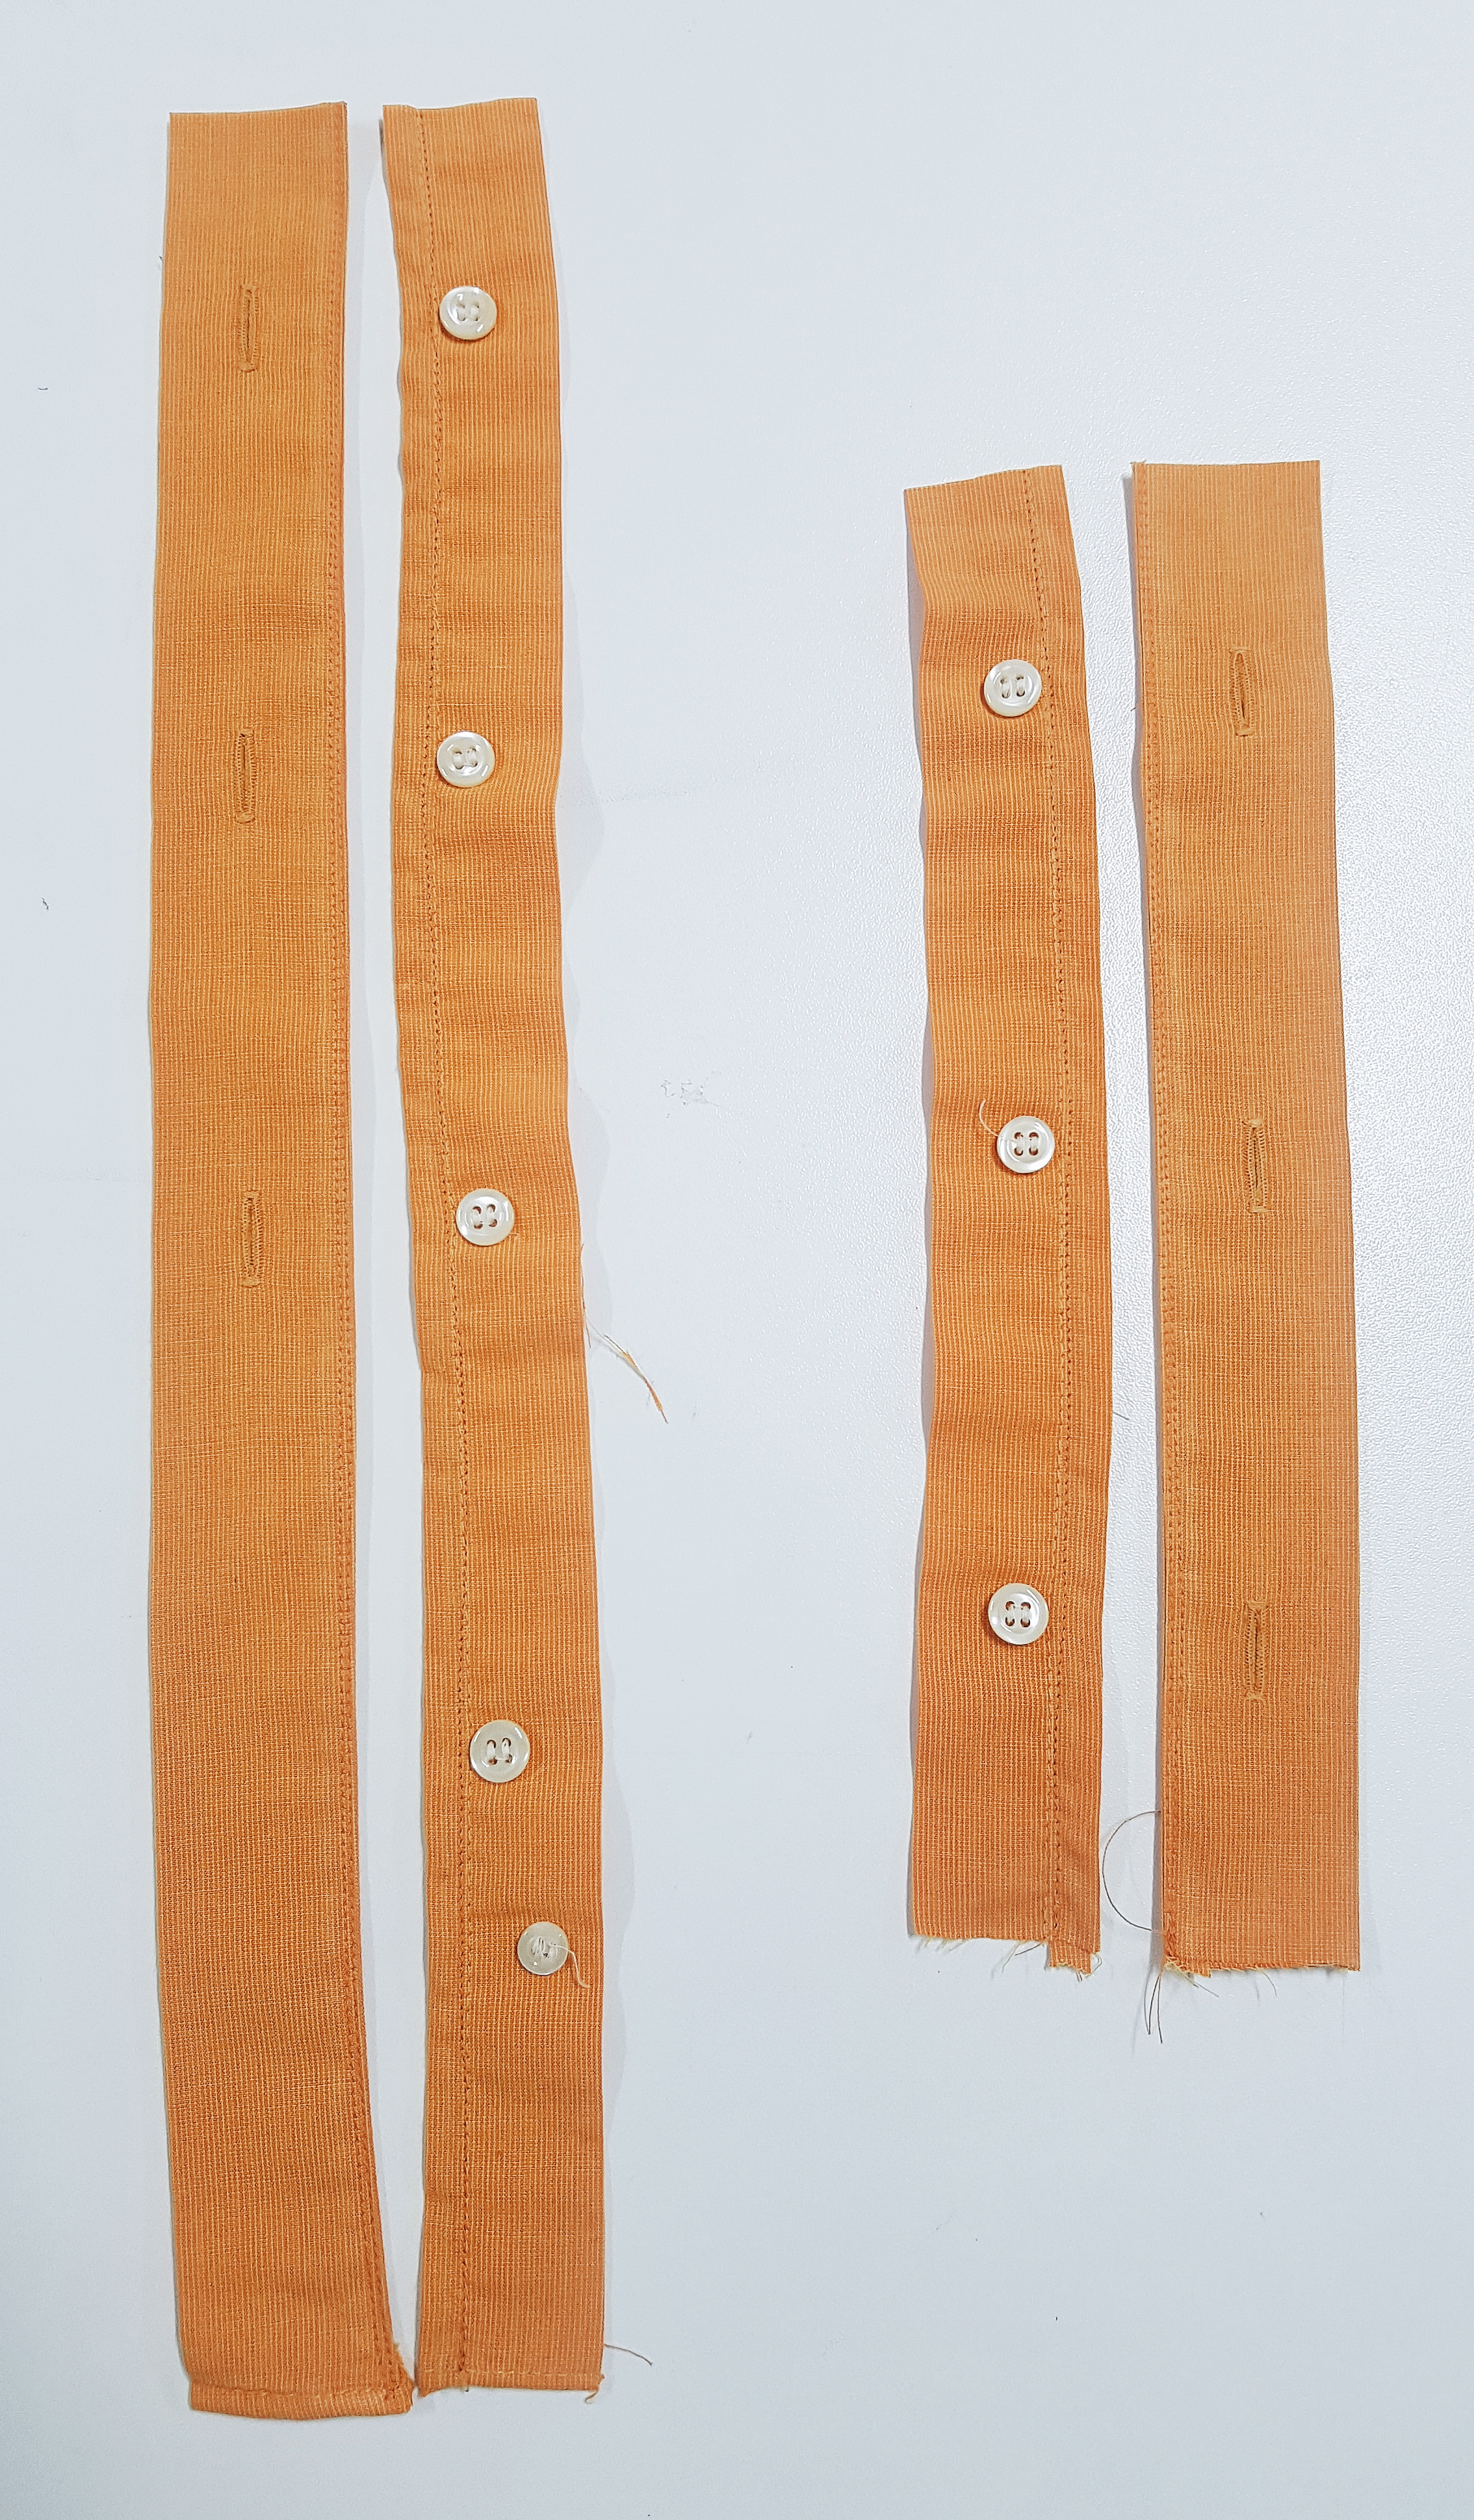
Step Five
Probably the most complex step of the whole process so get through this and we’re plain sailing! Don’t forget if you have any struggles or questions, shoot me an e-mail or leave a comment down below and I’ll get back to you ASAP.
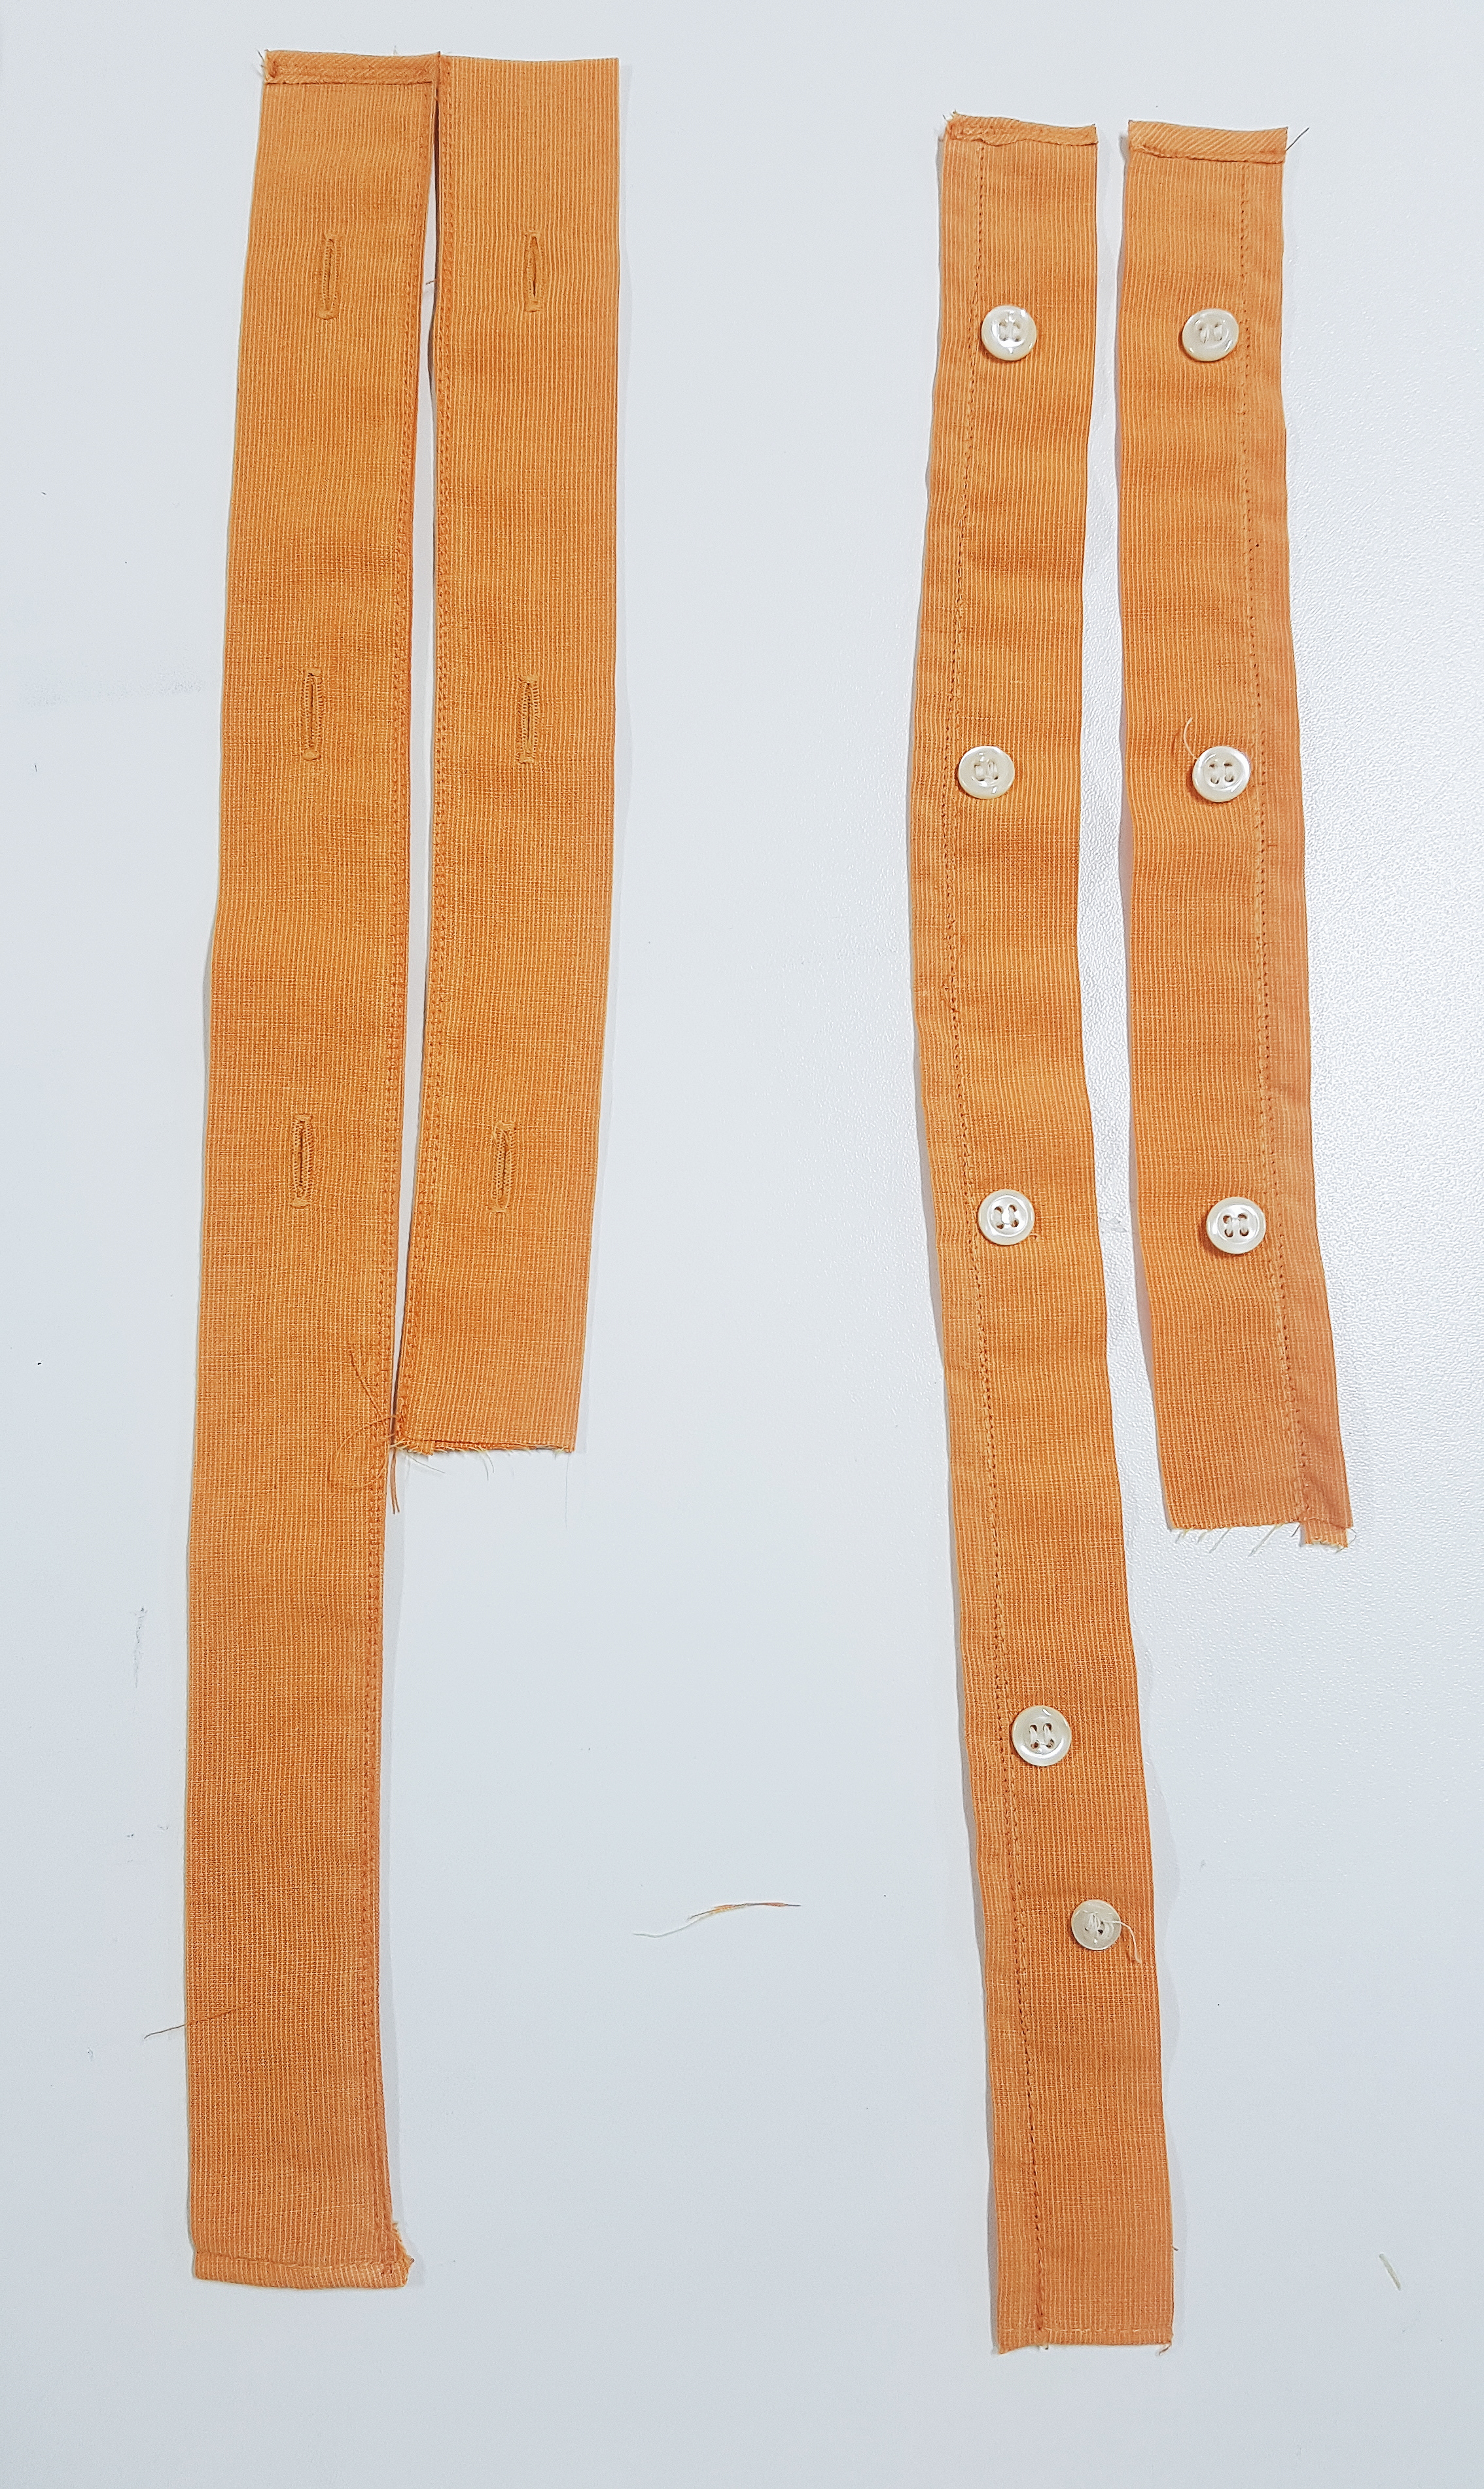
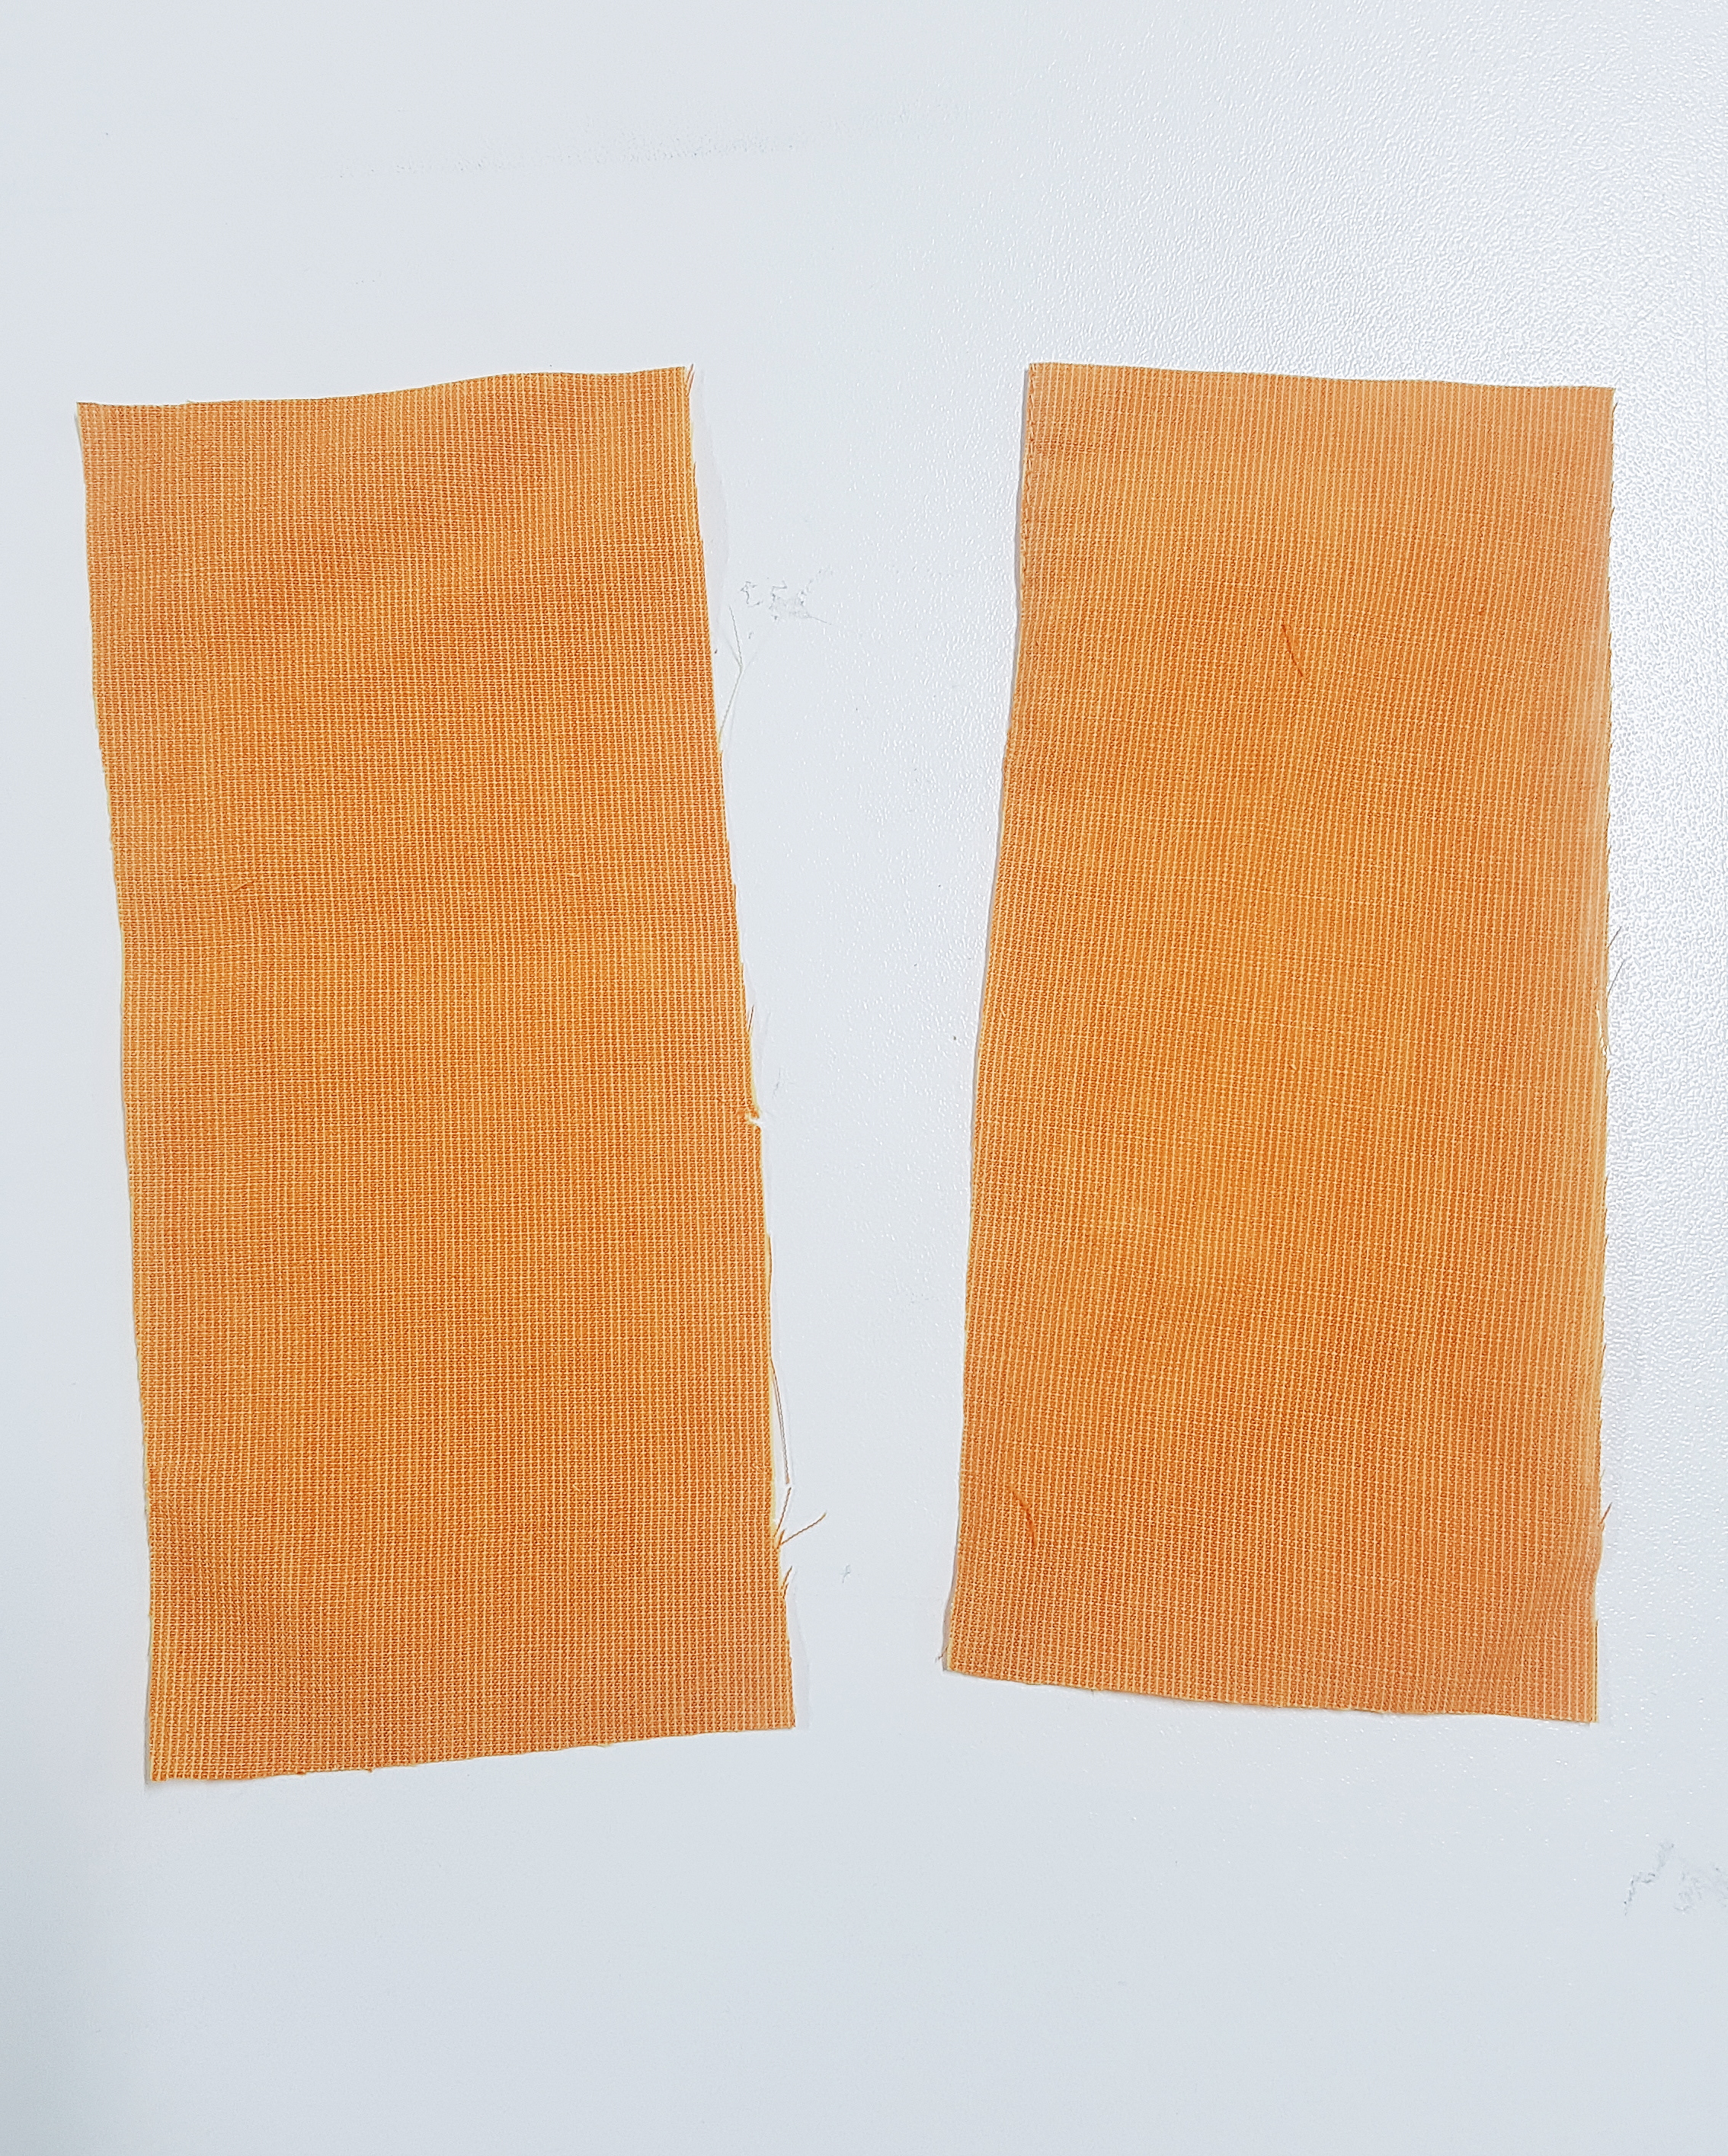
To extend any shorter pieces, determine the length you need to add so they’re equal with the longer pieces. Cut from your scrap a piece double the width of your strap plus 1cm seam allowance.
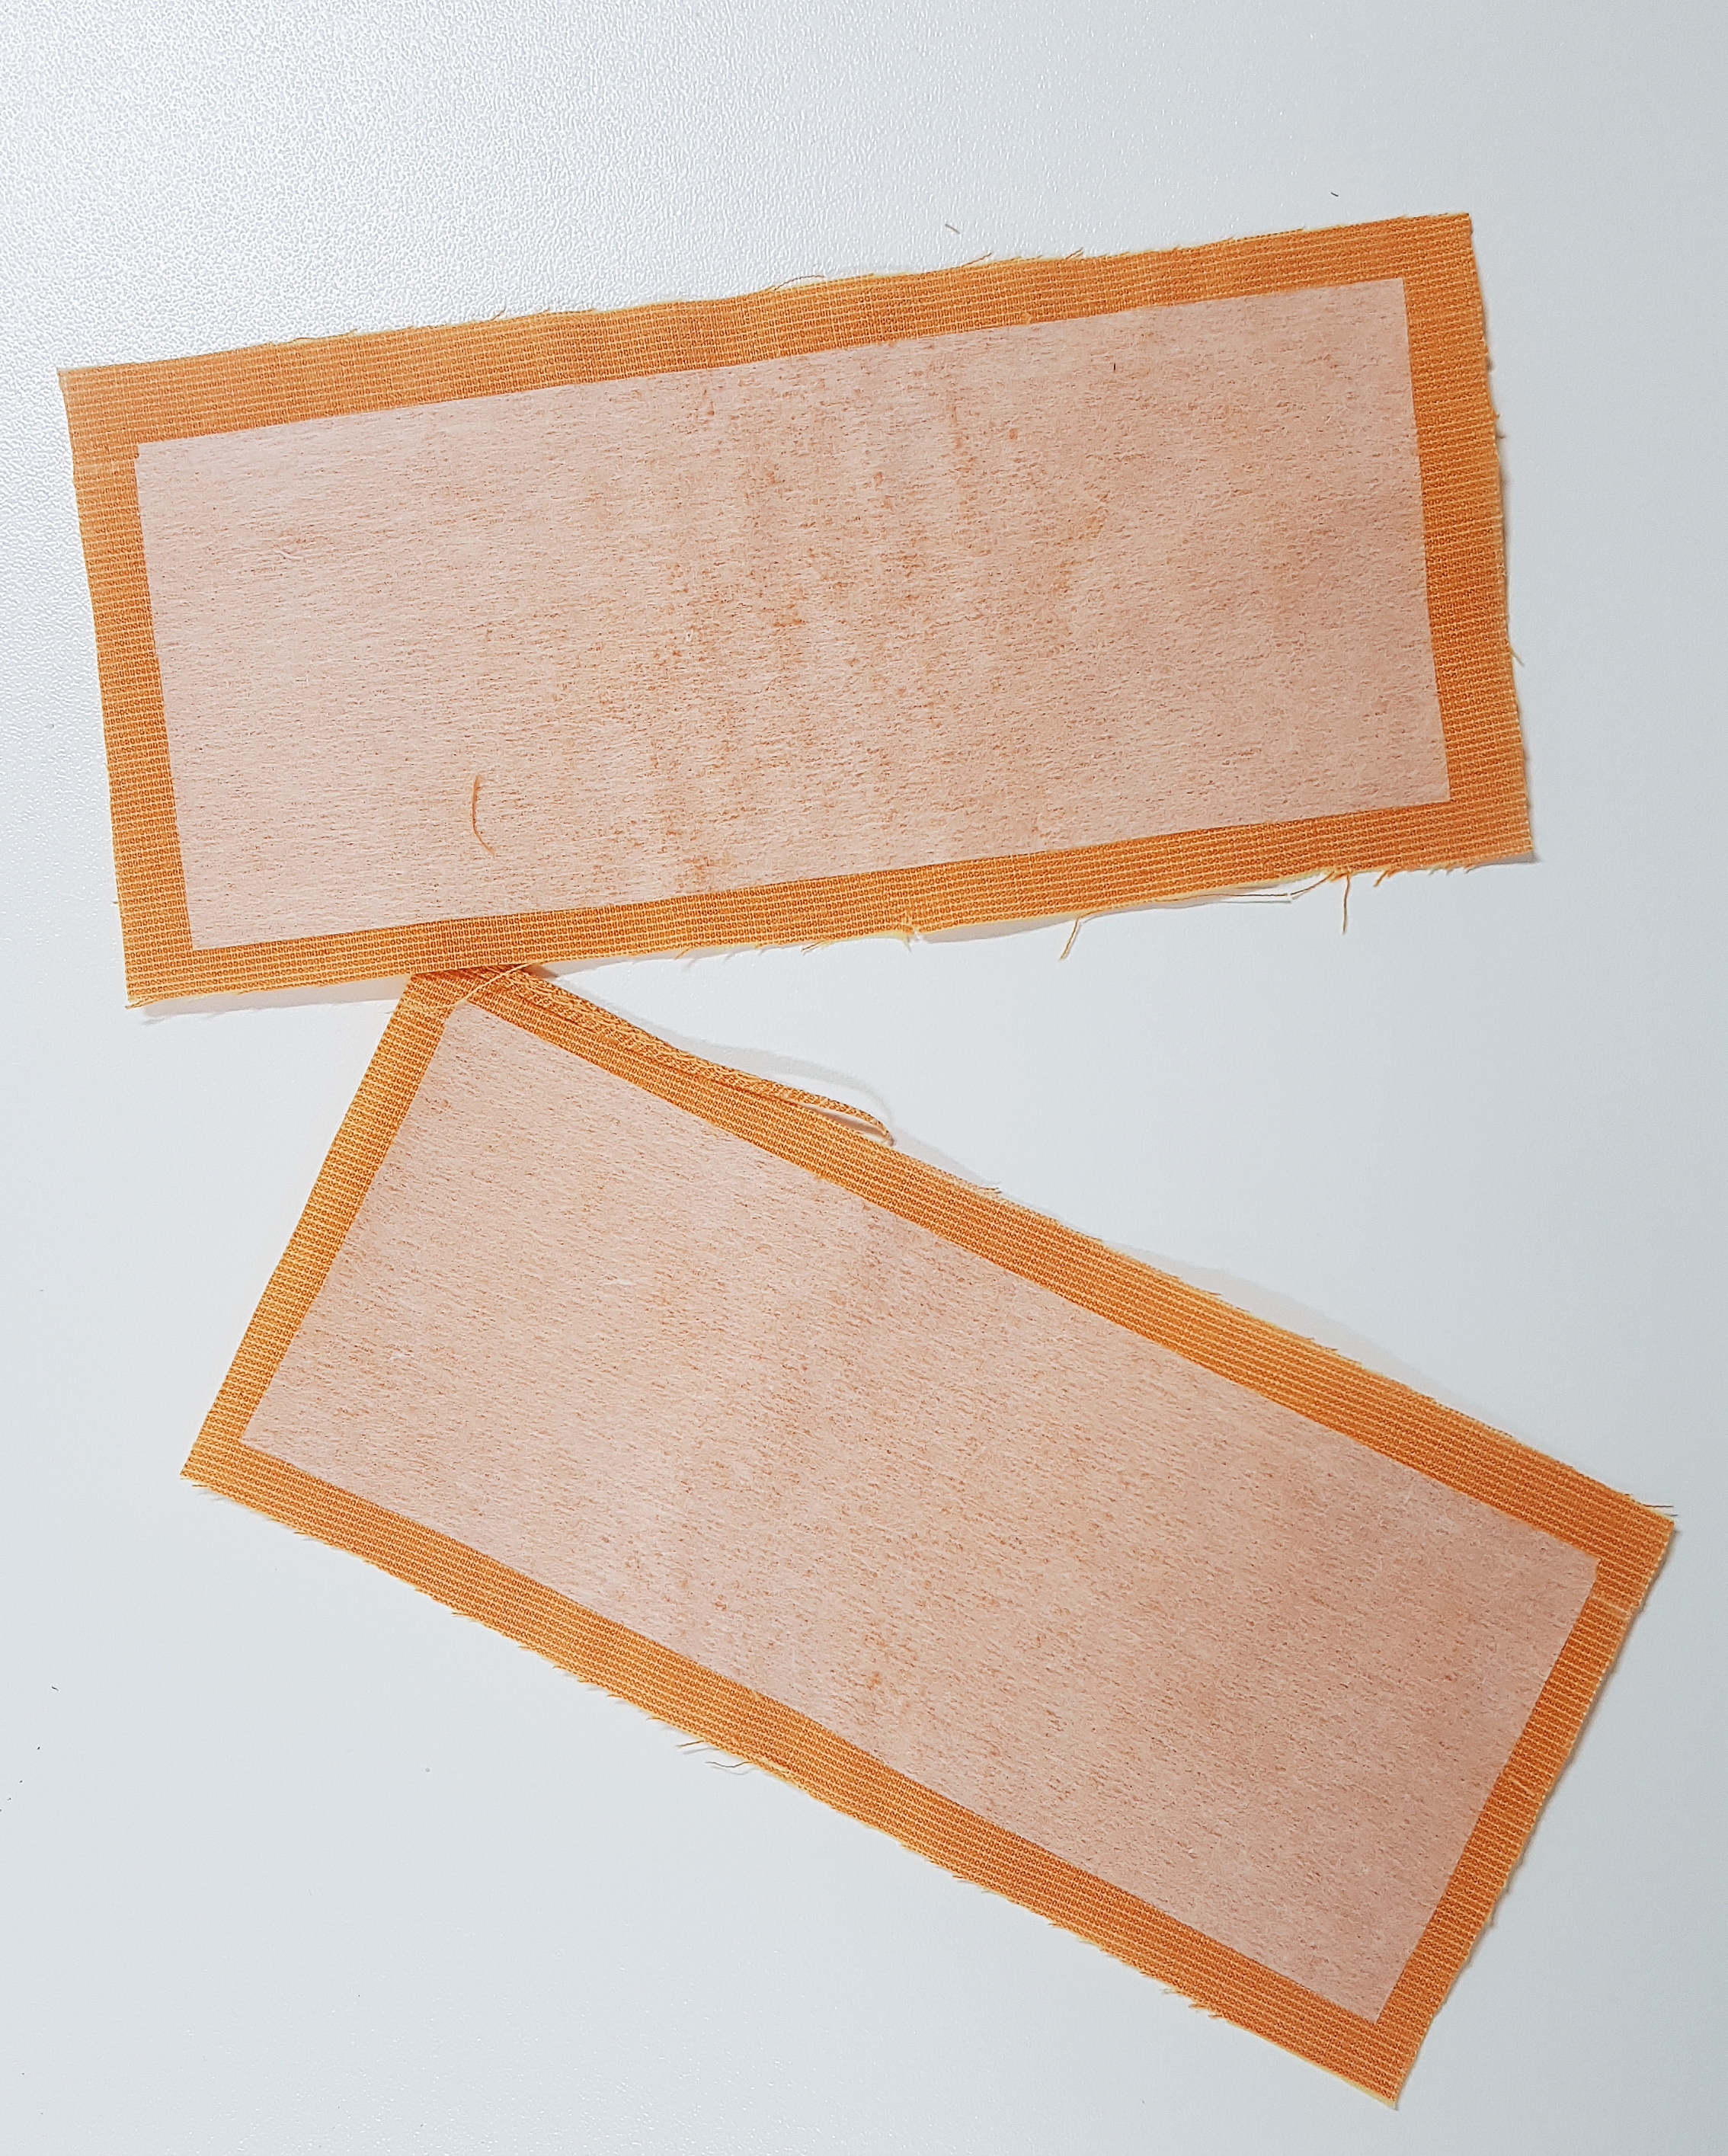
Interface your extension before pressing two of the long edges and one short edge in by 1cm then folding in half as before,
SteP Six
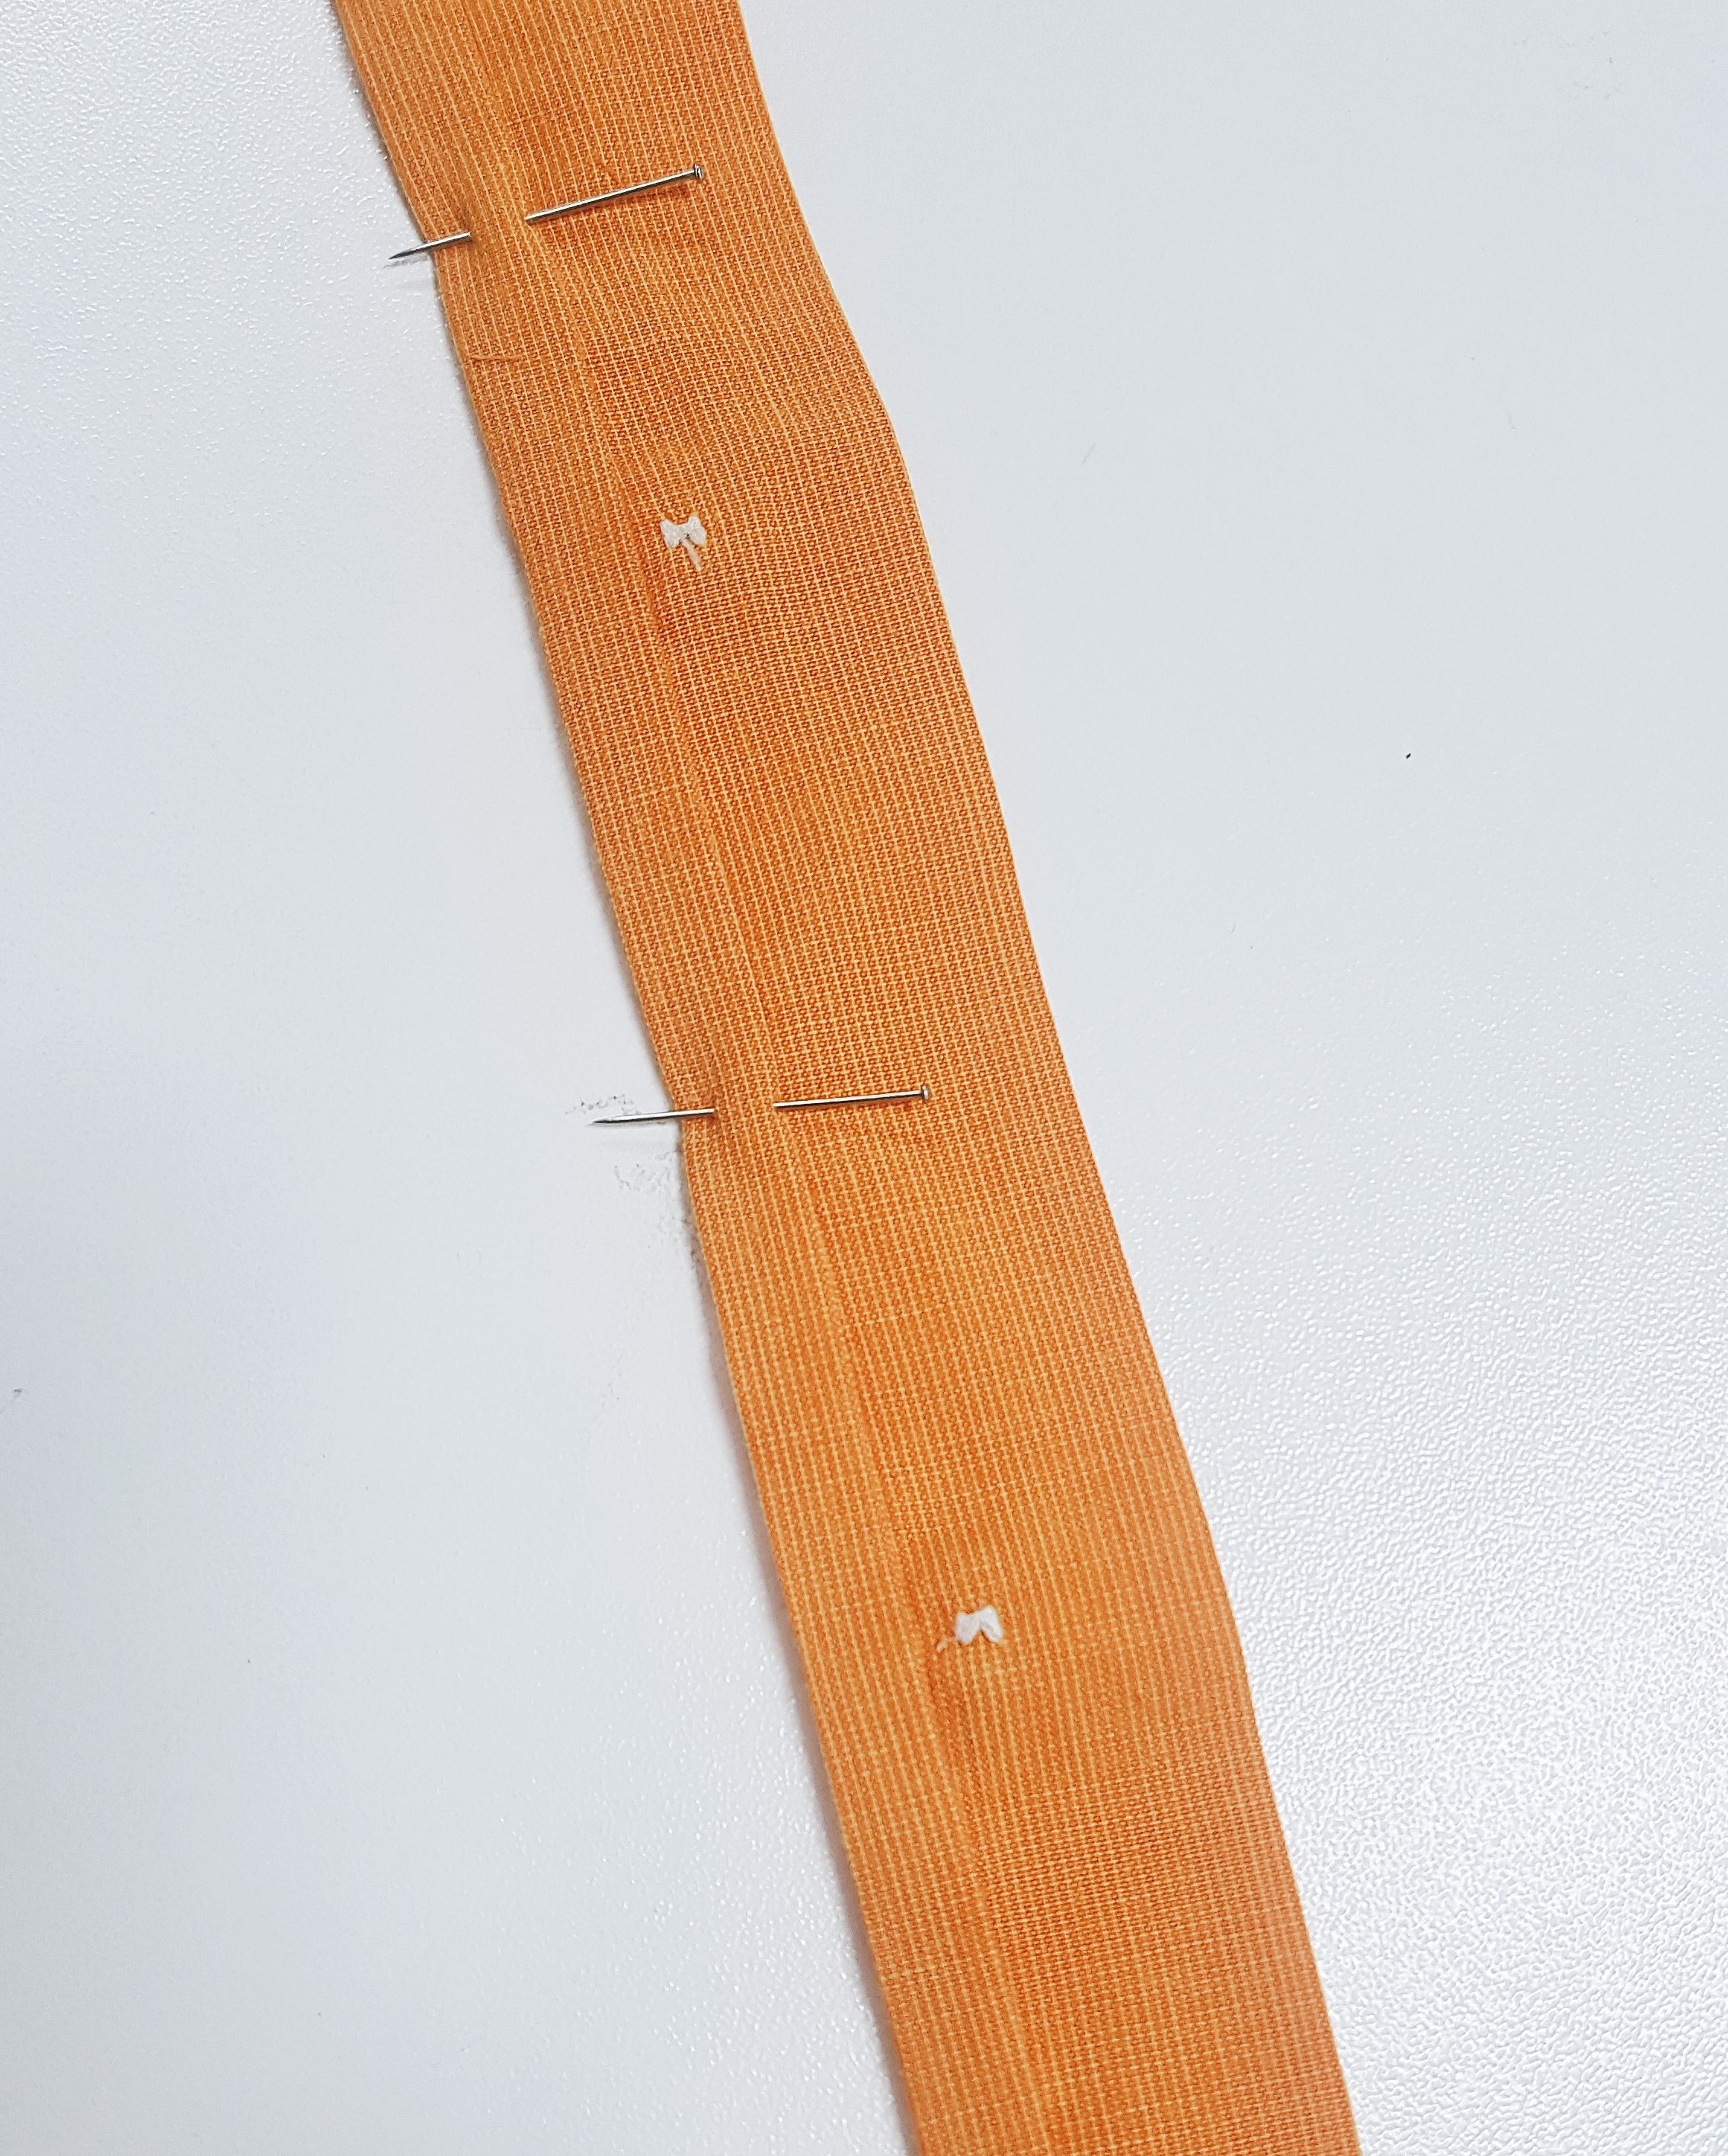
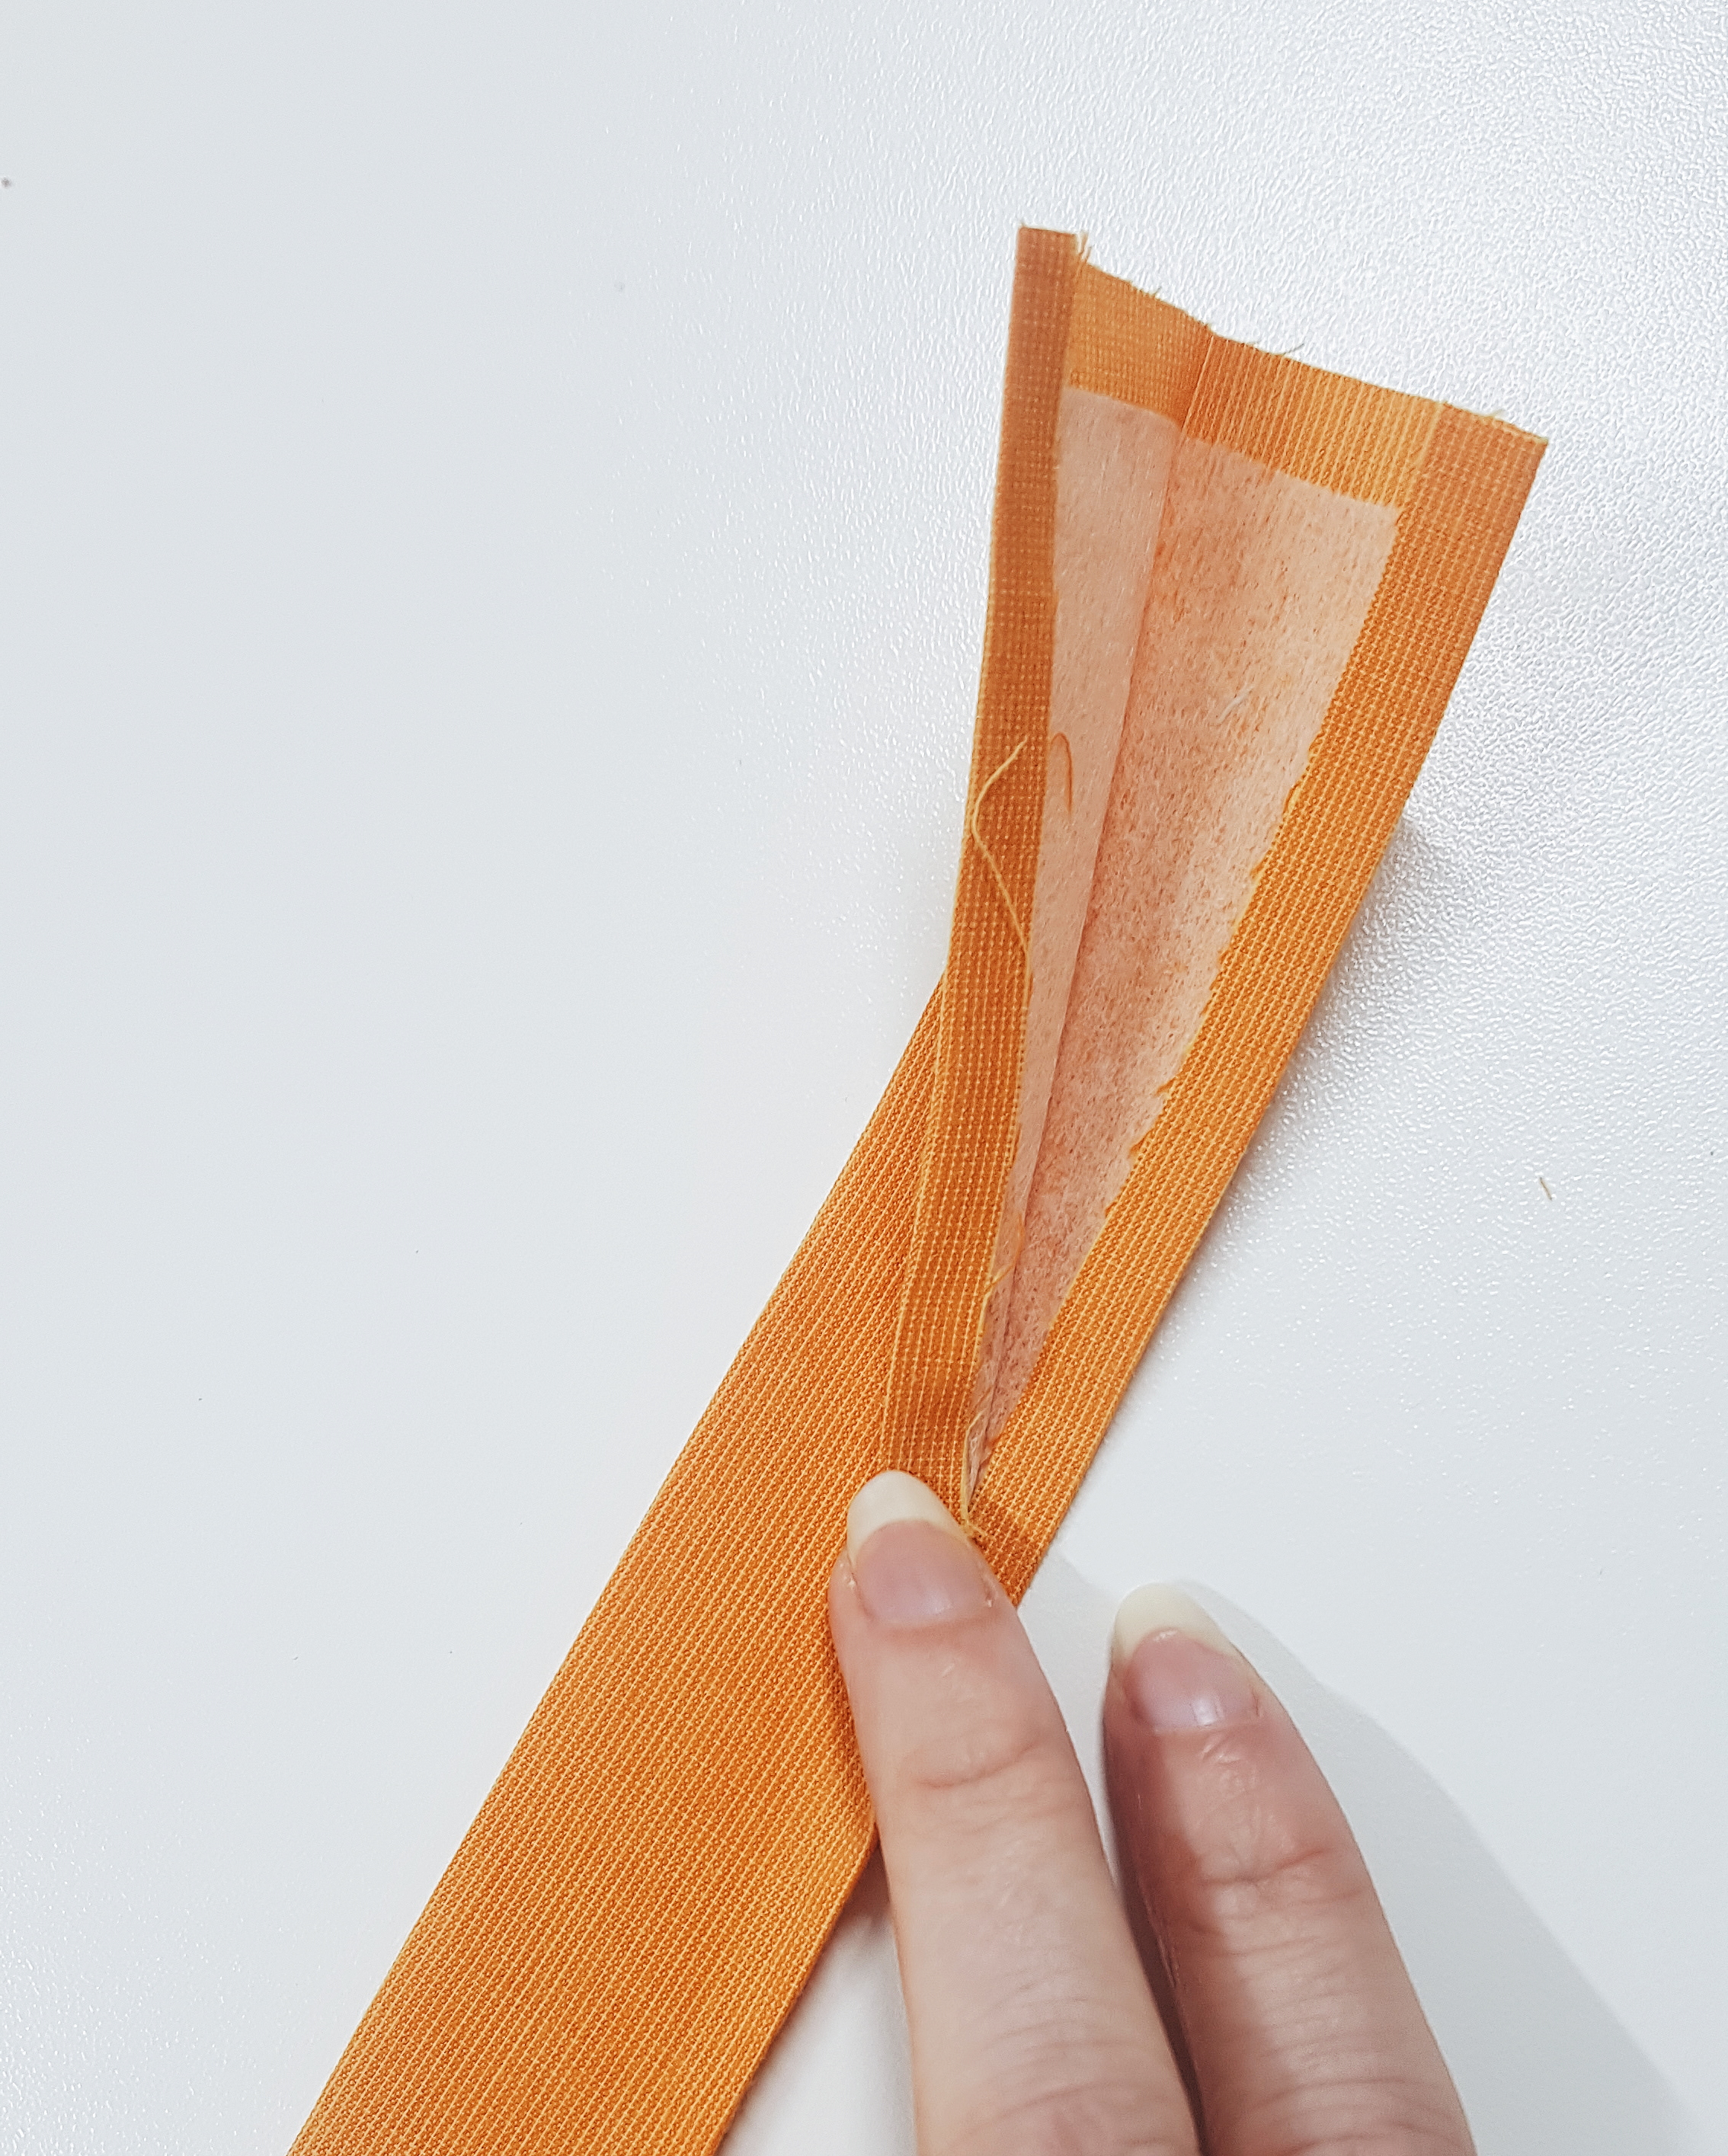
To attach your extensions, place the unfolded edge right sides together at the raw end of your strap. Sew 1cm seam allowance before pulling your extension down to reveal the right side. Check your alignment and press.
Edge stitch around the whole extension piece to secure before finishing any raw edges of your straps with bias tape.
Step Seven

Ensure all your backpack panels are prepared with interfacing before deciding the length of your carry handle and shortening accordingly.
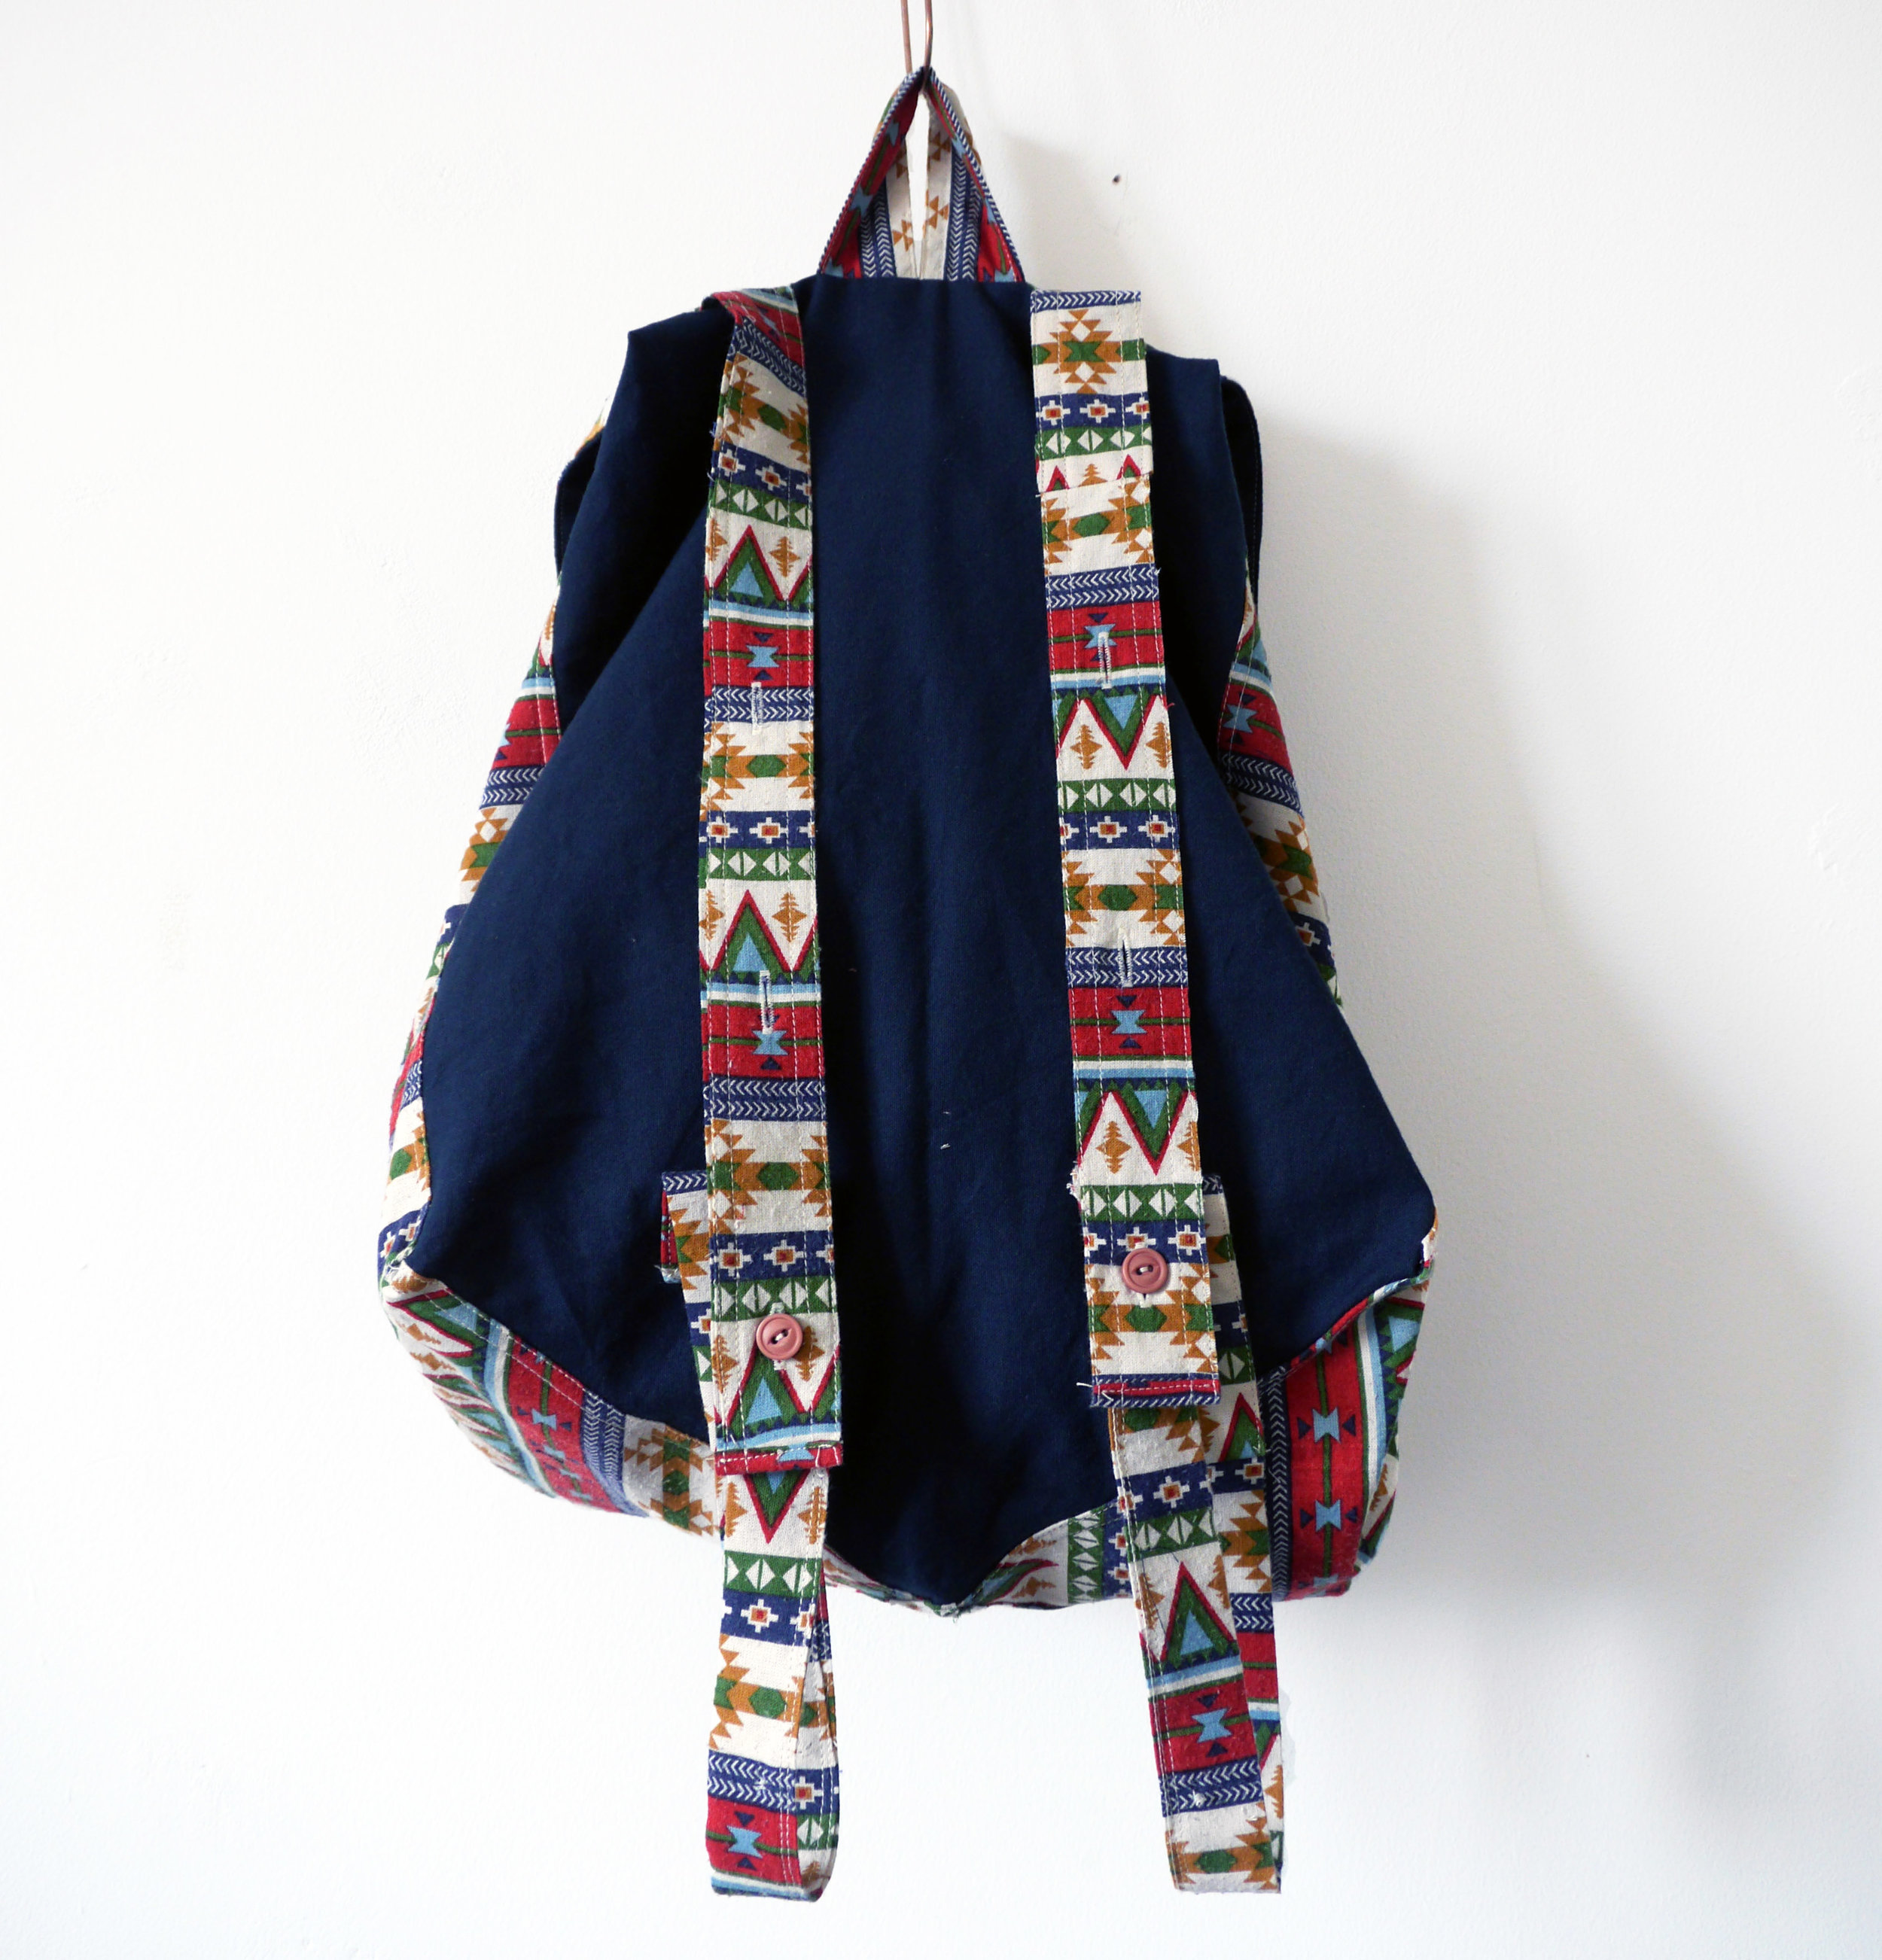
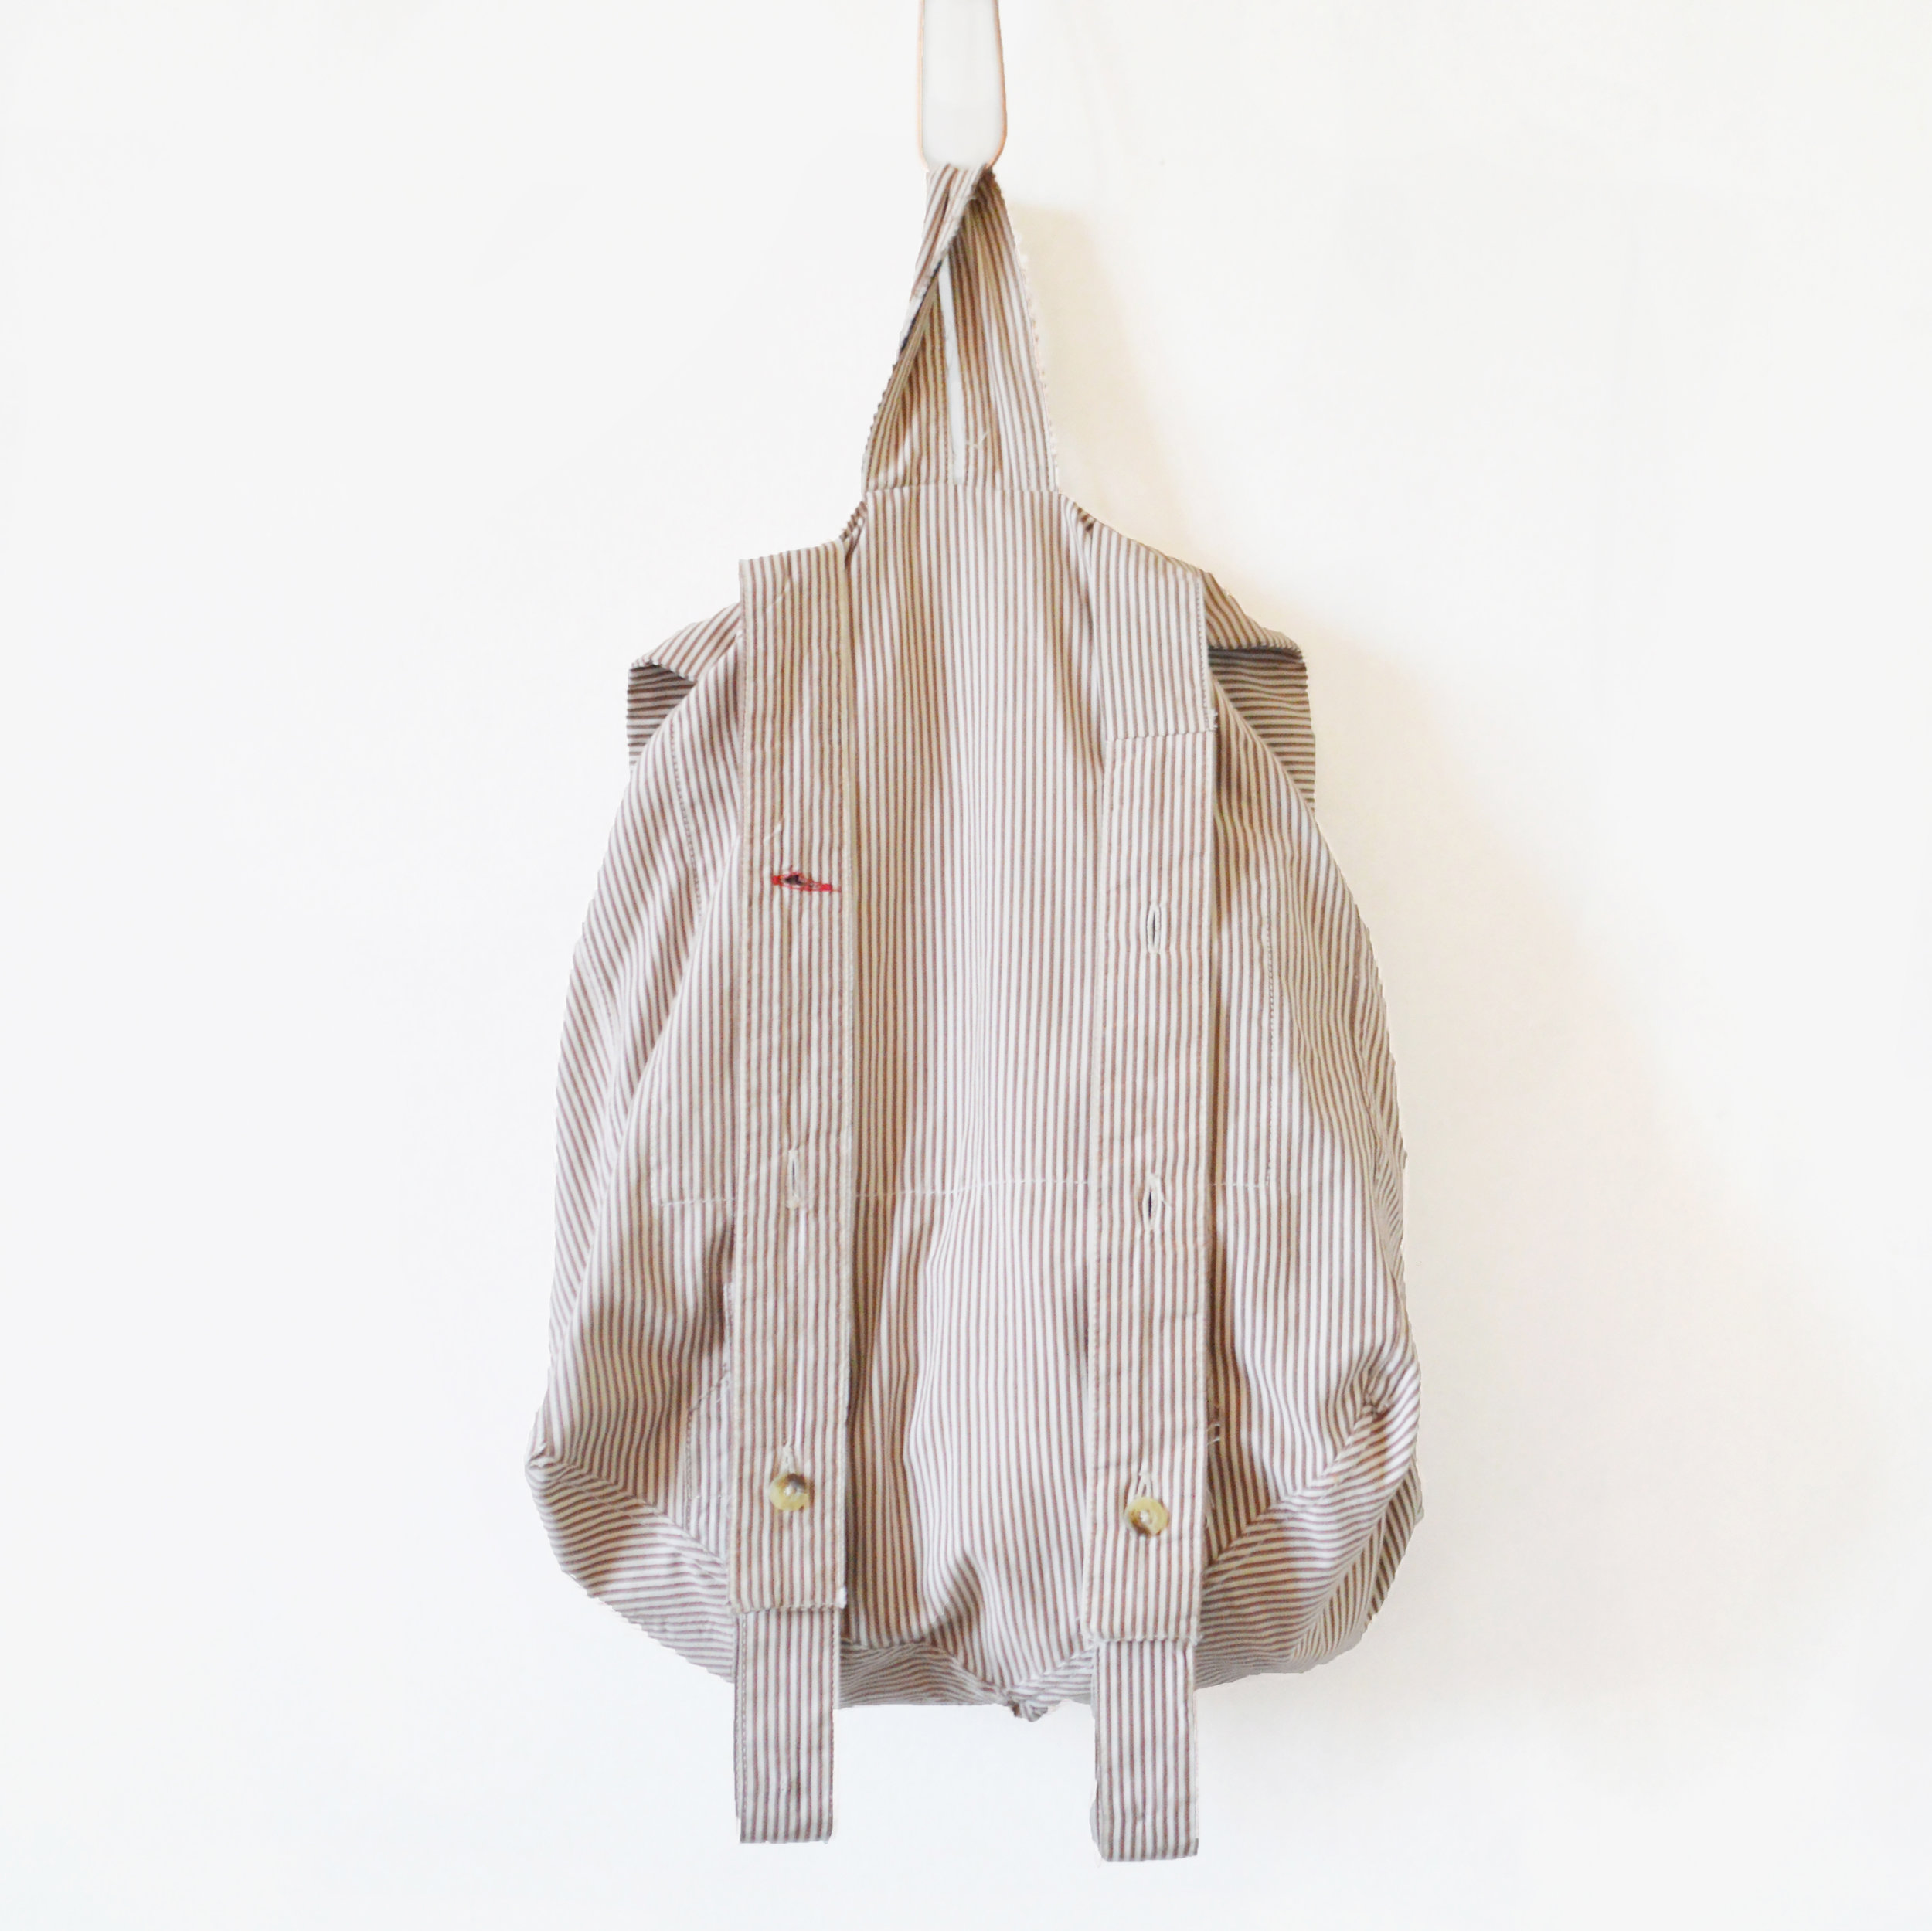
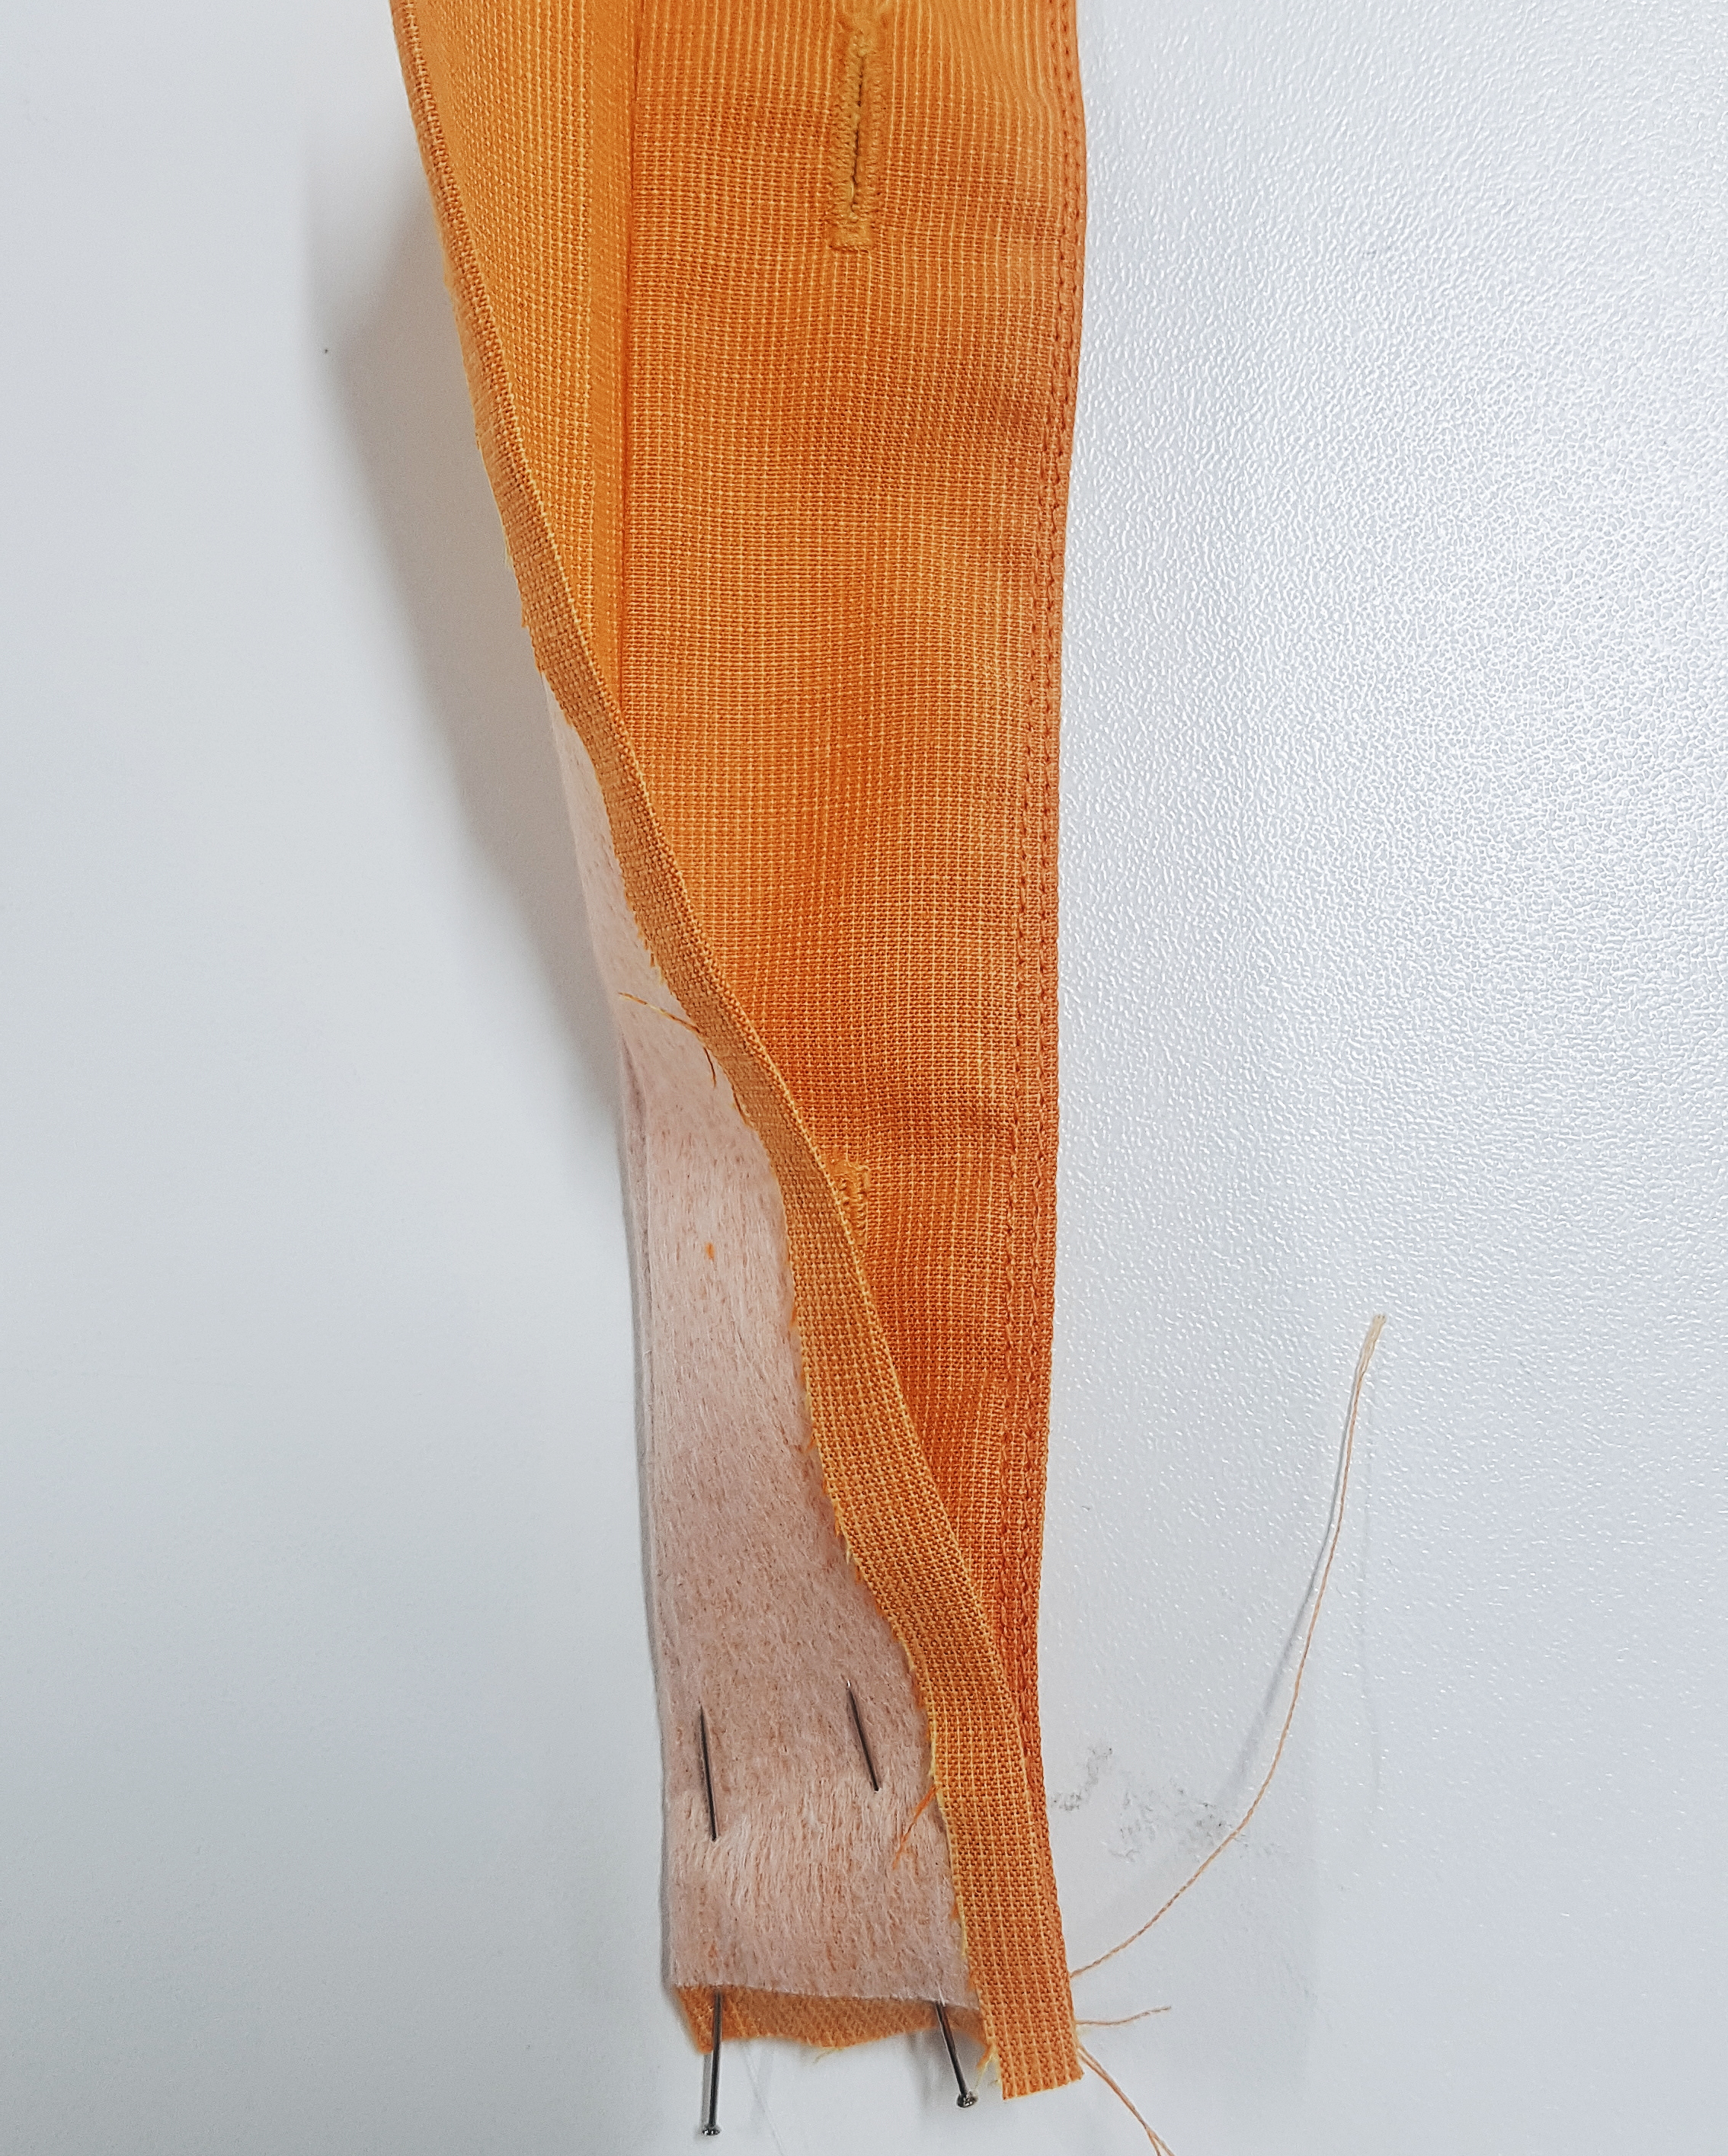
Pin one set of your straps between the notches marked on the flap and secure your carry handle in between. Baste within the 1.5cm seam allowance before placing your pieces between the markings on one of your larger backpack panels, destined to be the back of the backpack.
Pin in place and sew a 0.5cm line of stitching to secure.
Step EIGHT
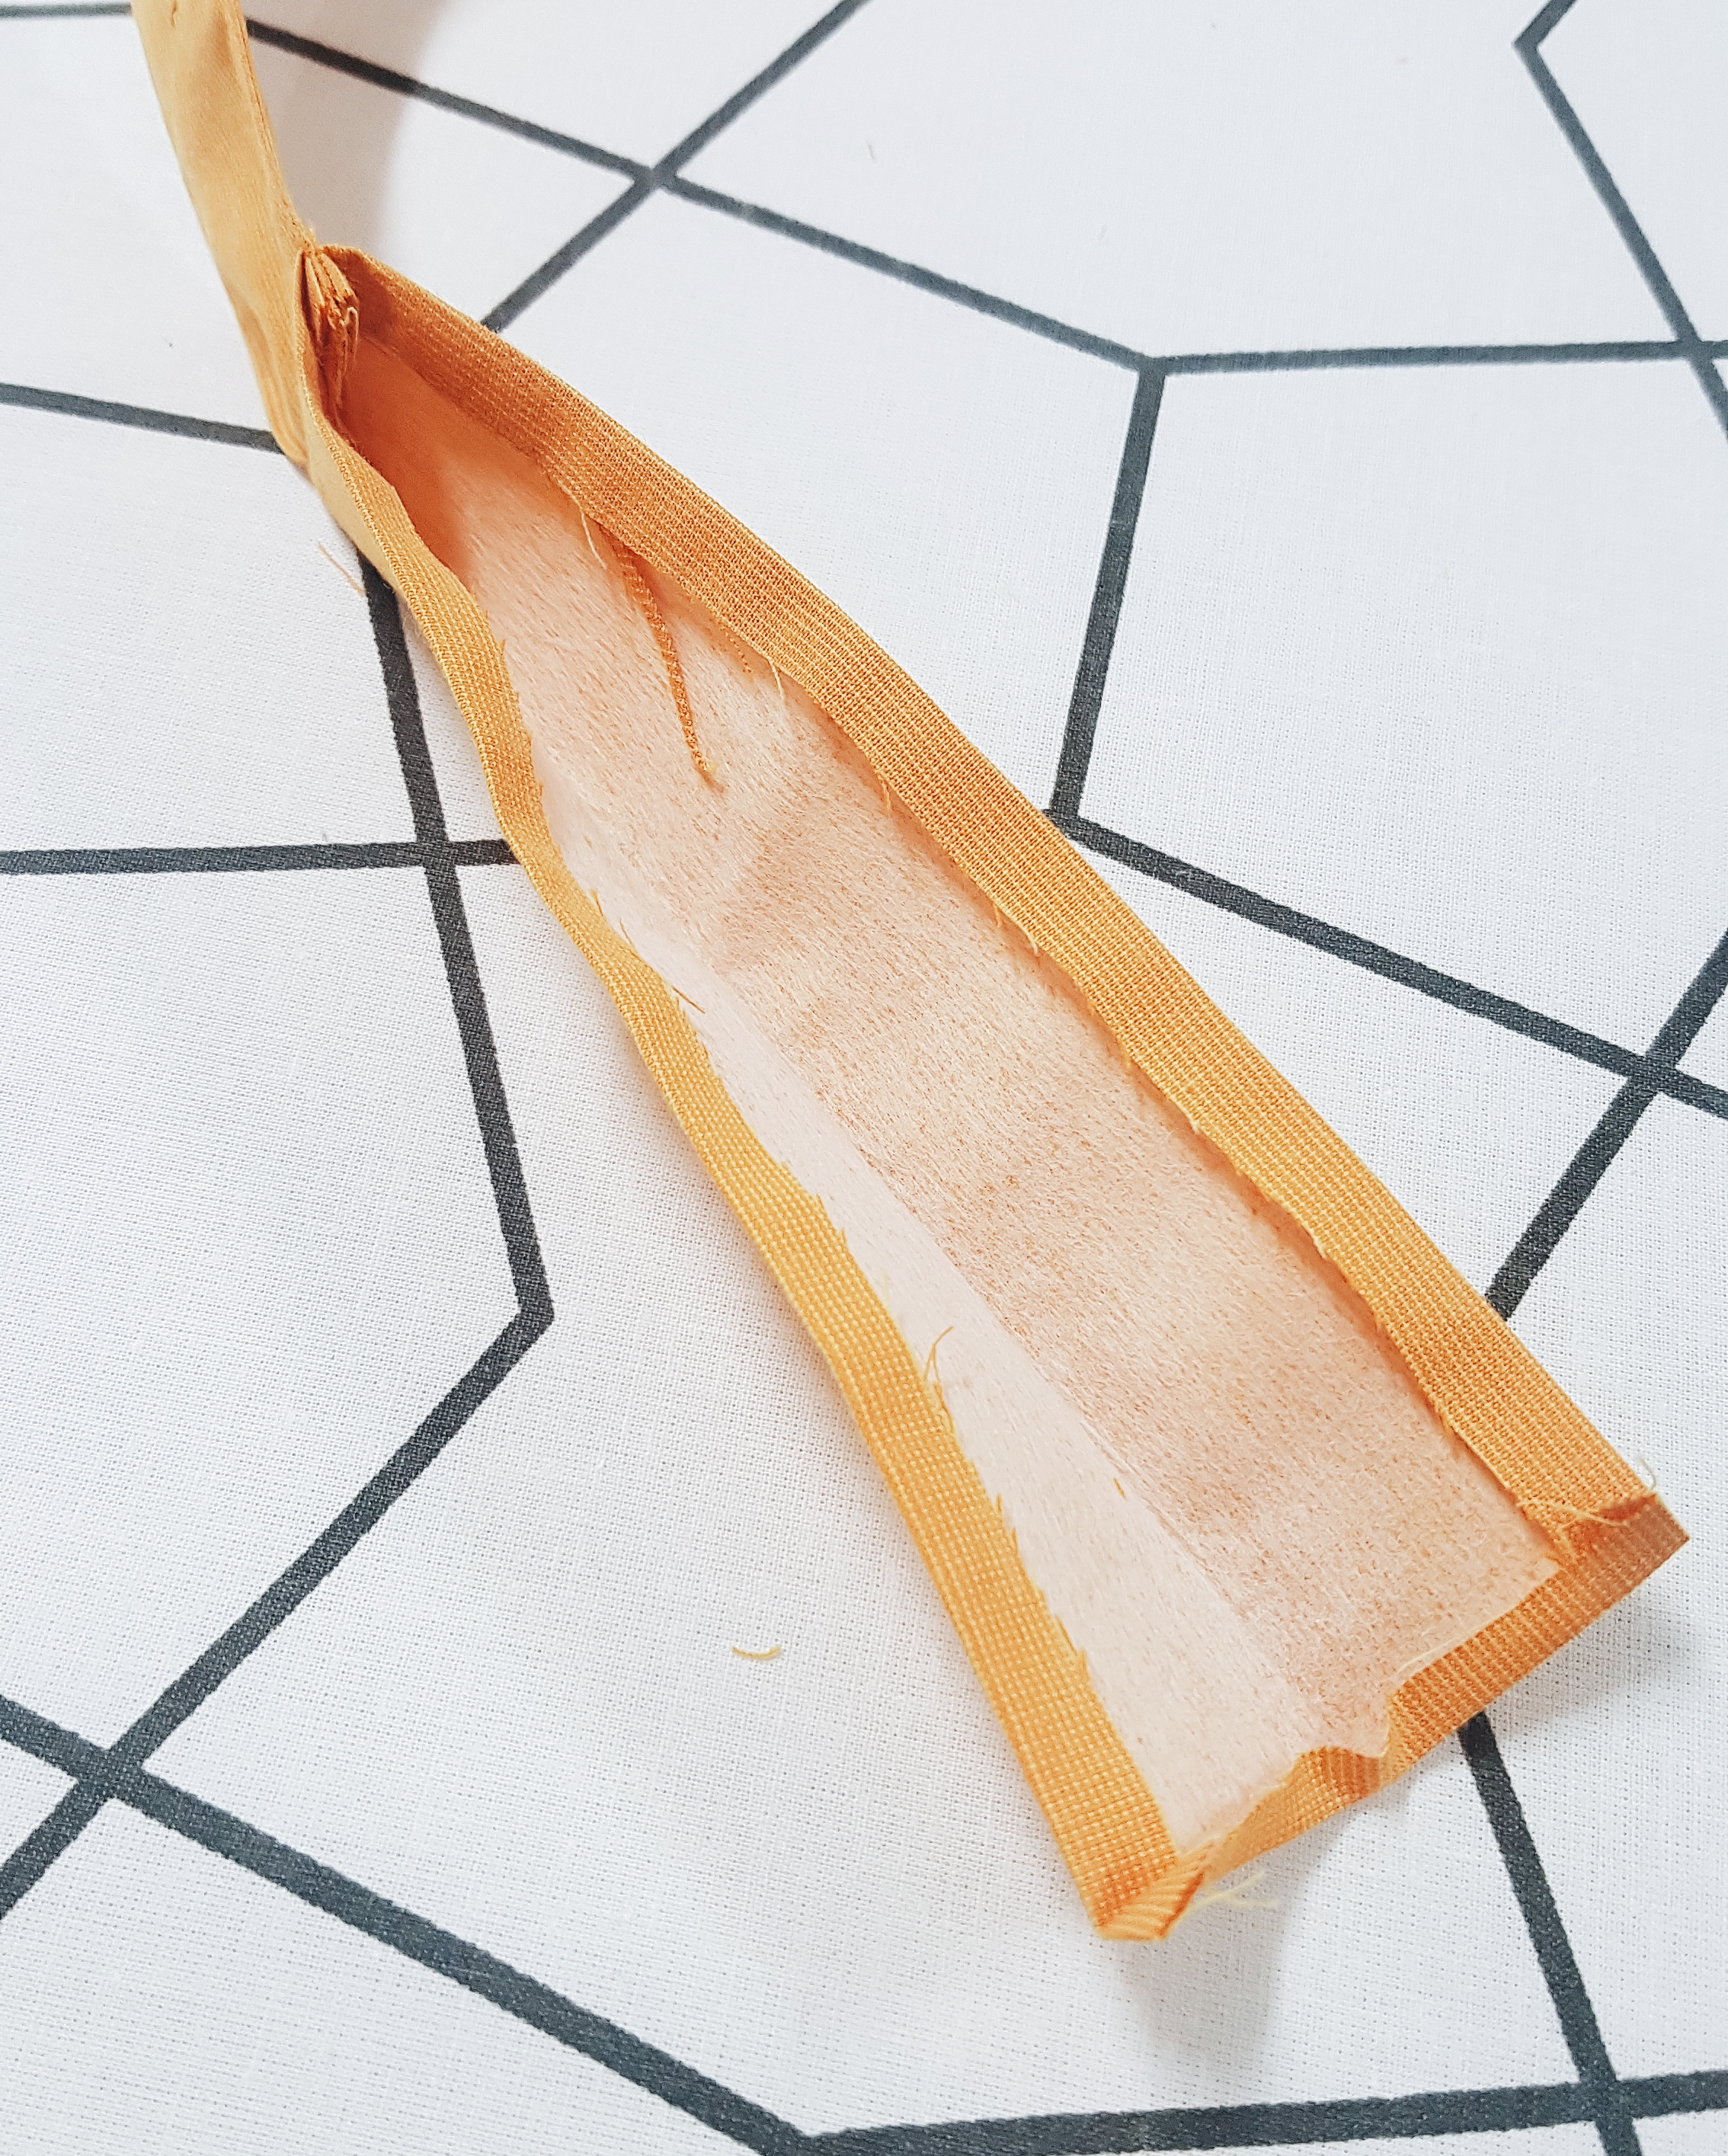
Press your backpack flap away from the carry handle and straps so everything faces right side up.
Enclose the pieces with a 1cm seam allowance line of stitching along the top edge of the flap.
Step Nine
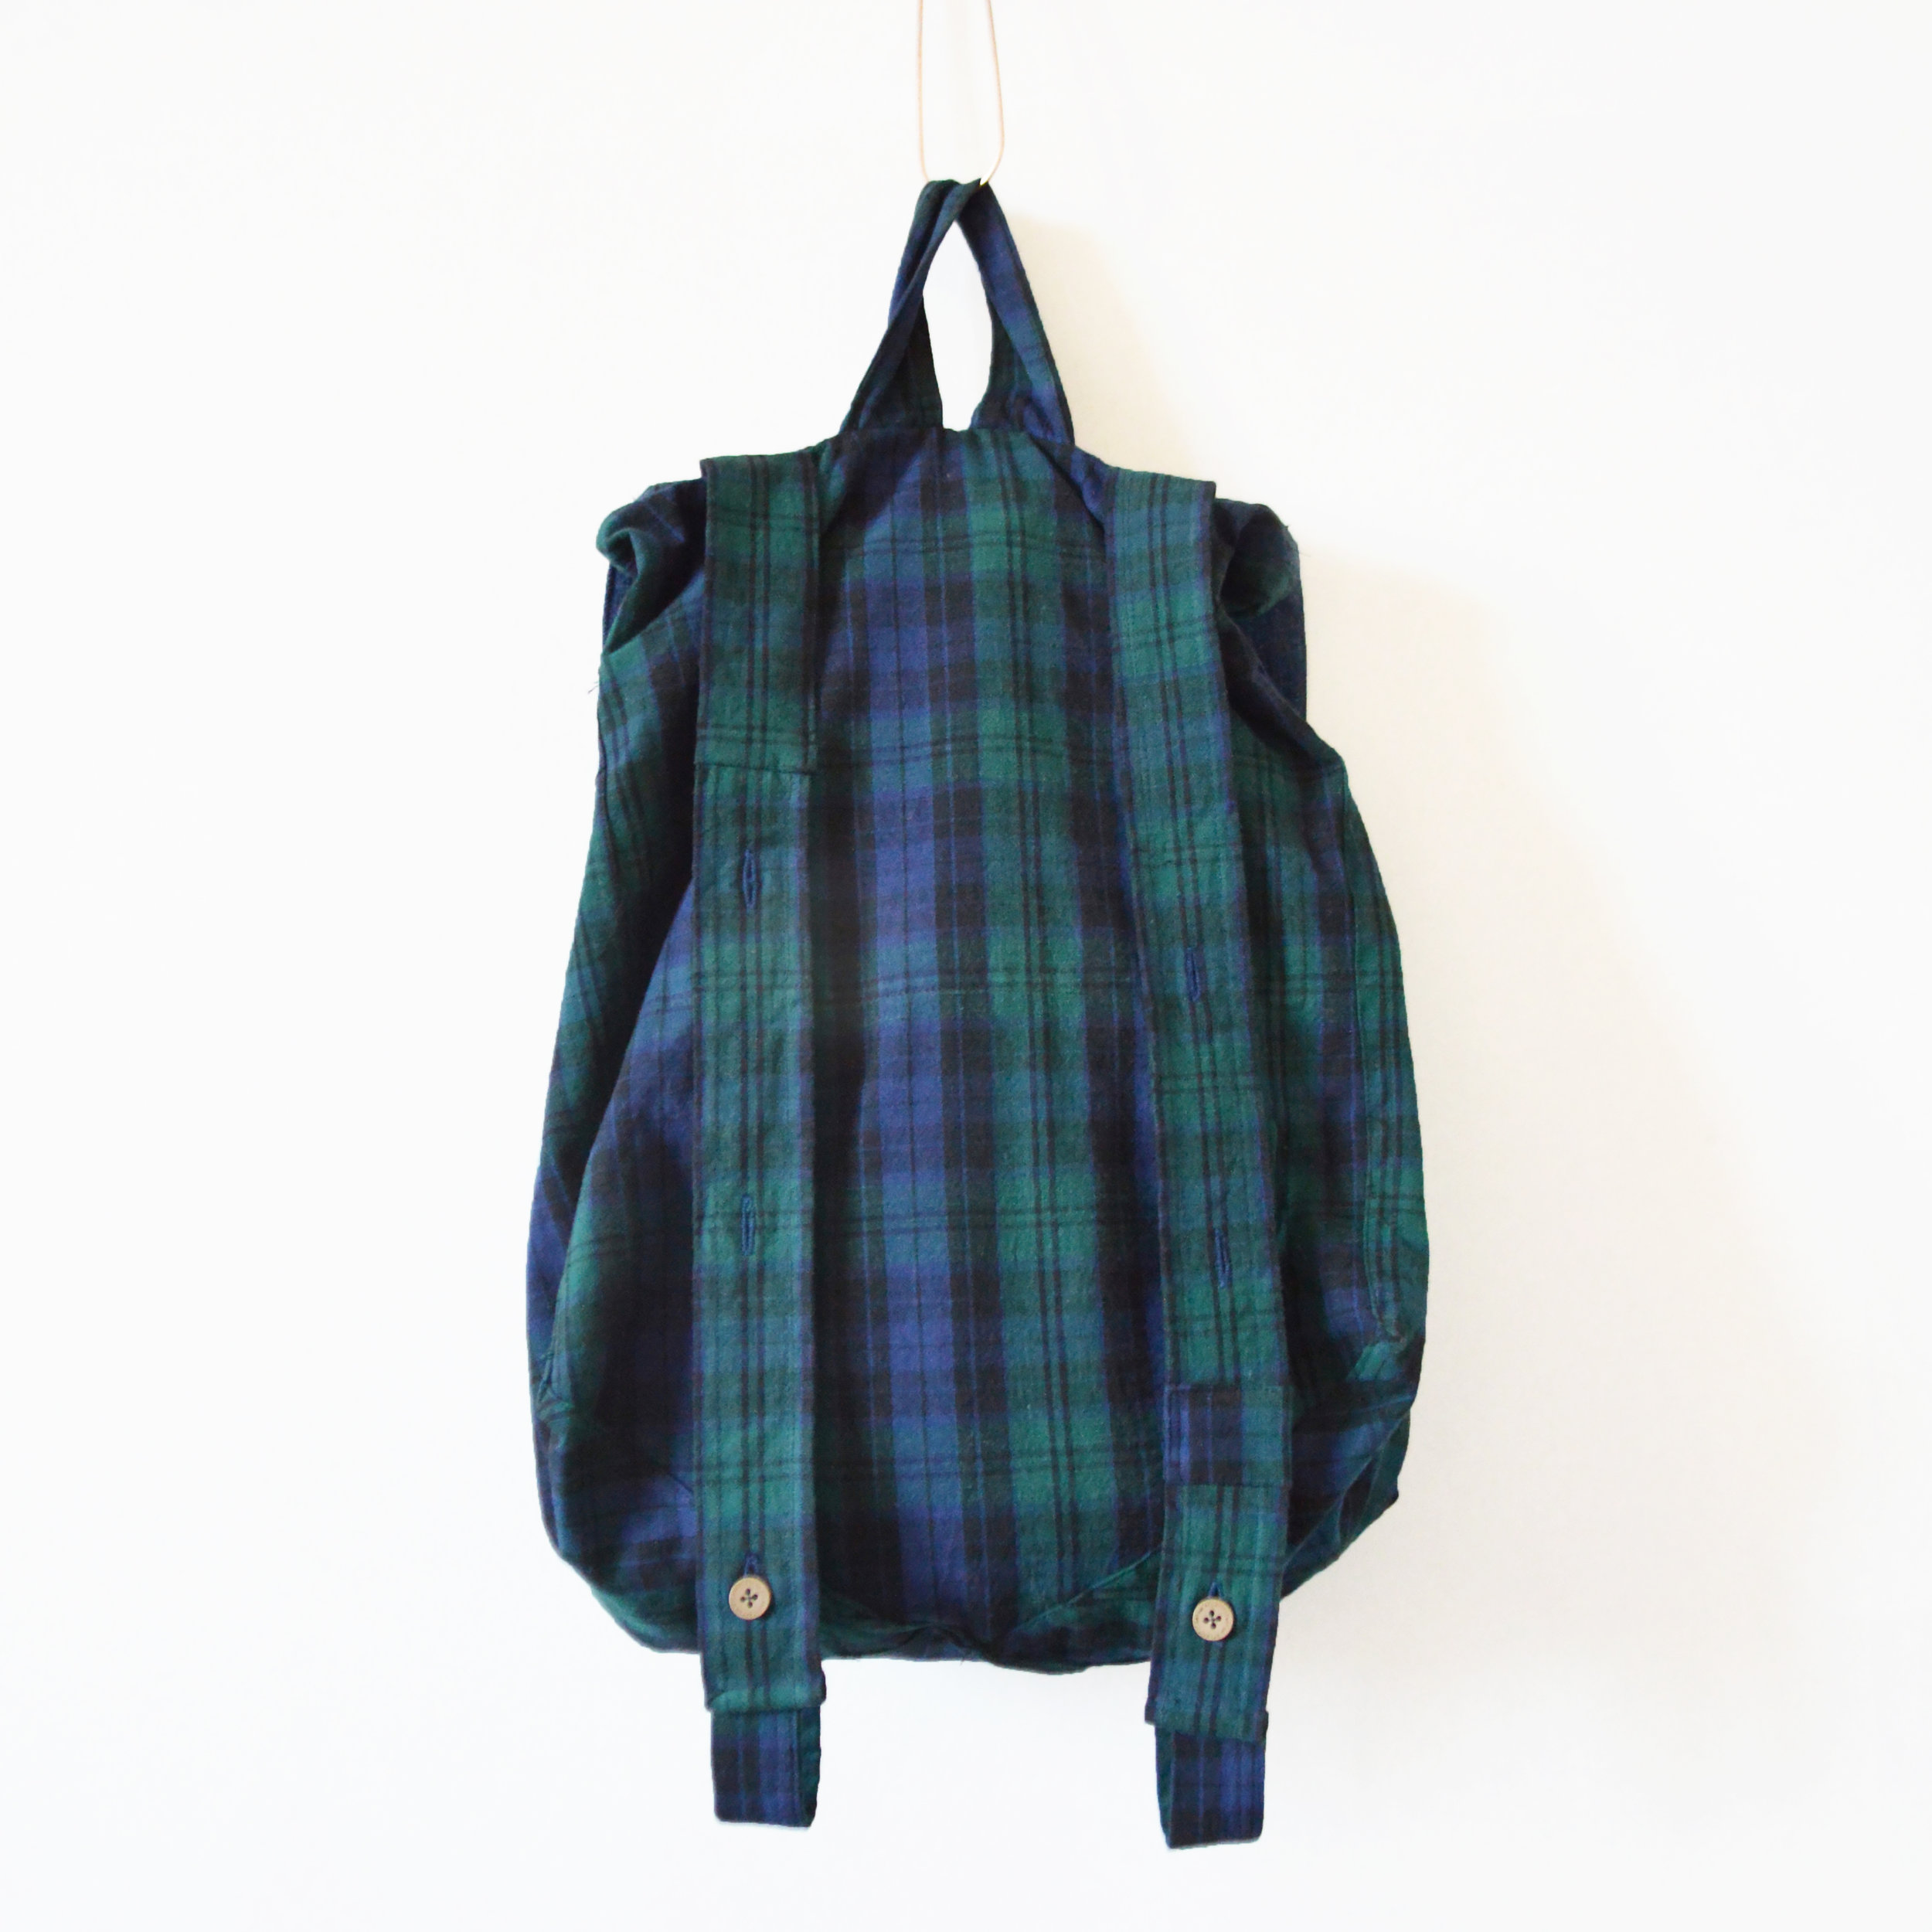
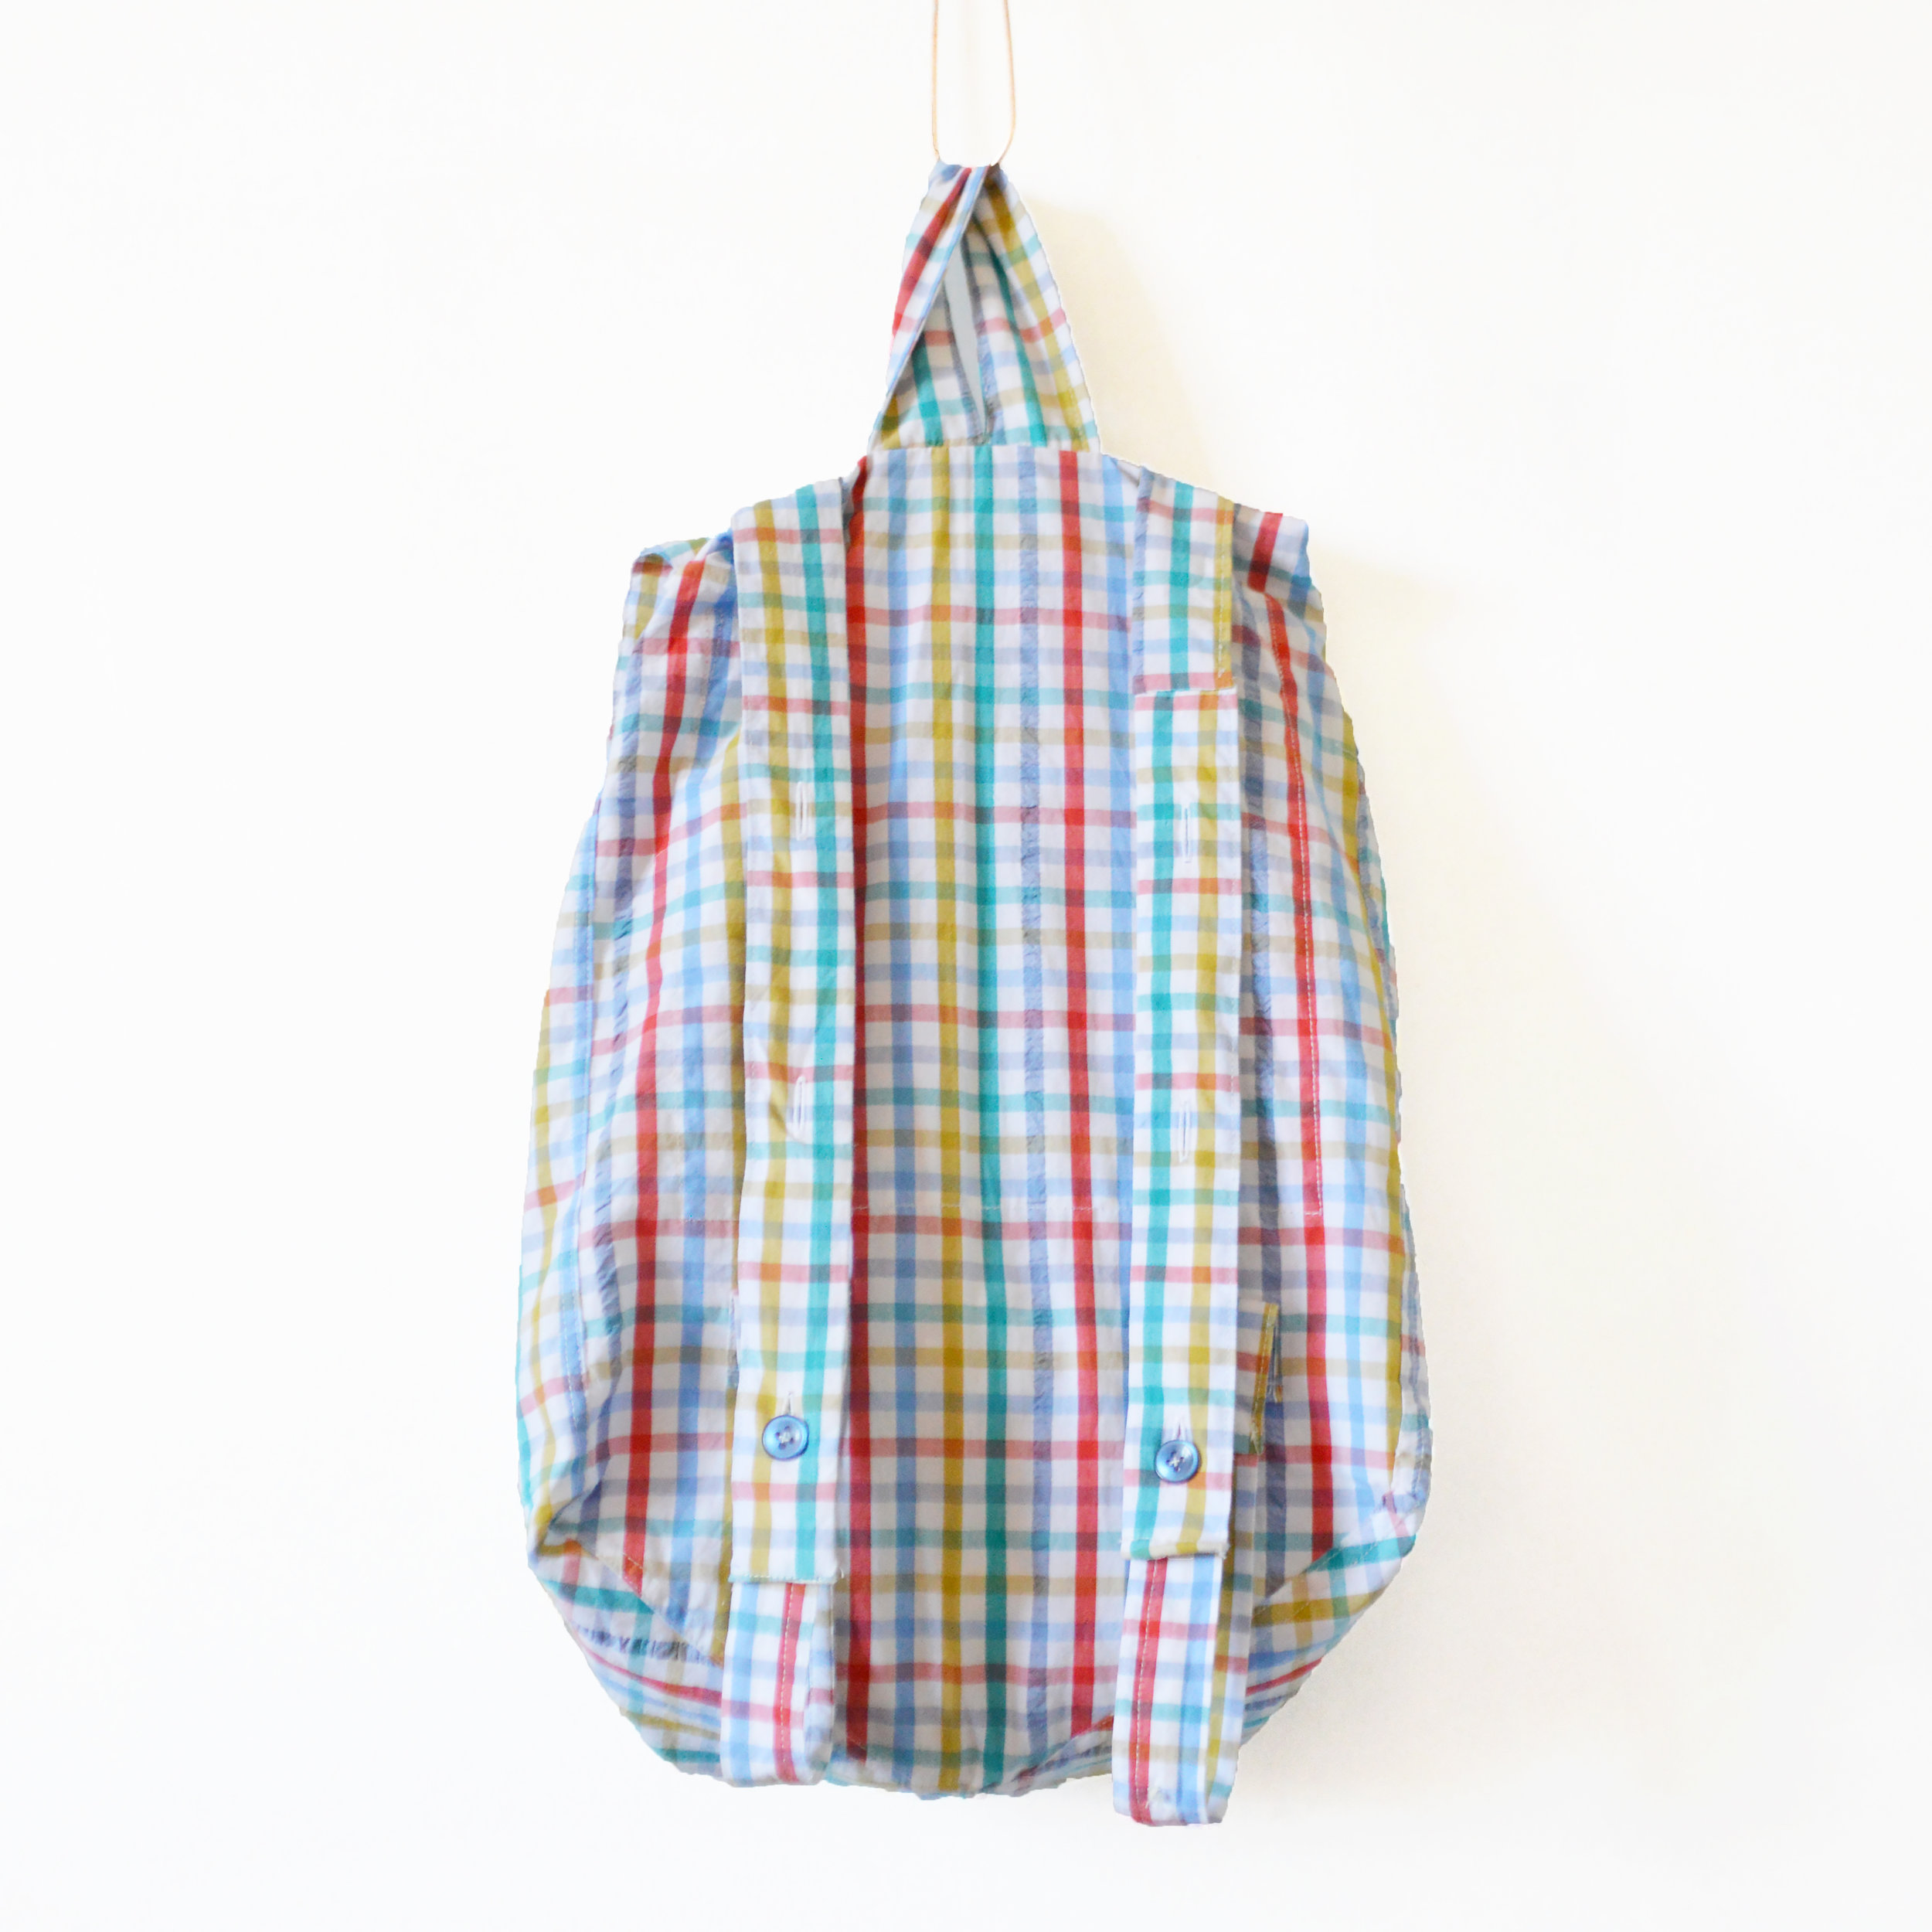
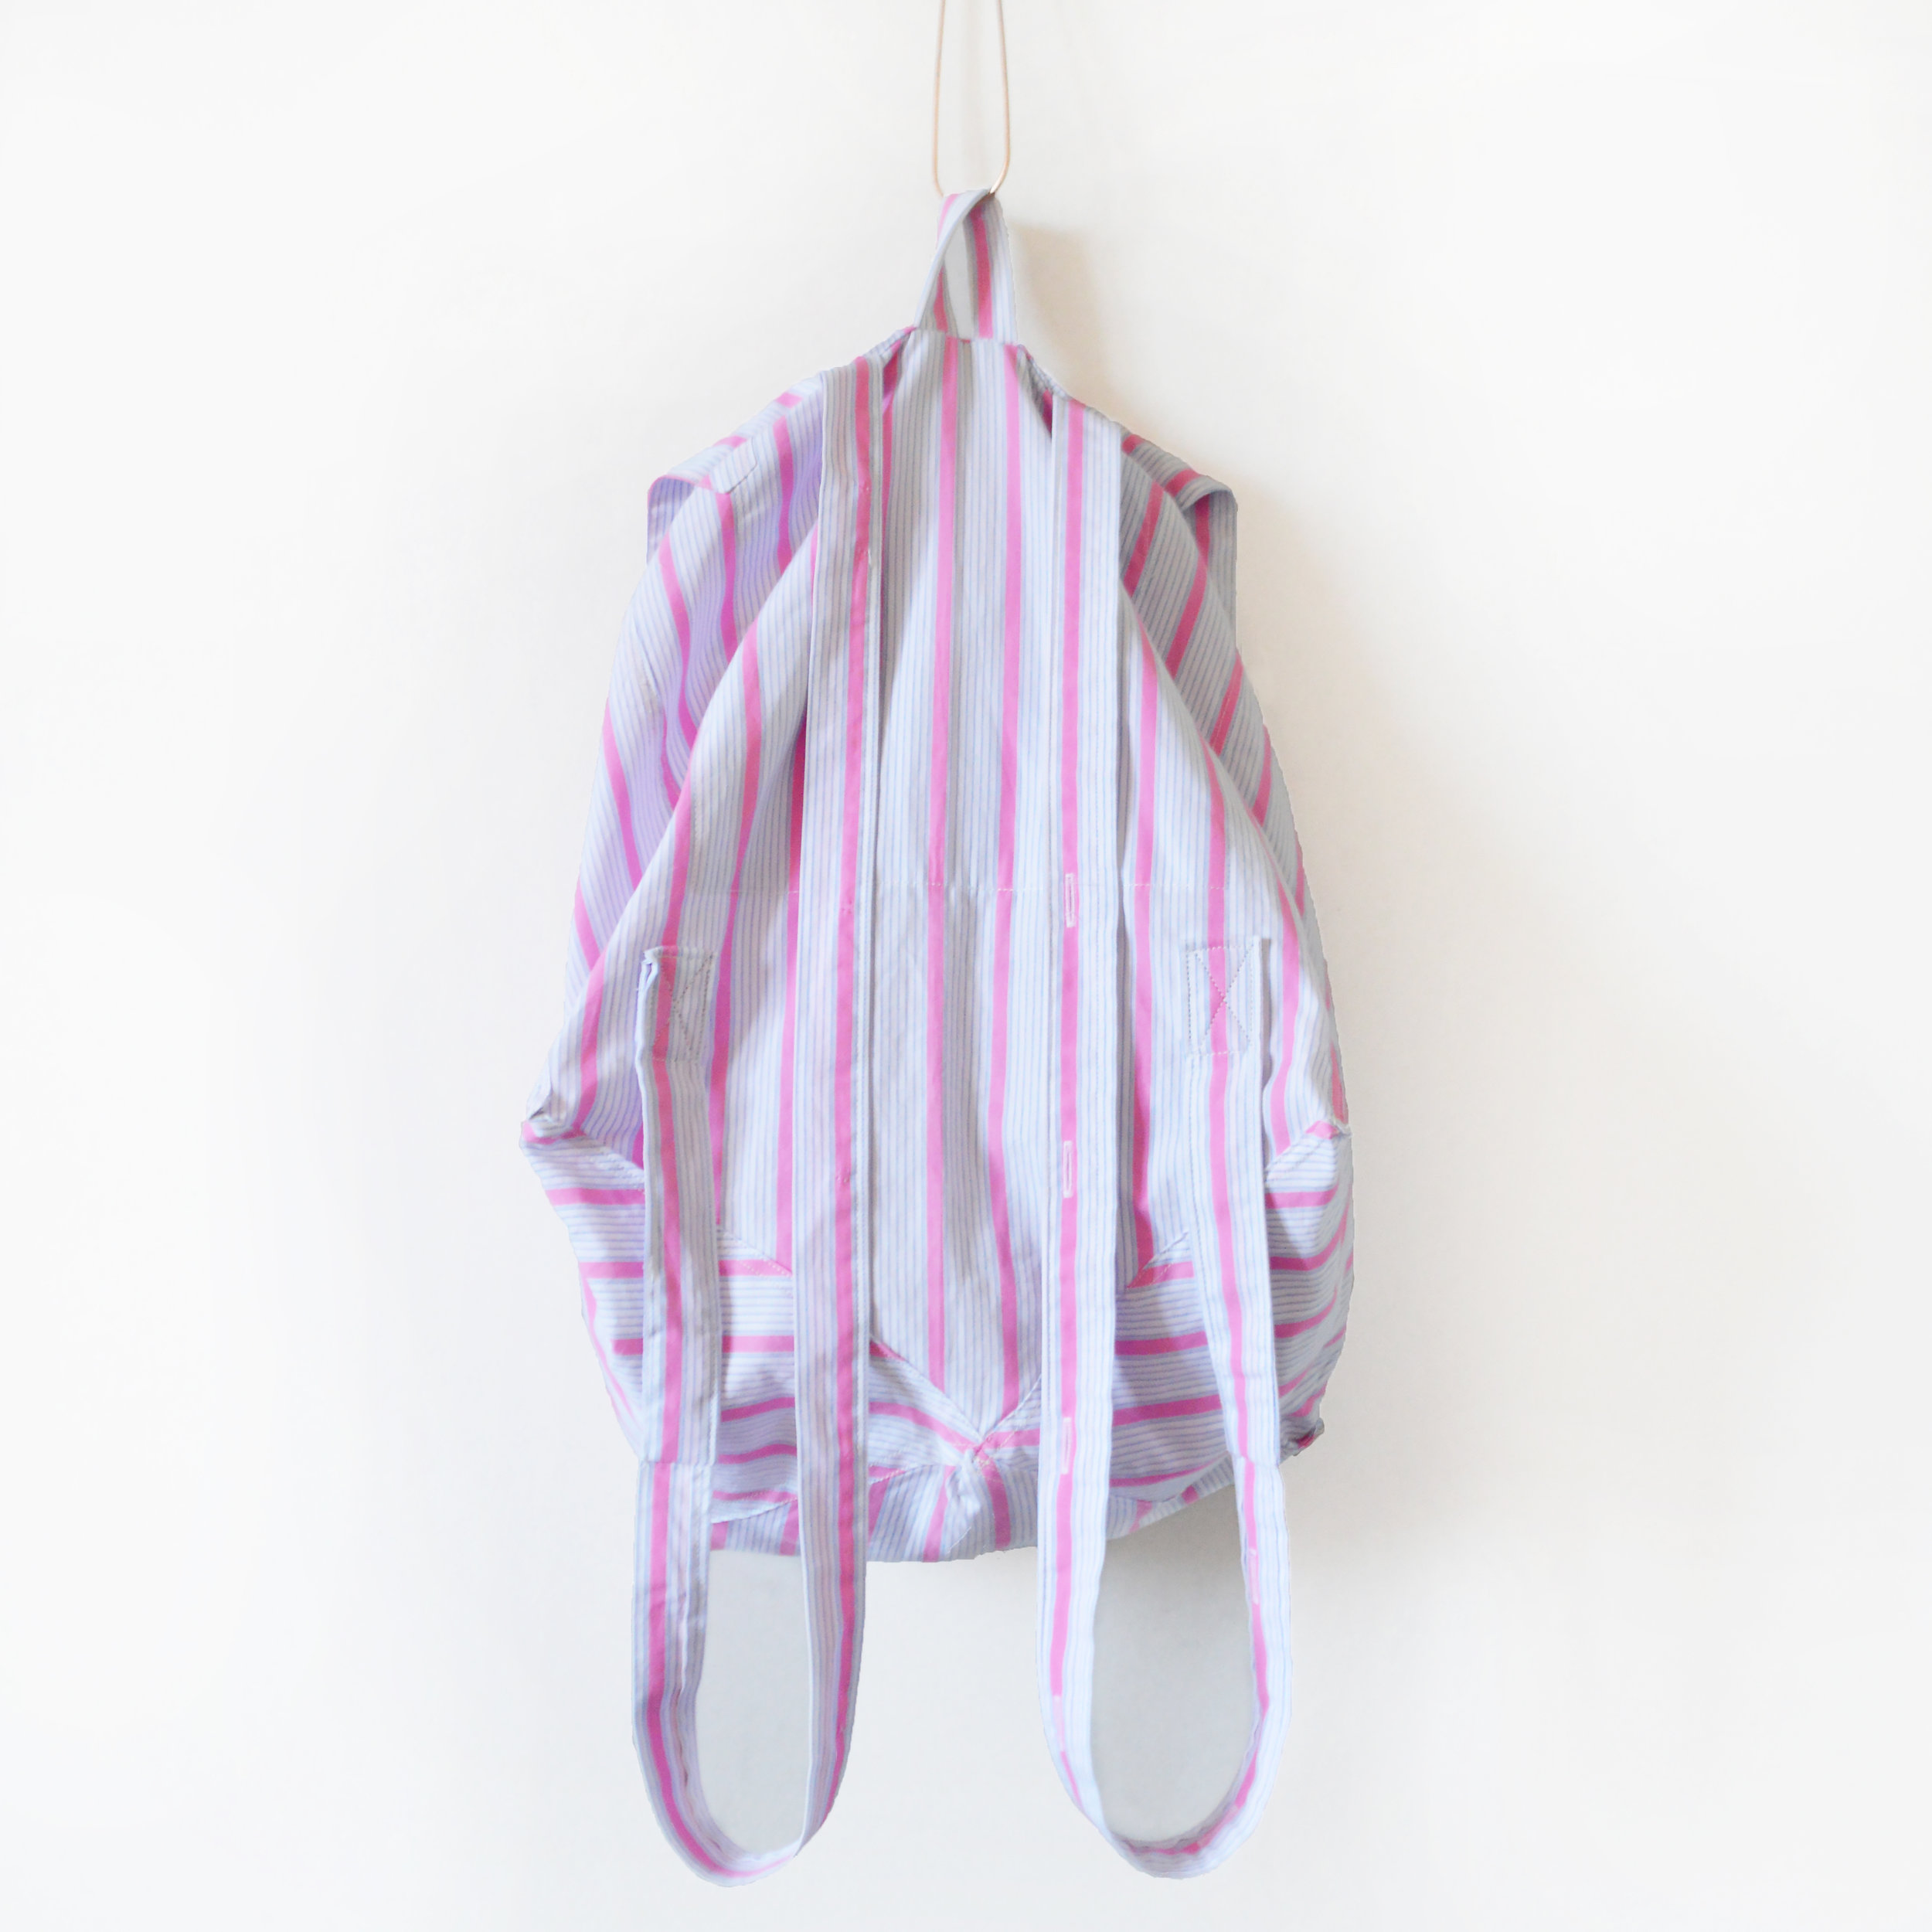
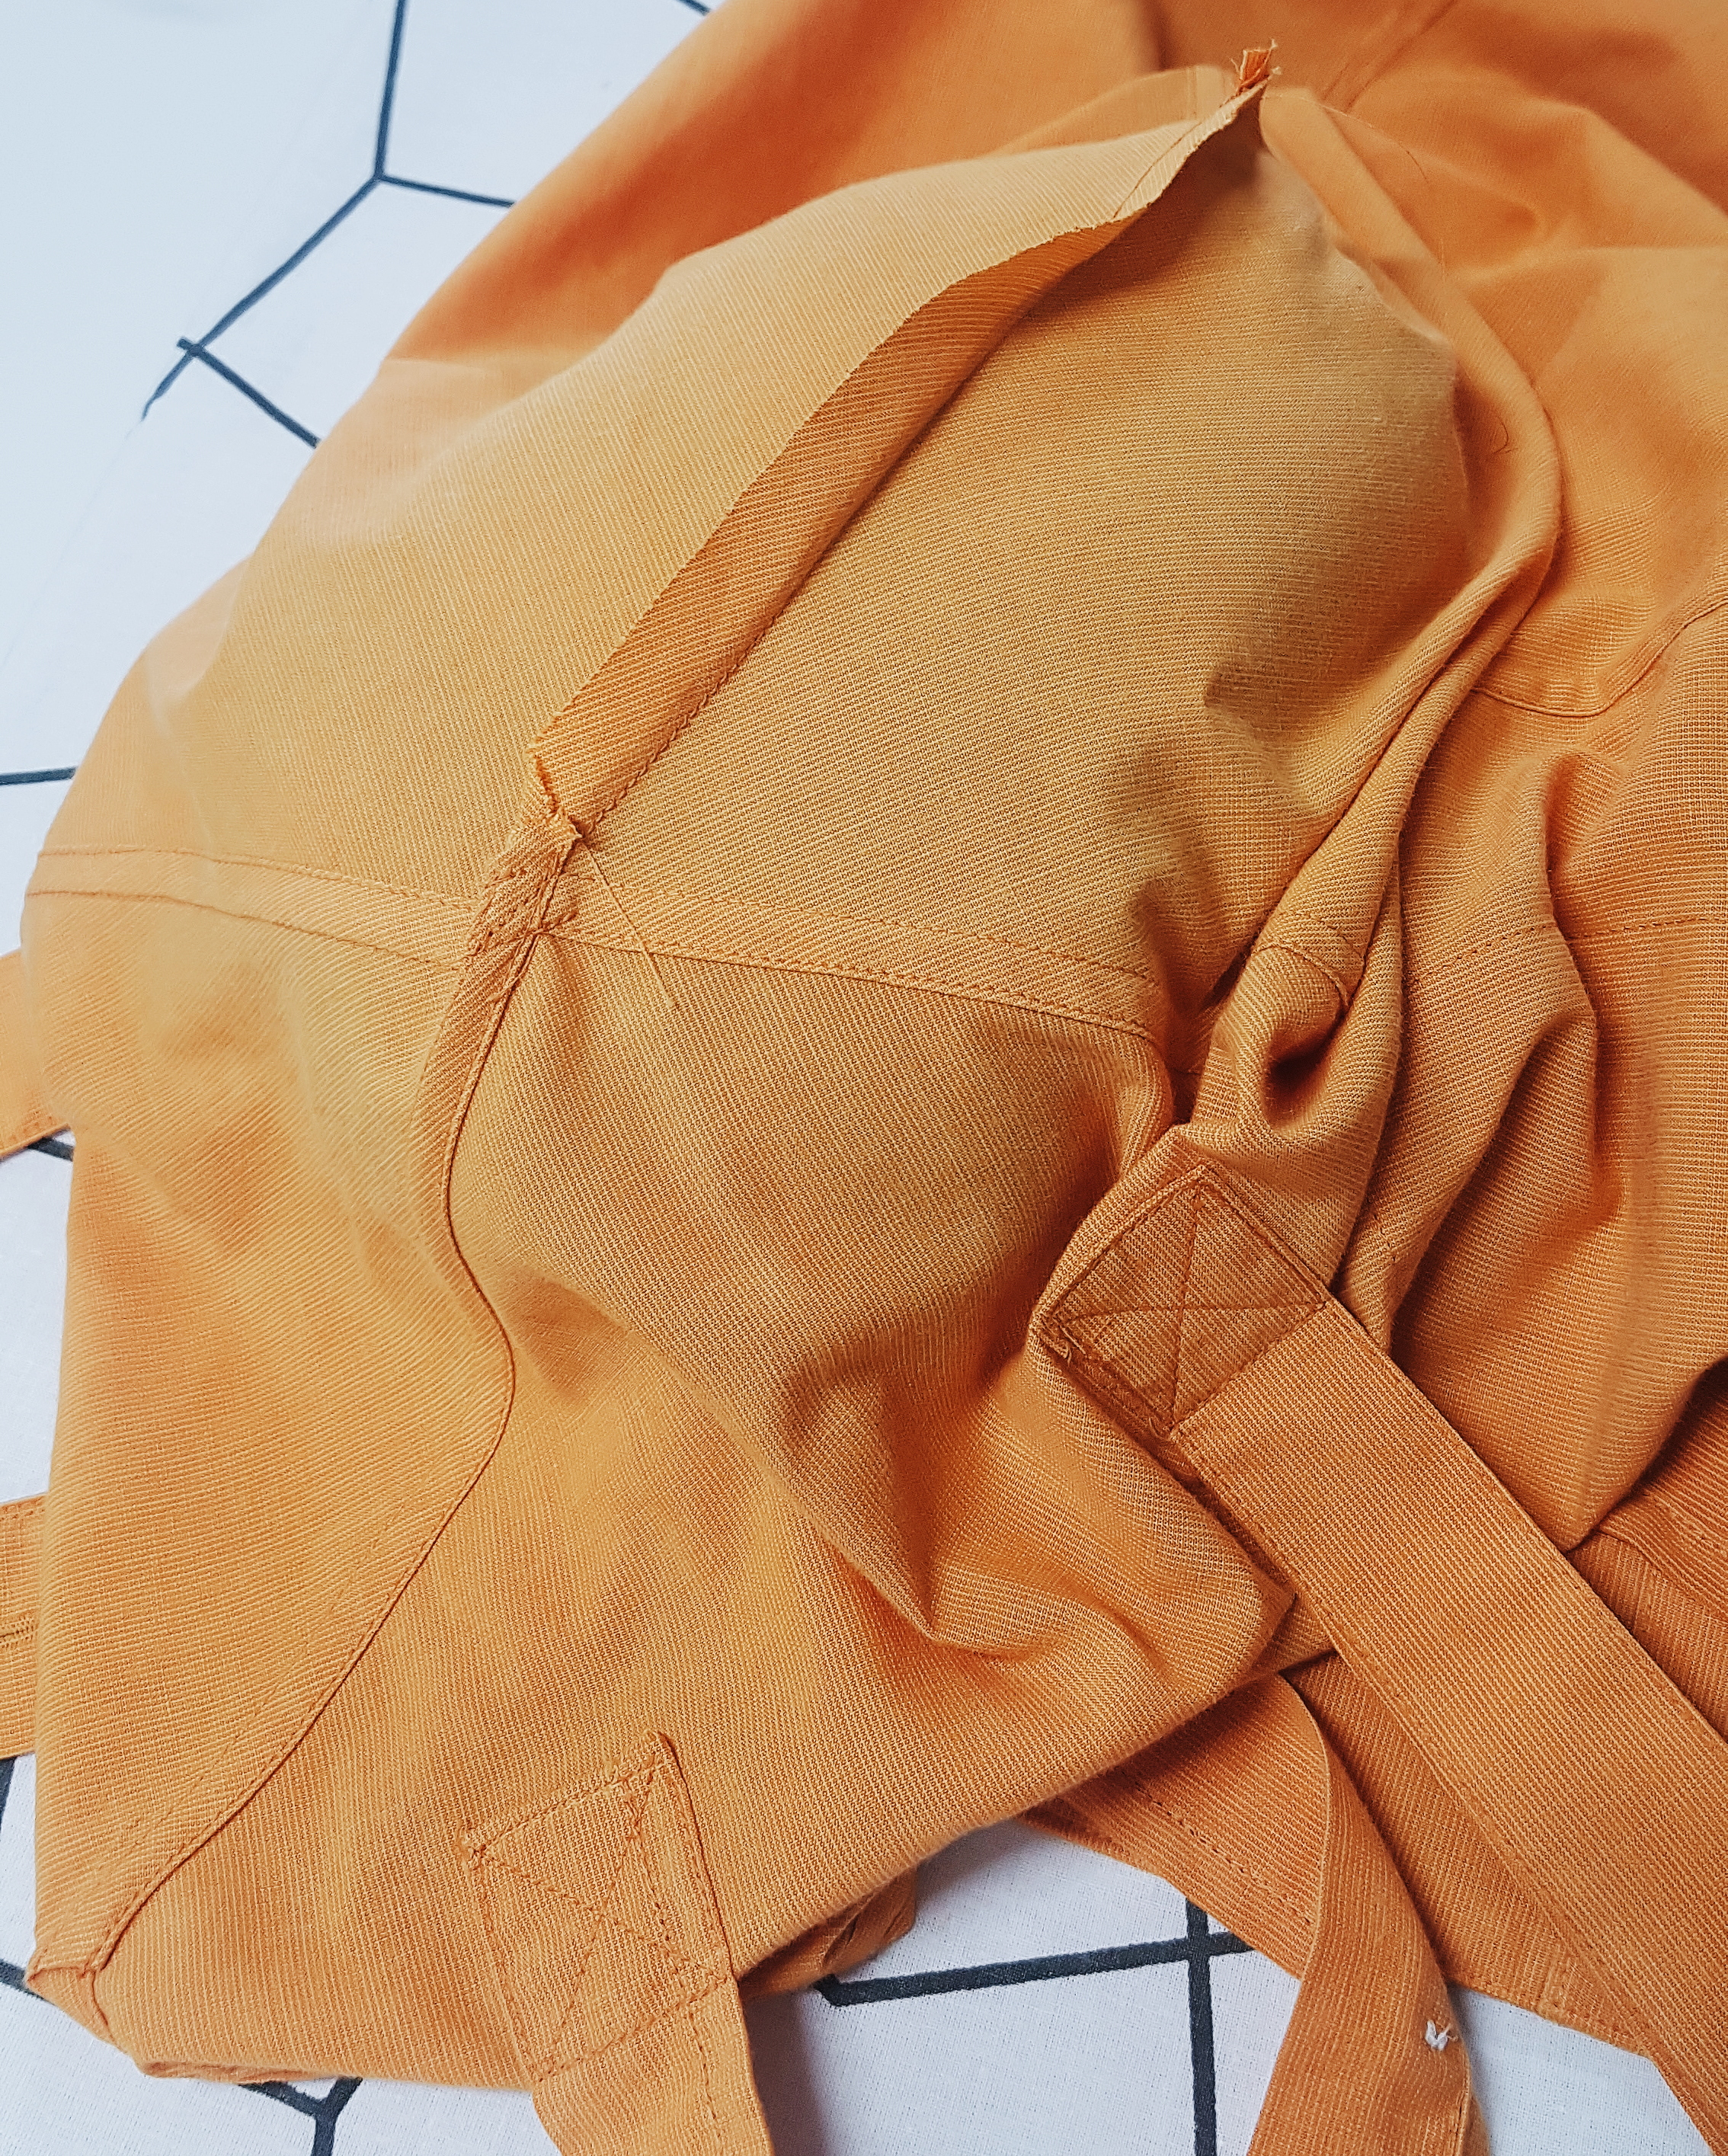
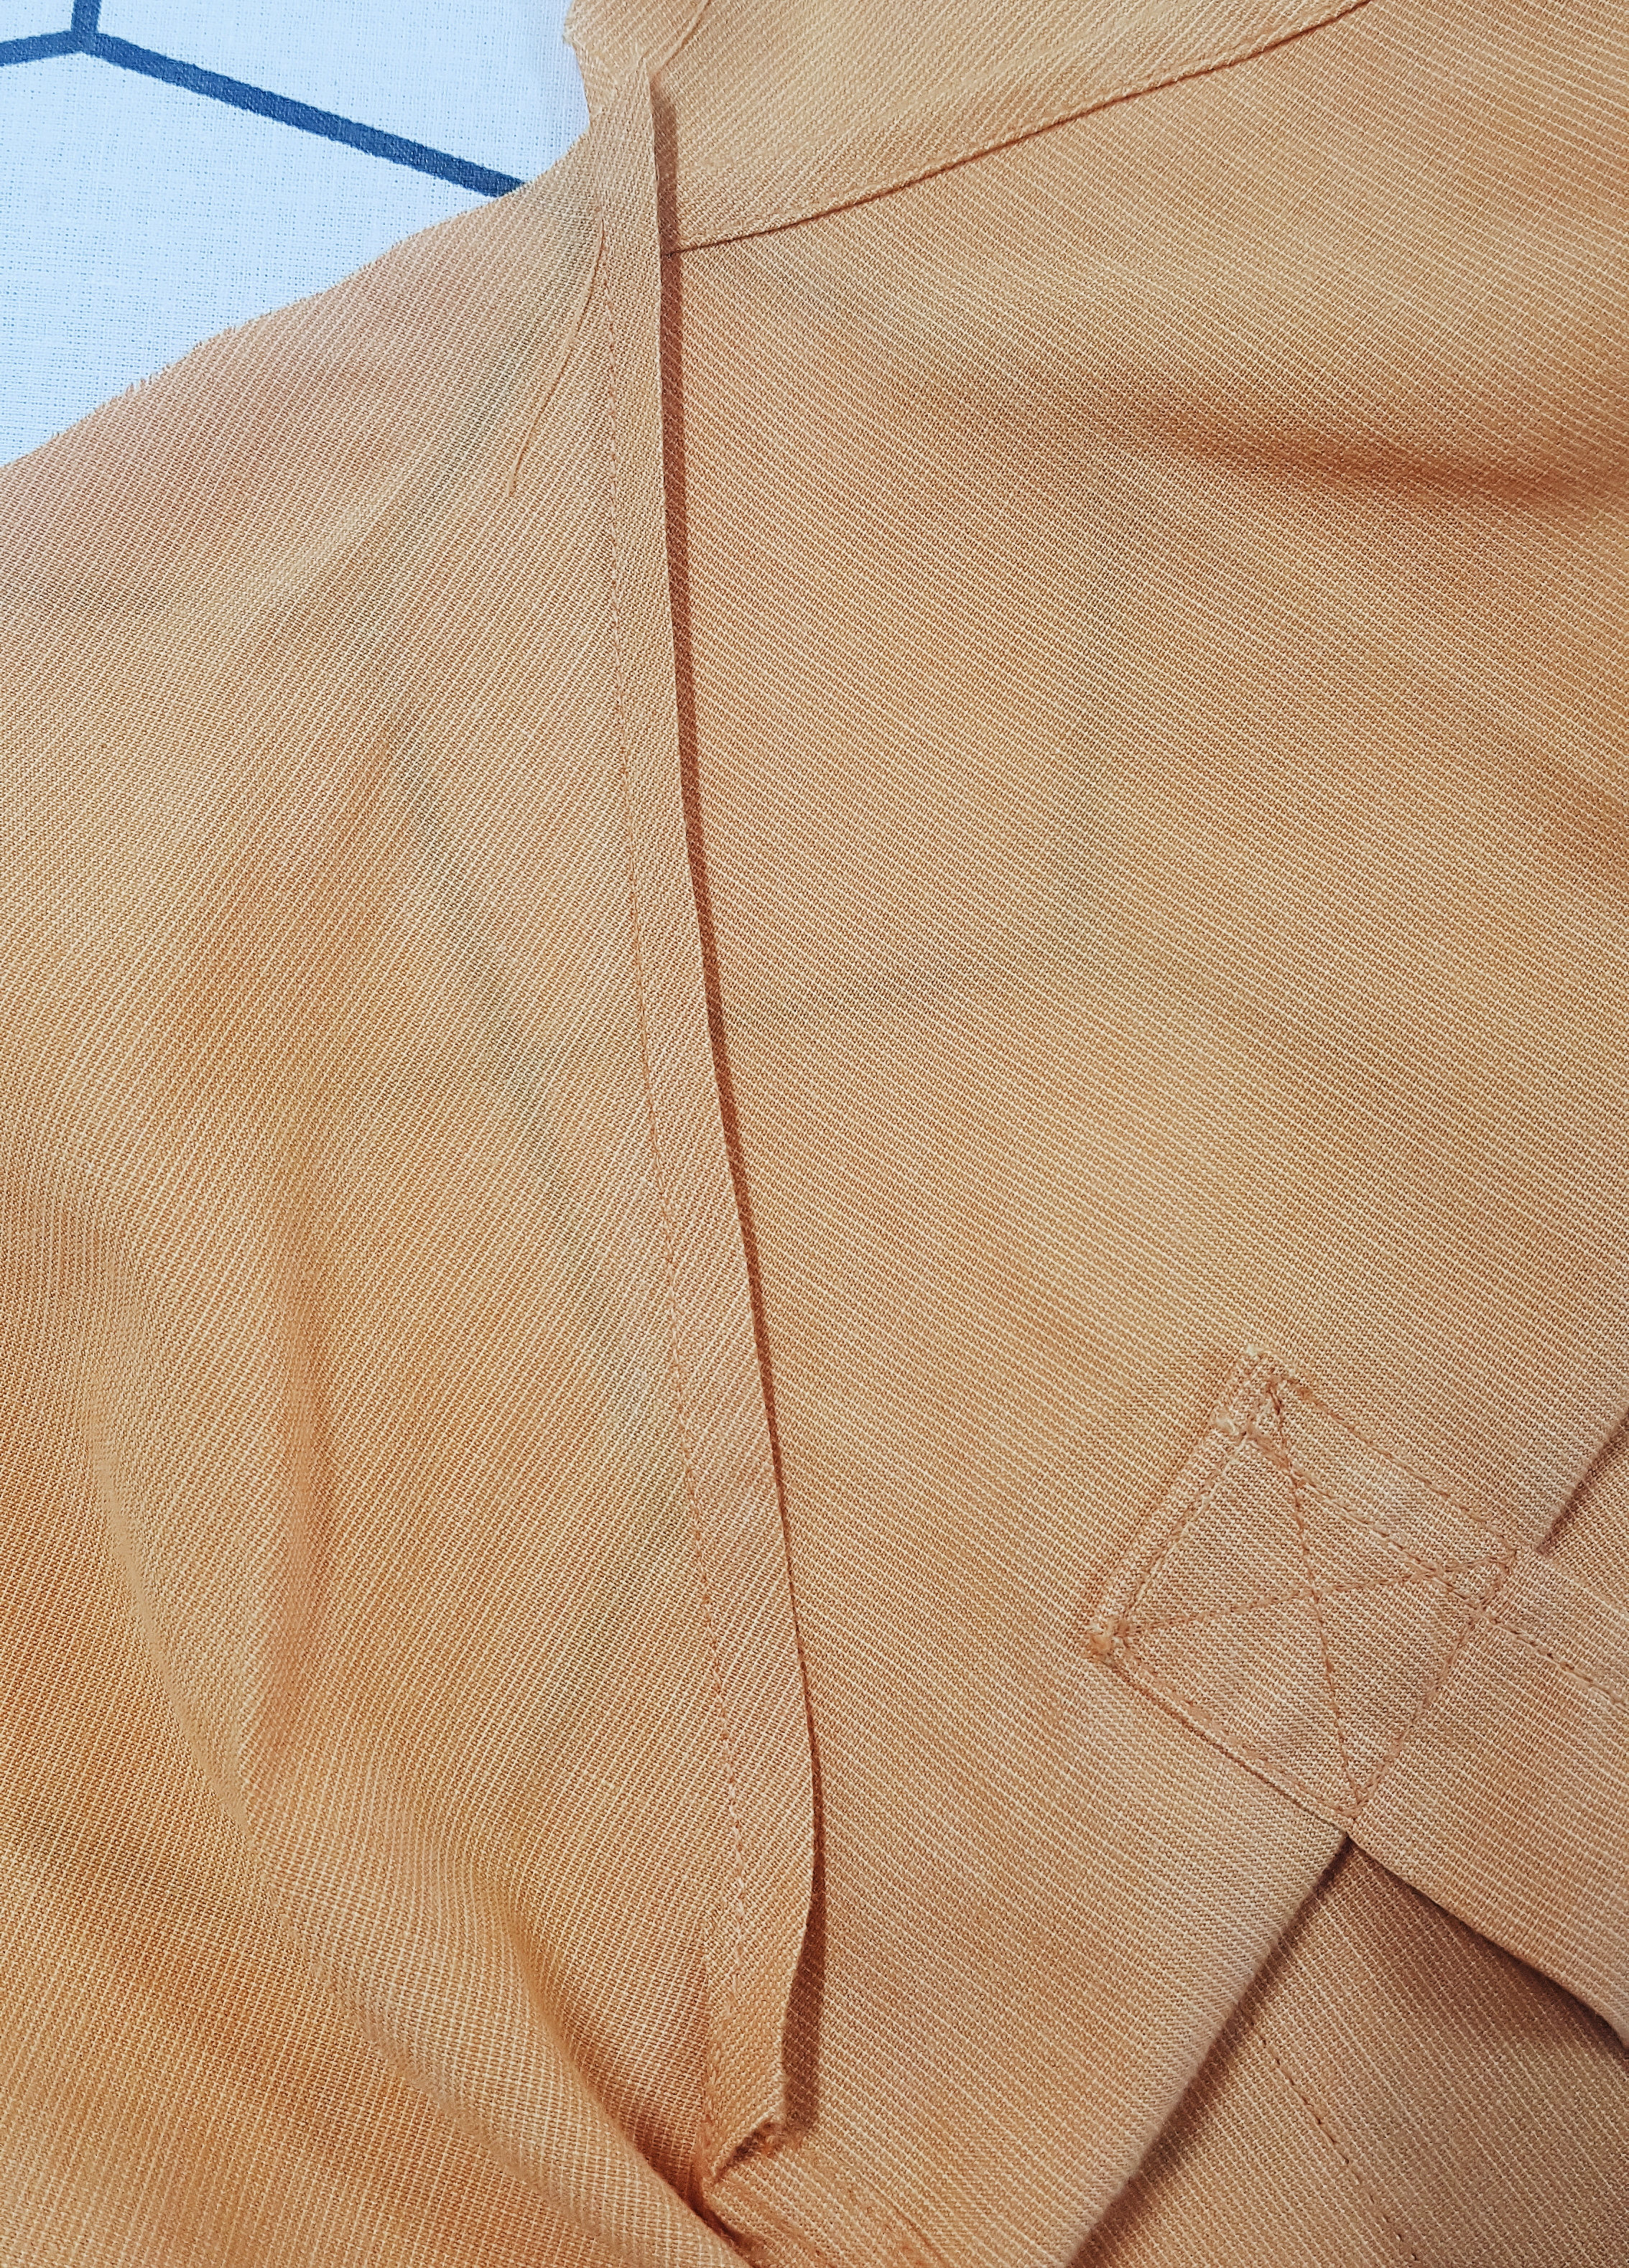
Attach your second set of straps to the panel between the markings.
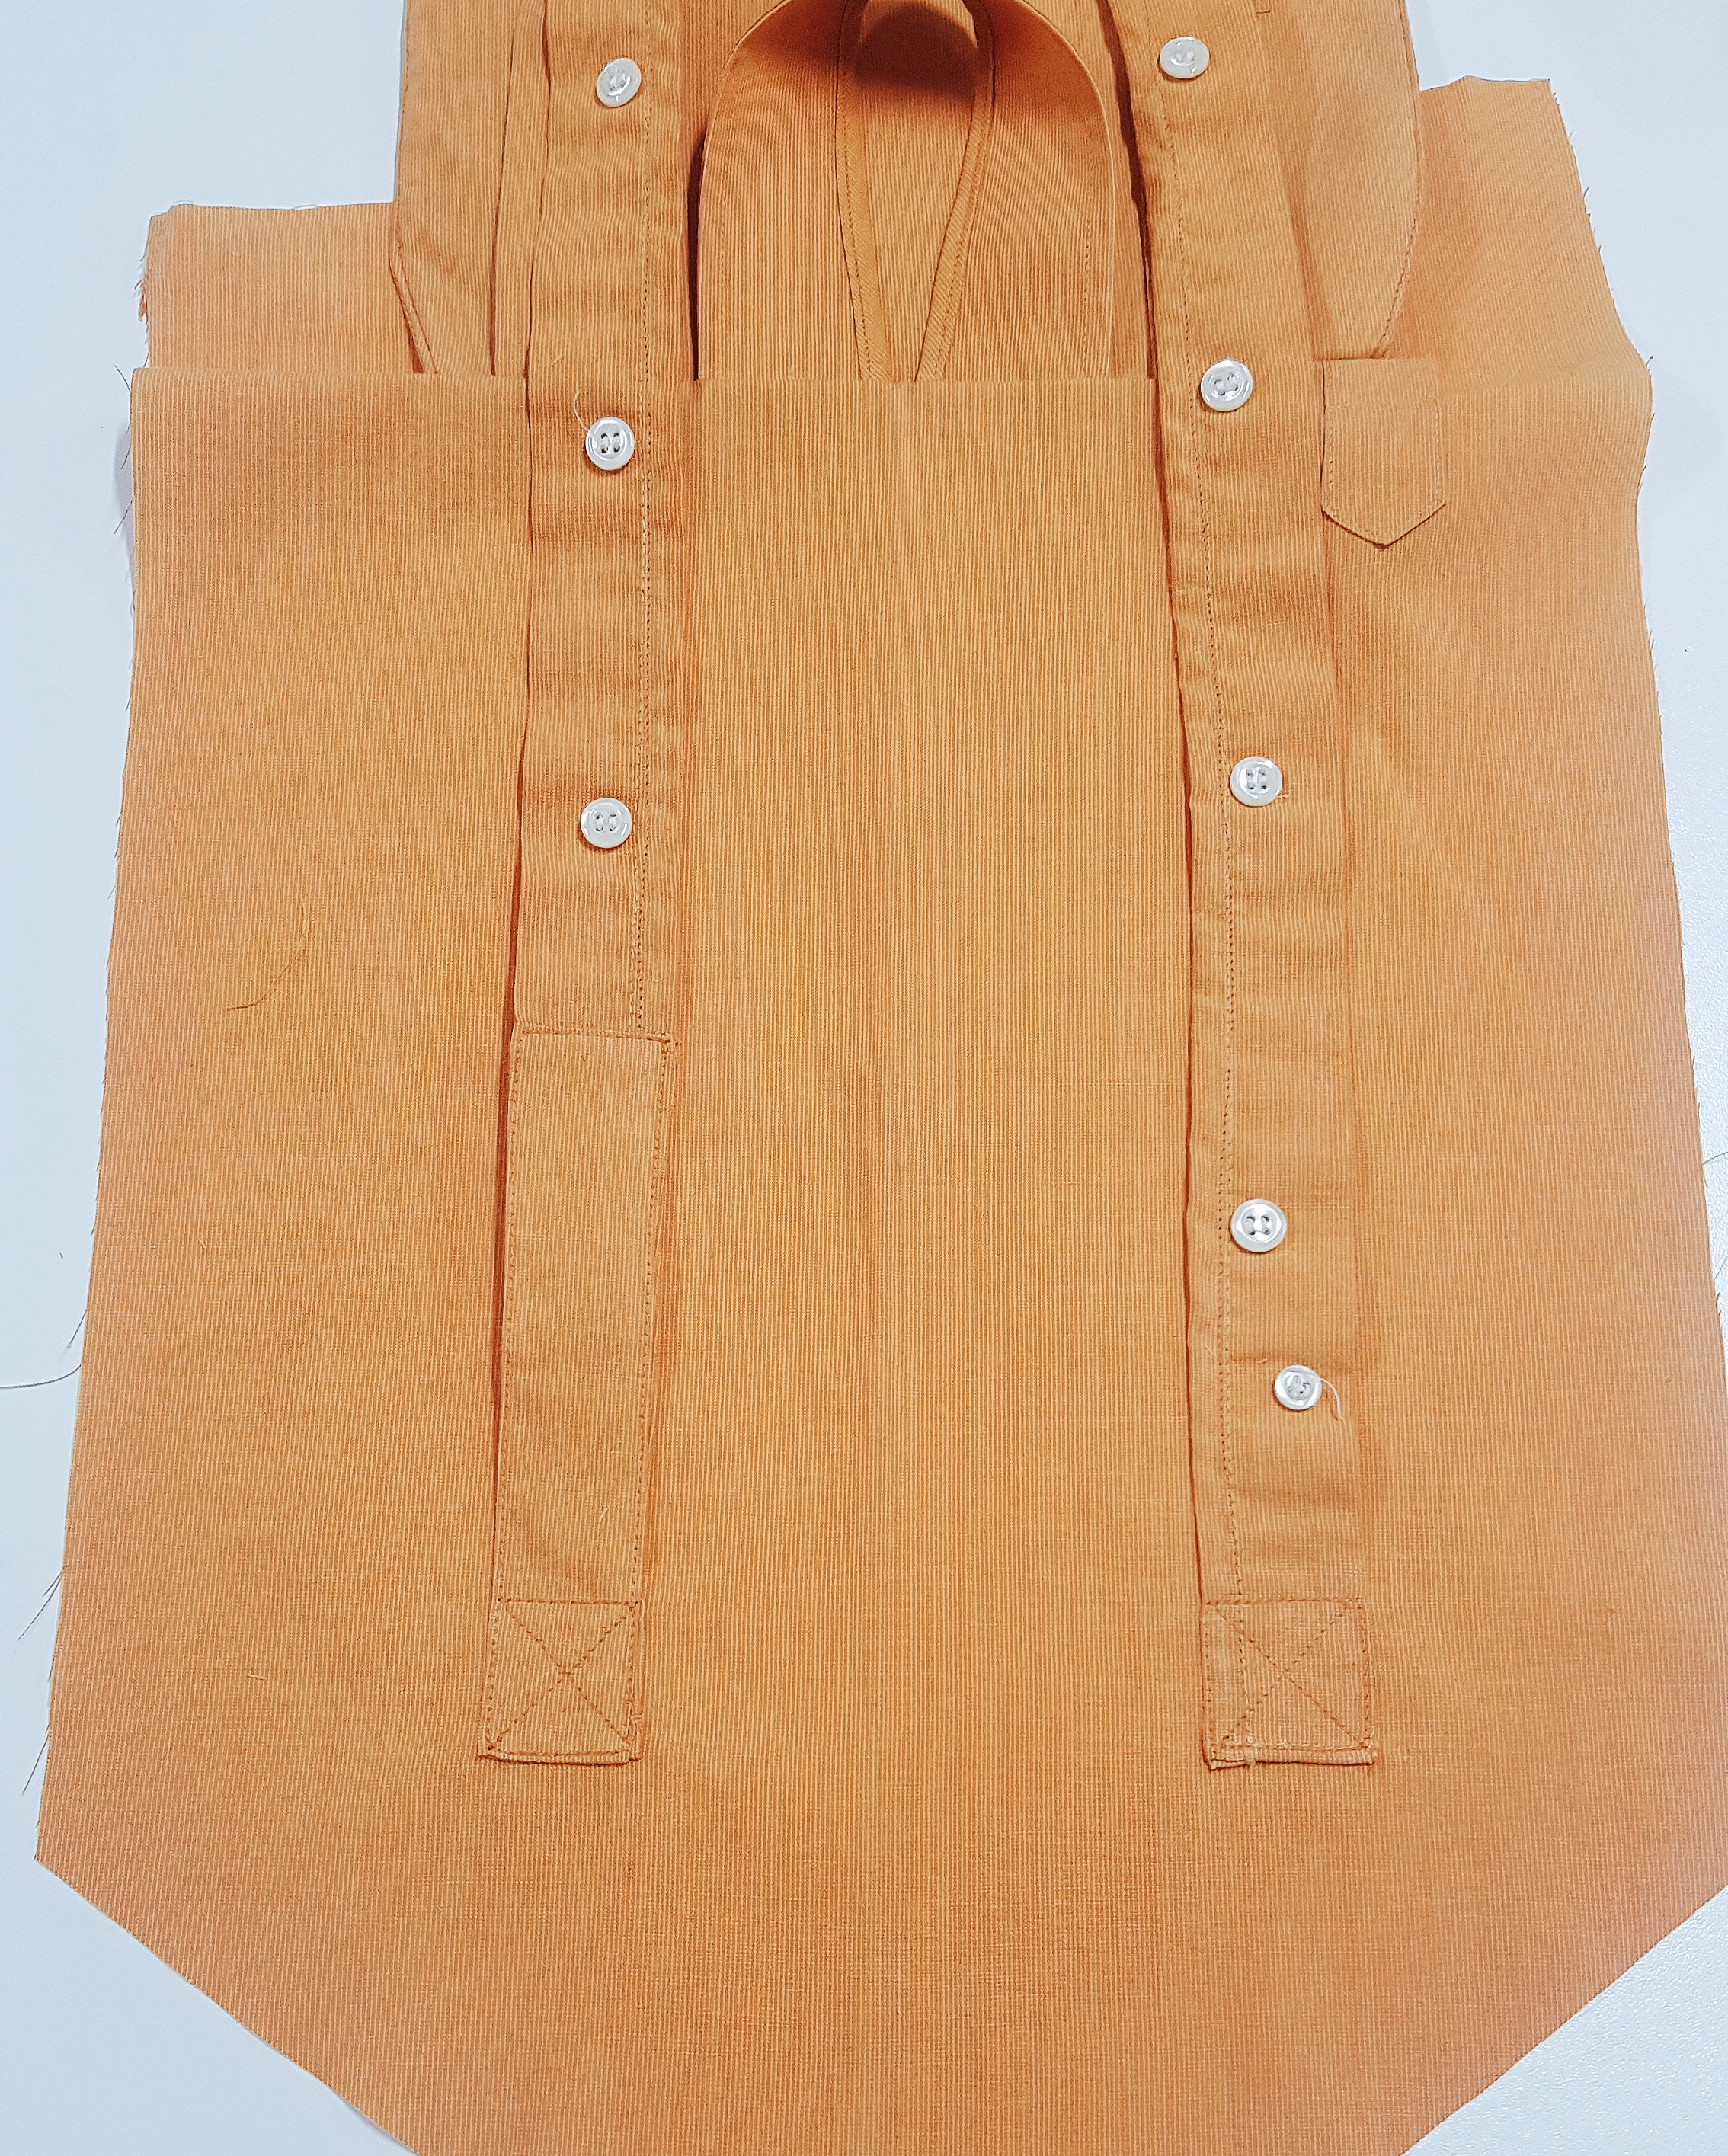
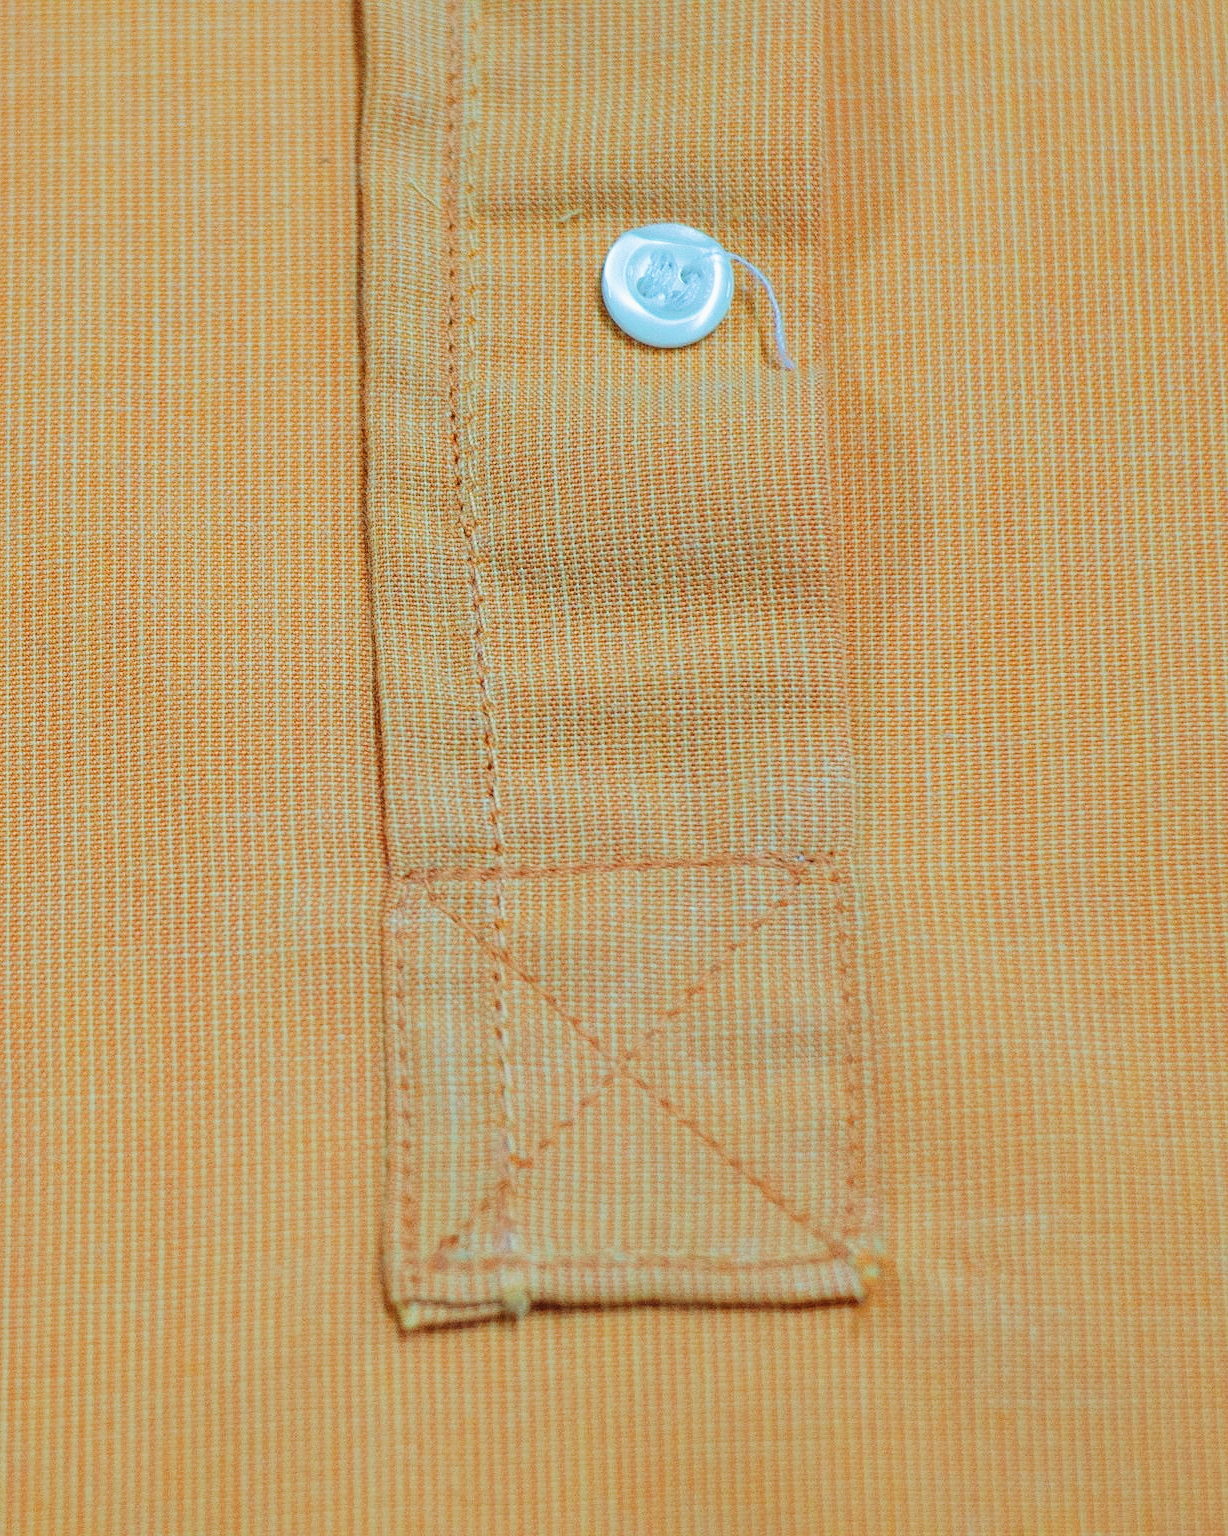
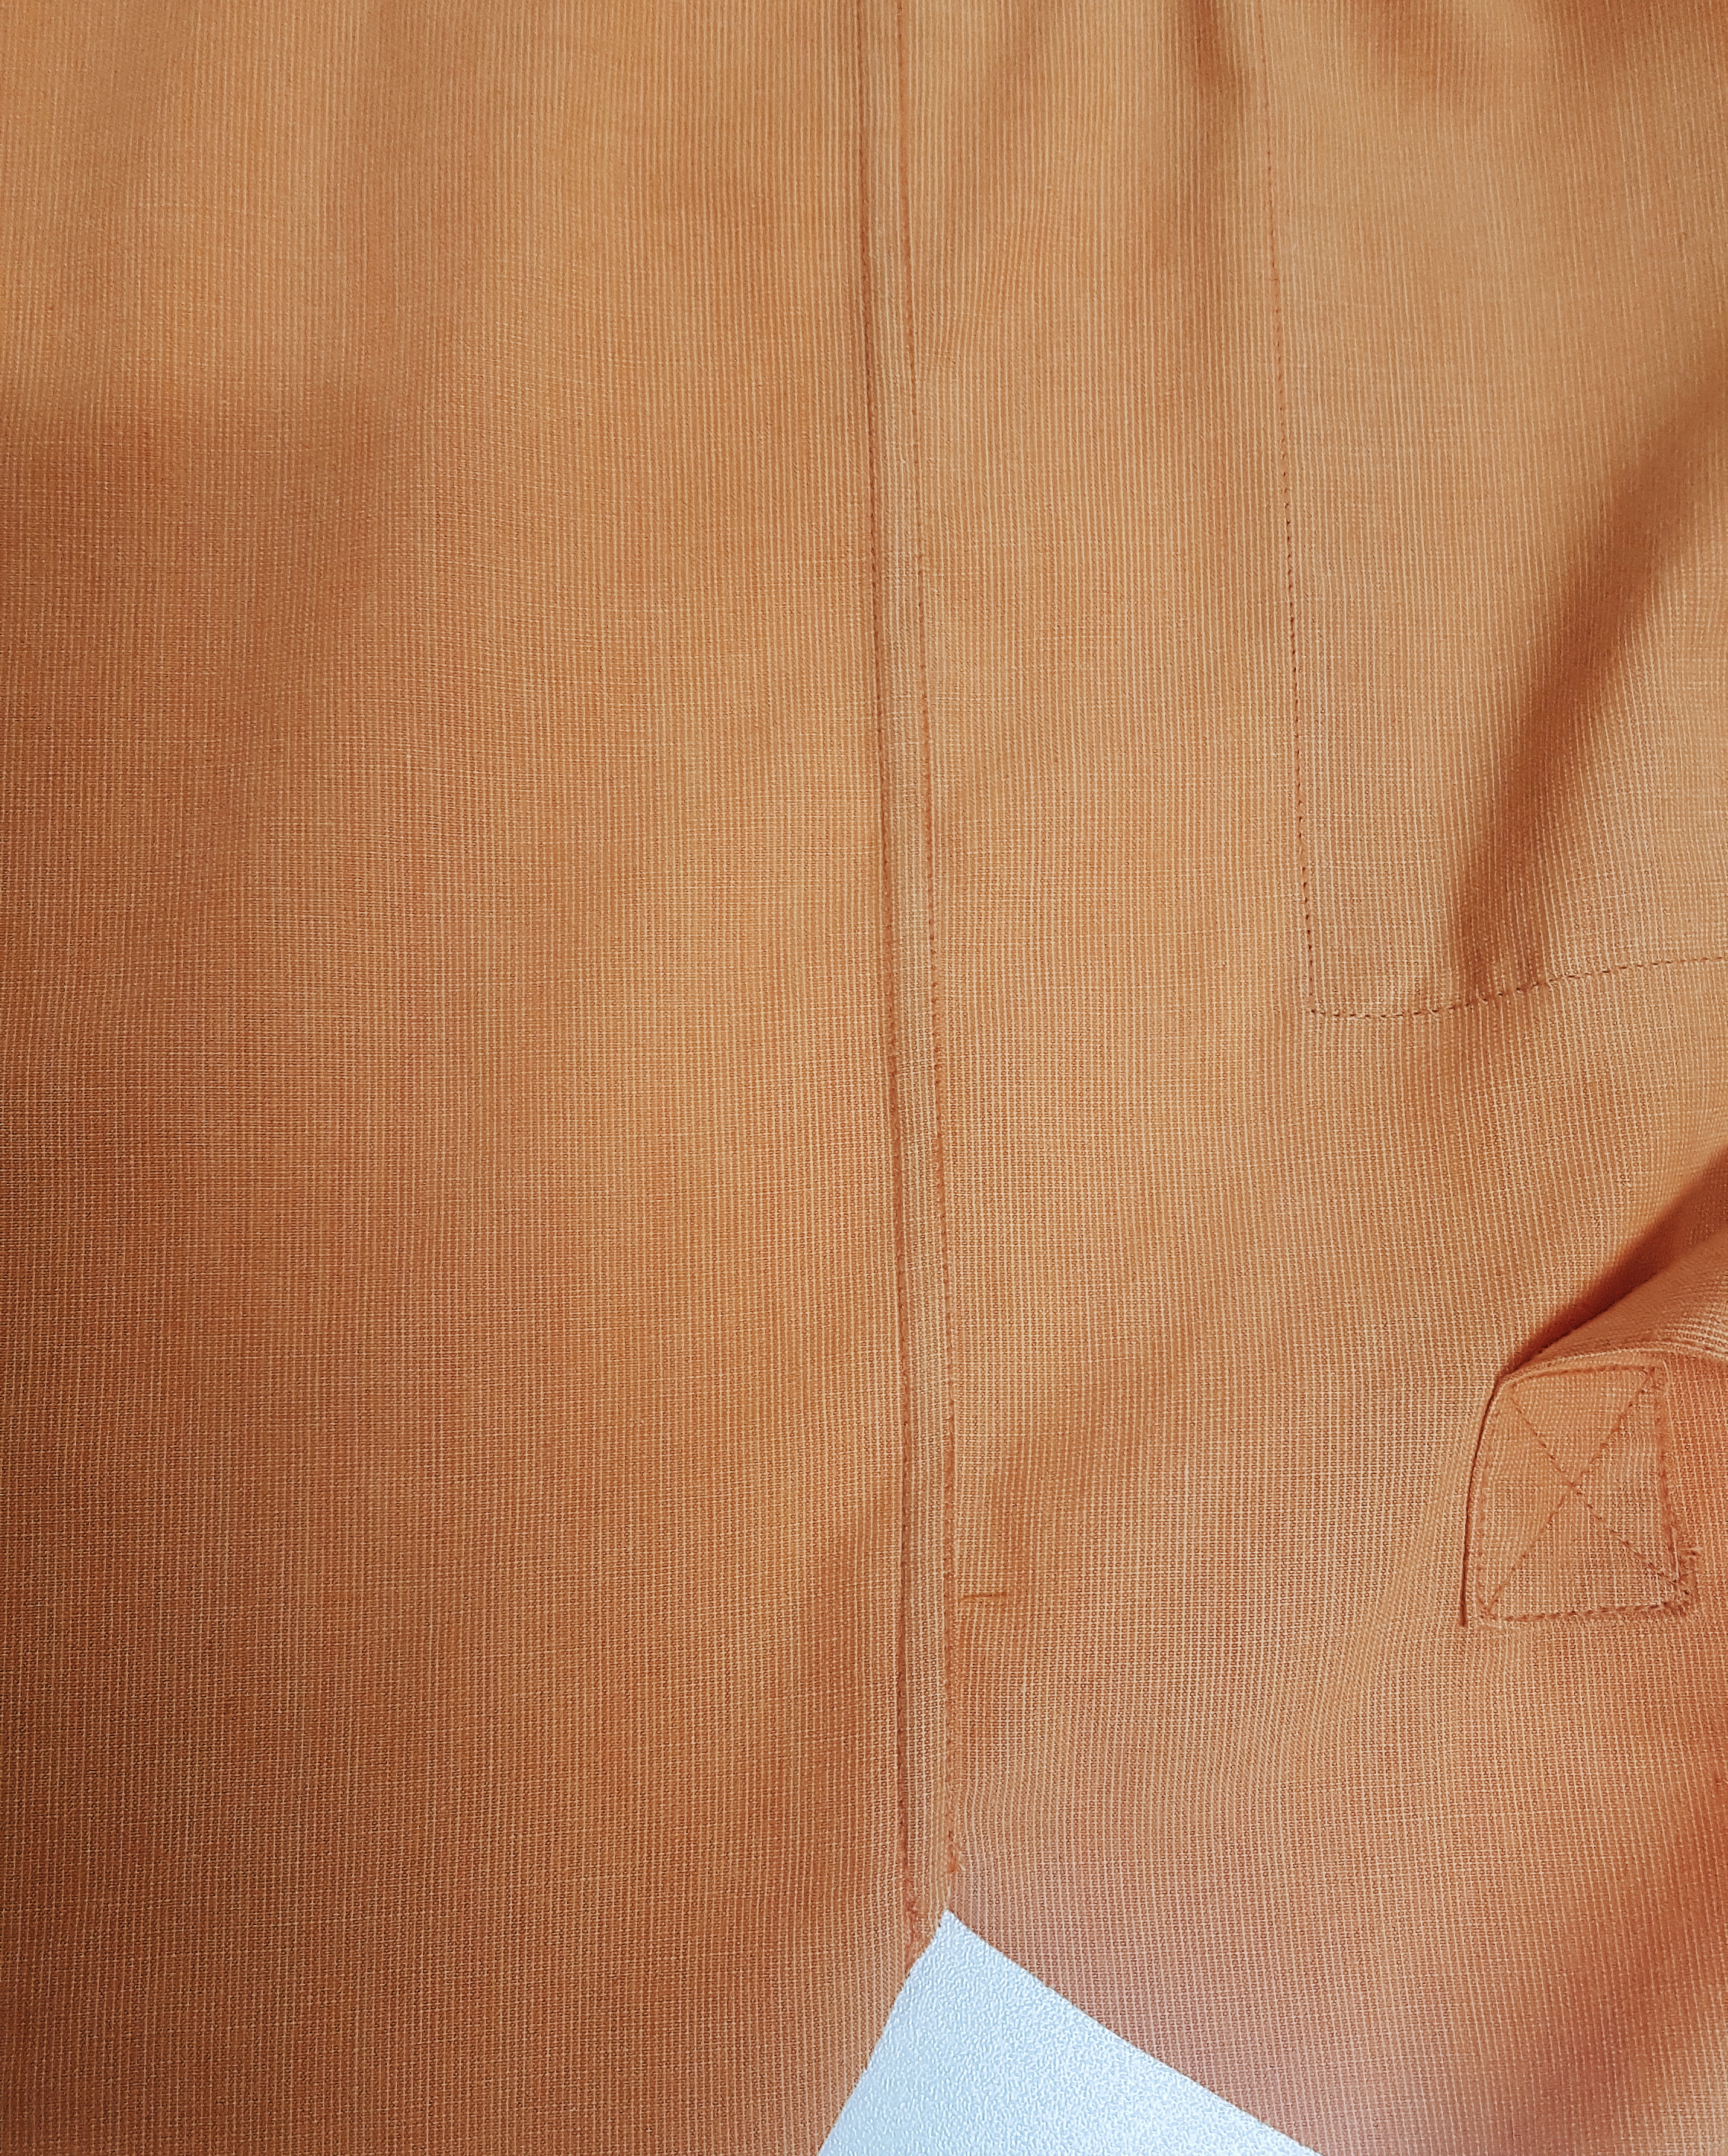
Strengthen your stitching by sewing a box with a cross running through, alternative decorative finishes are possible.
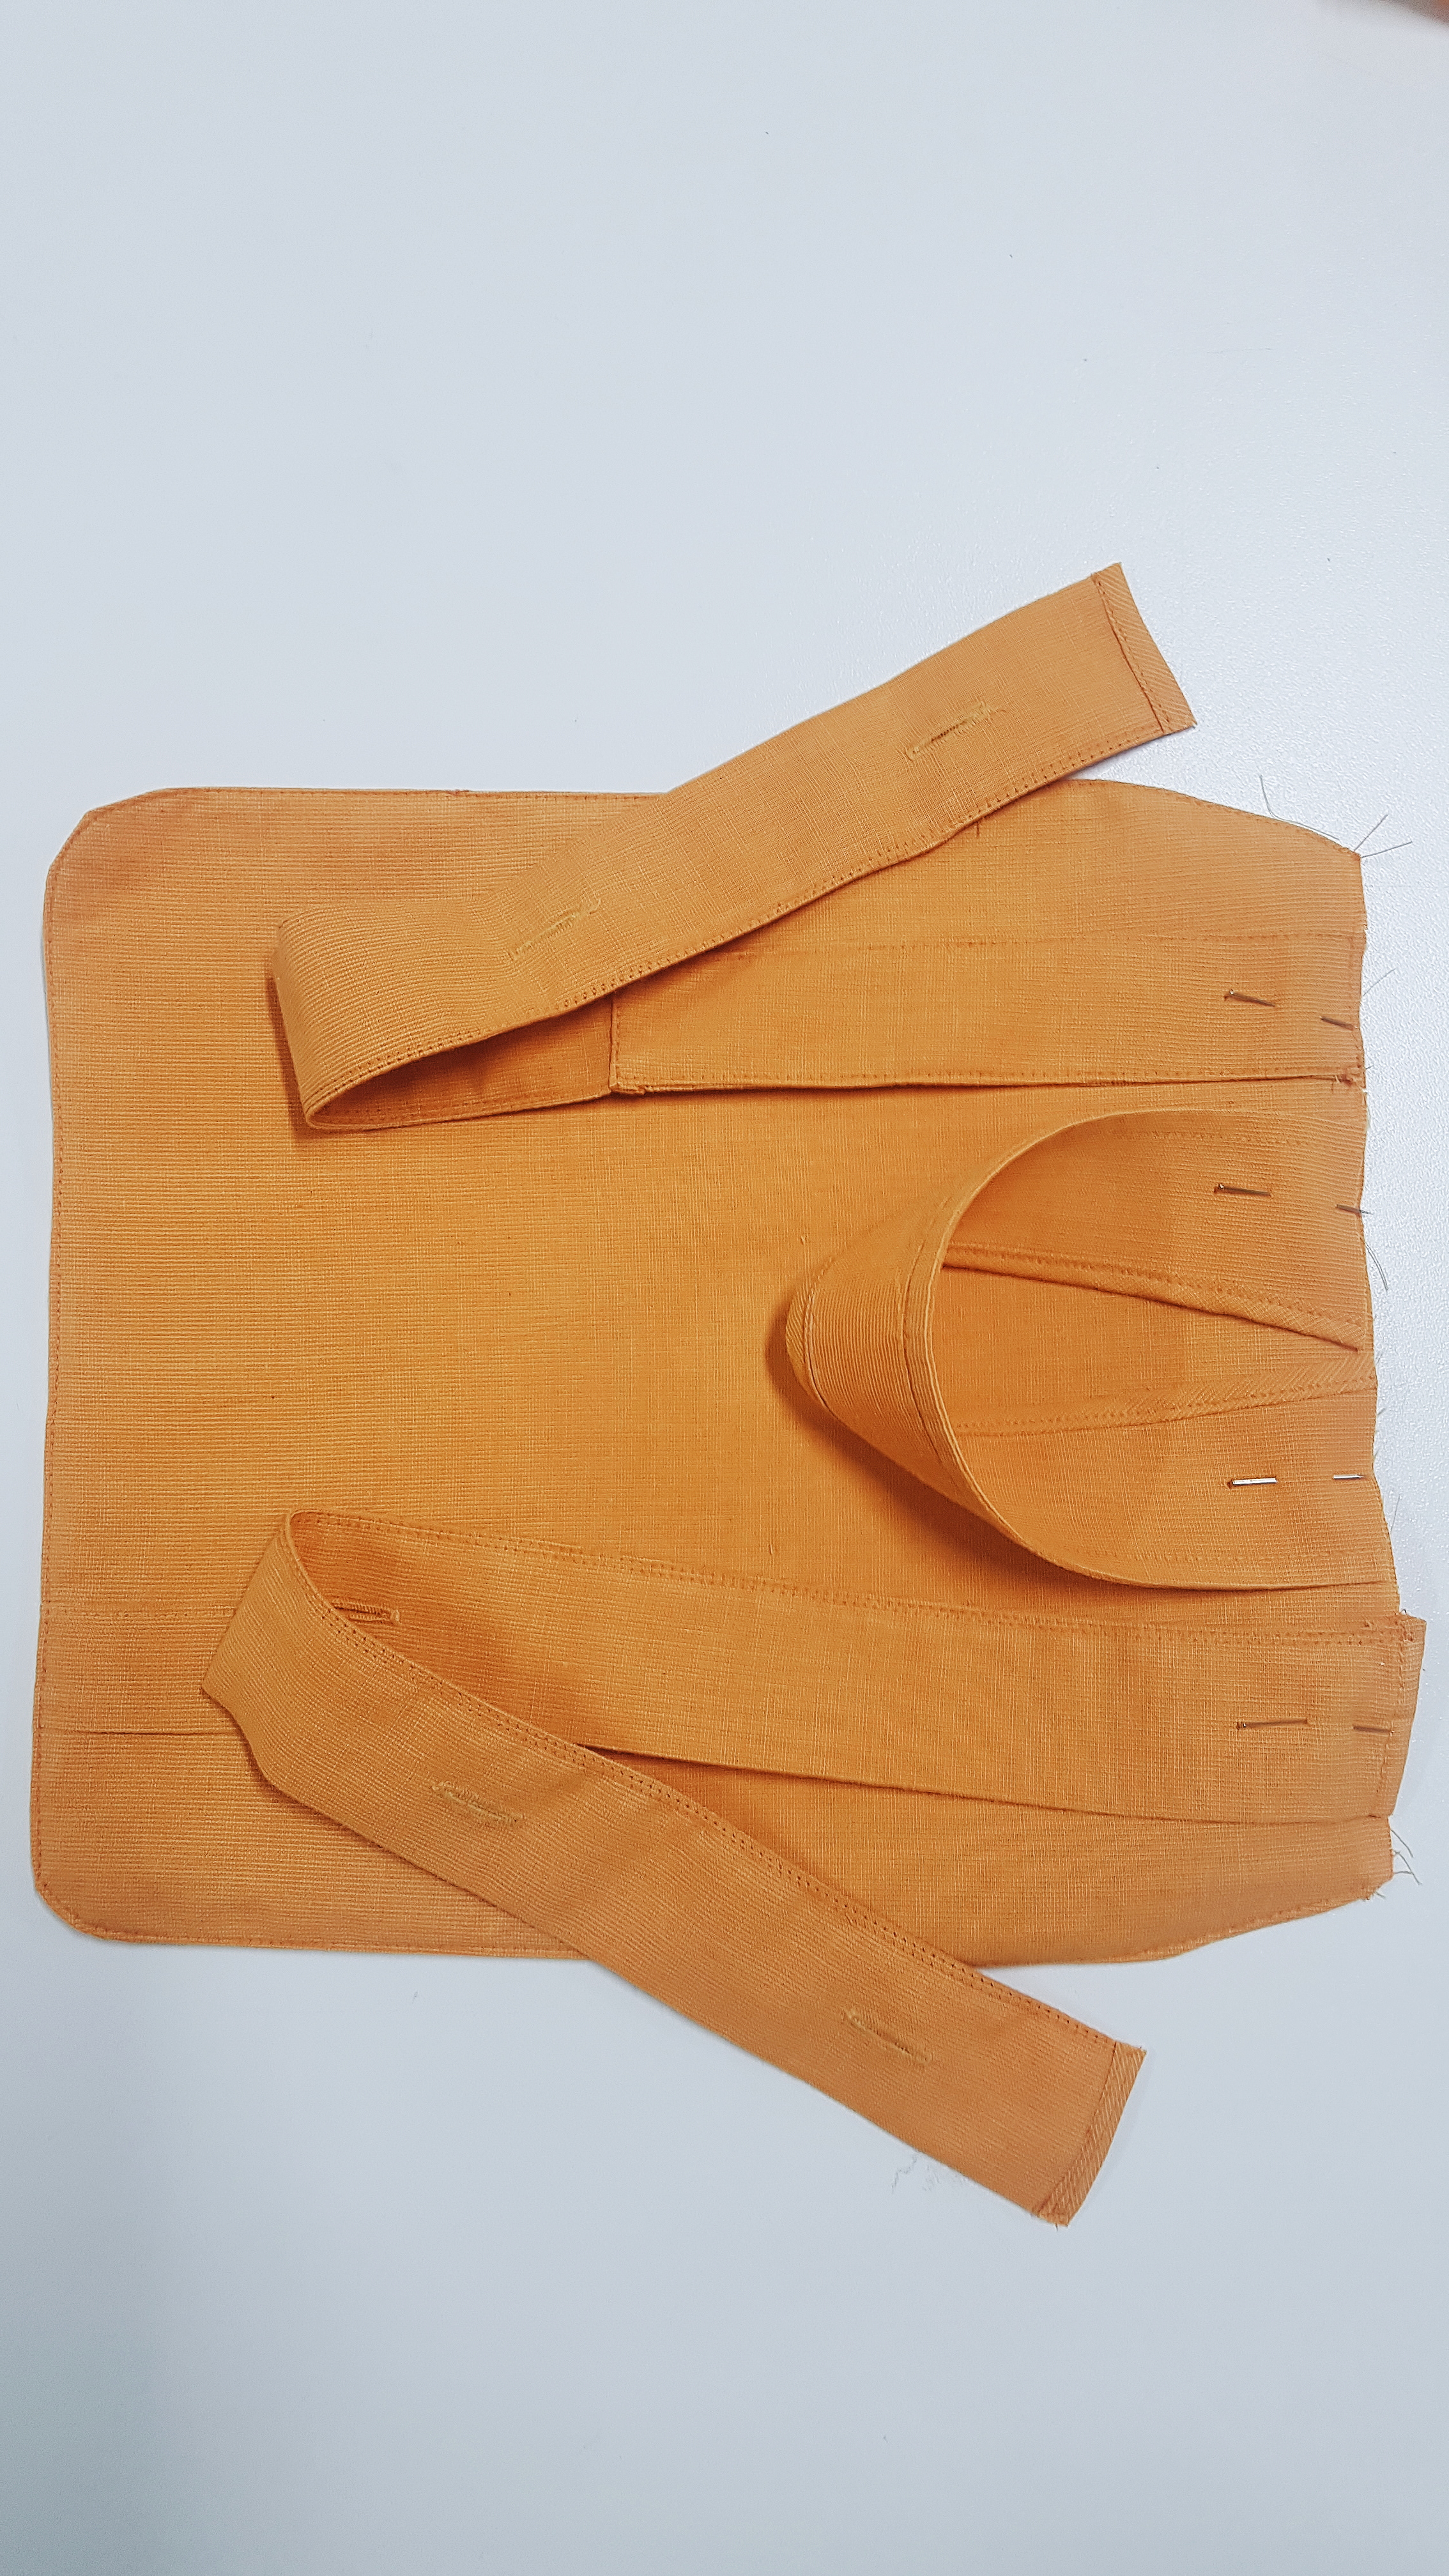
Step Ten
OPTIONAL
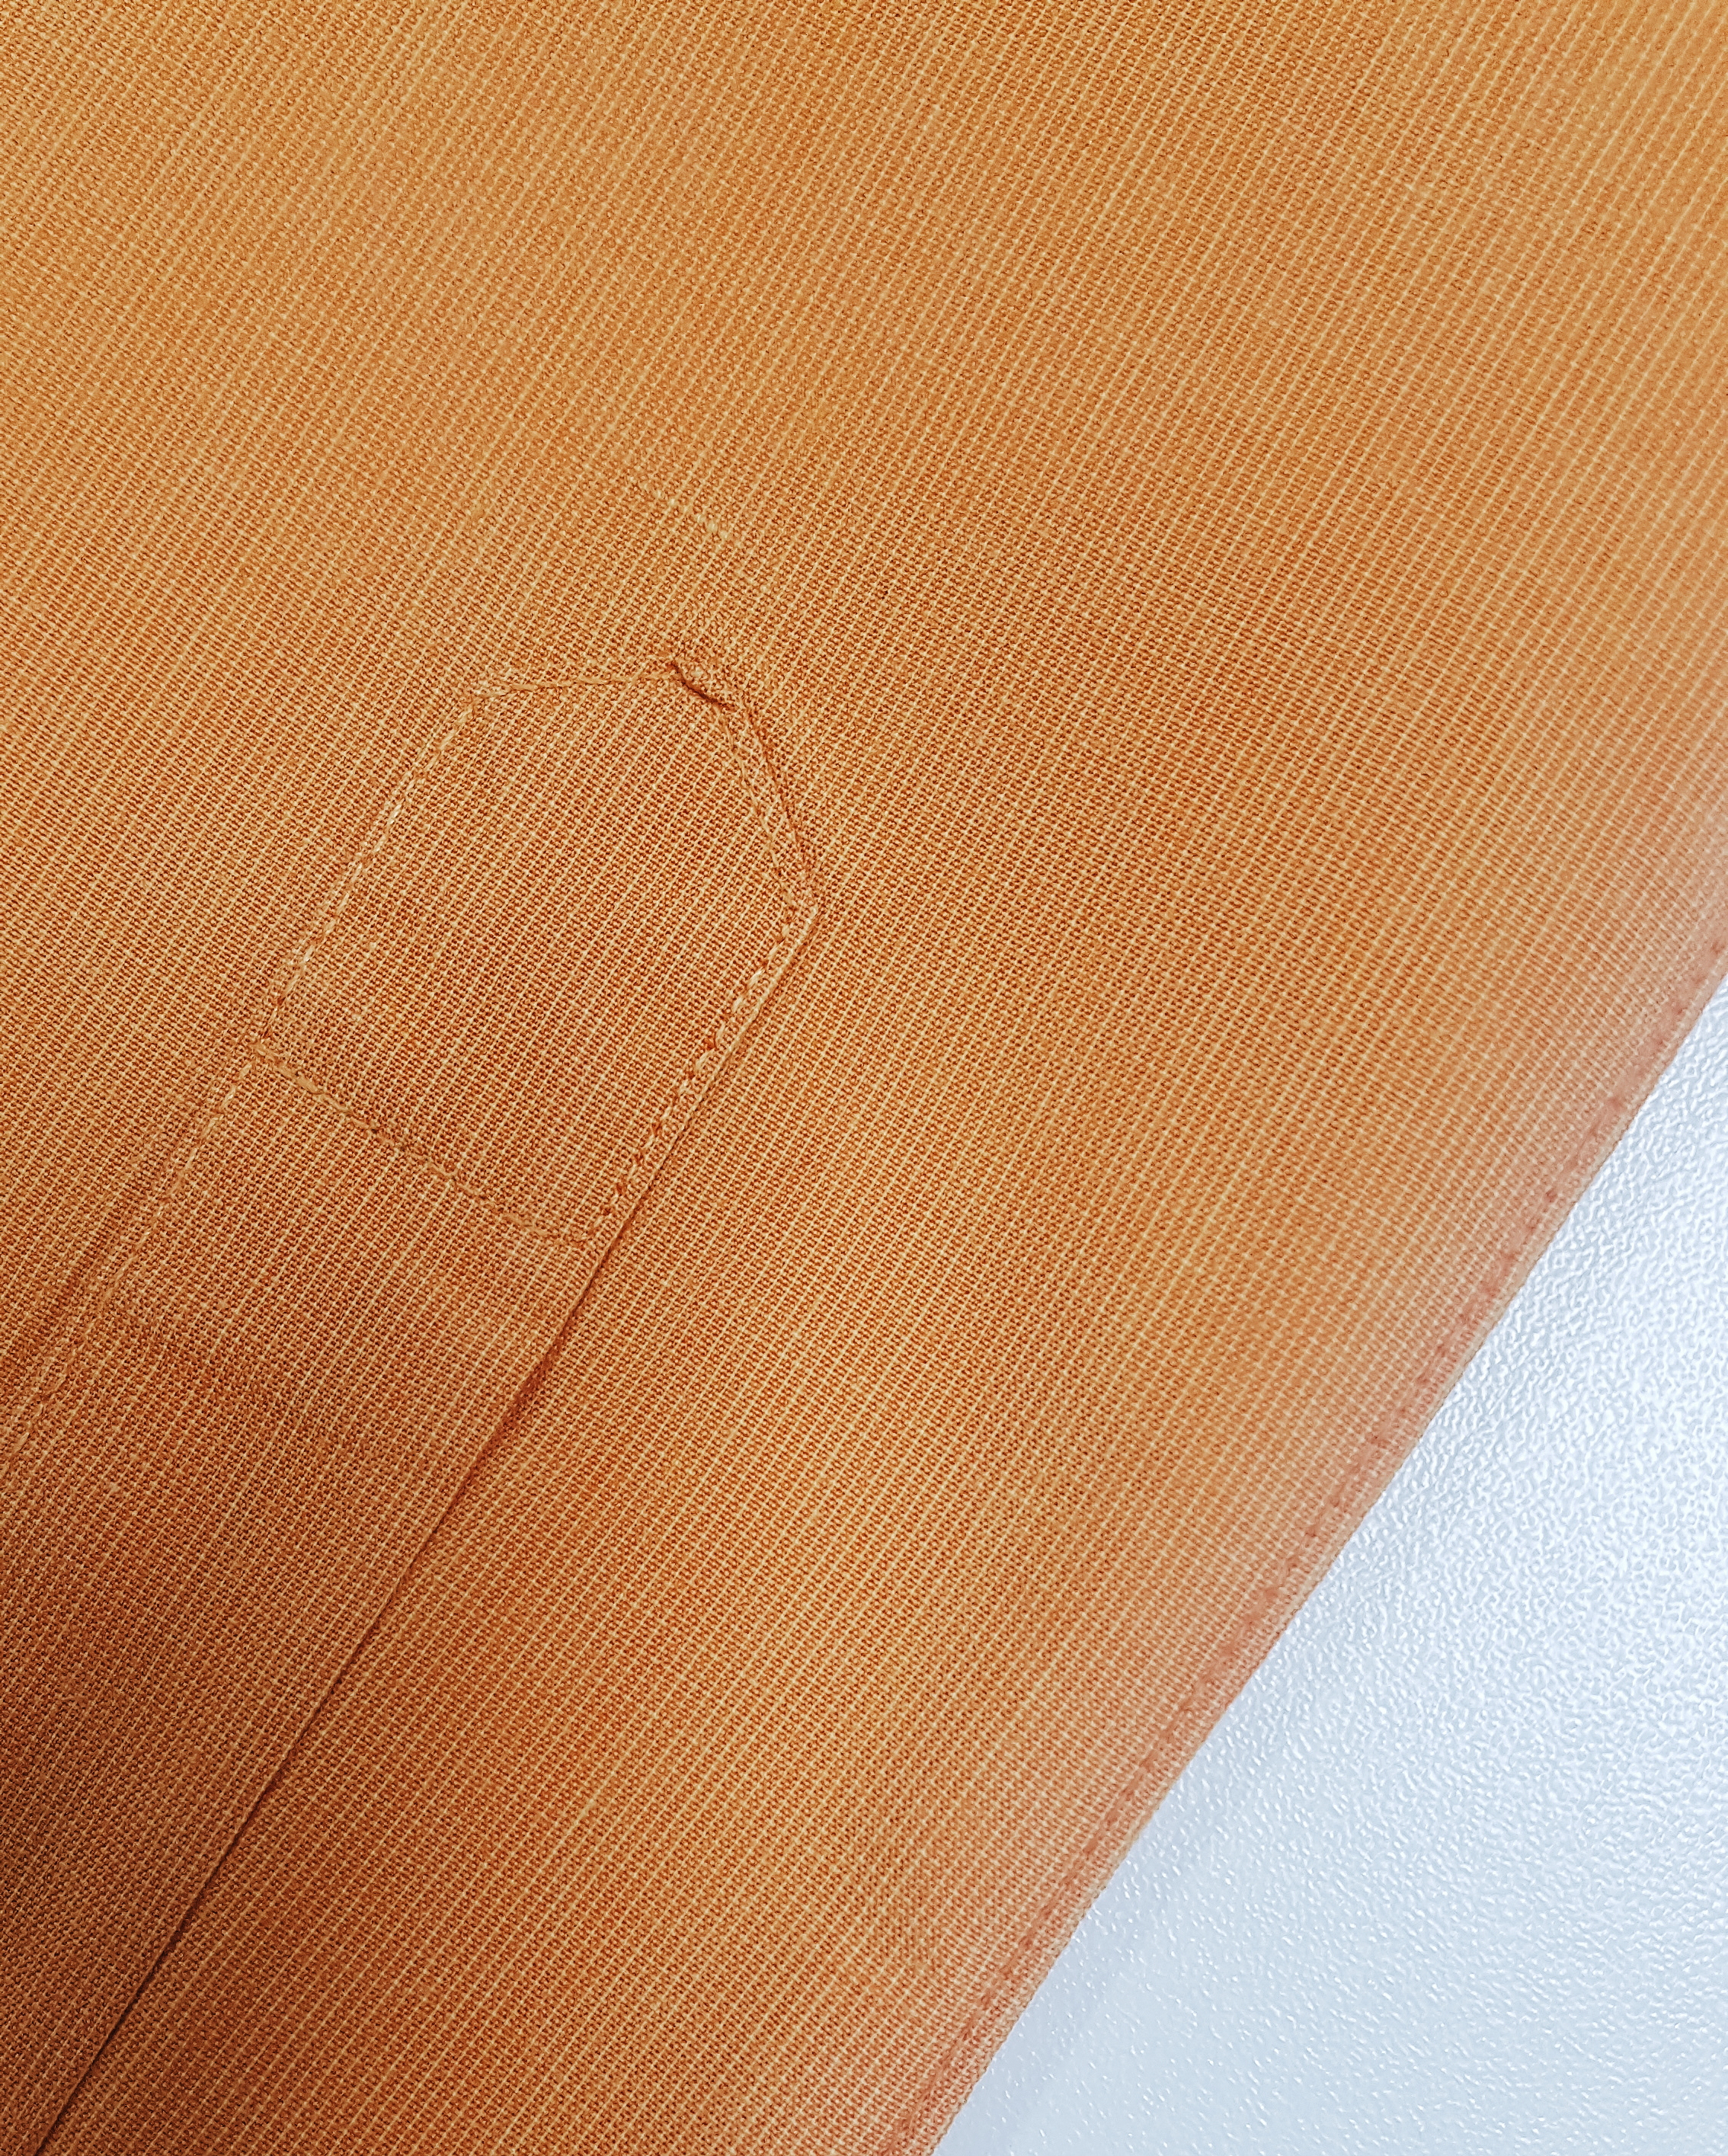
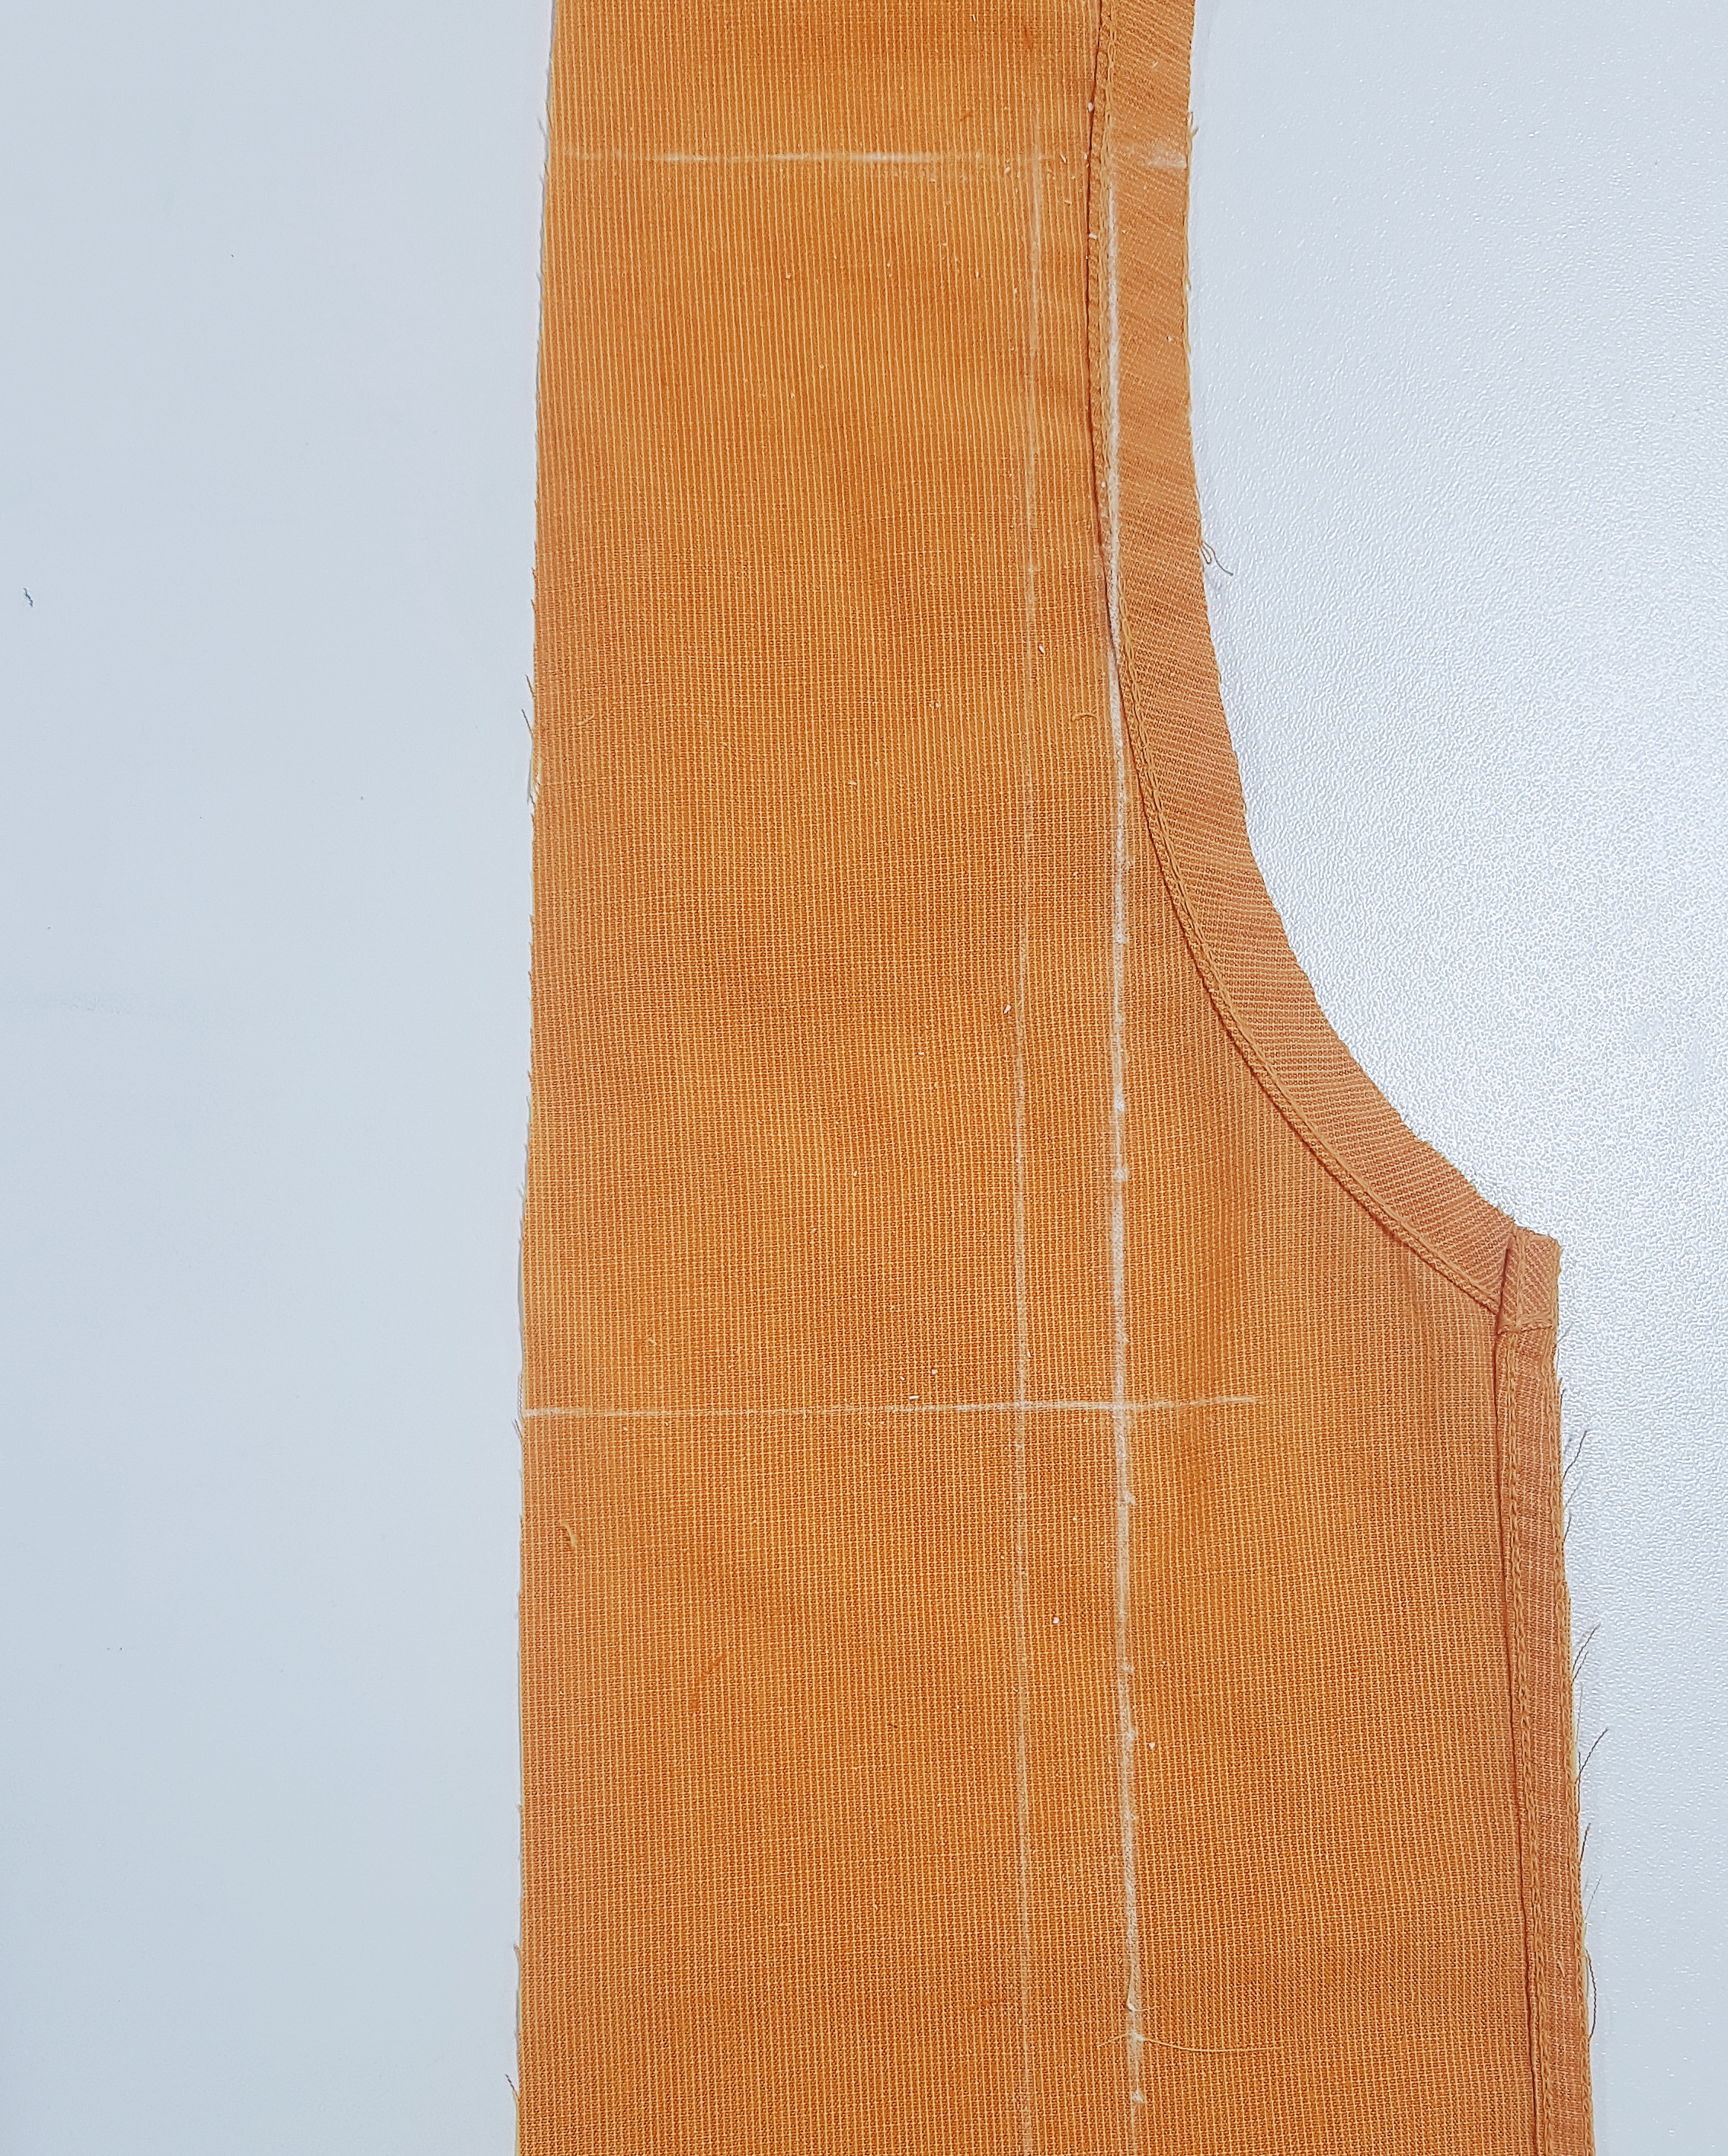
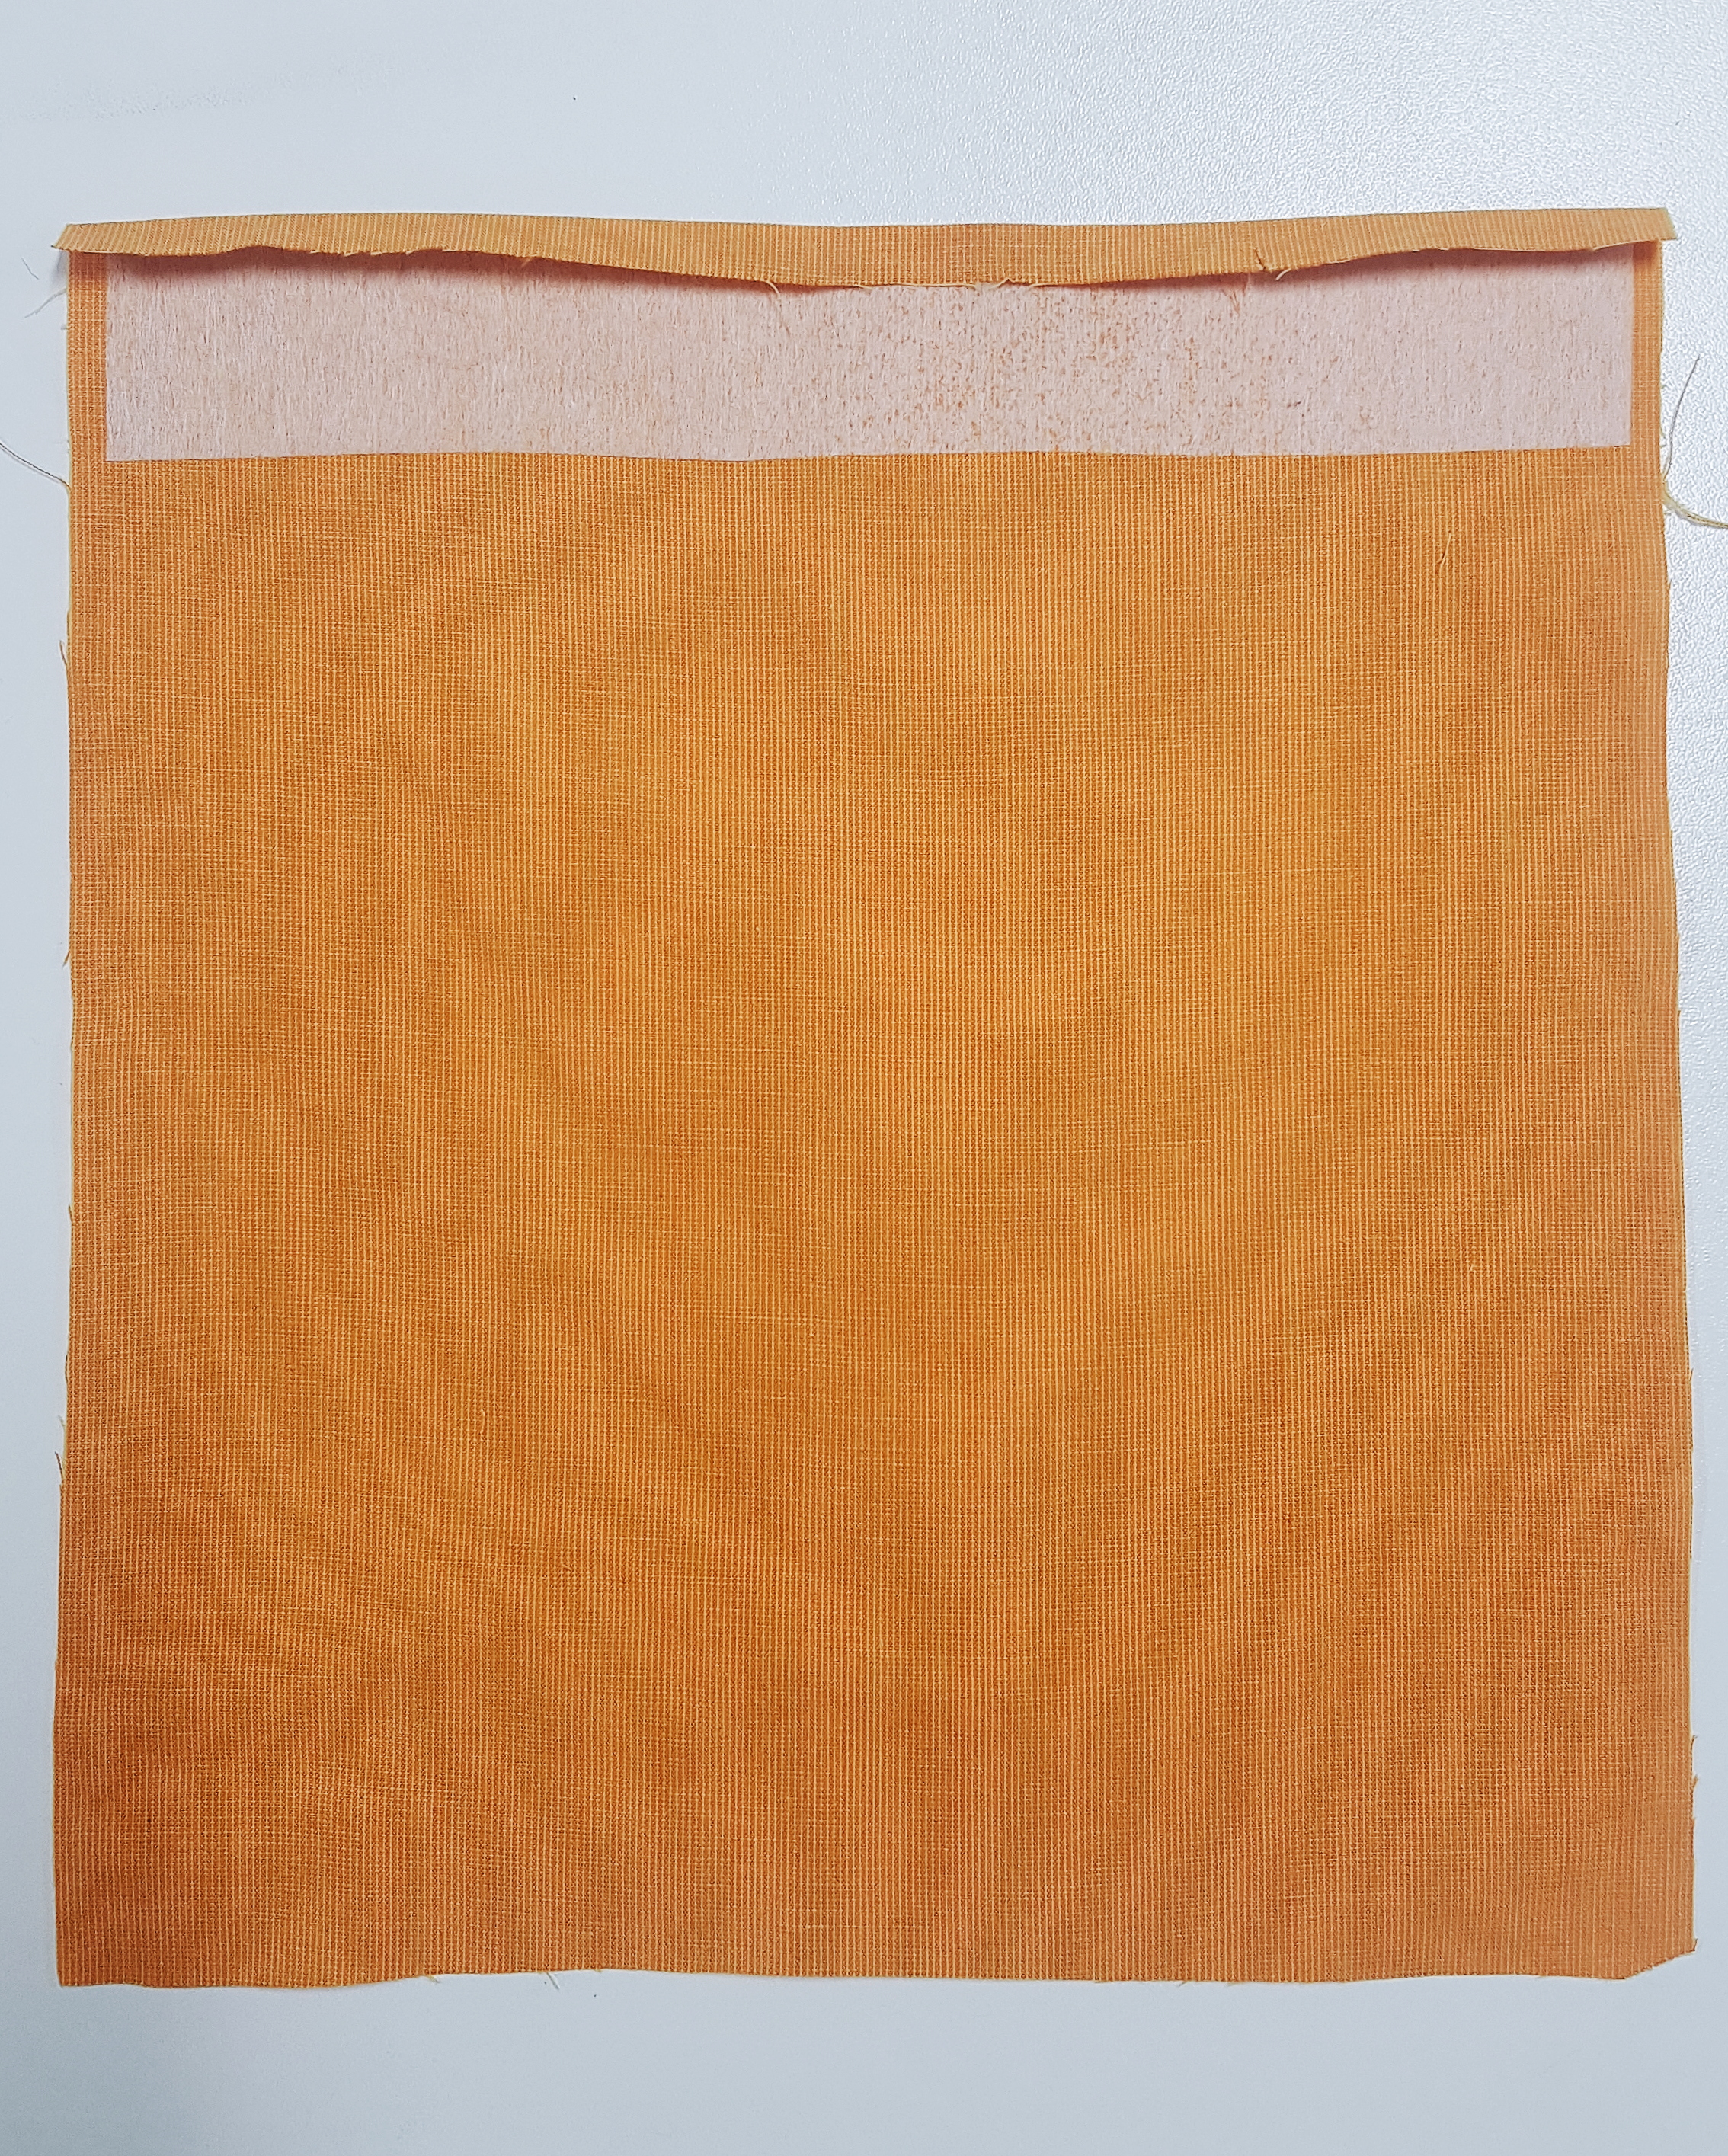
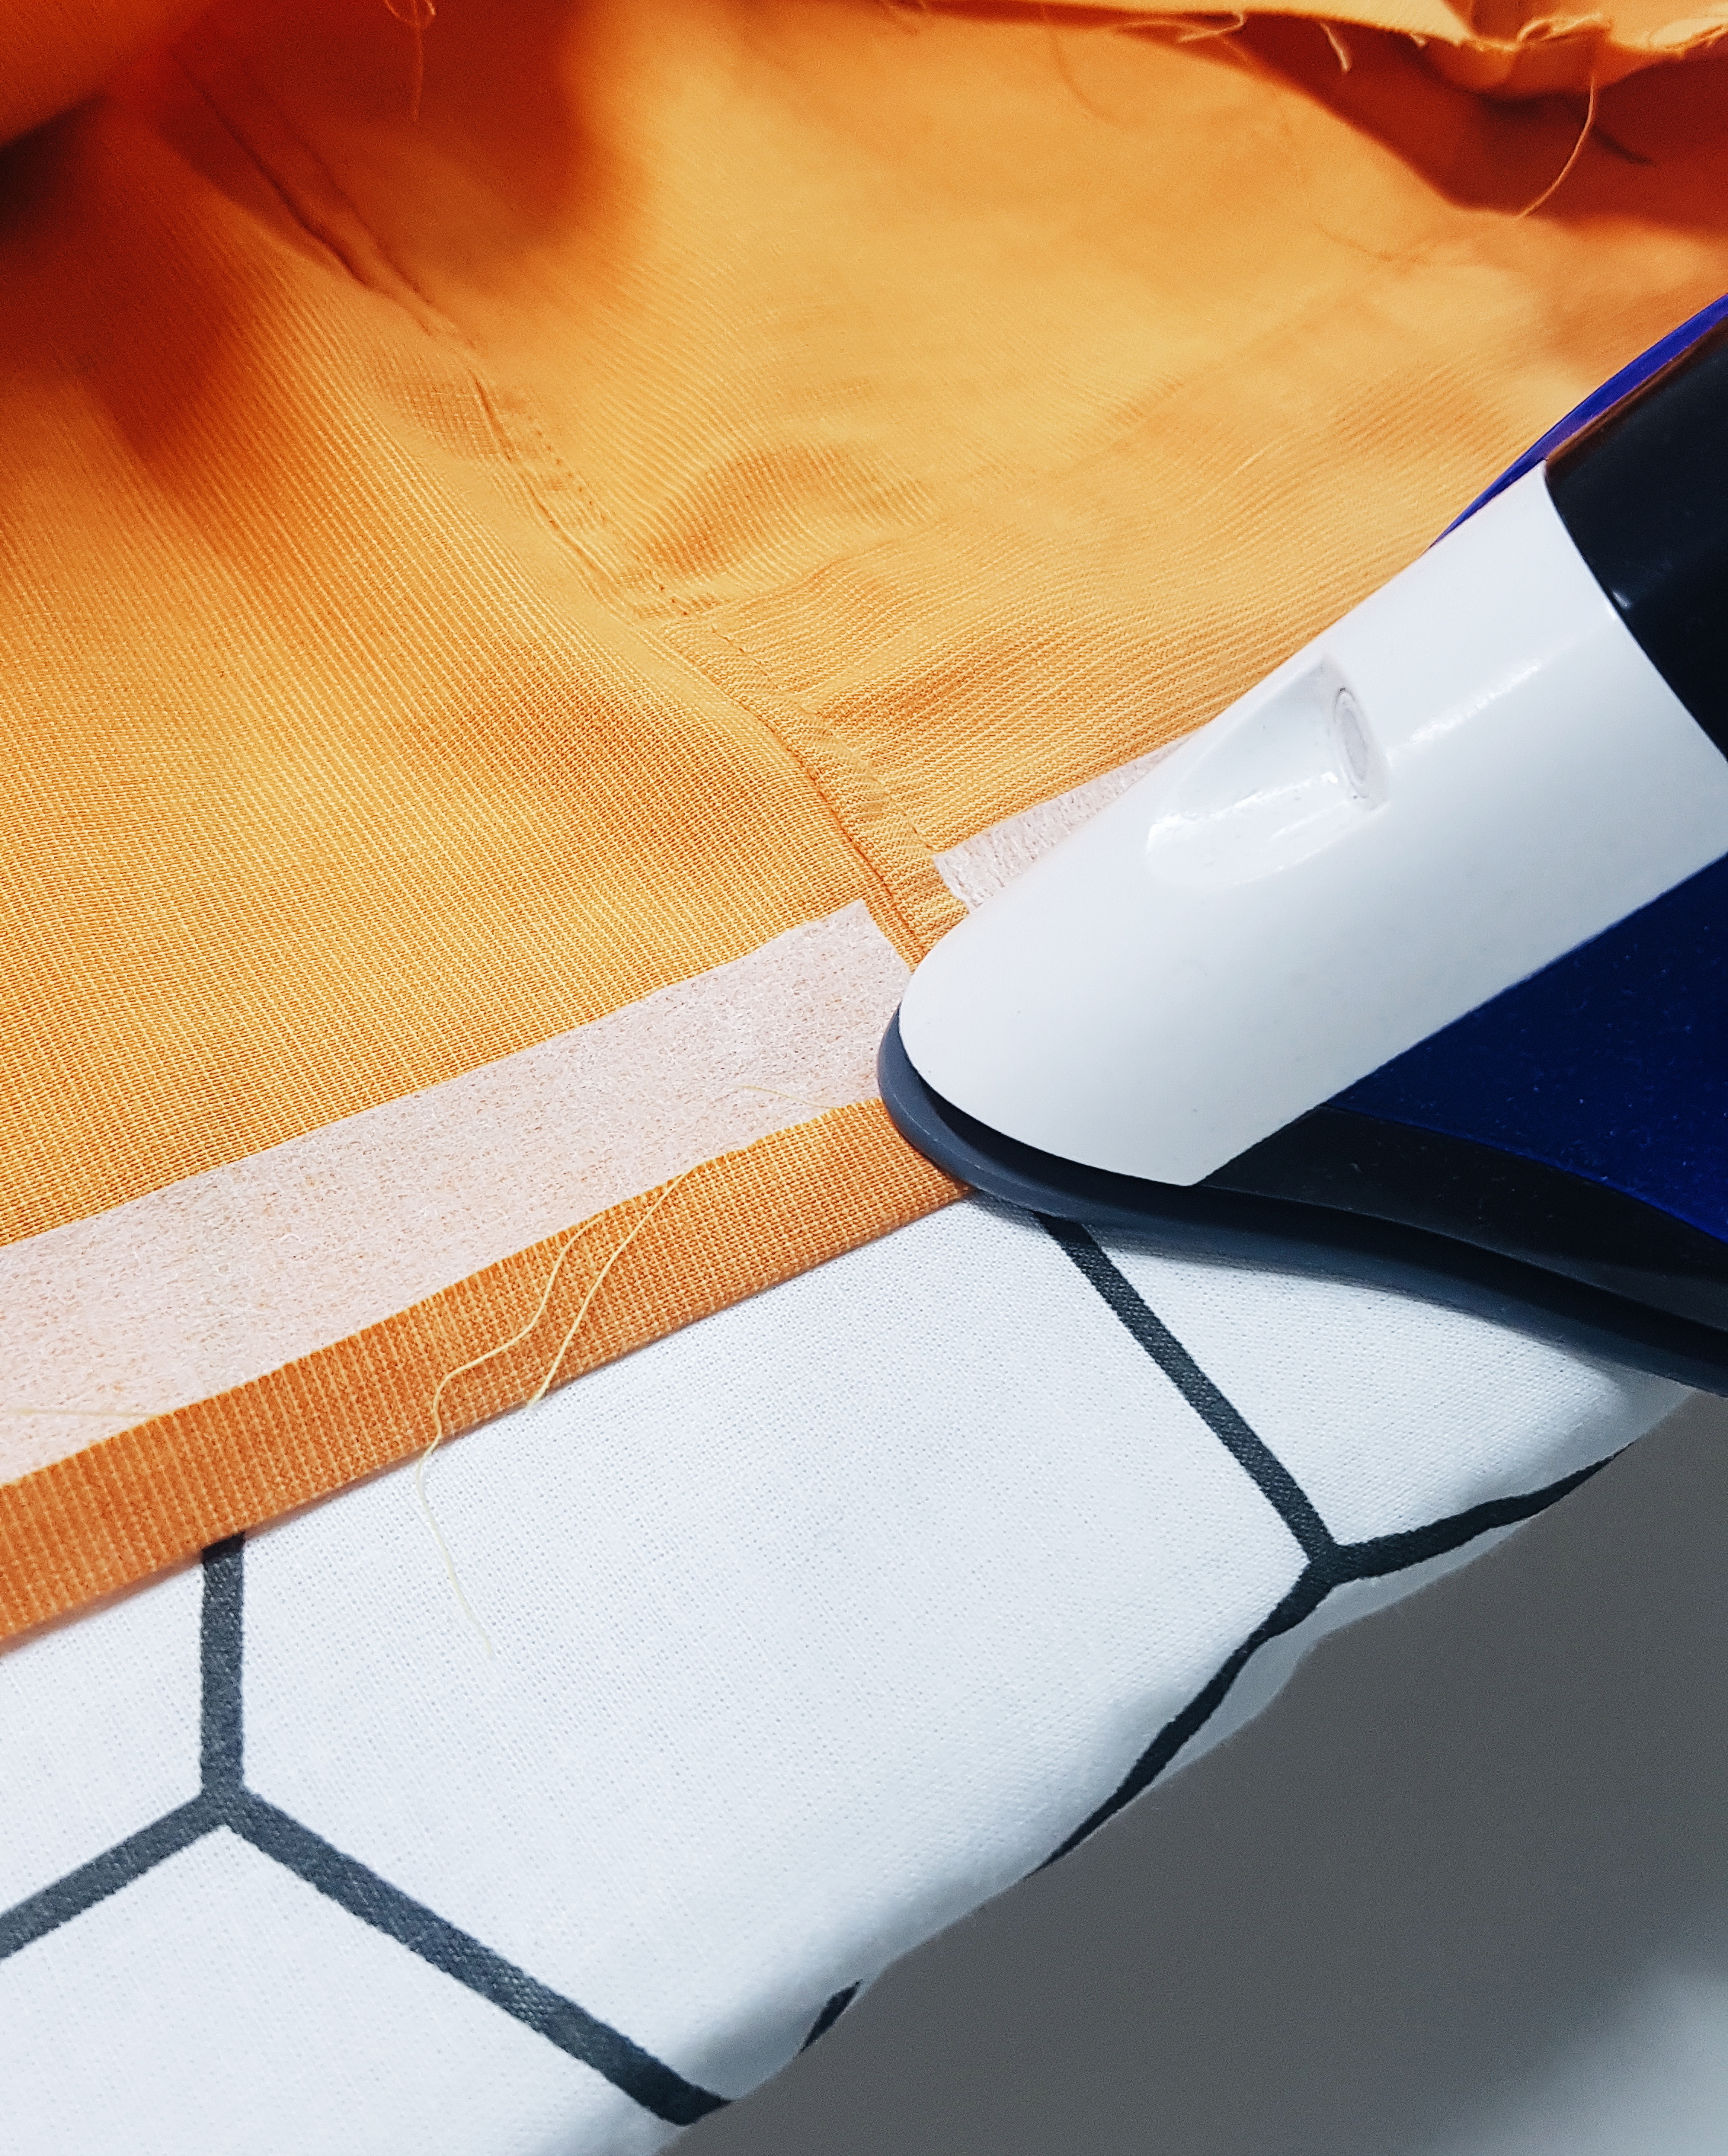
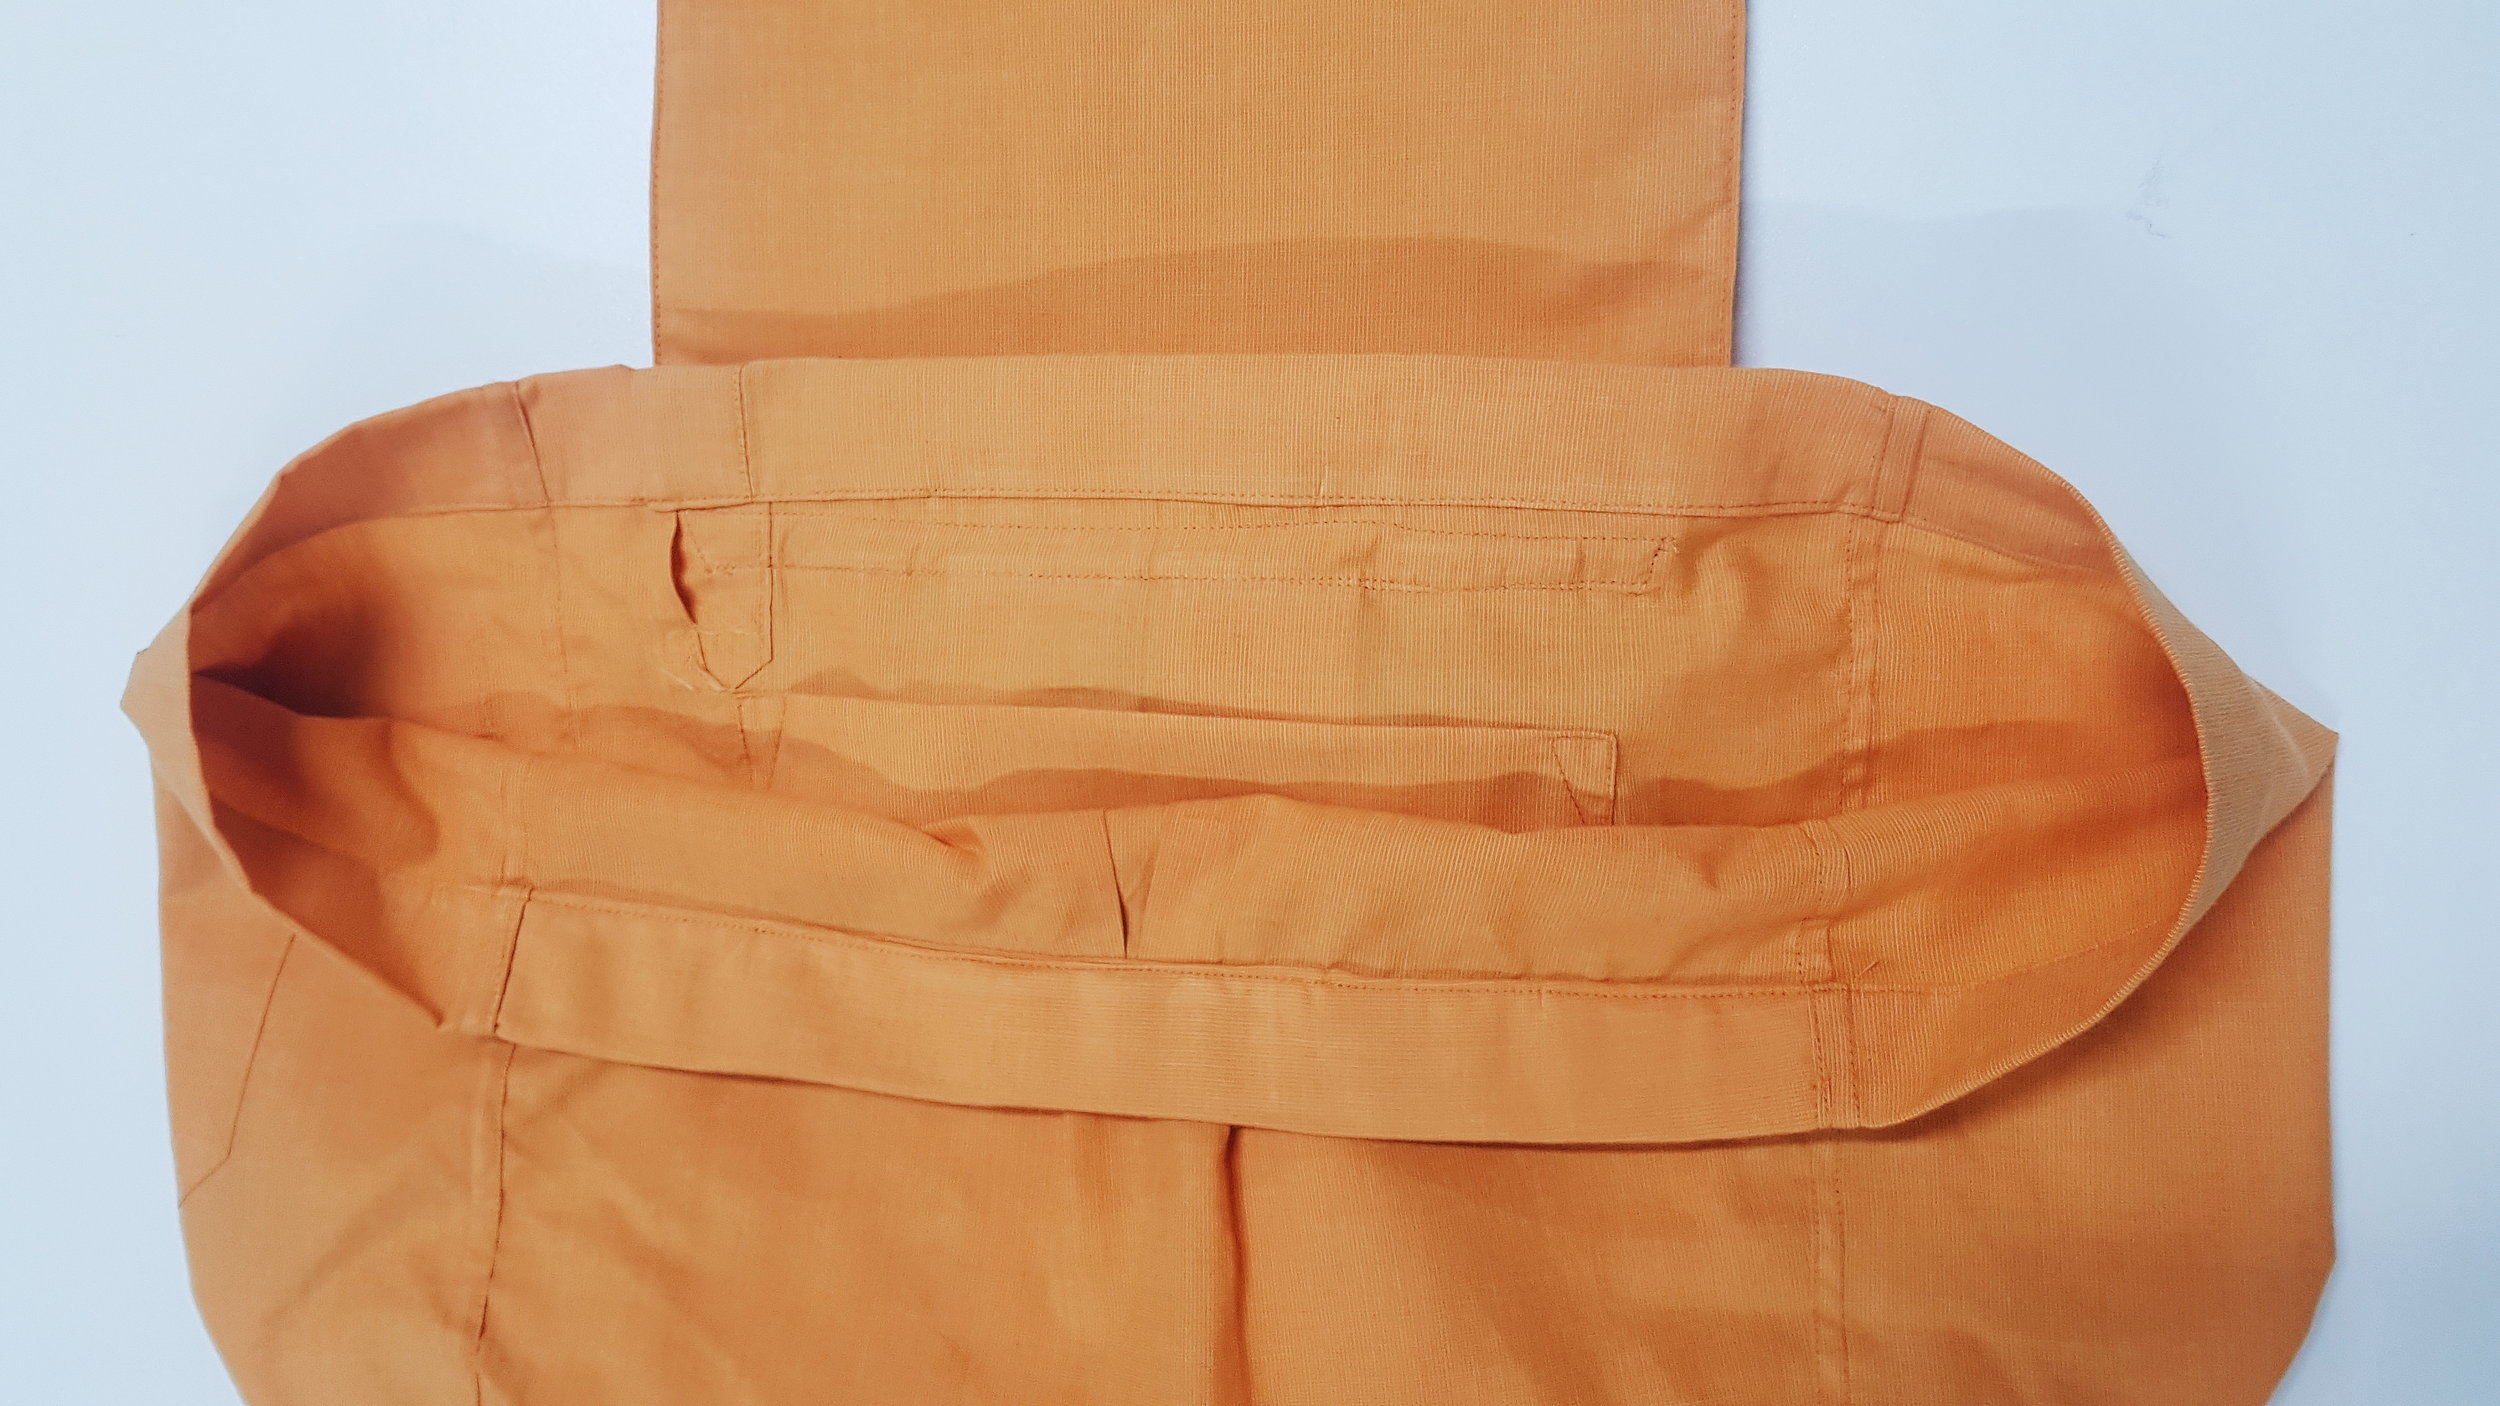
If you are wanting to add a new pocket to the interior of your backpack, ensure you fuse the facing before neatening the top edge in your chosen menthod. Here it has been folded and stitched.
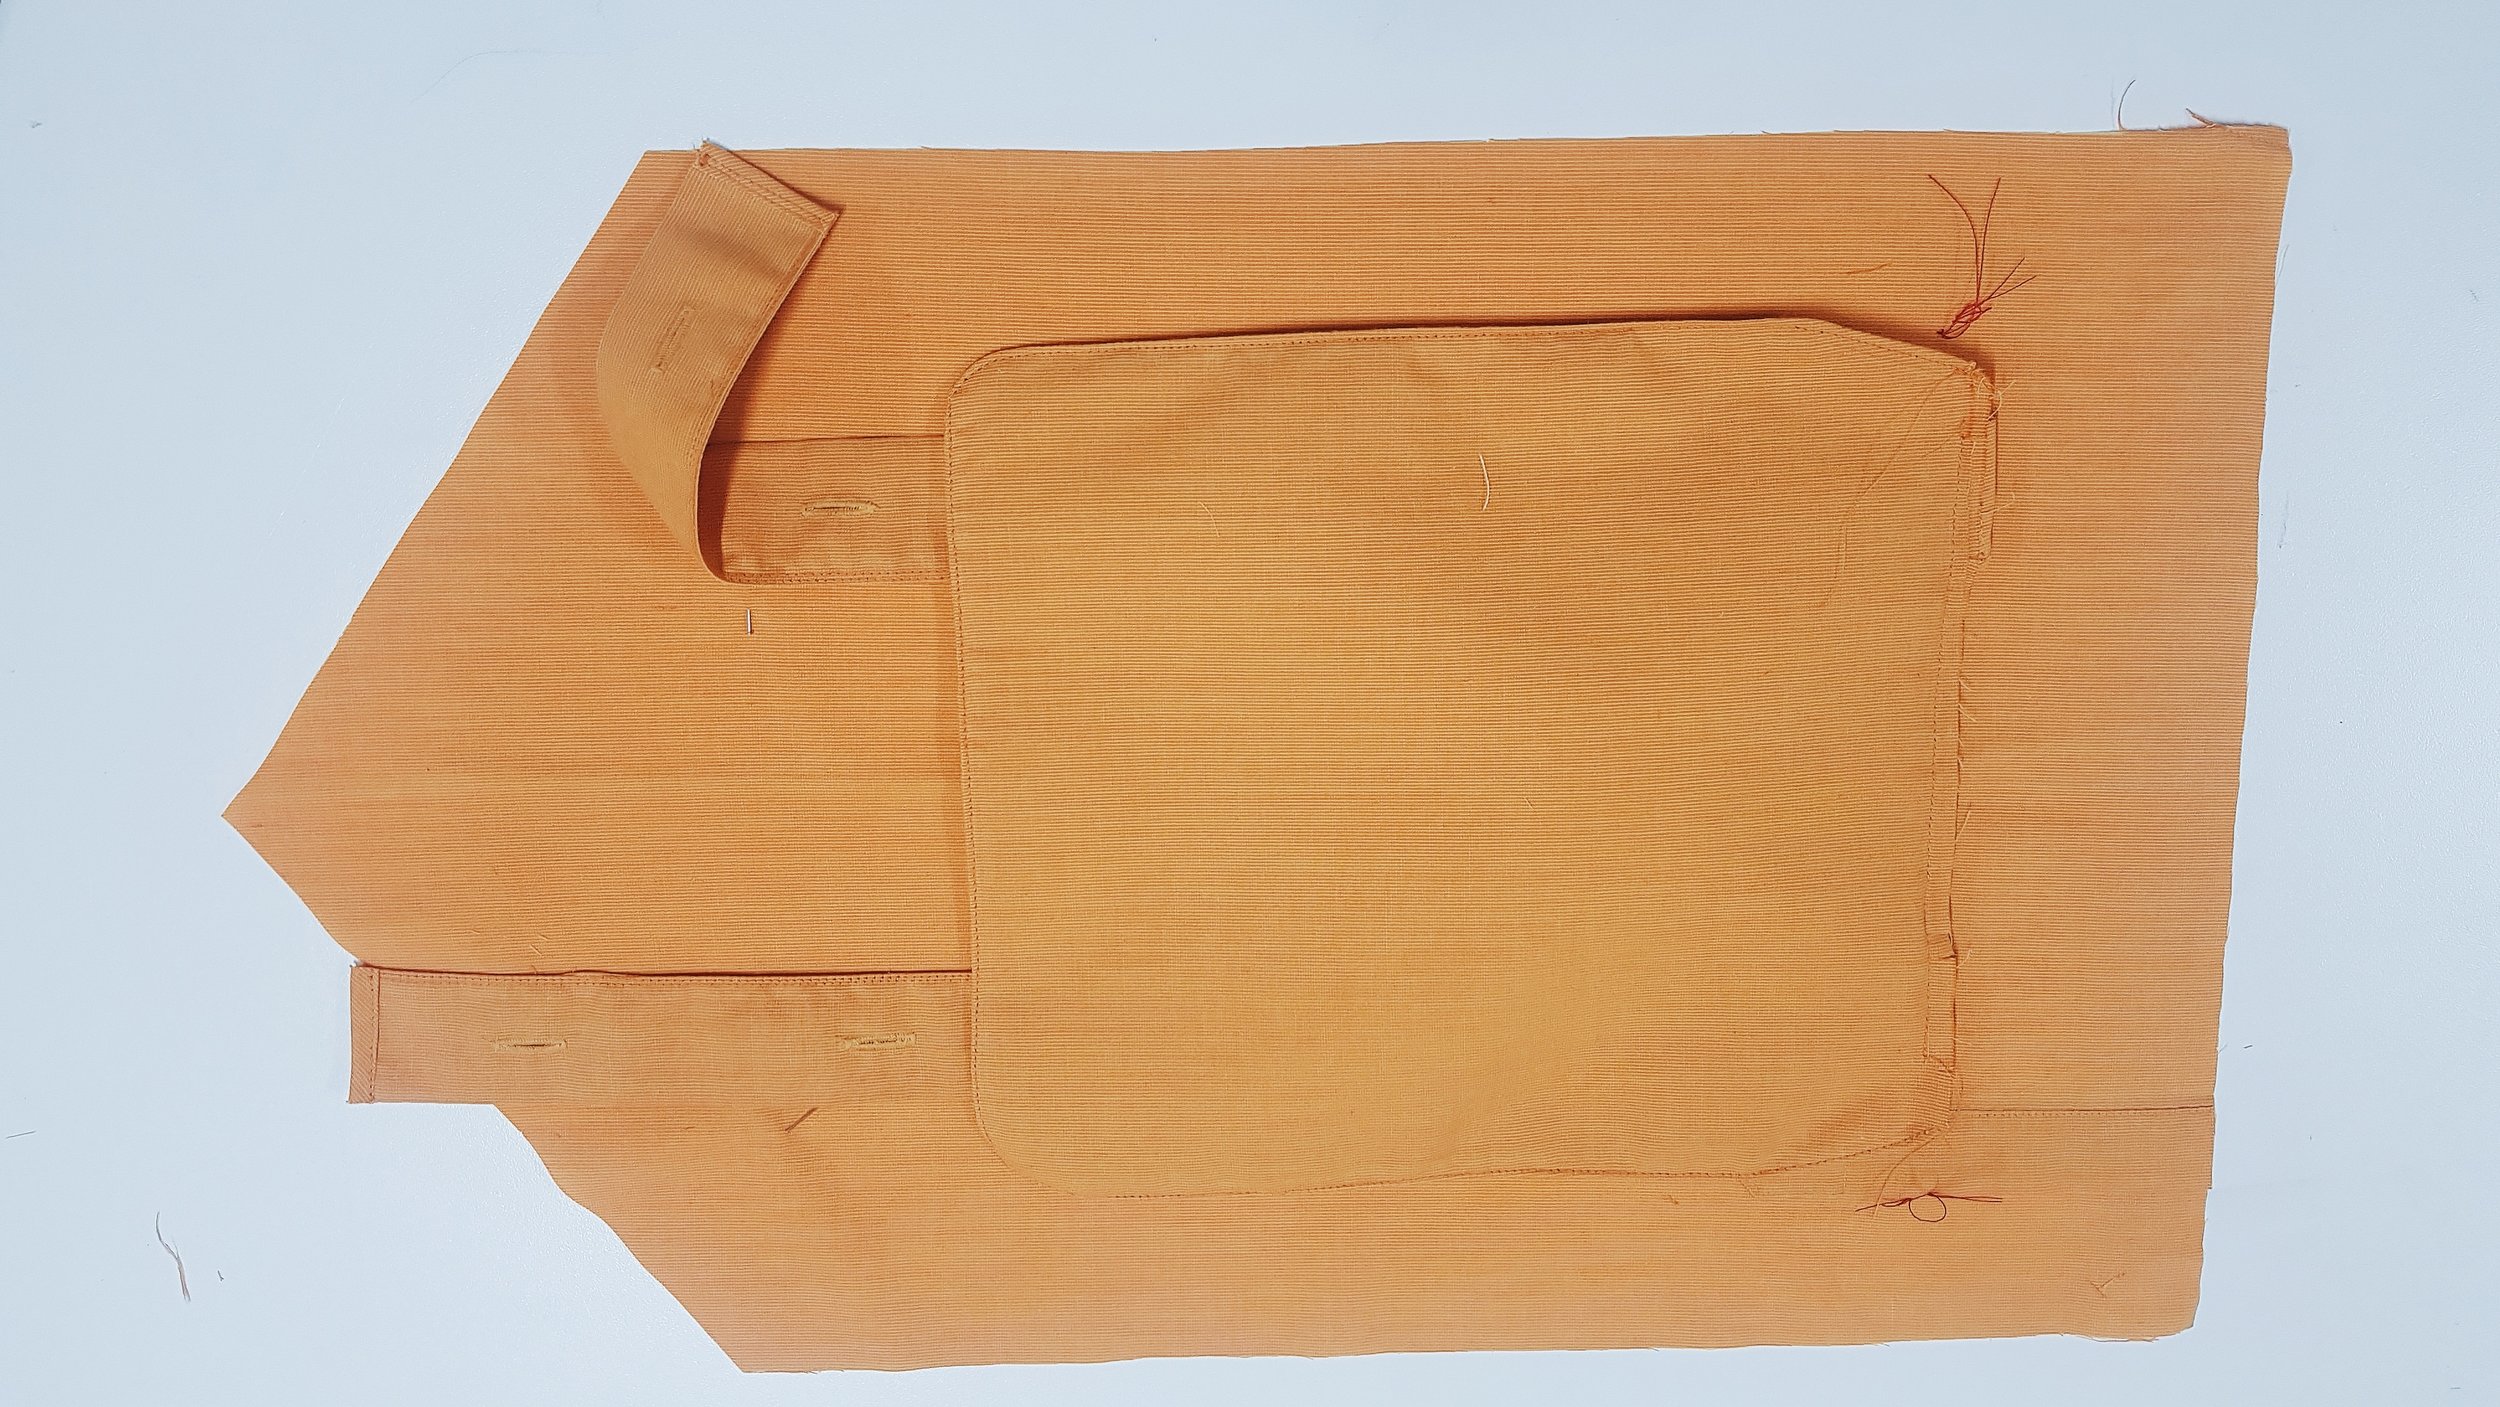
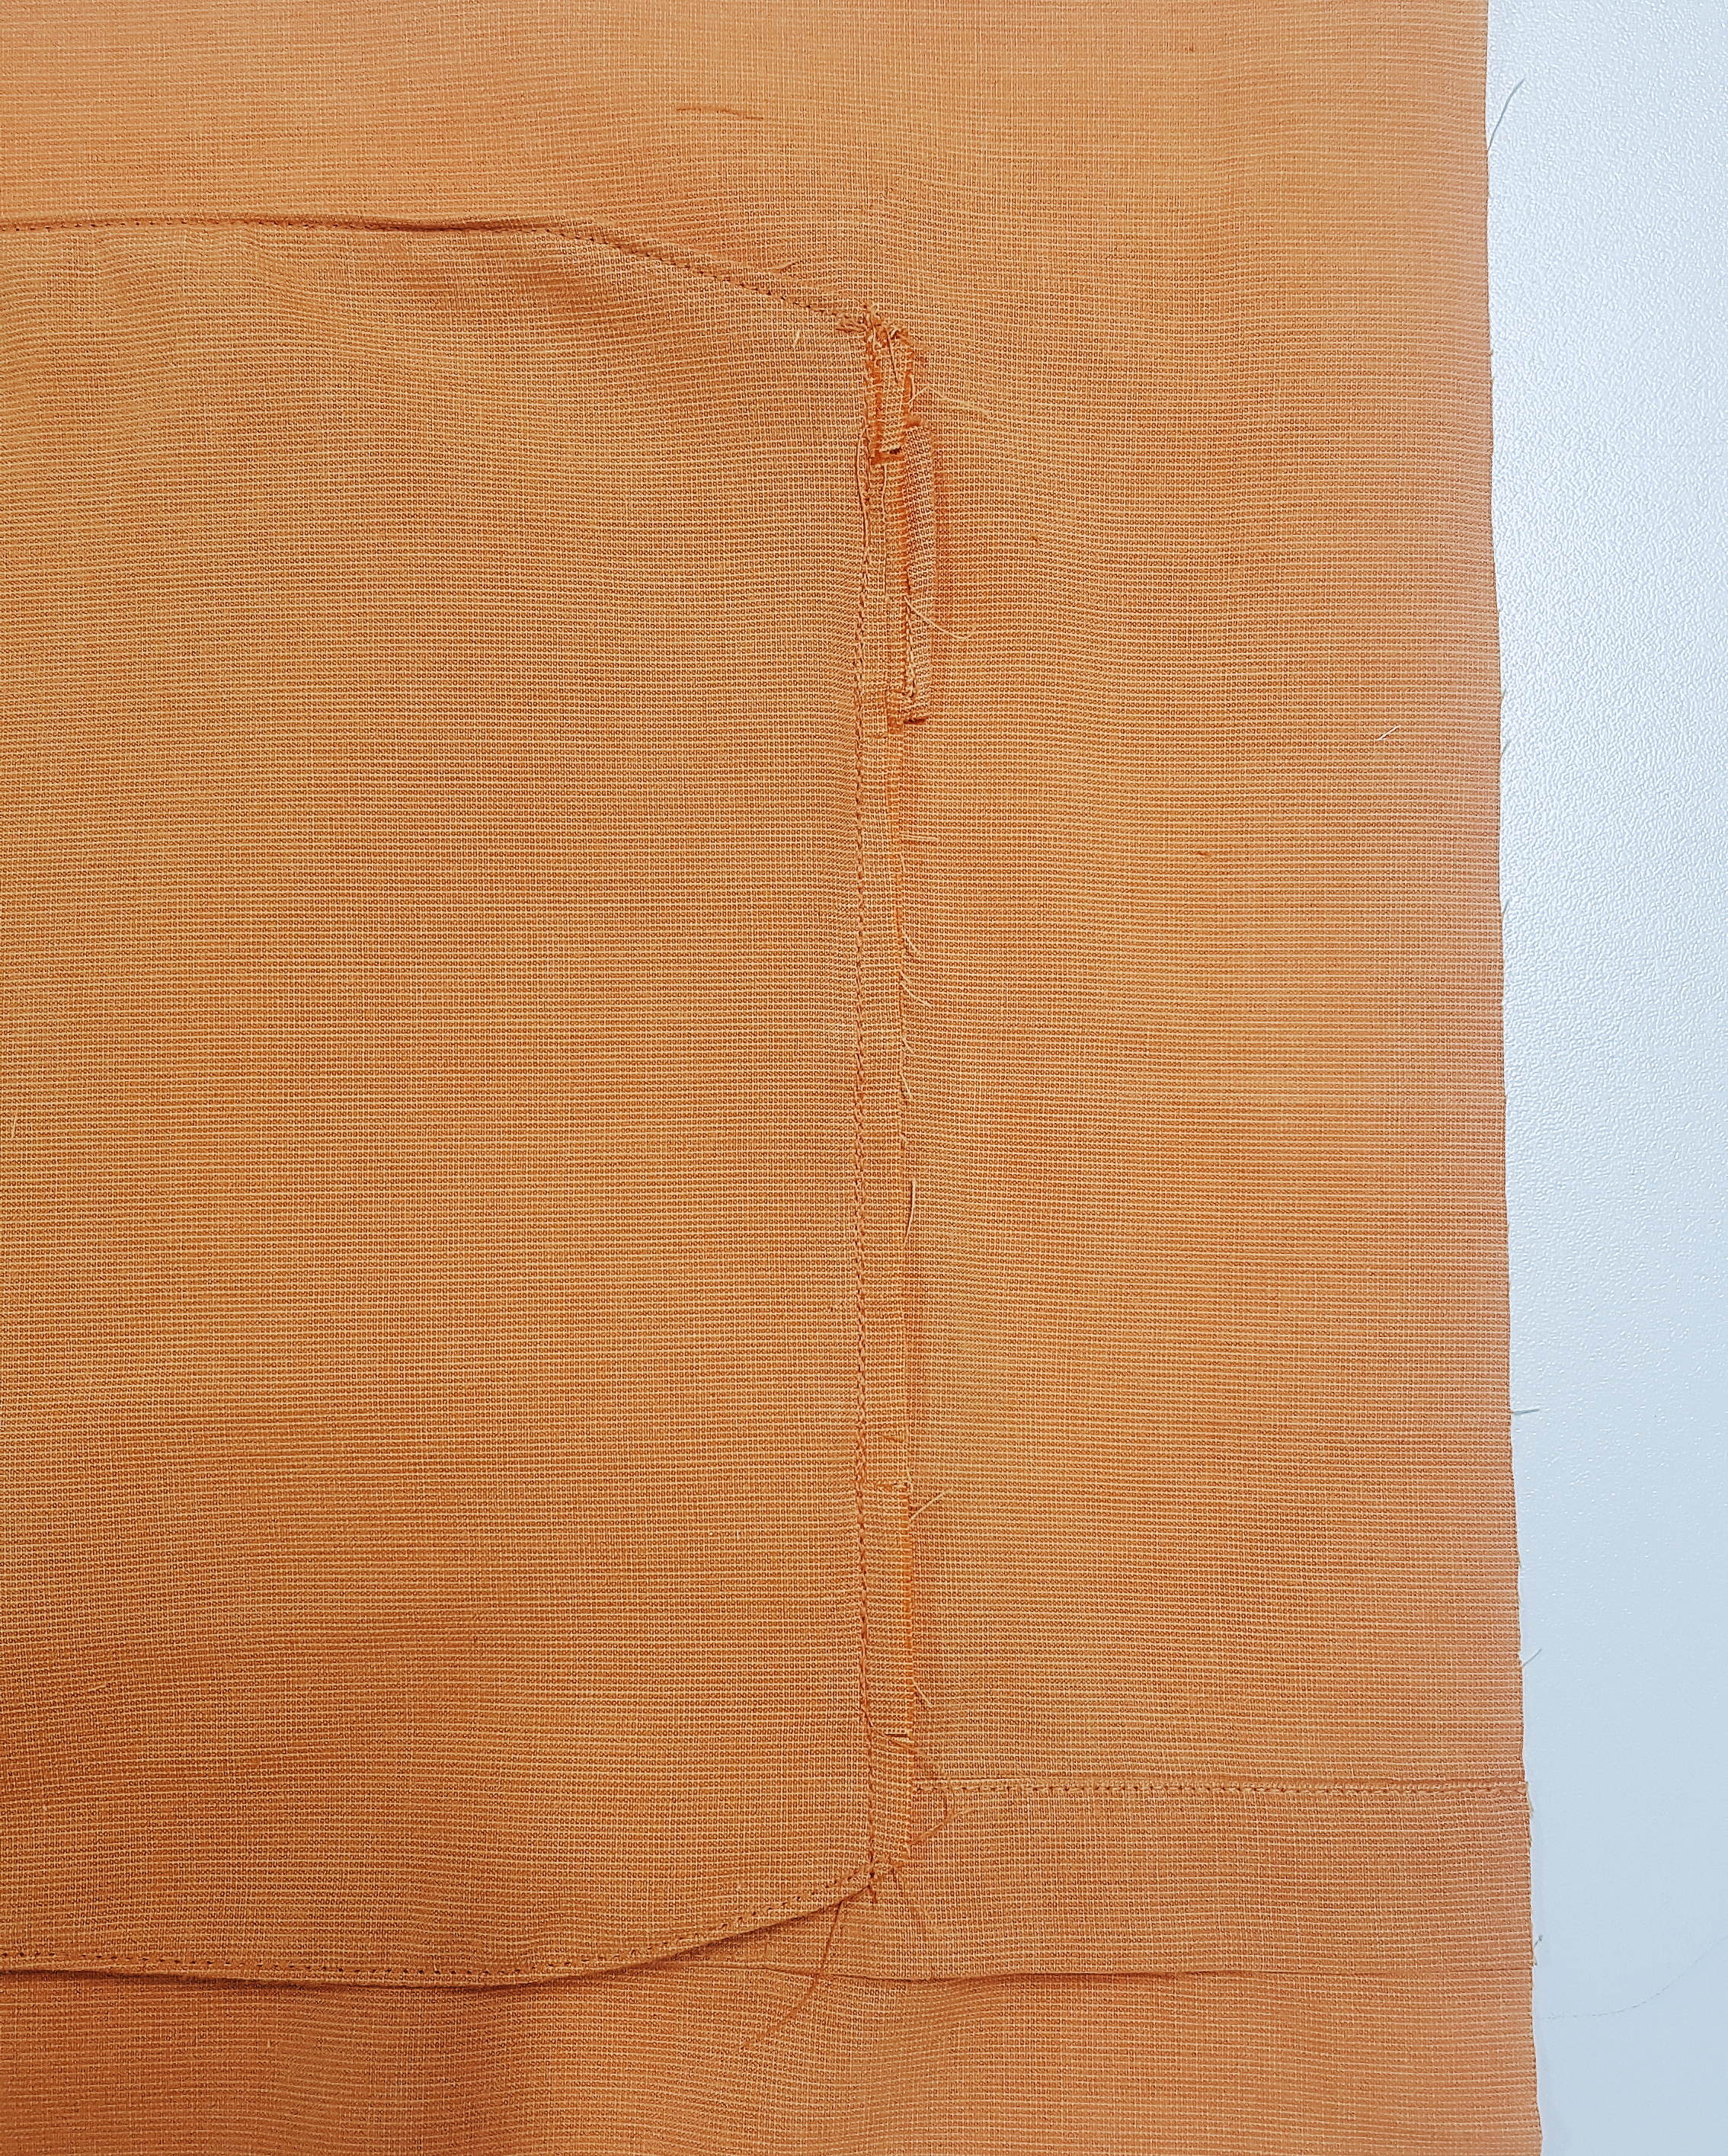
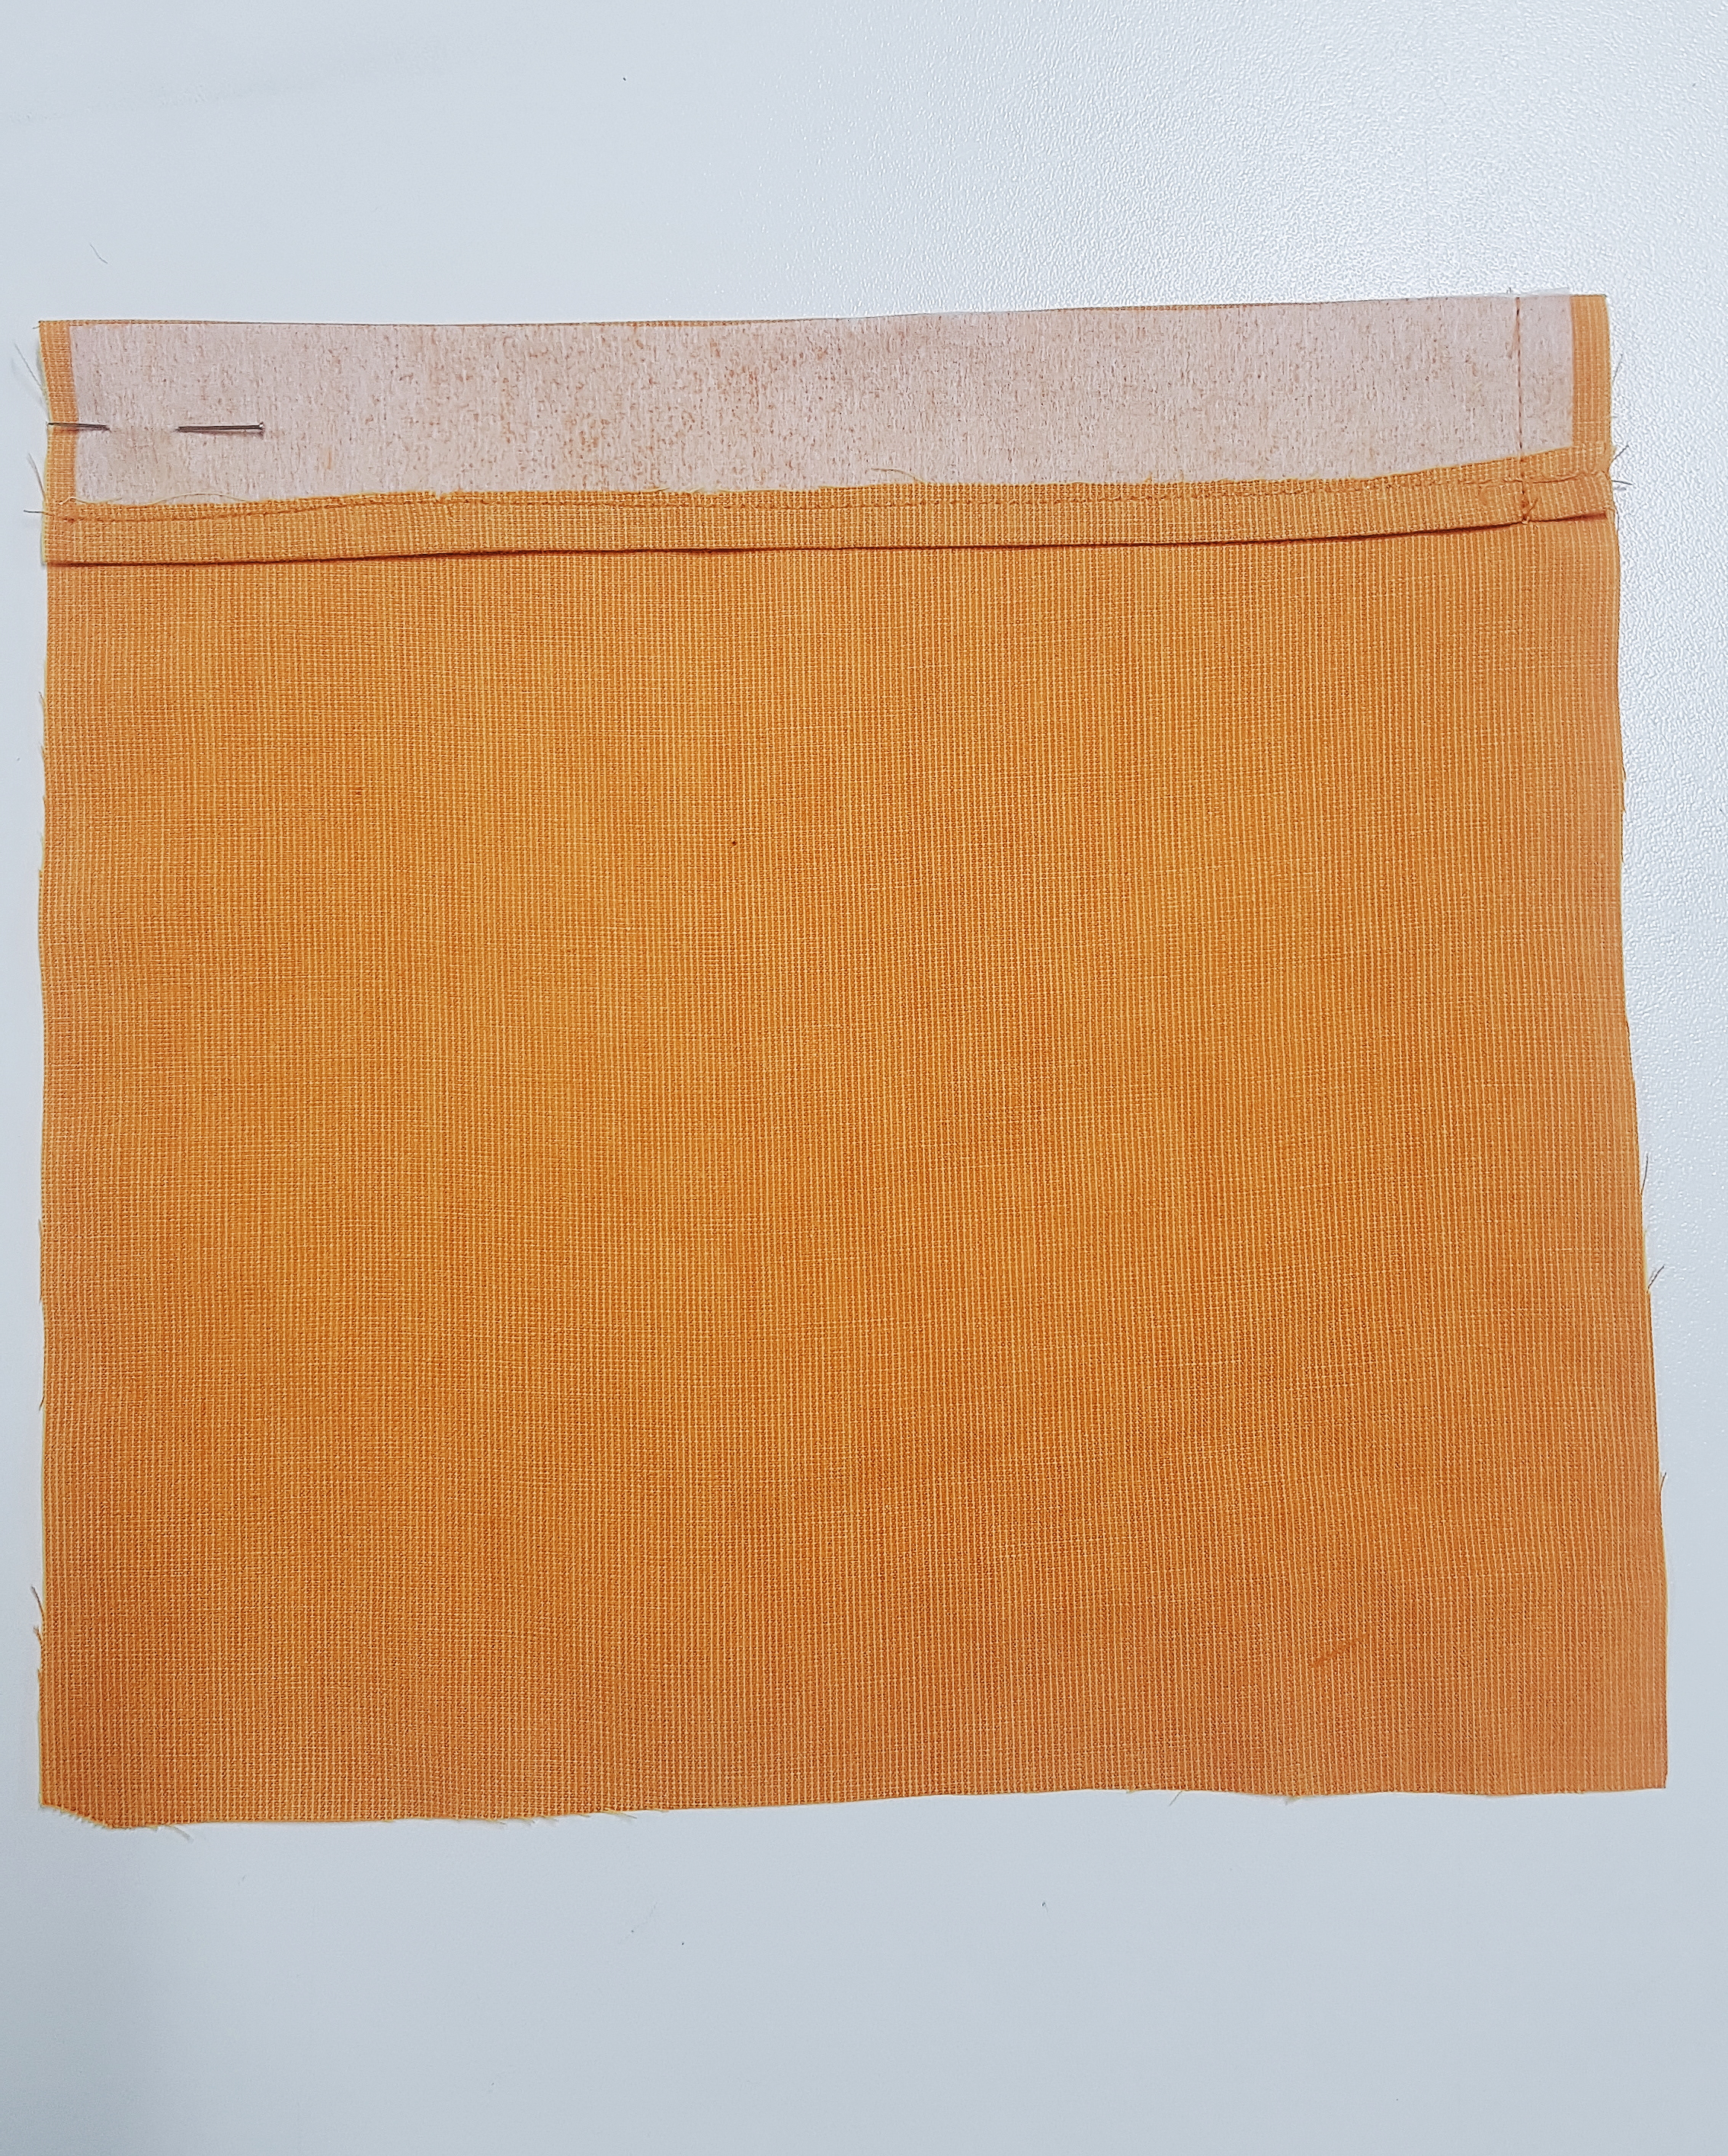
Fold the facing down and stitch along the seam allowance before clipping the corners and removing any bulk.
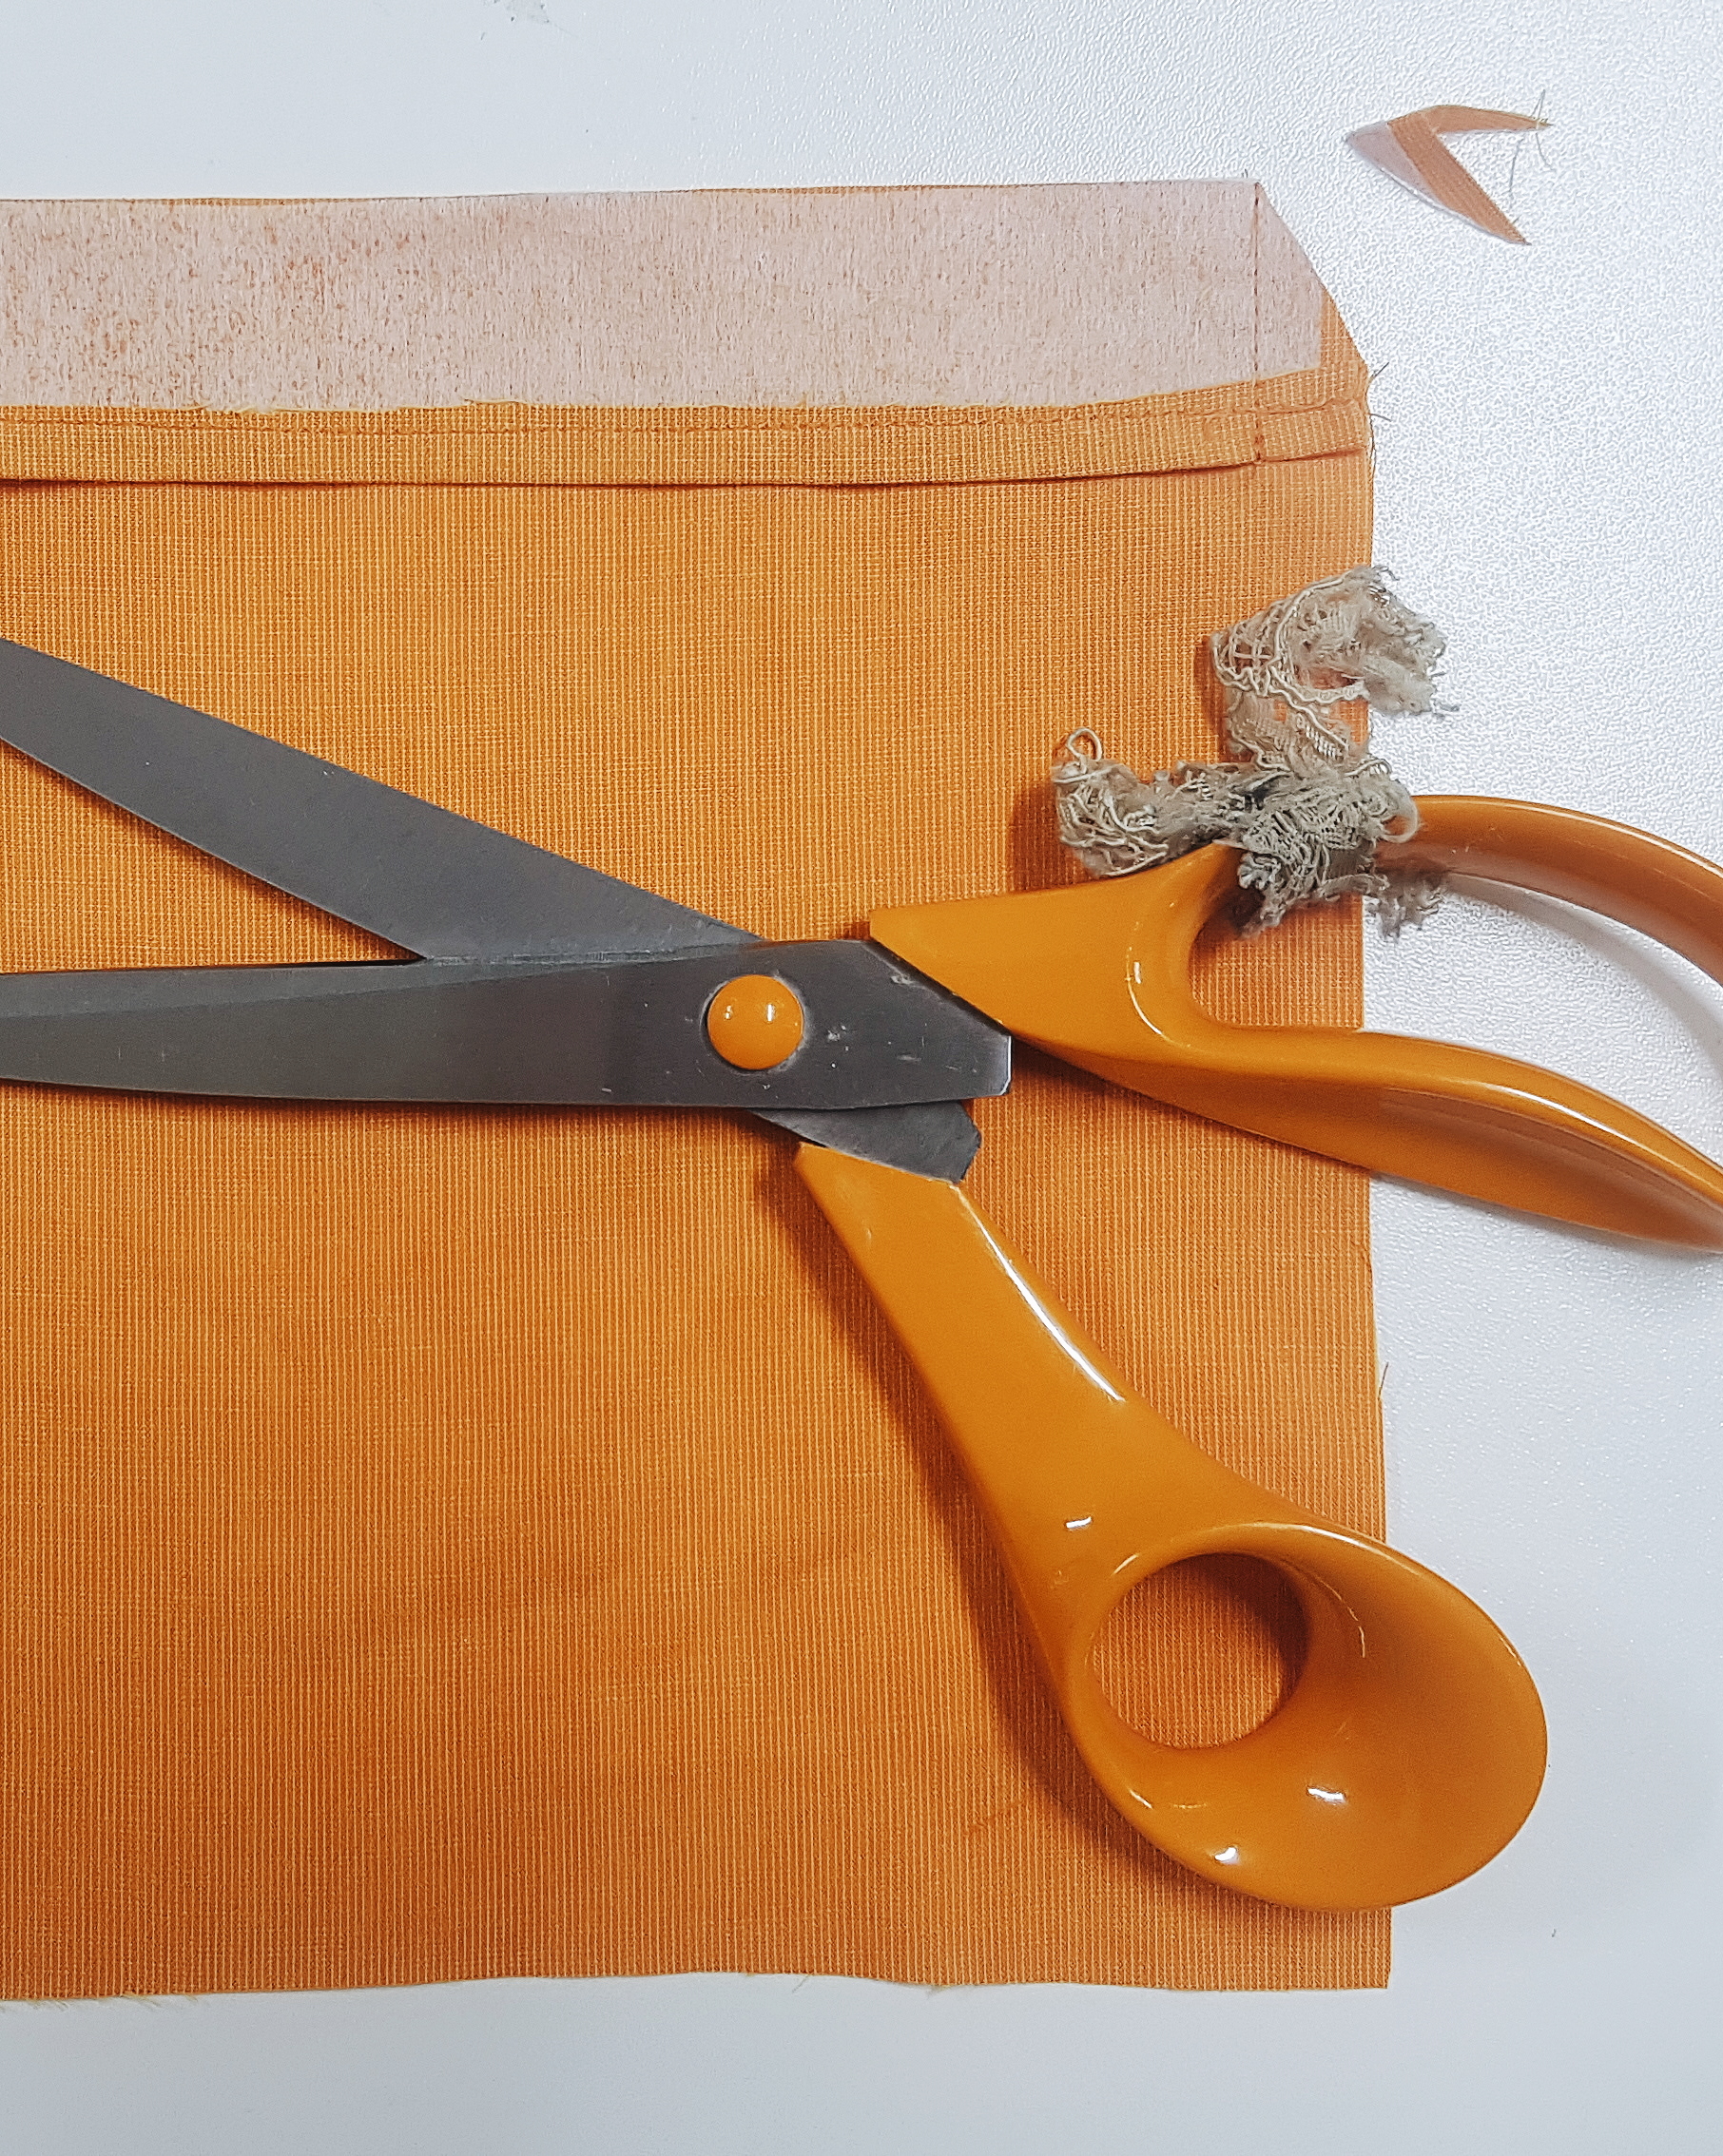
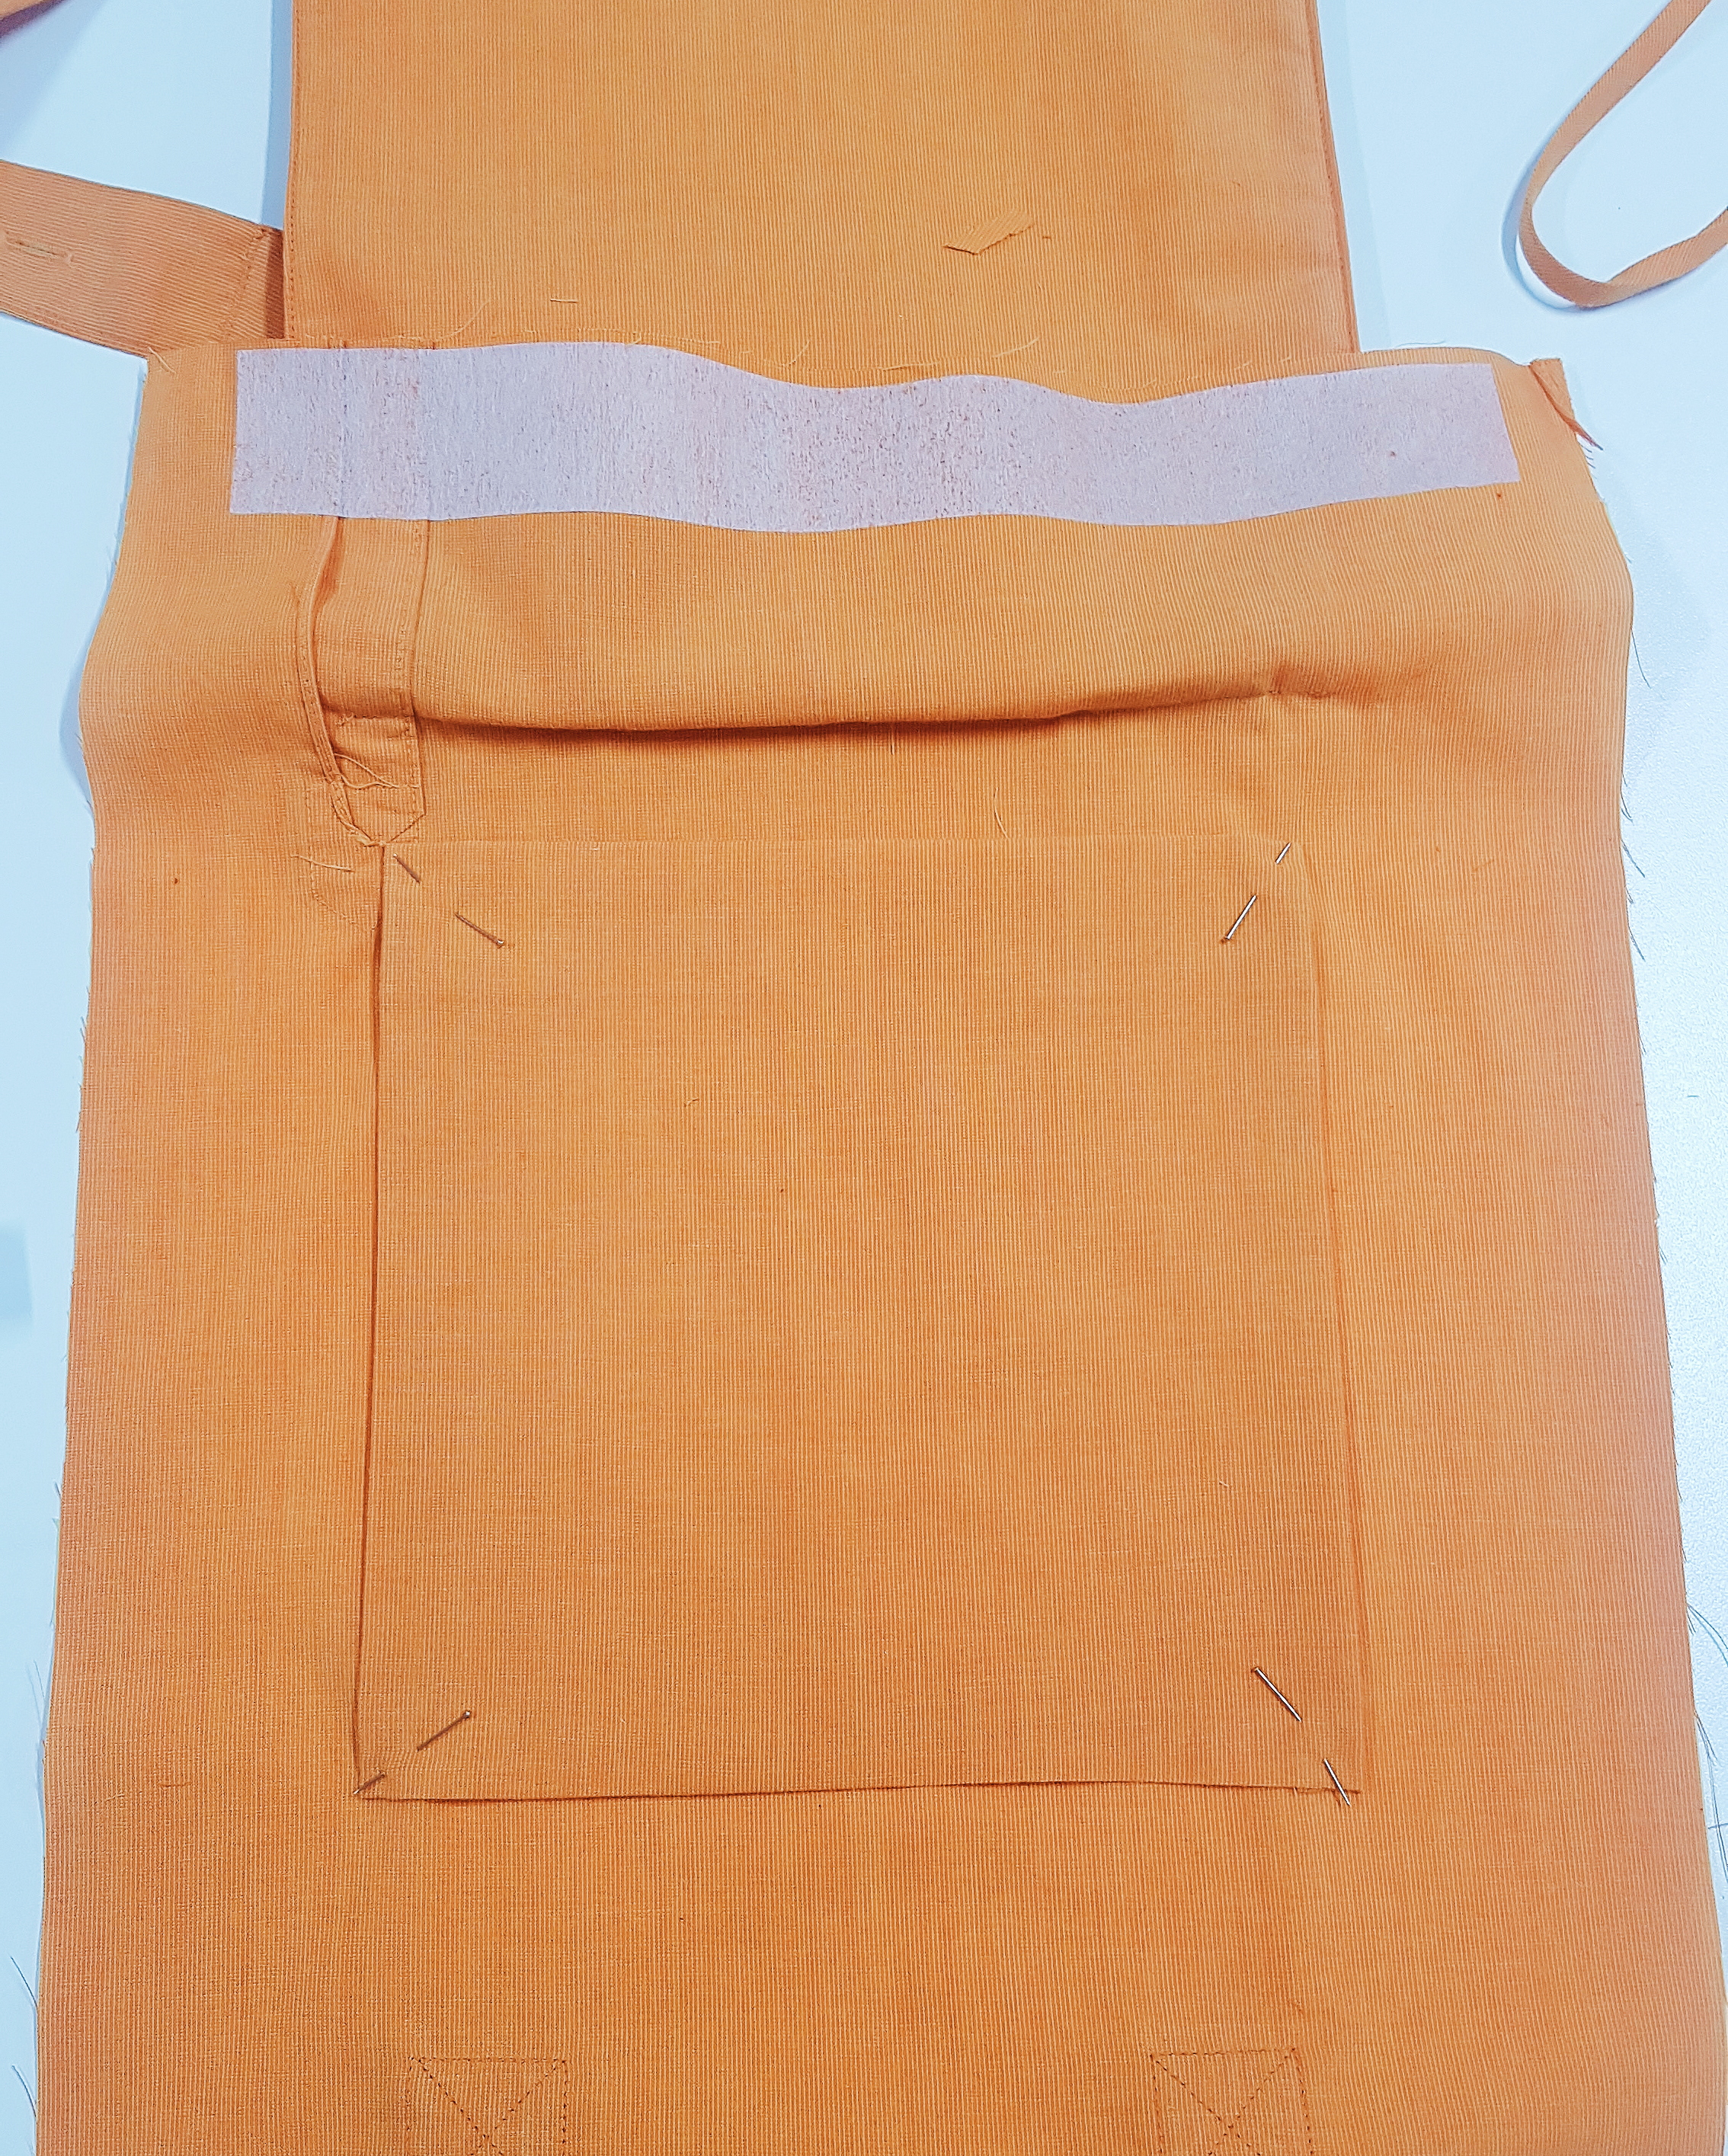
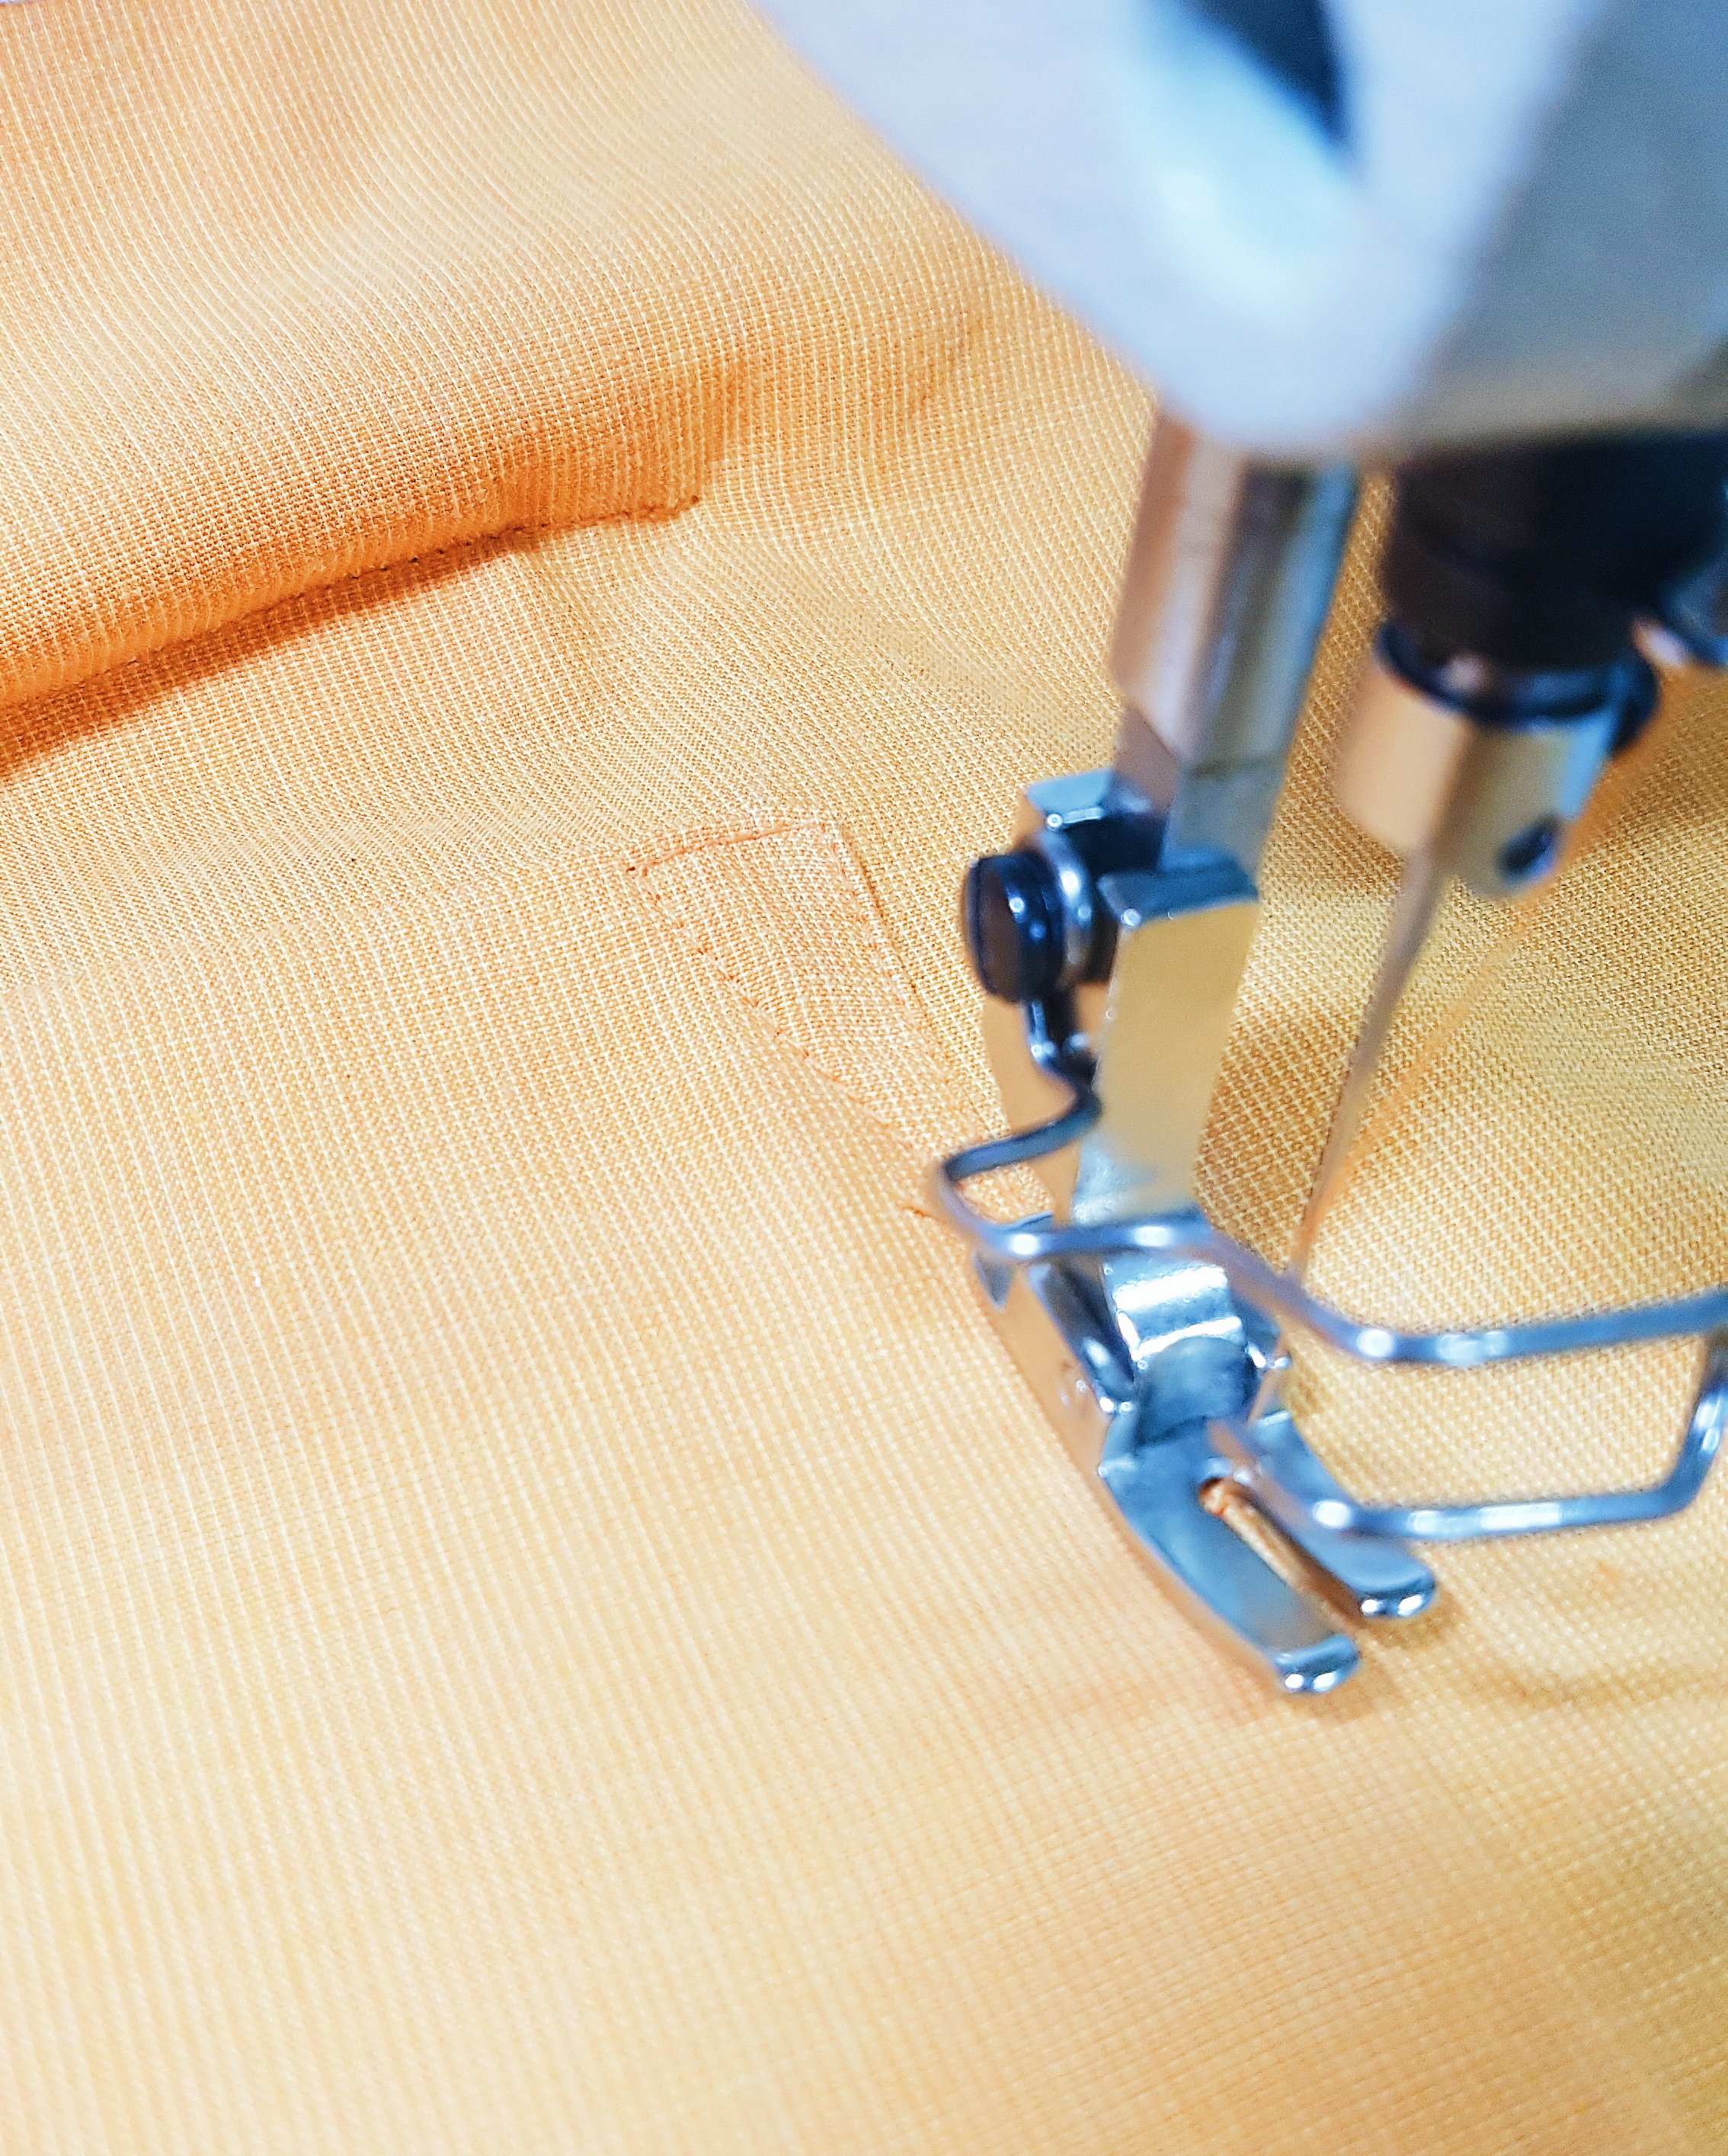
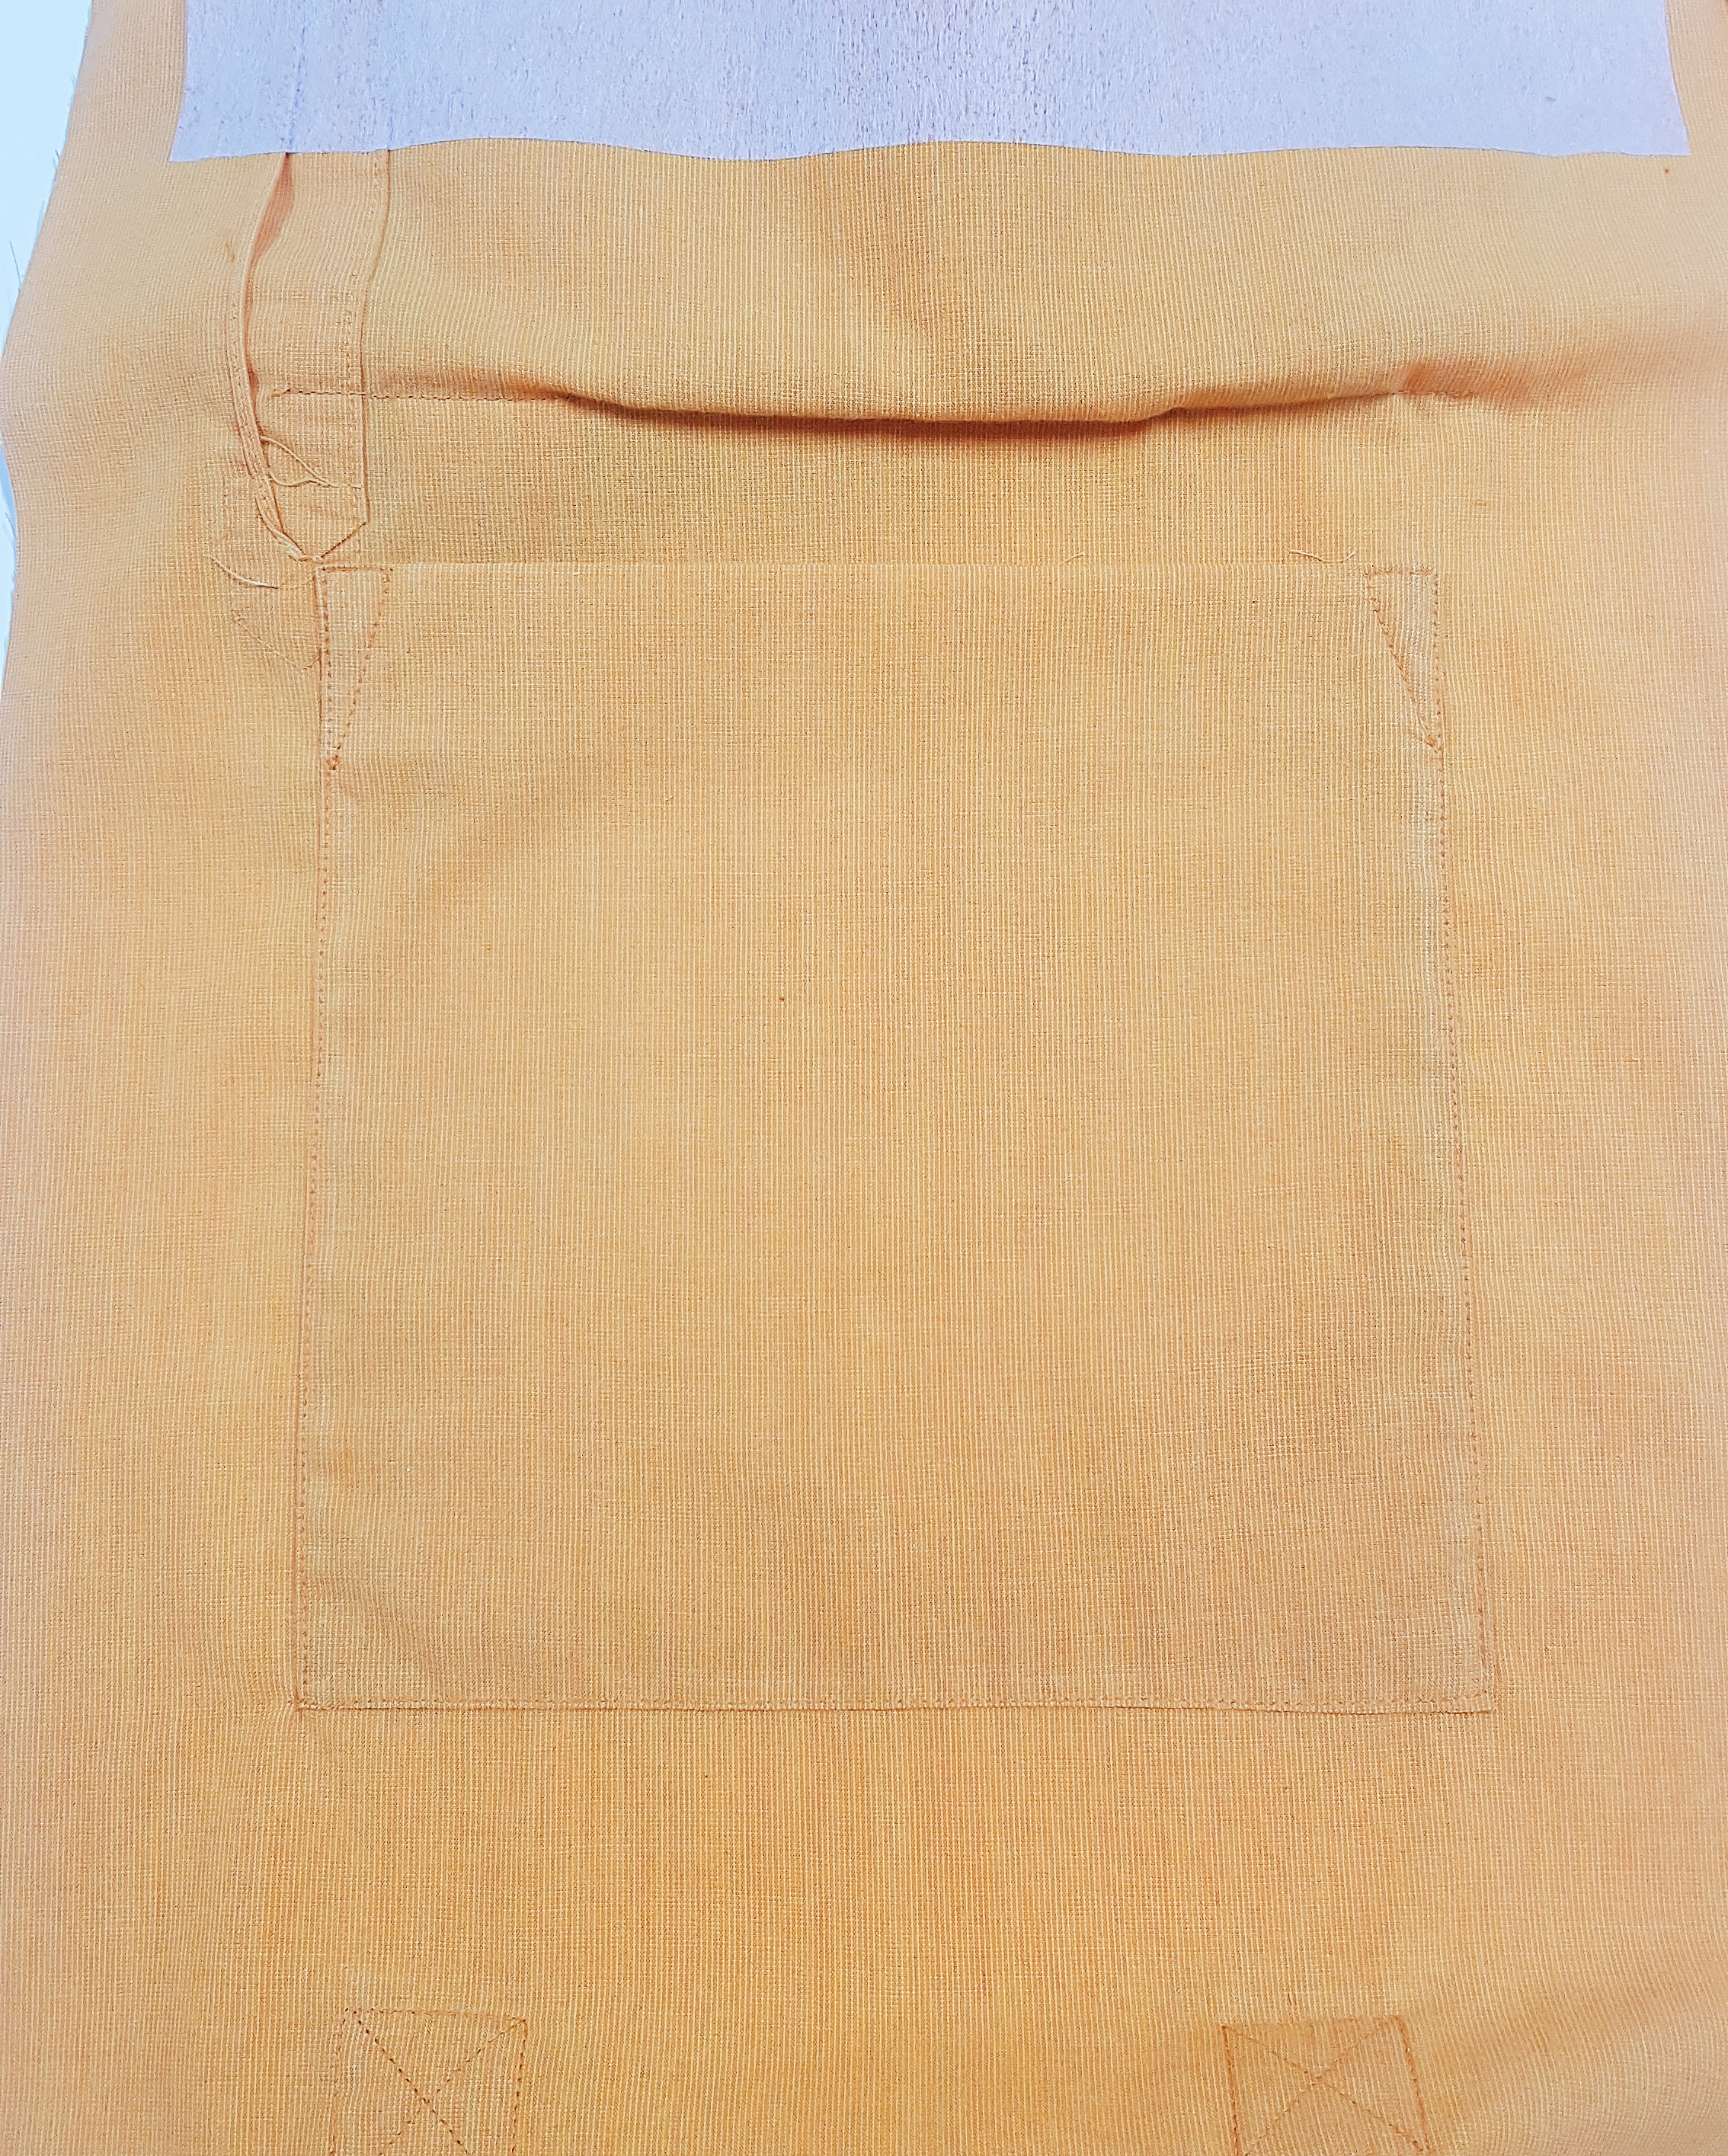
Press the seam allowance in around the edges before pinning to the inside of your back panel and edge stitching in place. Ensure you reinforce the top corners of the patch pocket.
Step Eleven
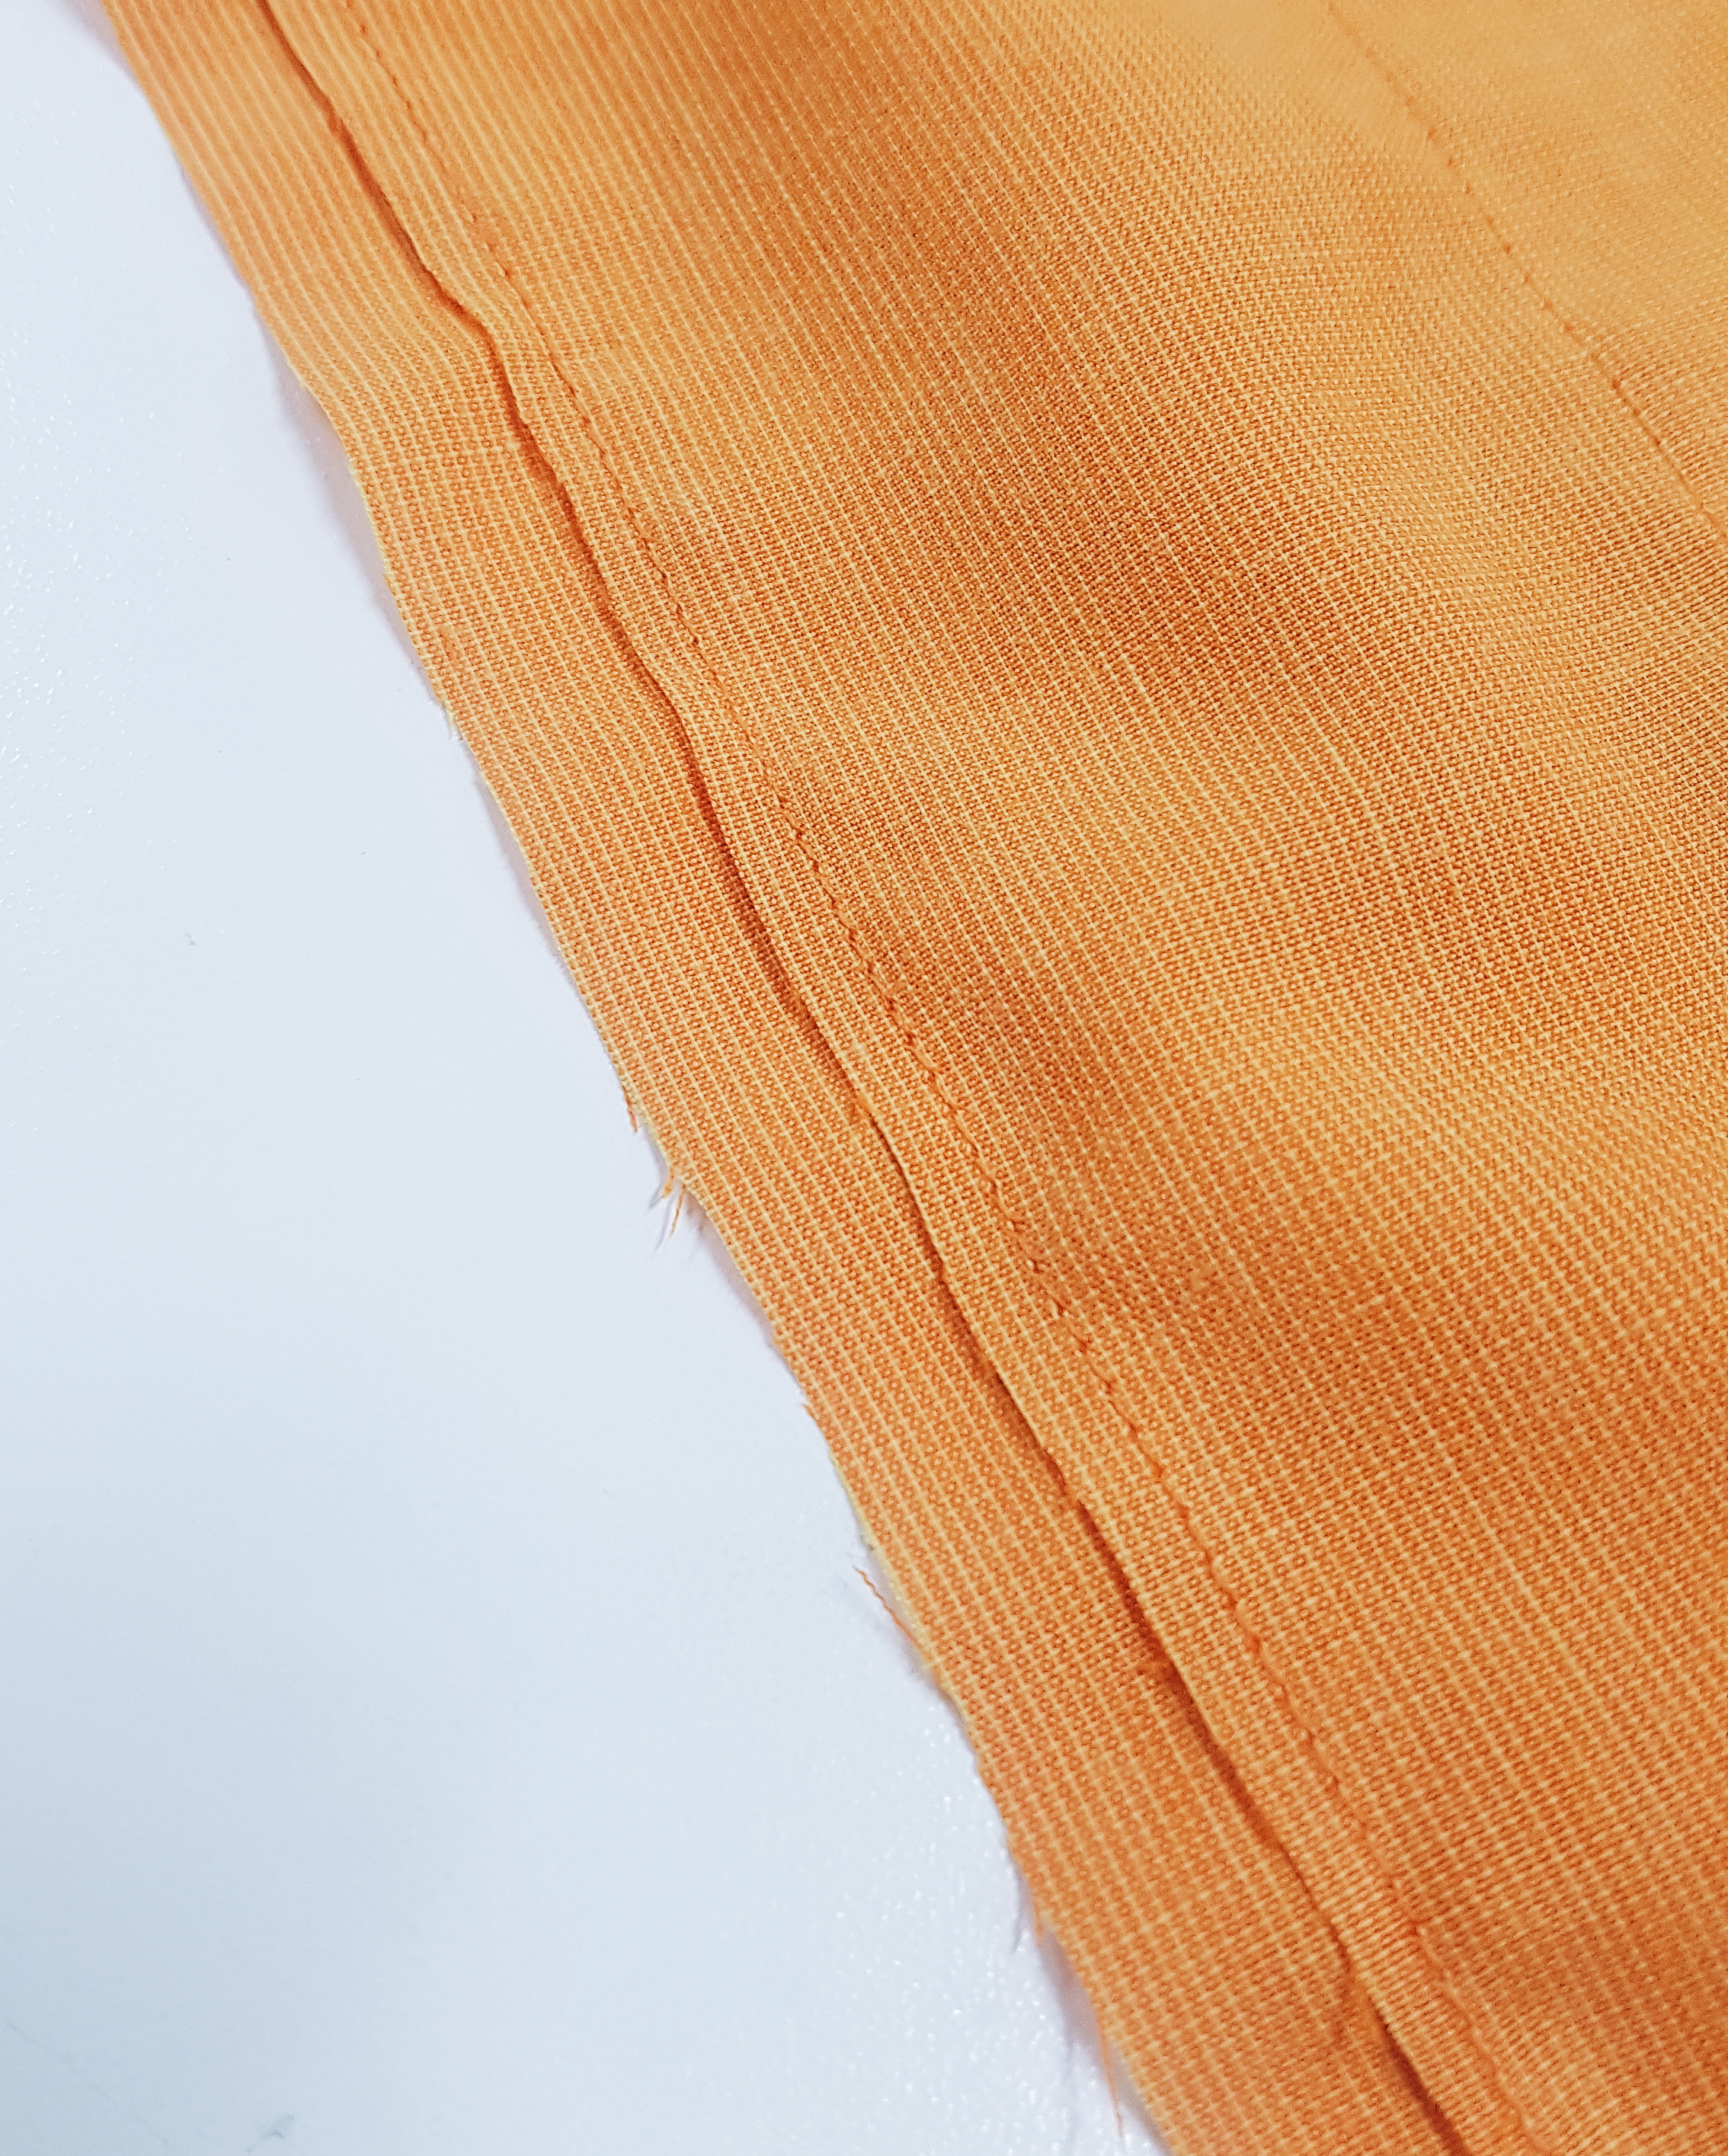
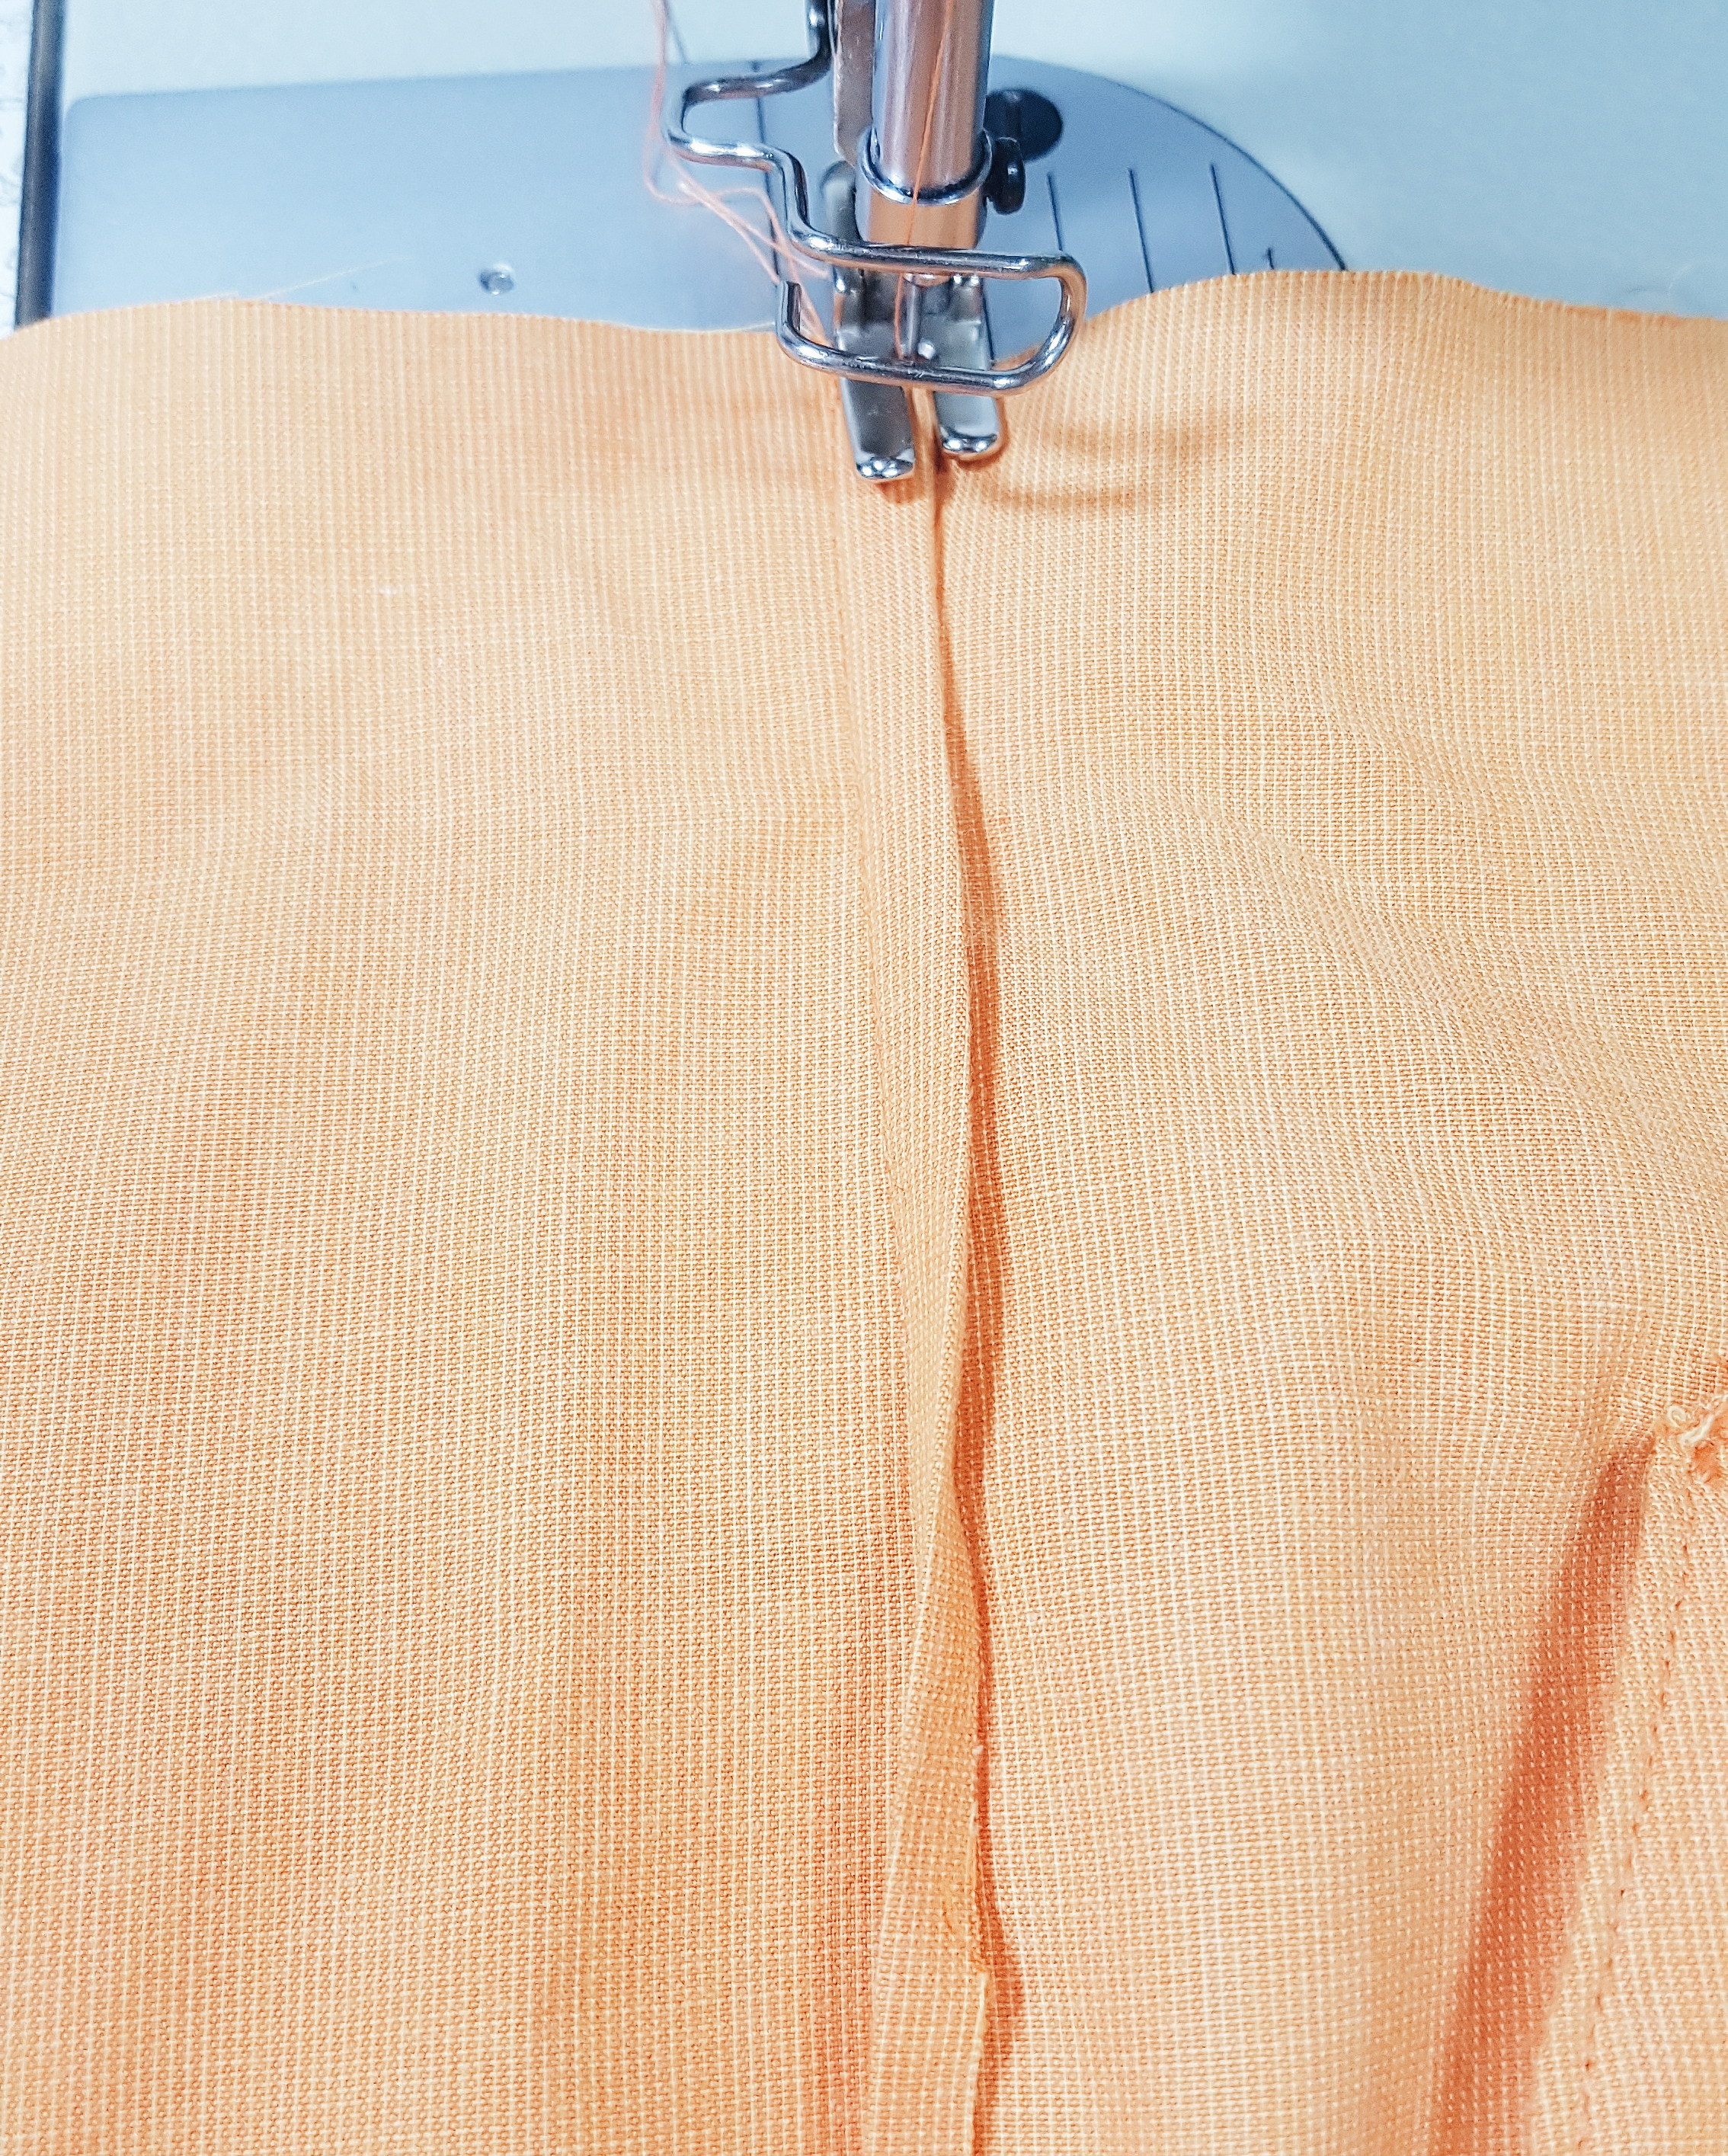
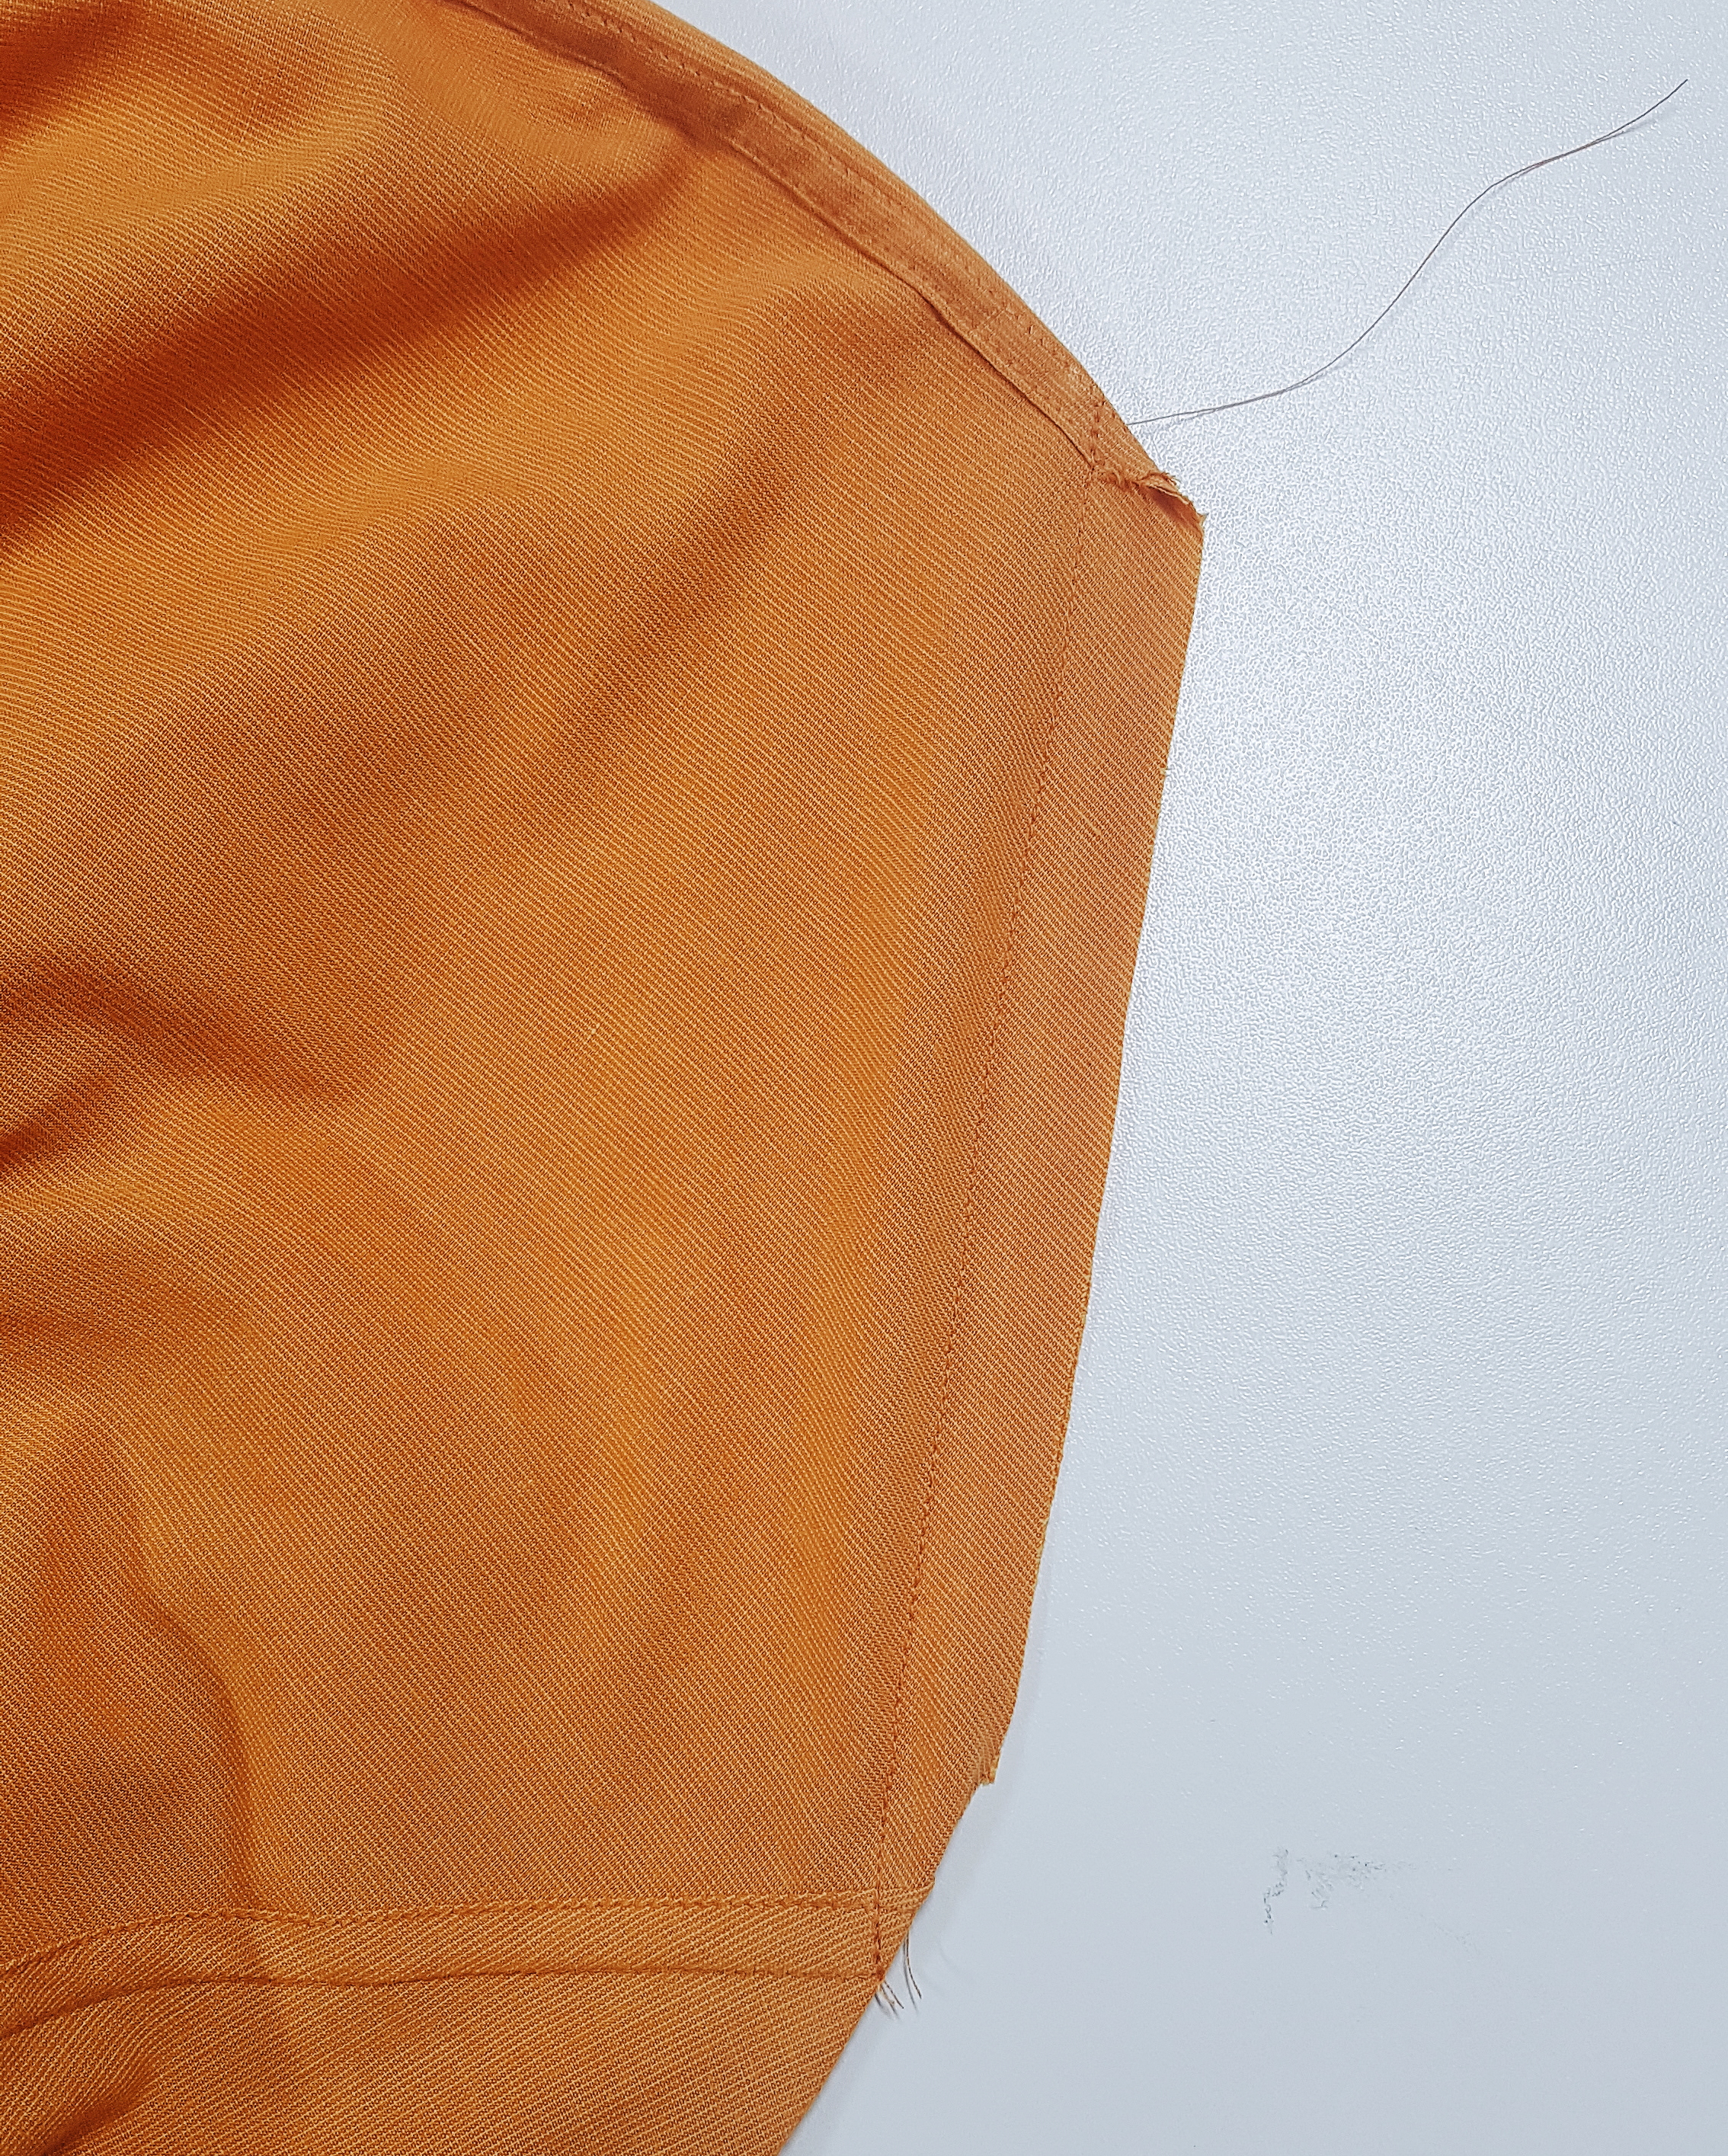
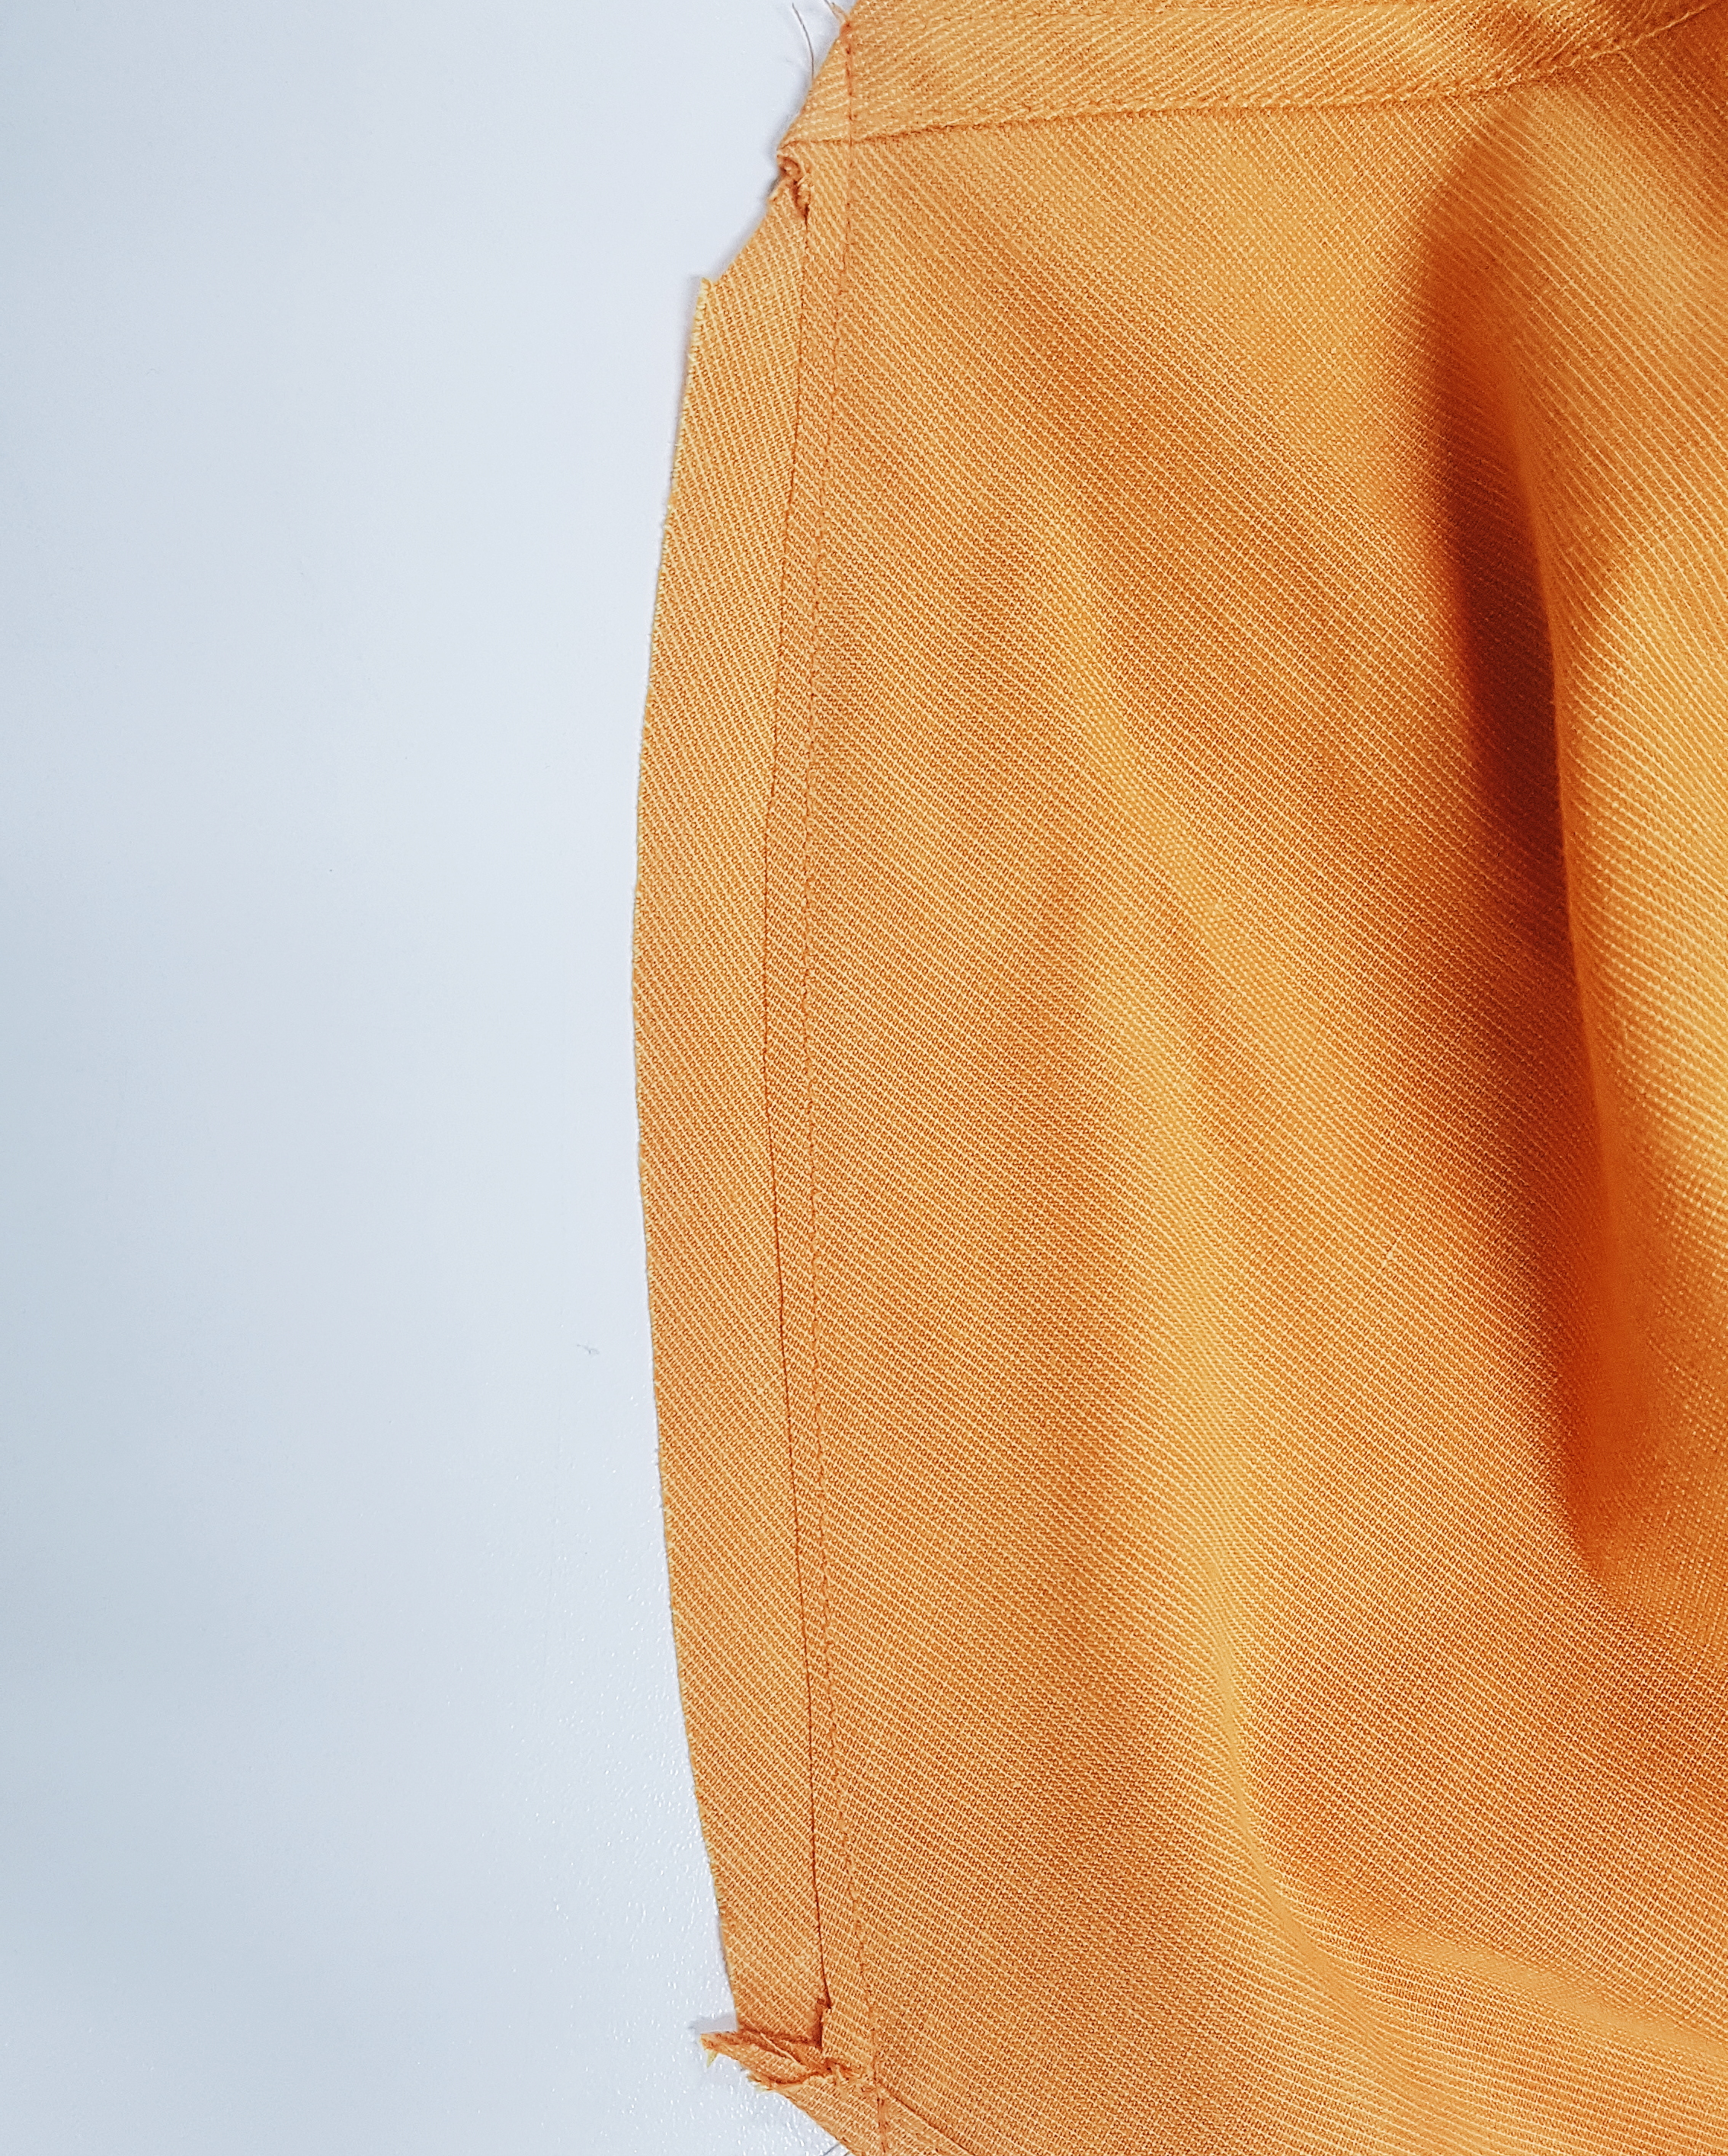
Familiarise yourself with the flat fell seam before piecing the backpack panels together and constructing with this method. Place the wrong sides of the fabric together and stitch a 1.5cm seam allowance.
Trim one of the pieces back by 1cm, press both seams to one side.
Fold the larger allowance by 0.5cm and press to neaten the edge. Fold again to cover the line of stitching and press.
Stitch down the edge of the fold to hold in place and enclose the allowance. Press again.
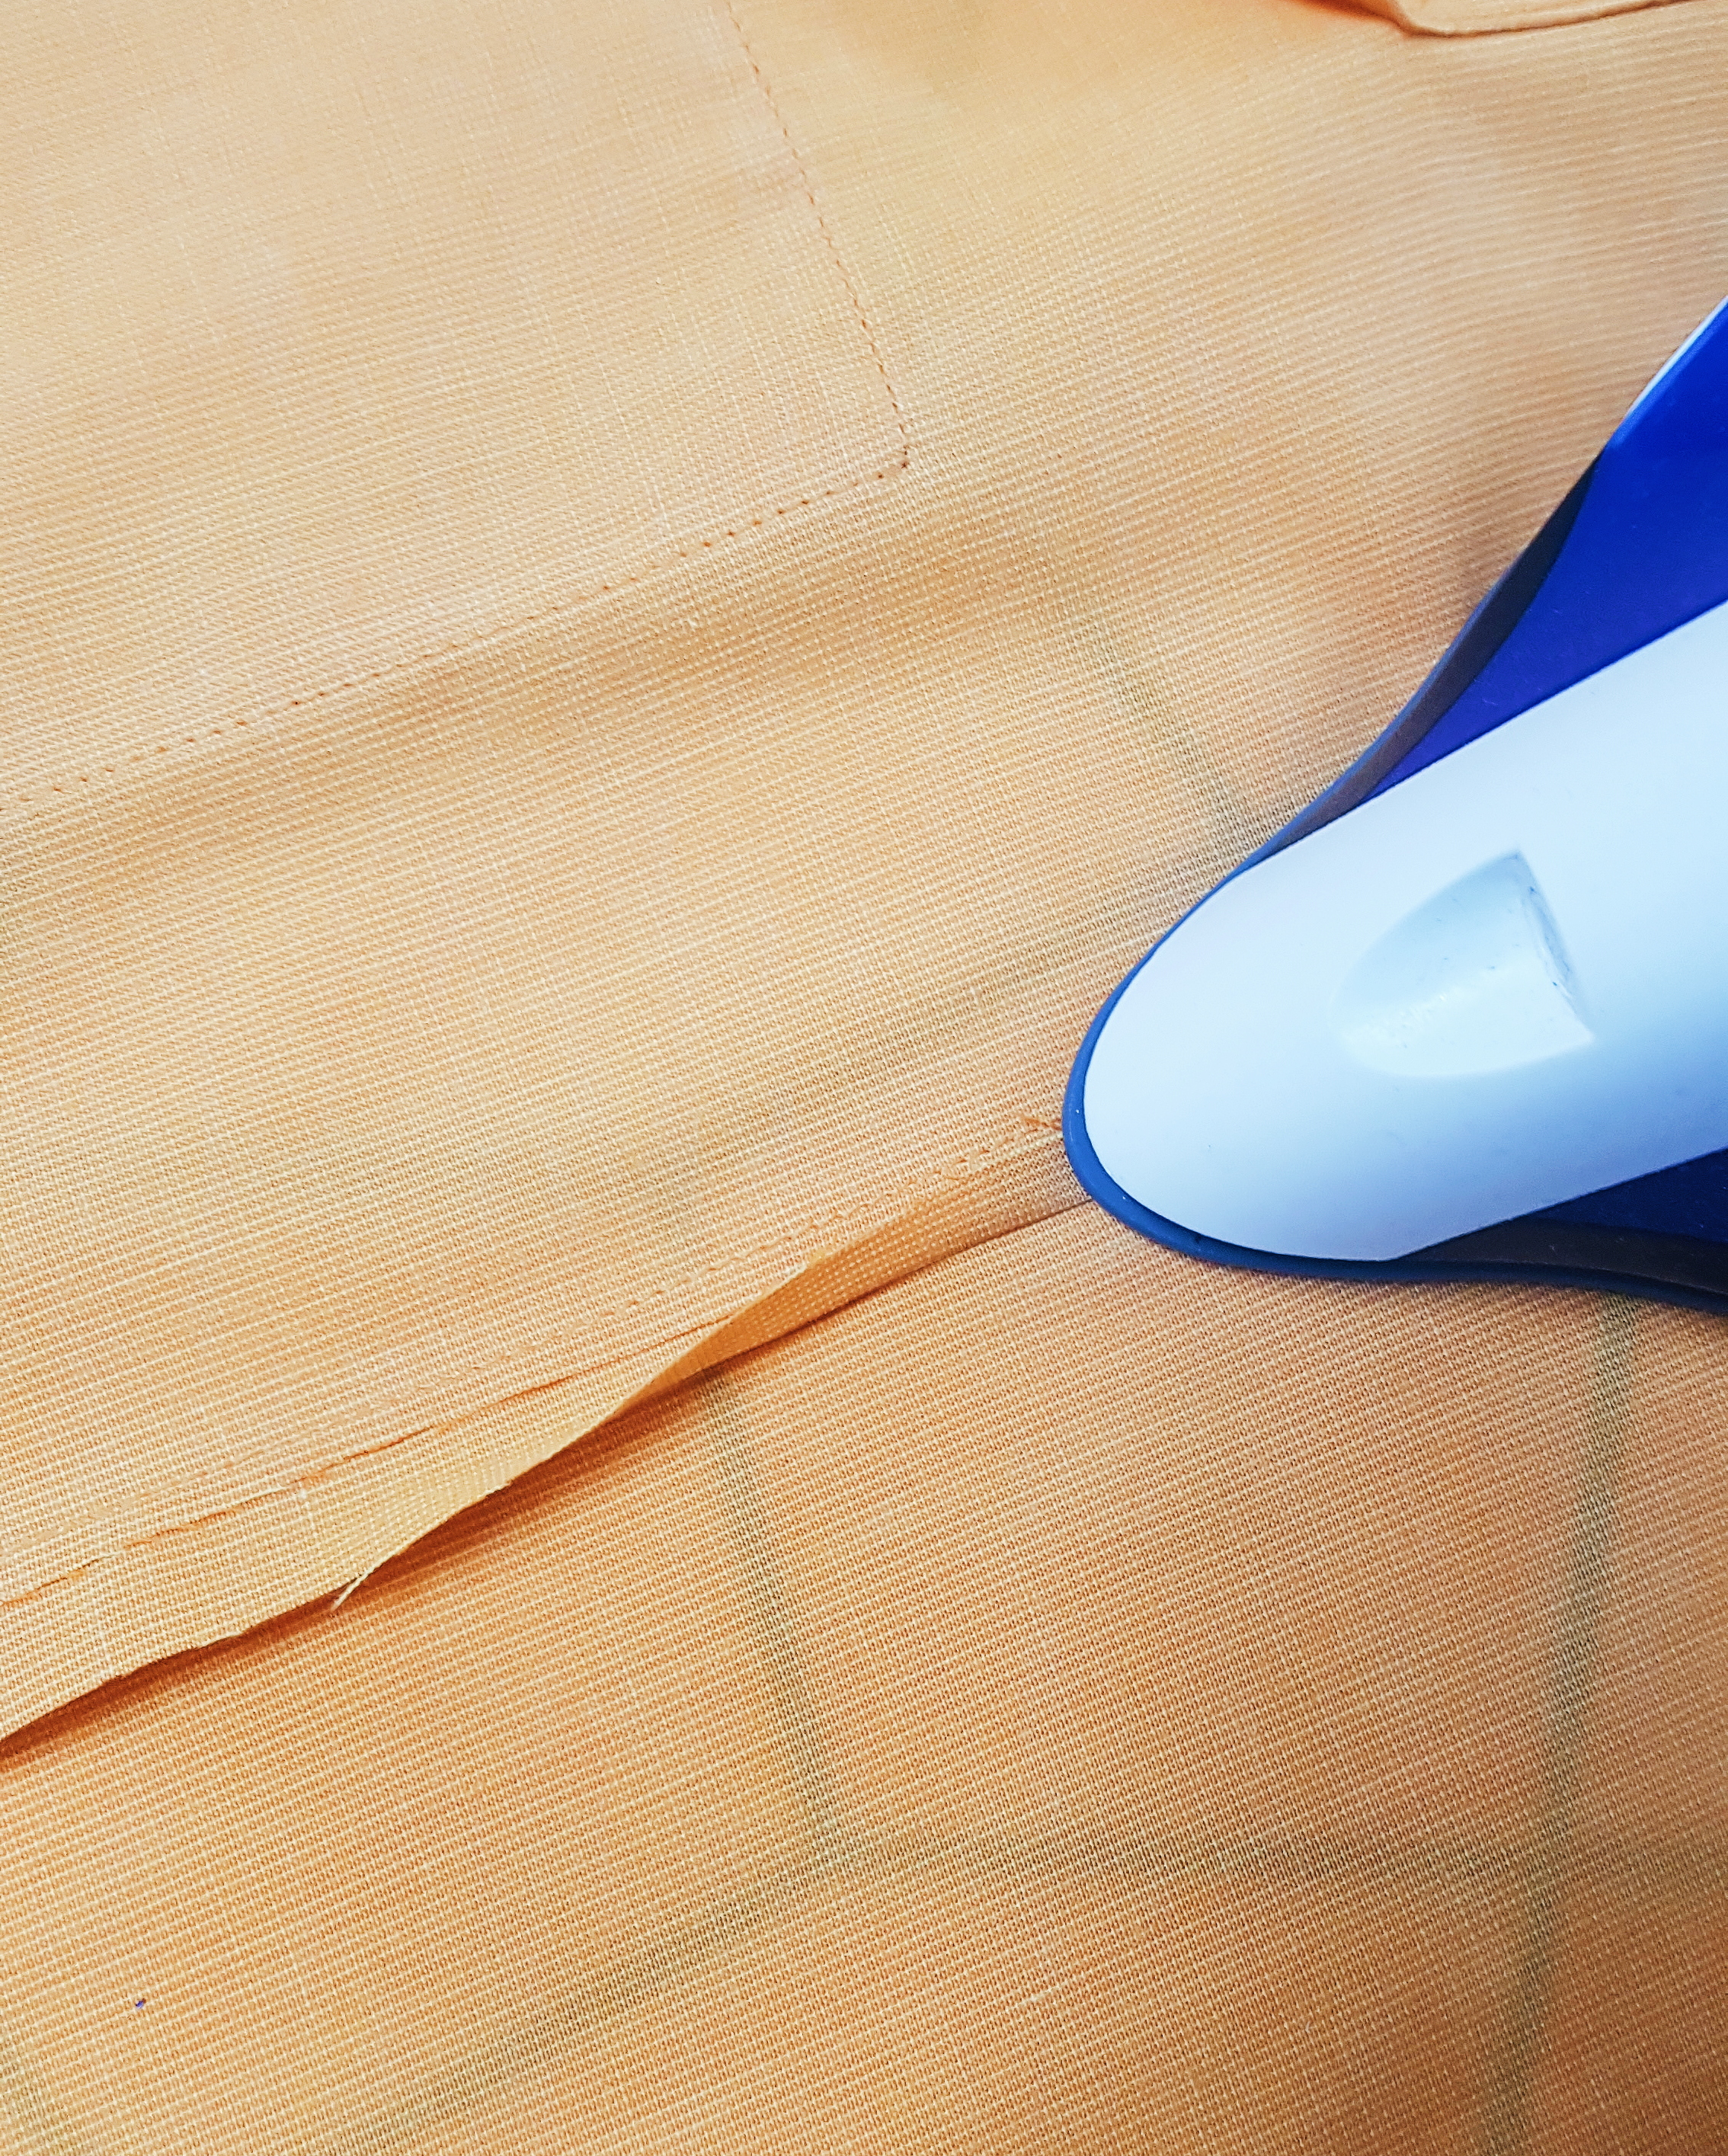
When constructing your bag, avoid the temptation of sewing continuously around the angle of the sides. Sew all straight edges one at a time, ensuring you fold them all in the same direction. The longest edge followed by the short edge on the base.
You will find it easier to press into the corners with a tailor’s ham or sleeve roll. Take your time when closing up the base of the bag and use the top opening to your advantage.
Step twelve
Turn your bag inside out and fold the top of the facing down by 1cm. Press. Fold a further 3cm where originally notched (the notches will be hidden by your flat fell seam so don’t worry). Press again.
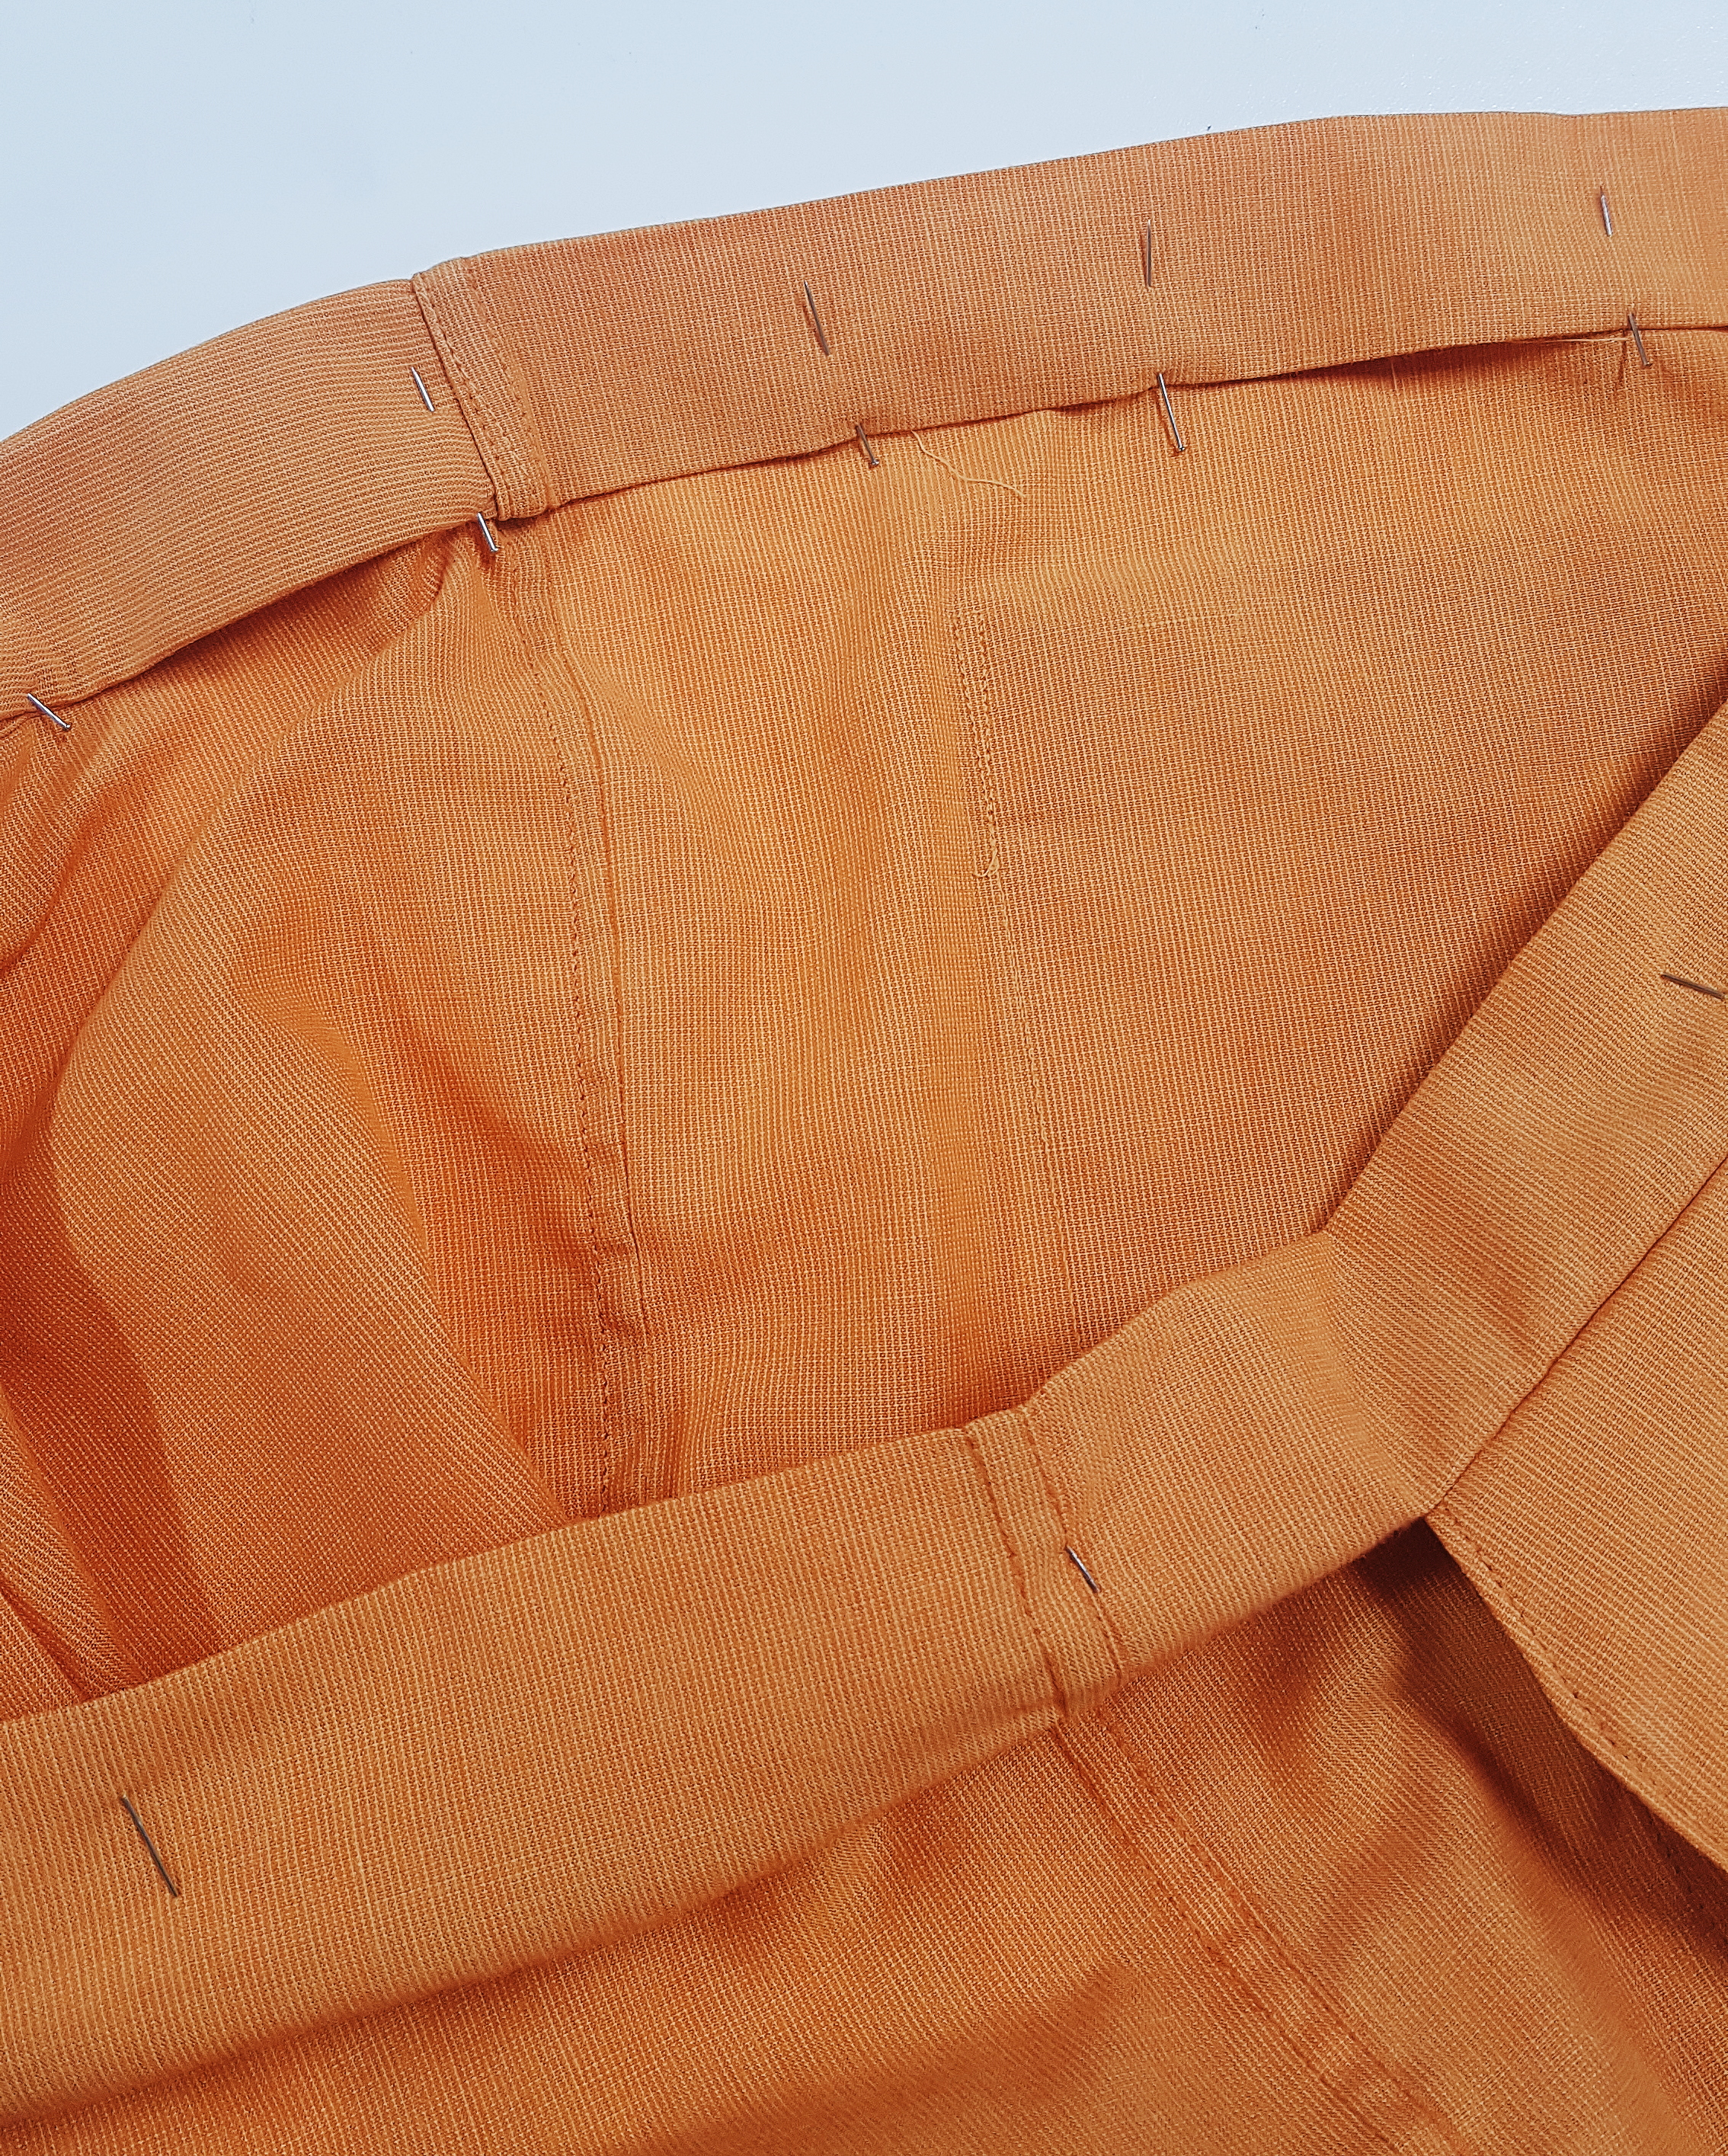
Pin in place and secure your facing with a line of stitching.
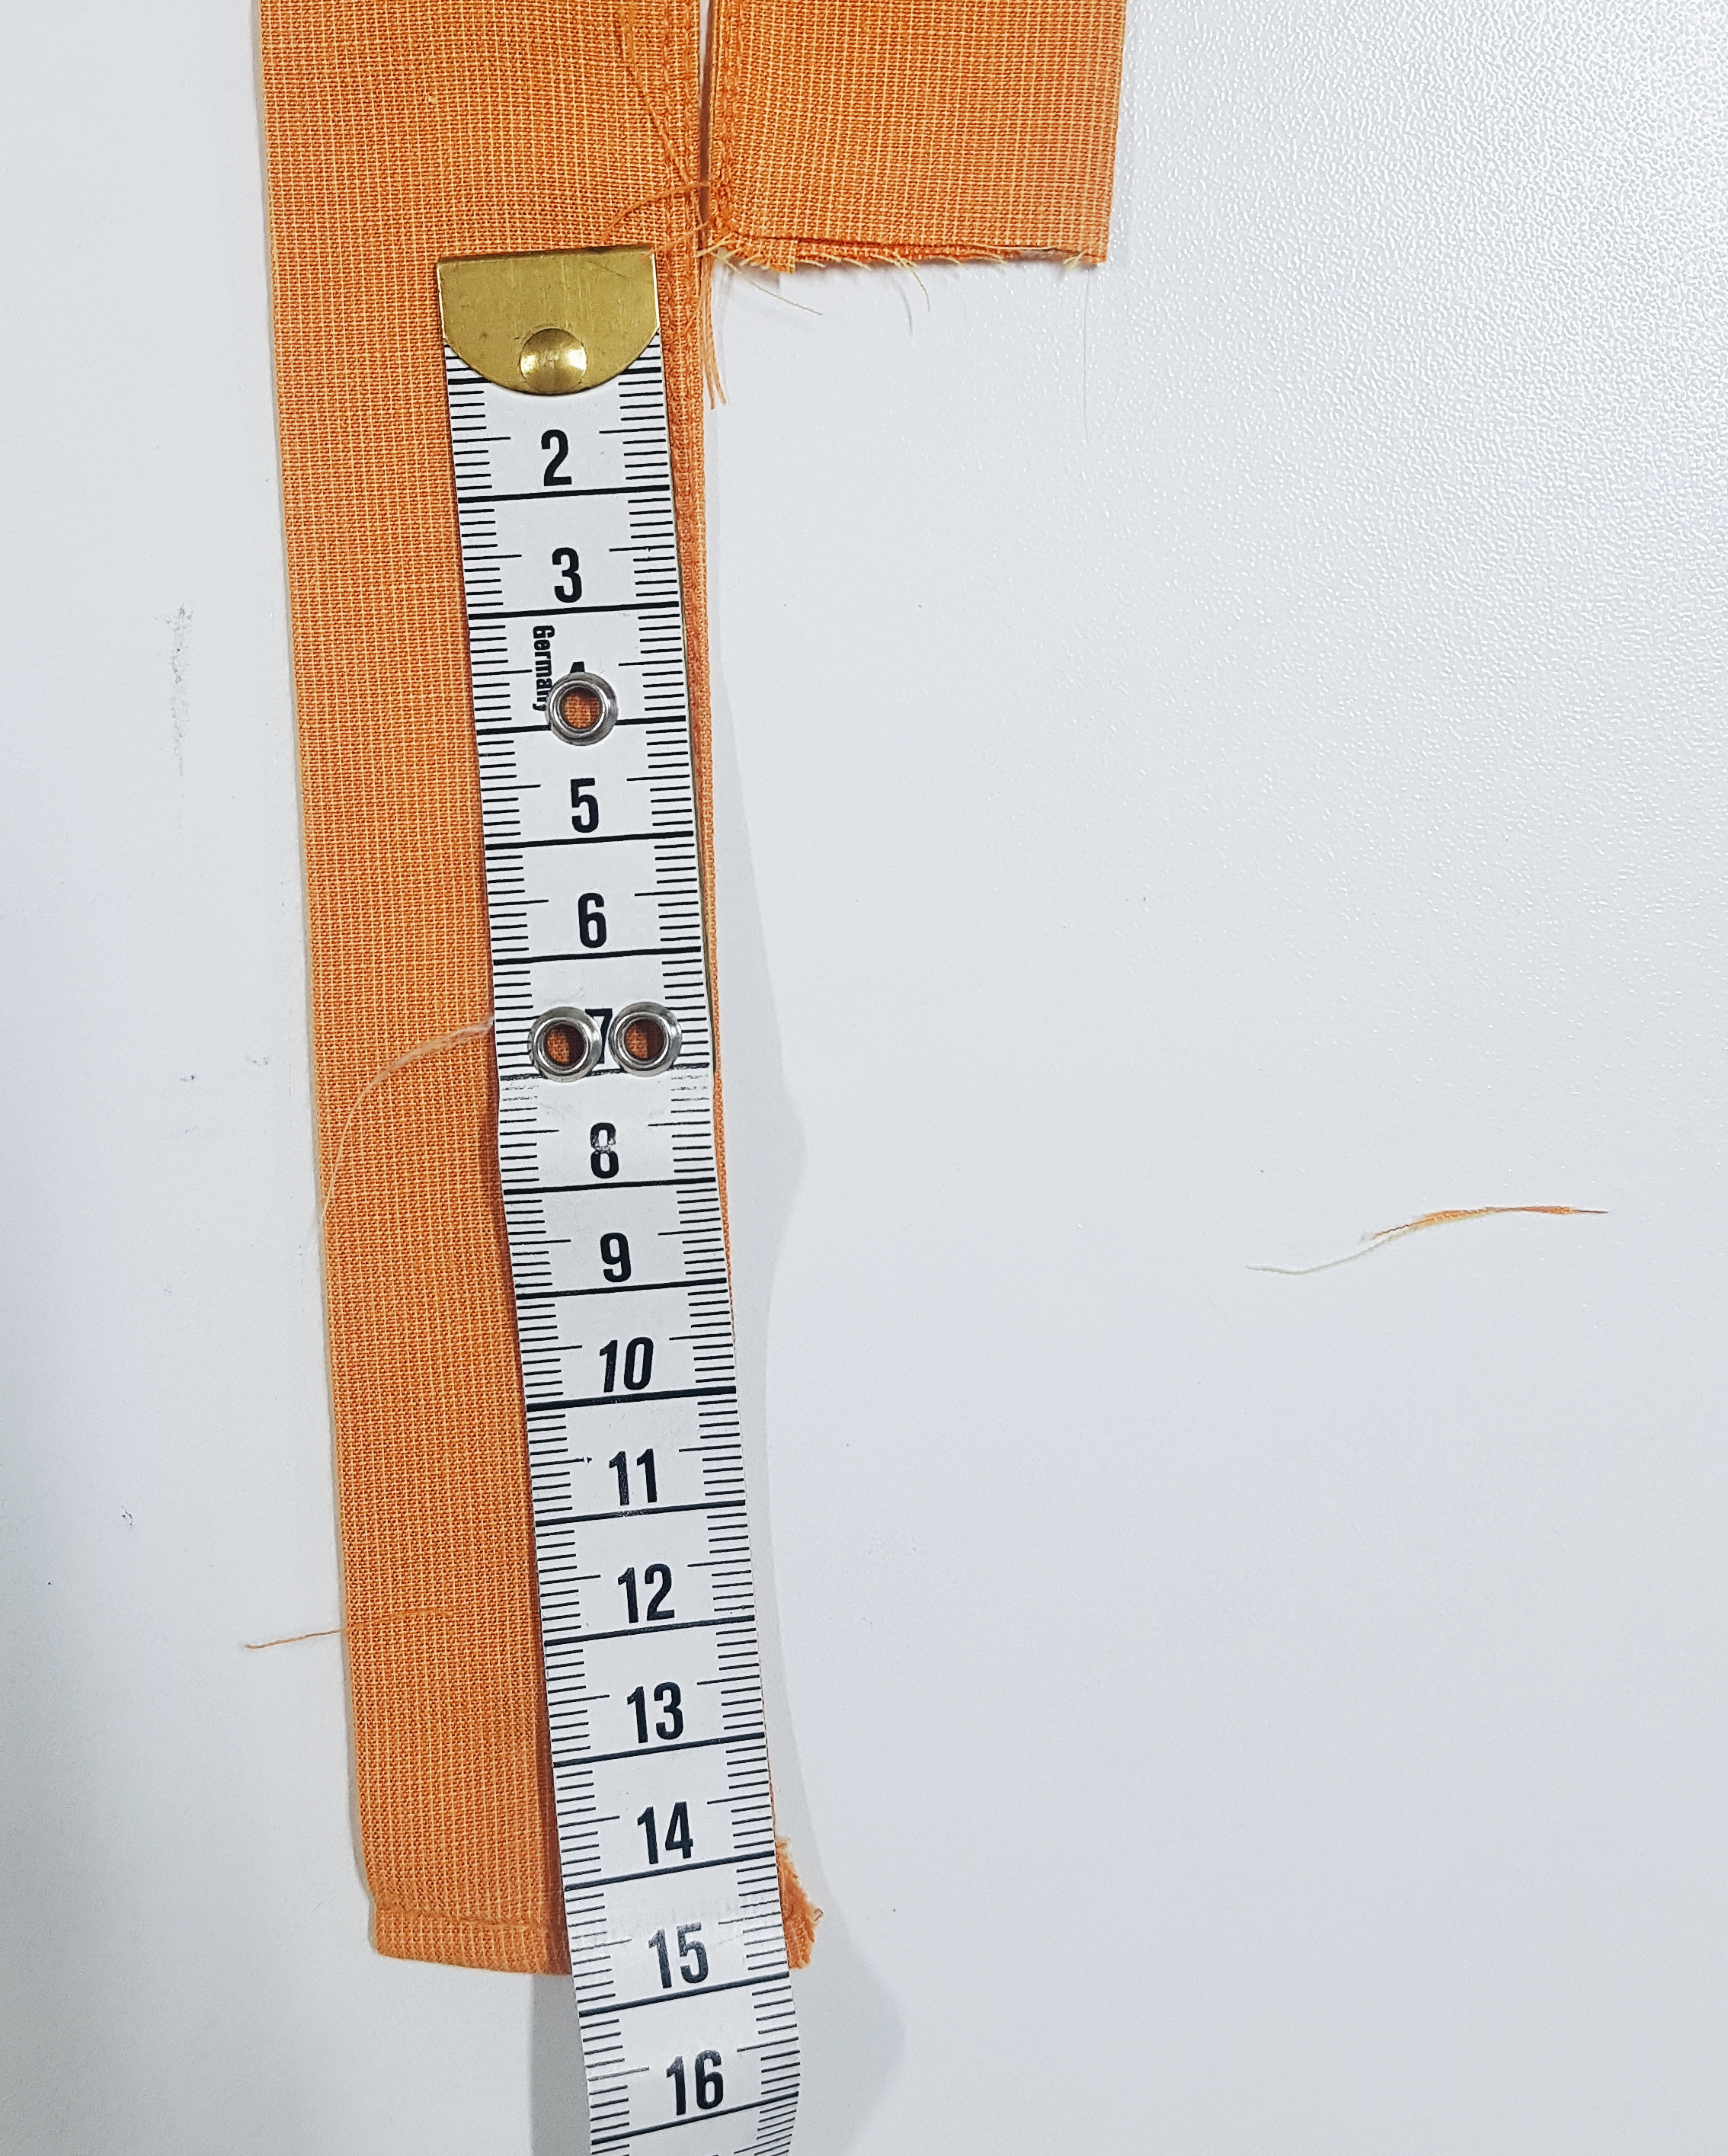
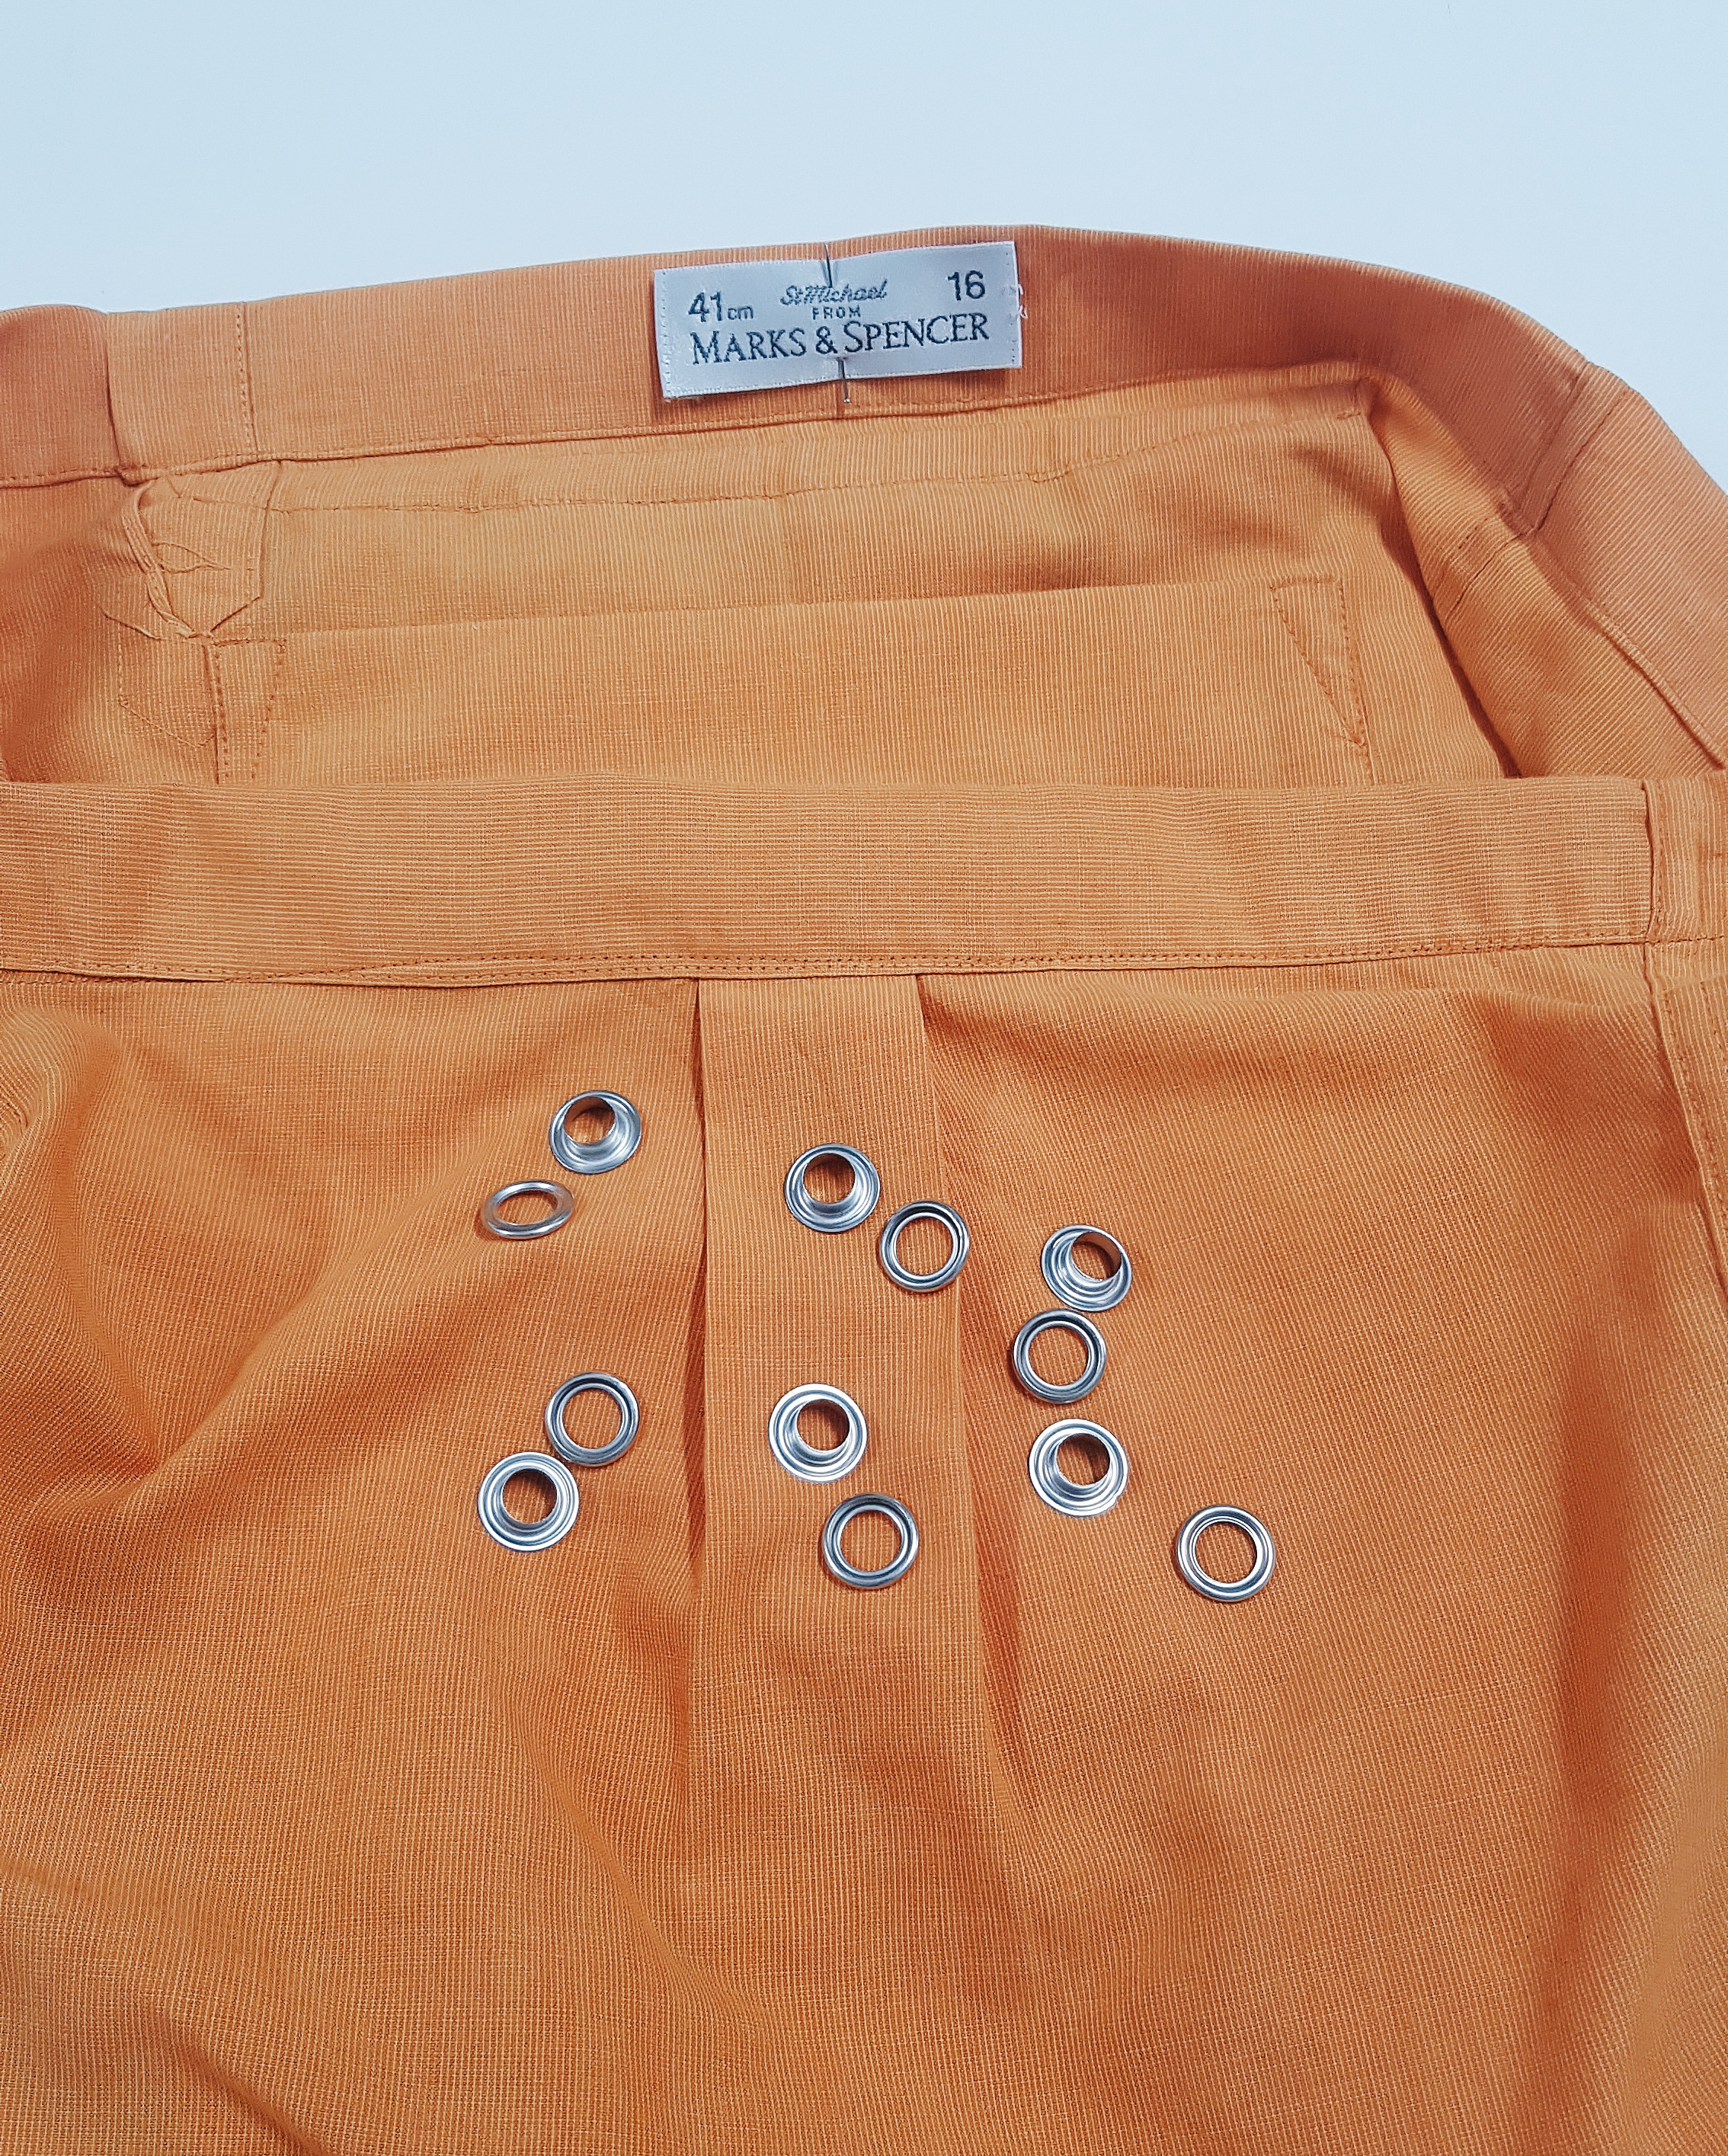
Step thirteen
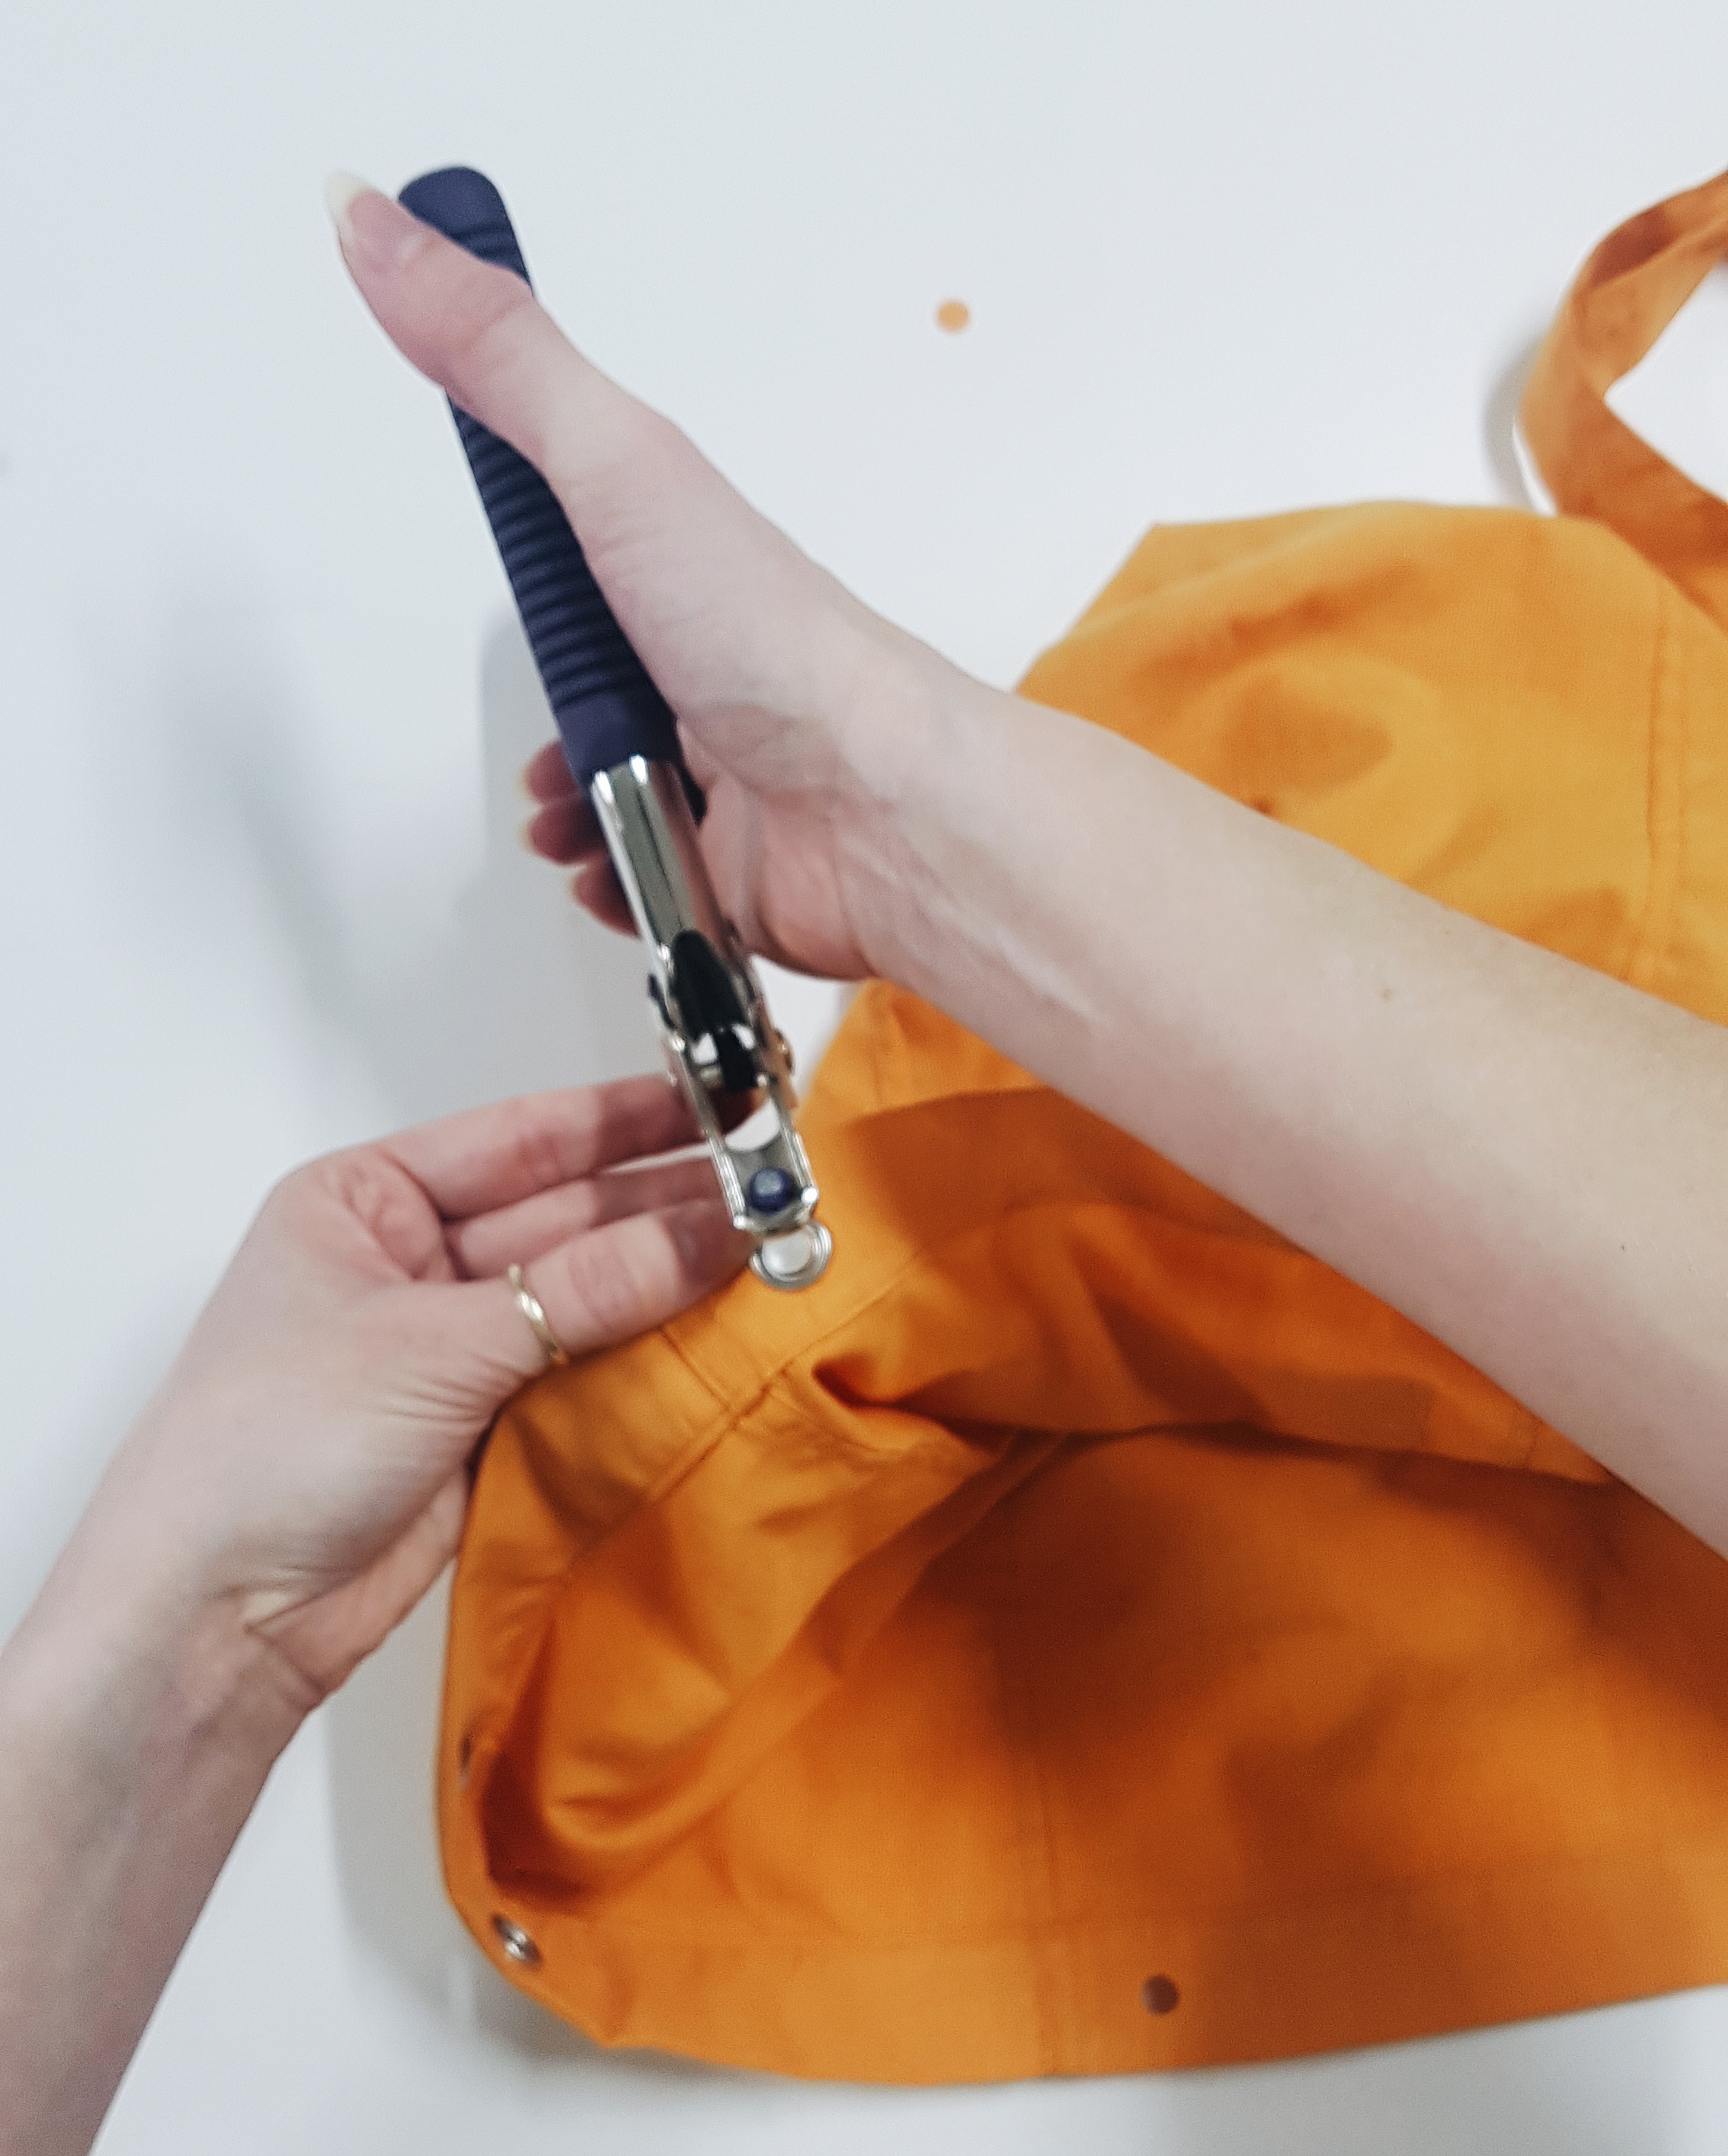
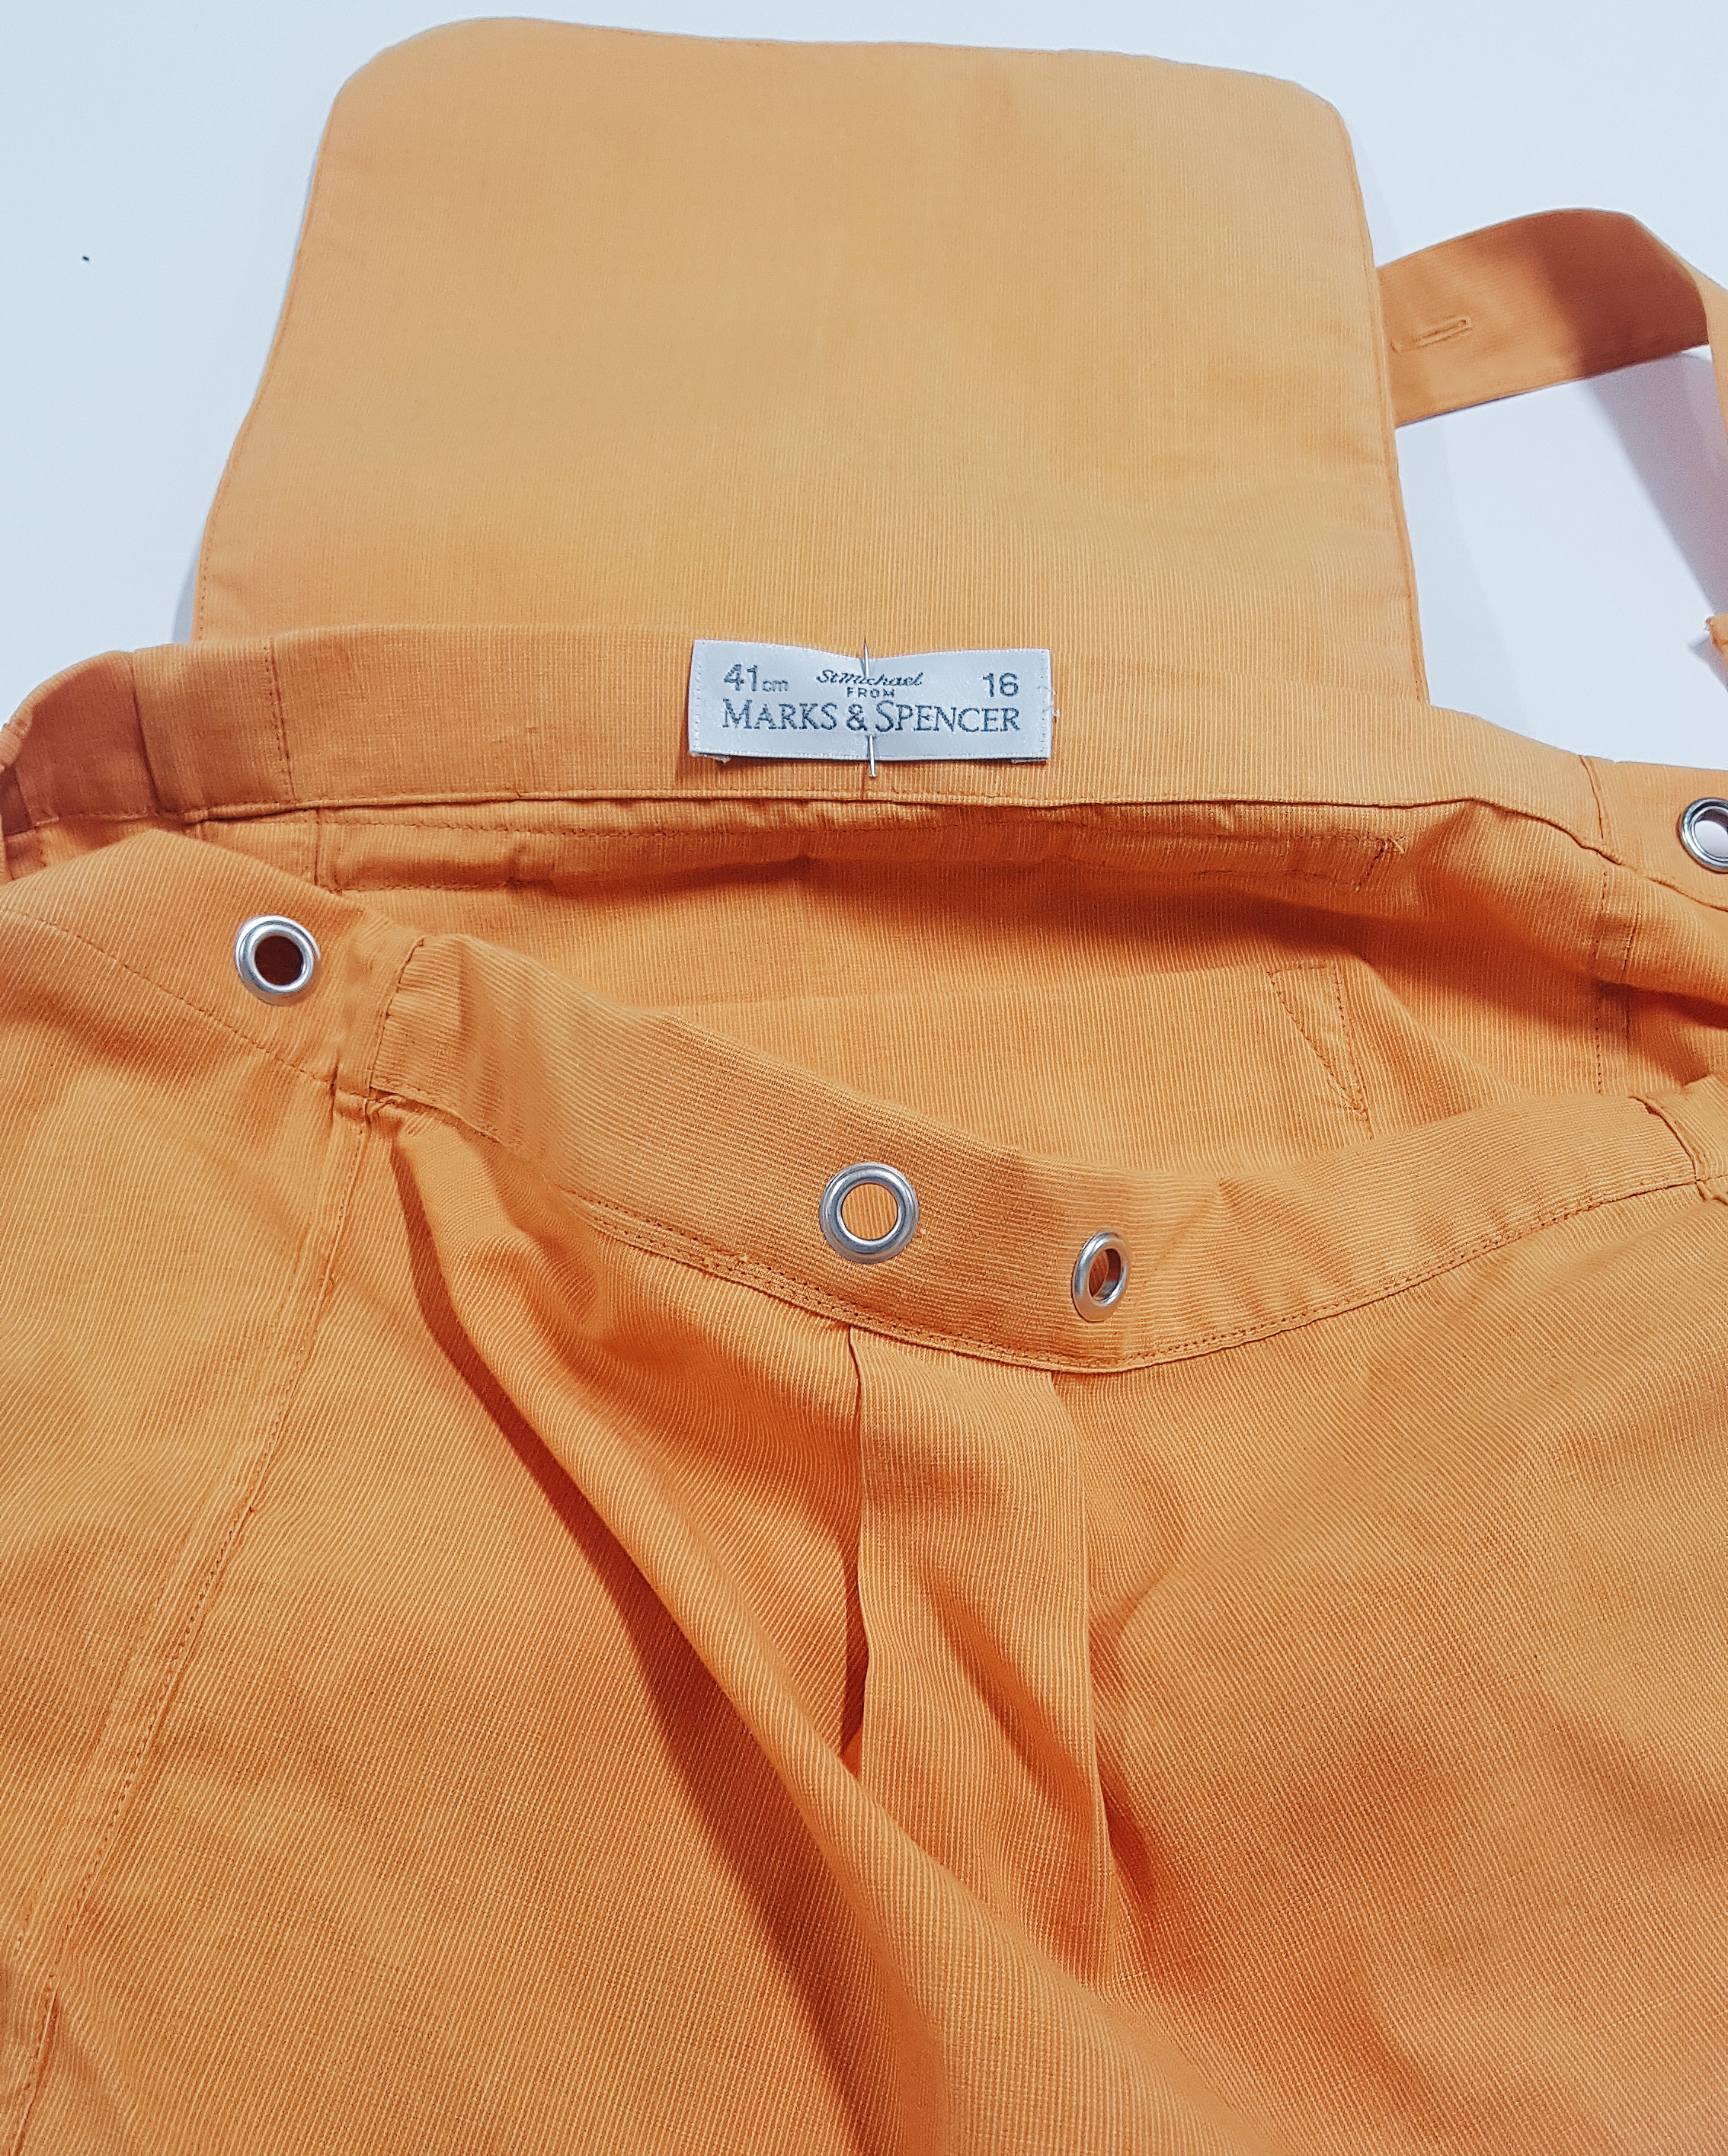
Insert your eyelets along the marked areas of the facing by following your chosen manufacturer’s instructions.
Here we have used Prym eyelets with the pliers and punching tool
Step Seventeen
If you would like to create your own drawstring, salvage any scraps you have and repeat the bias tape method mentioned previously in the tutorial. Two lengths of 60cm is recommended so they can comfortably tie the backpack shut.
Either using the original label, a label of your own or a piece cut from your scraps that’s big enough, secure your drawstring pieces to the centre back of the backpack facing with a final edge stitch.
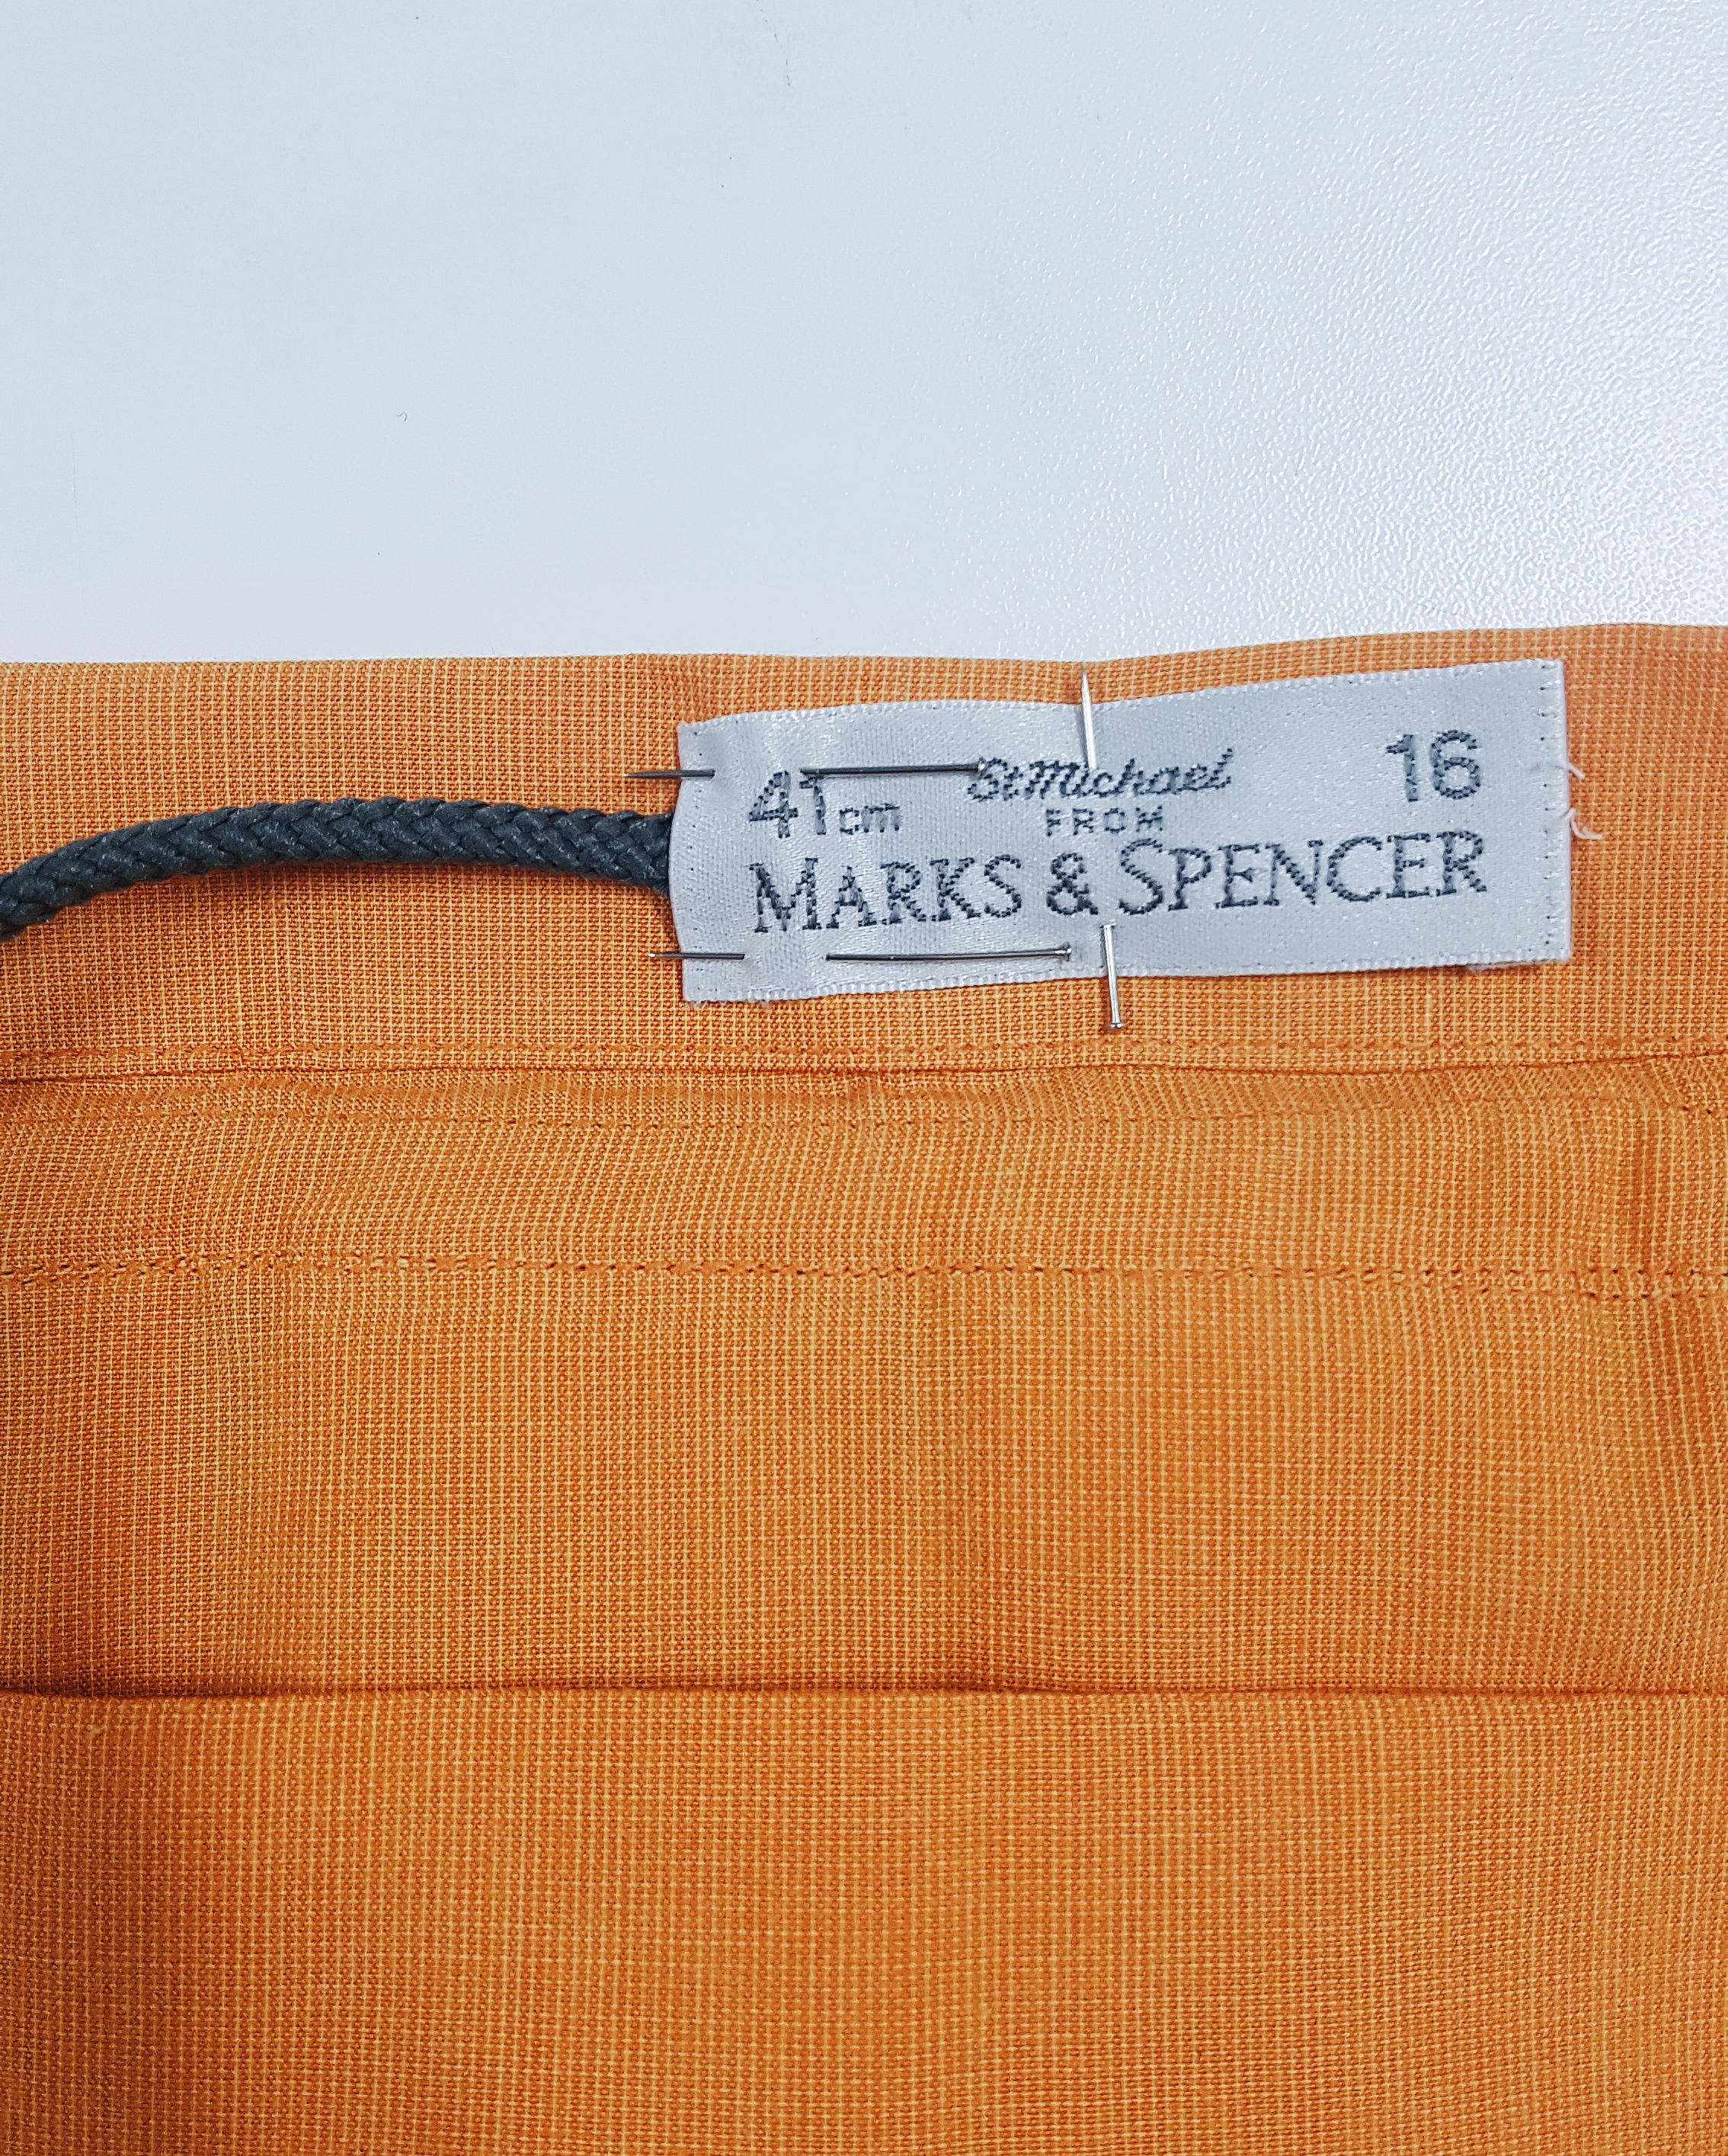
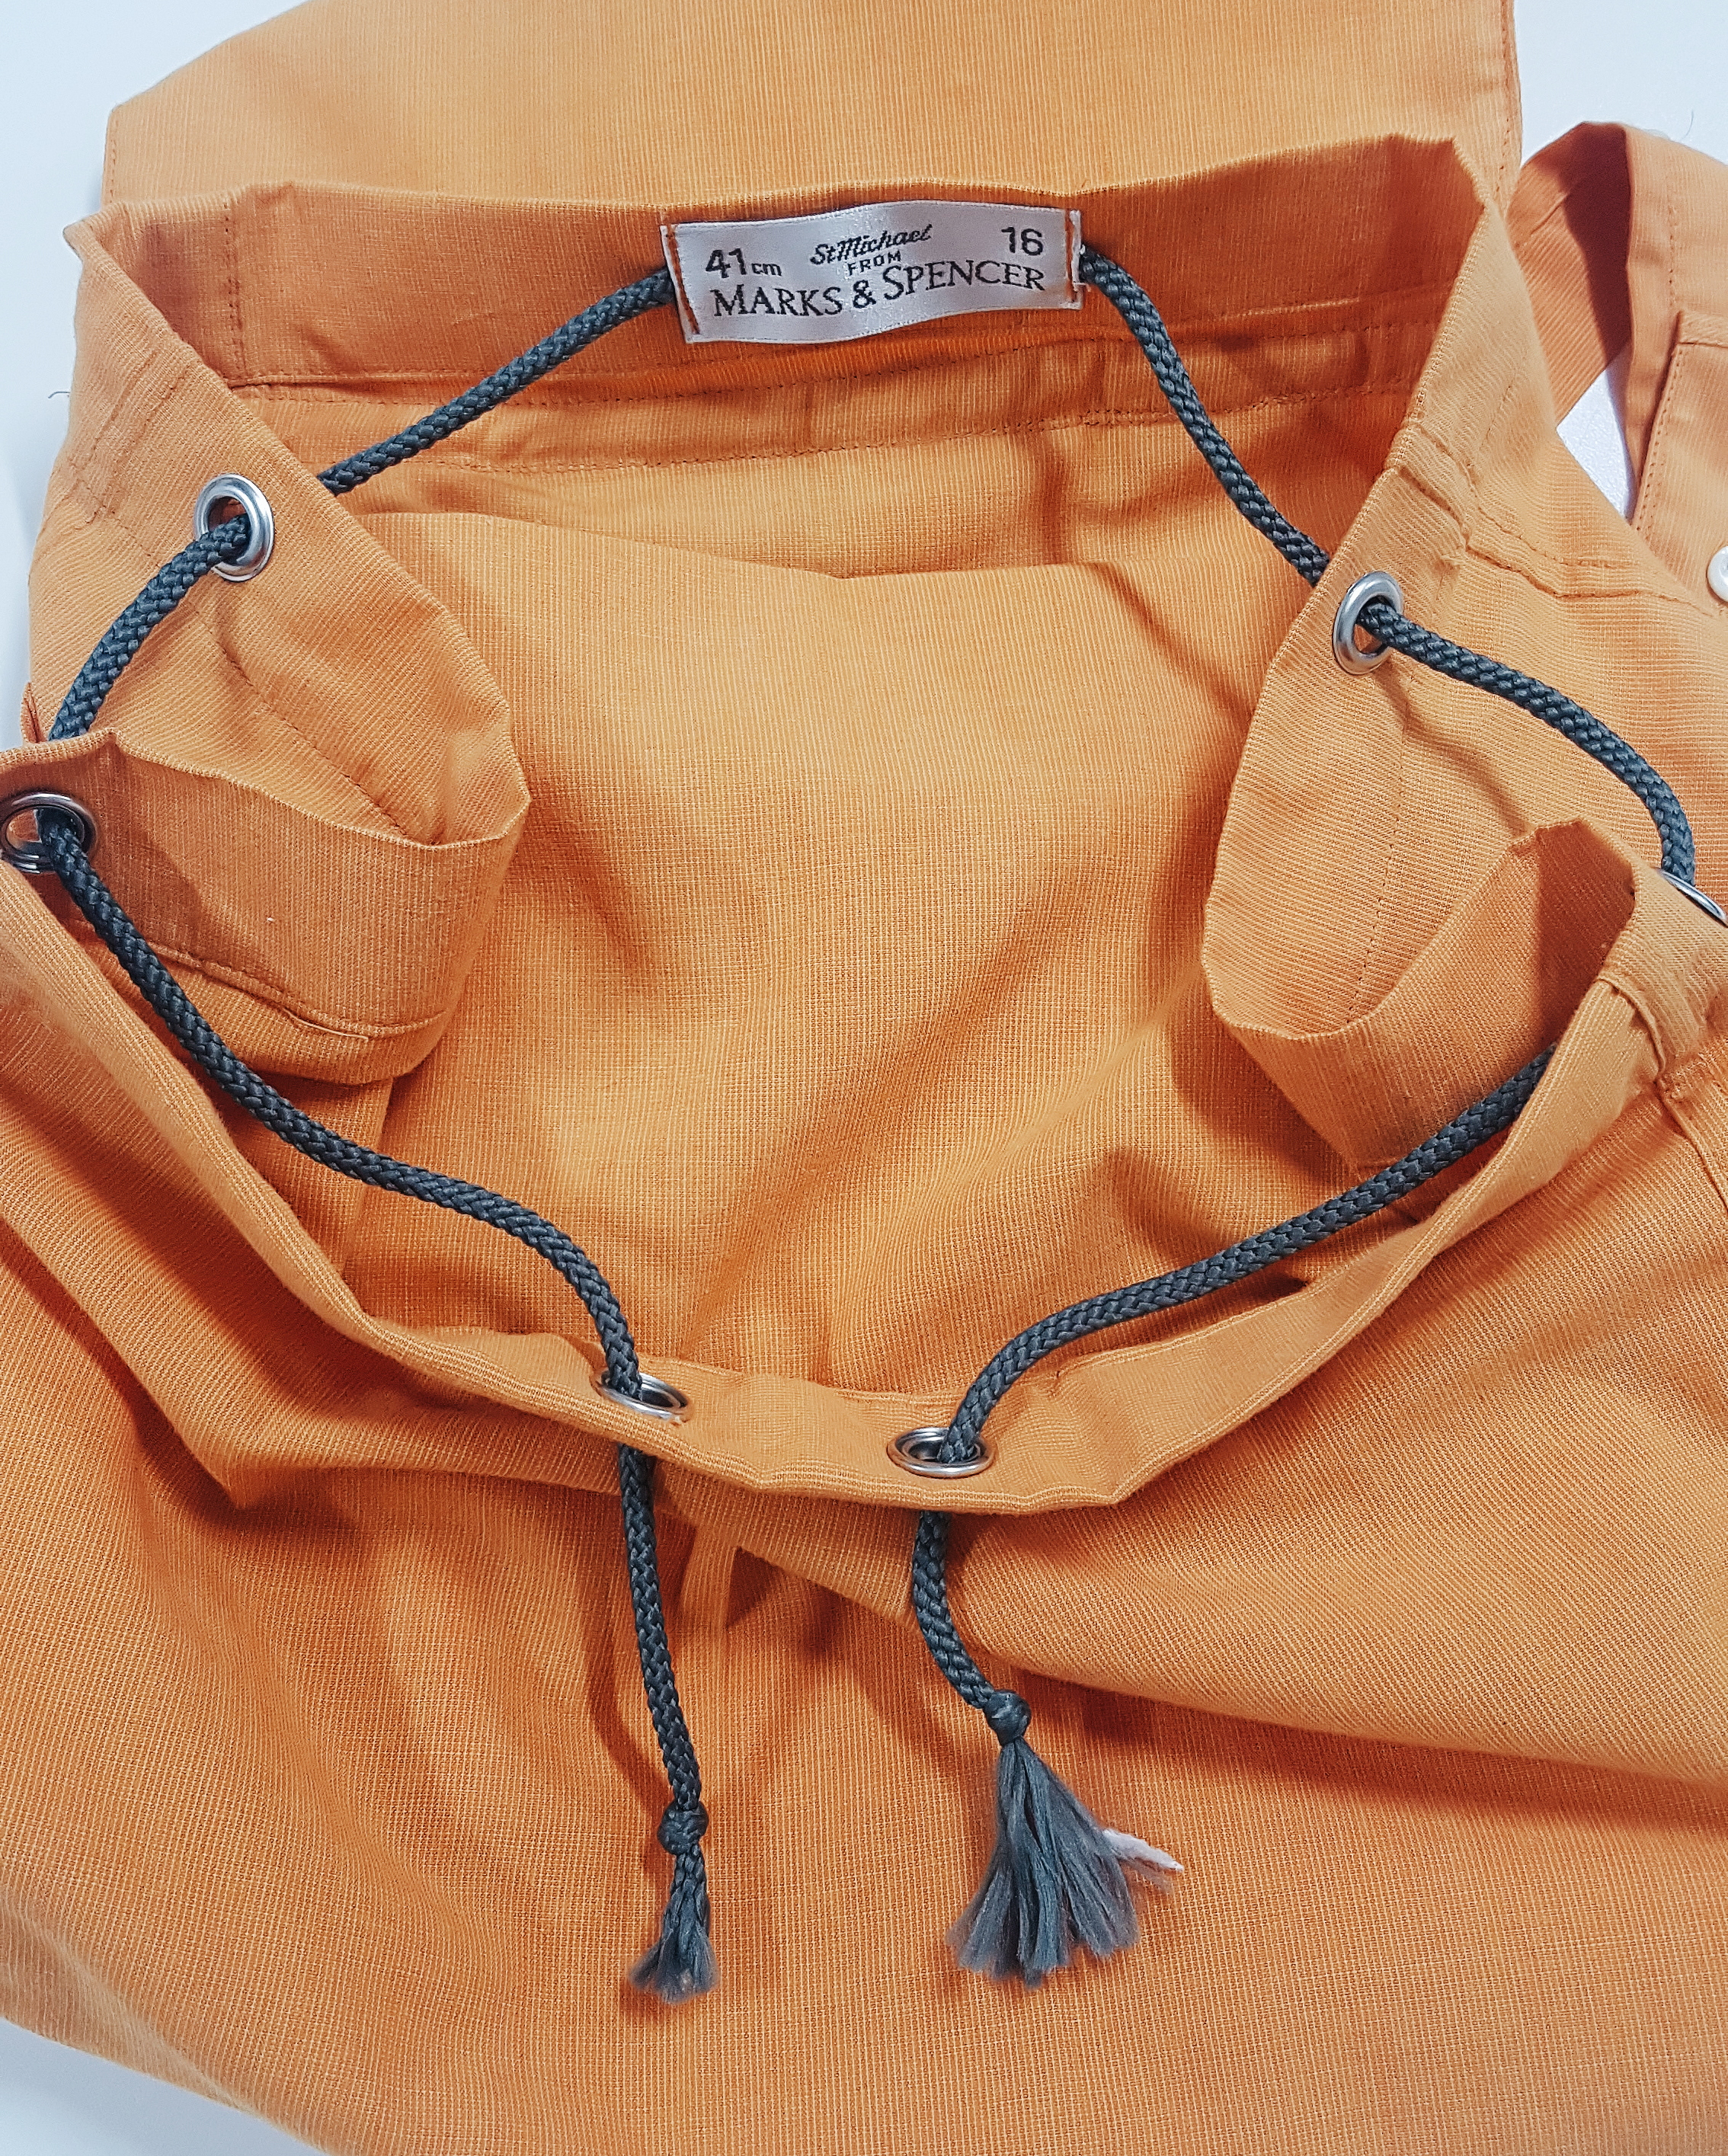

Thread your drawstrings through the eyelets and pull shut!
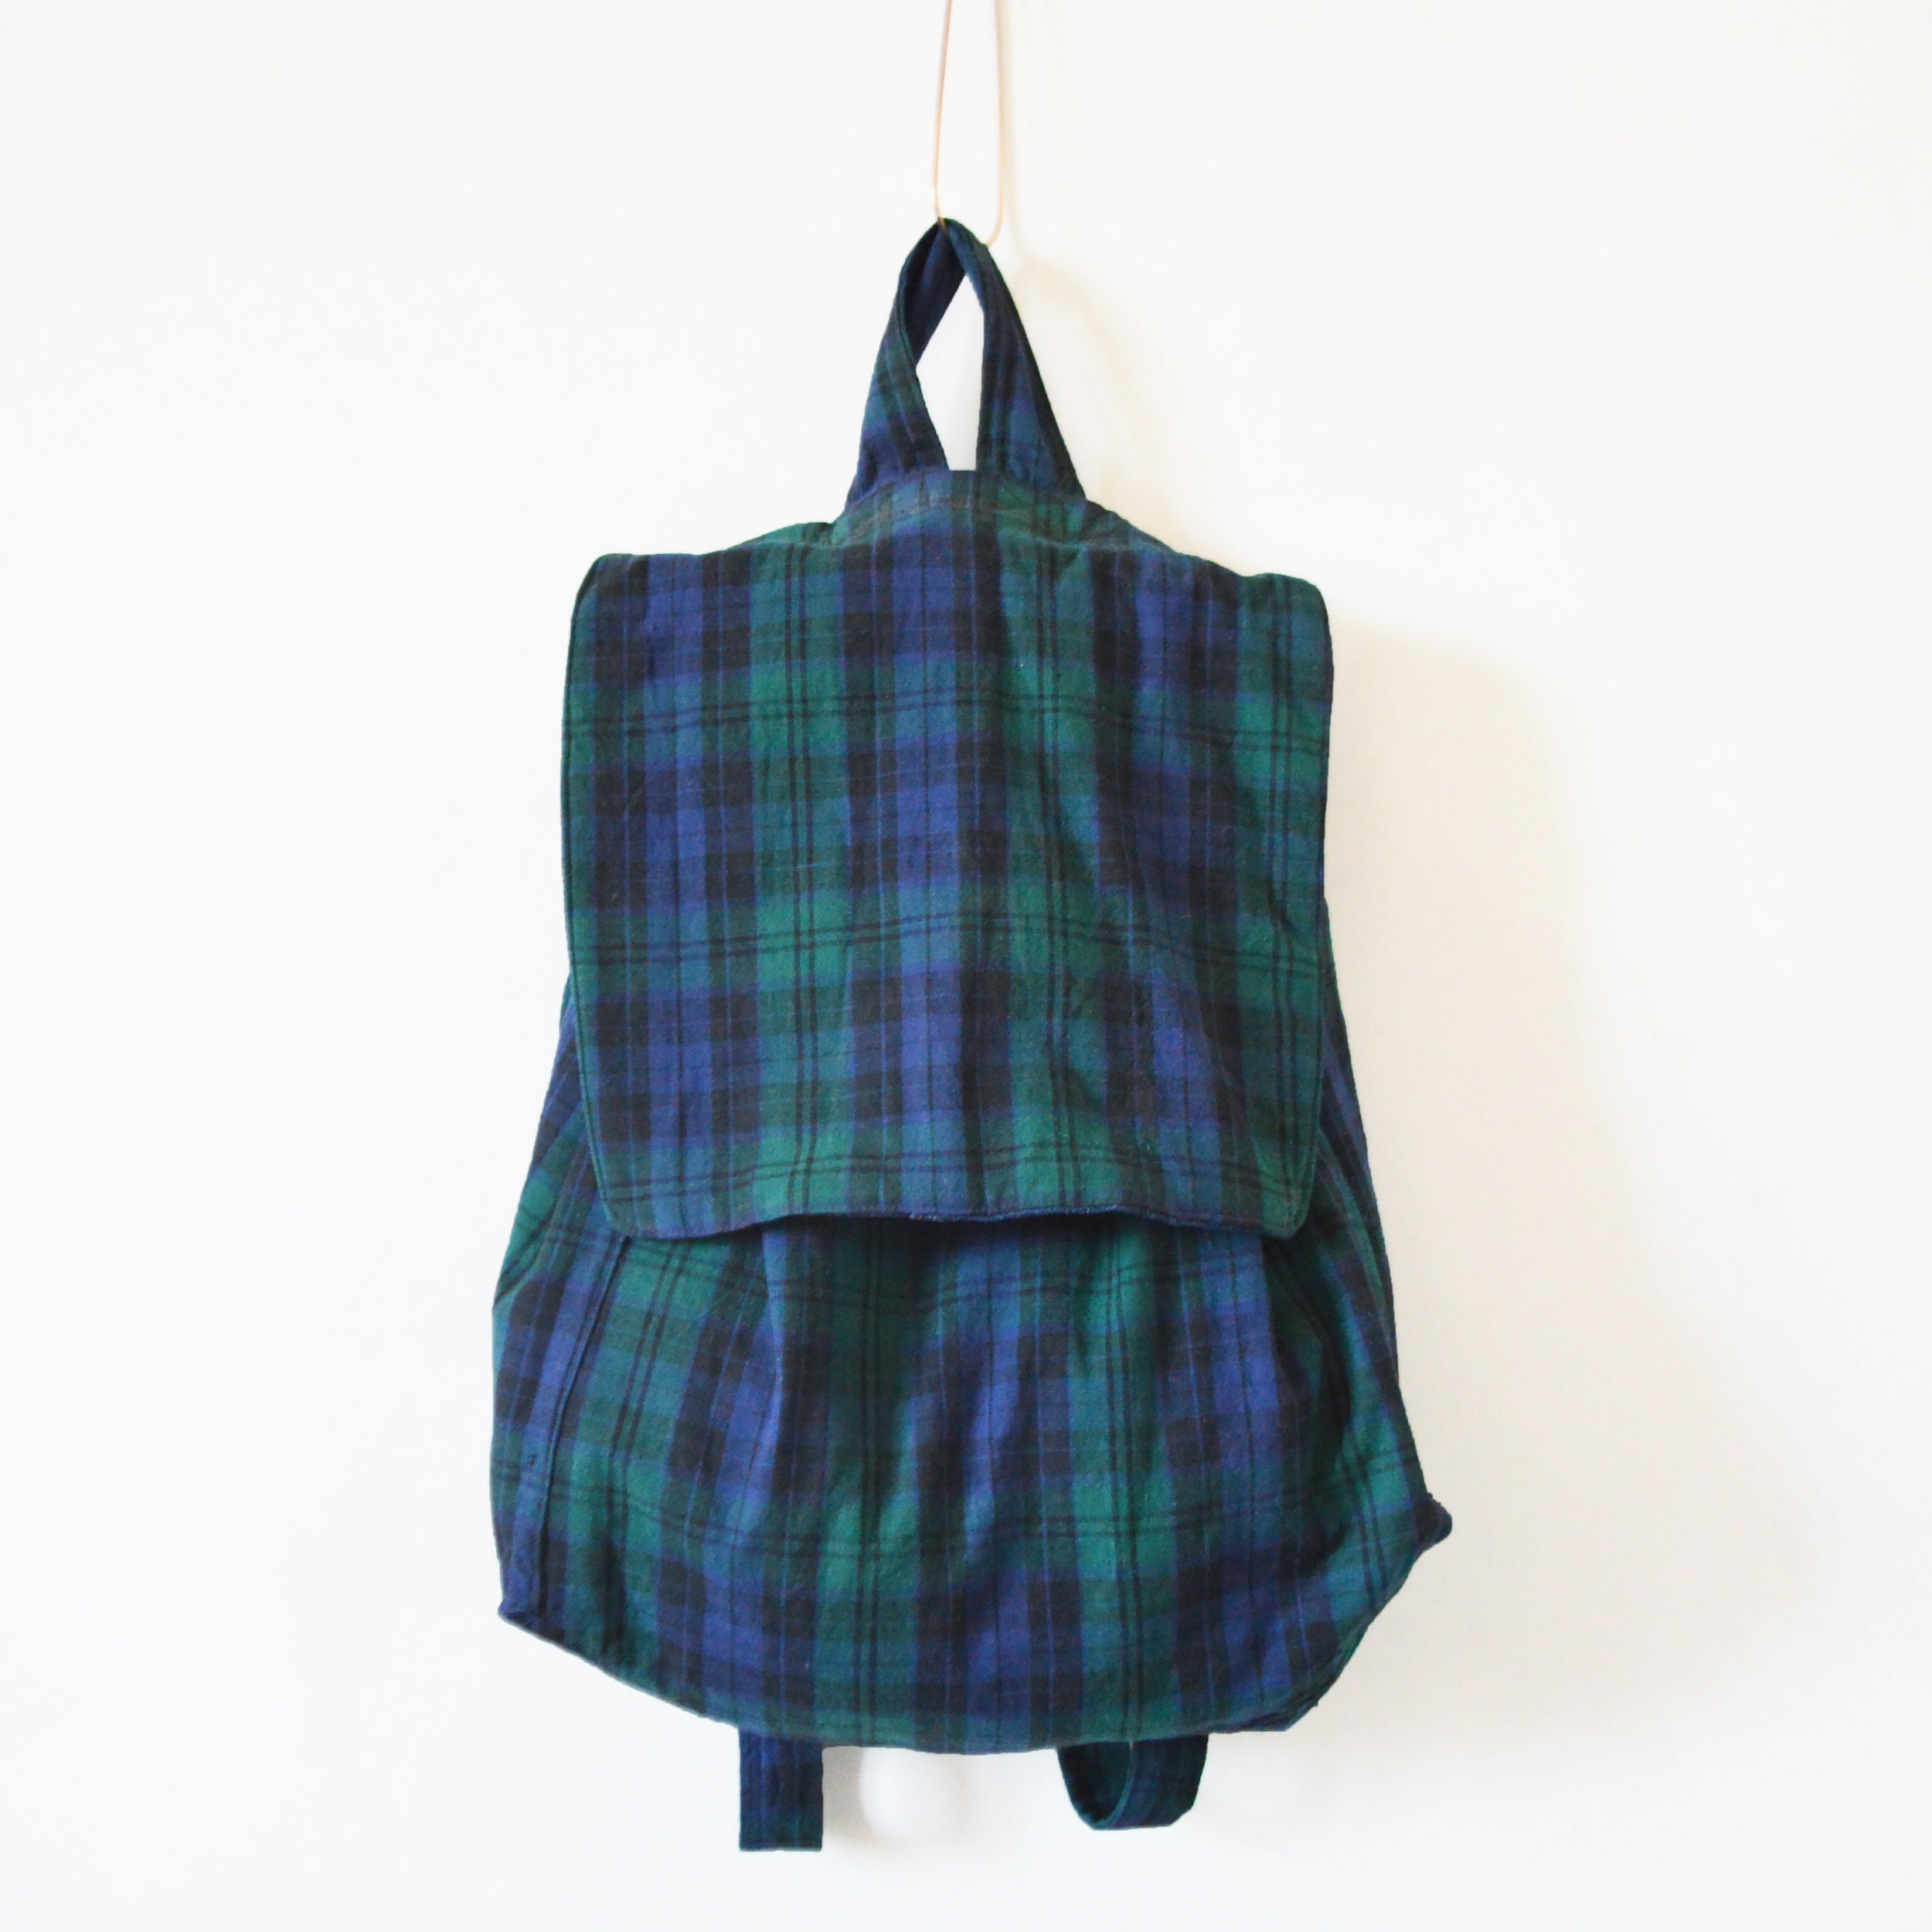
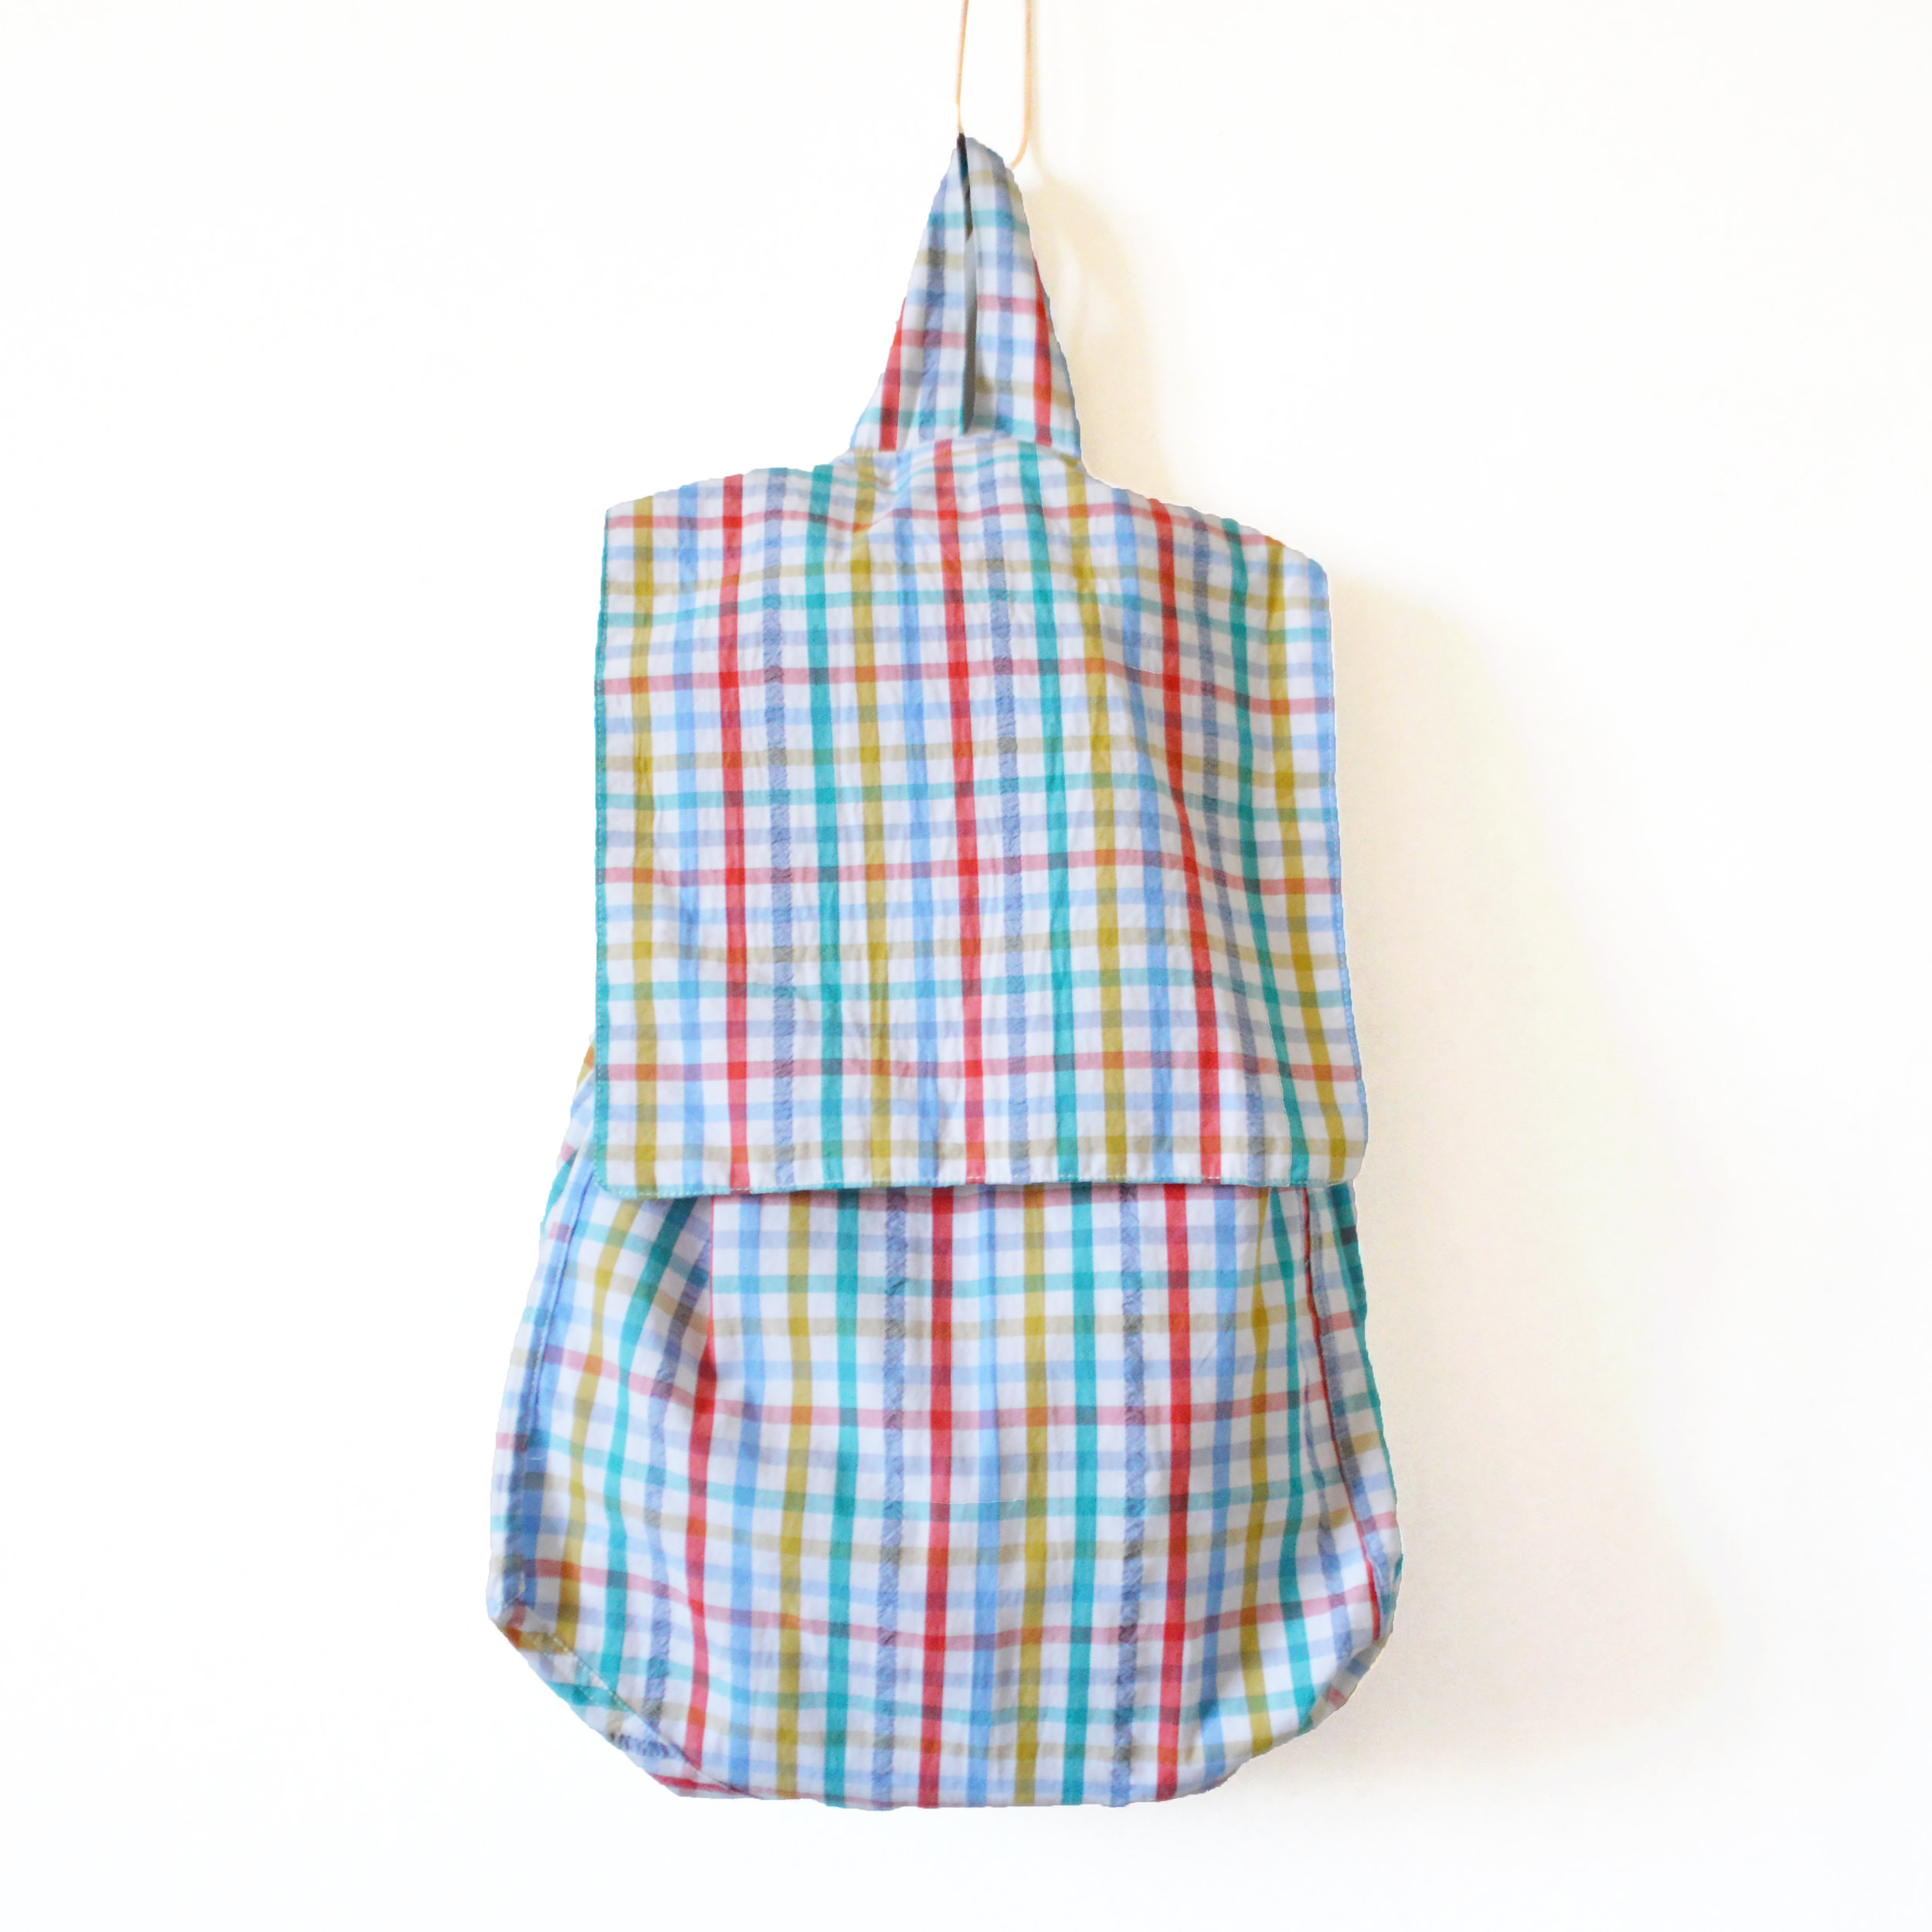
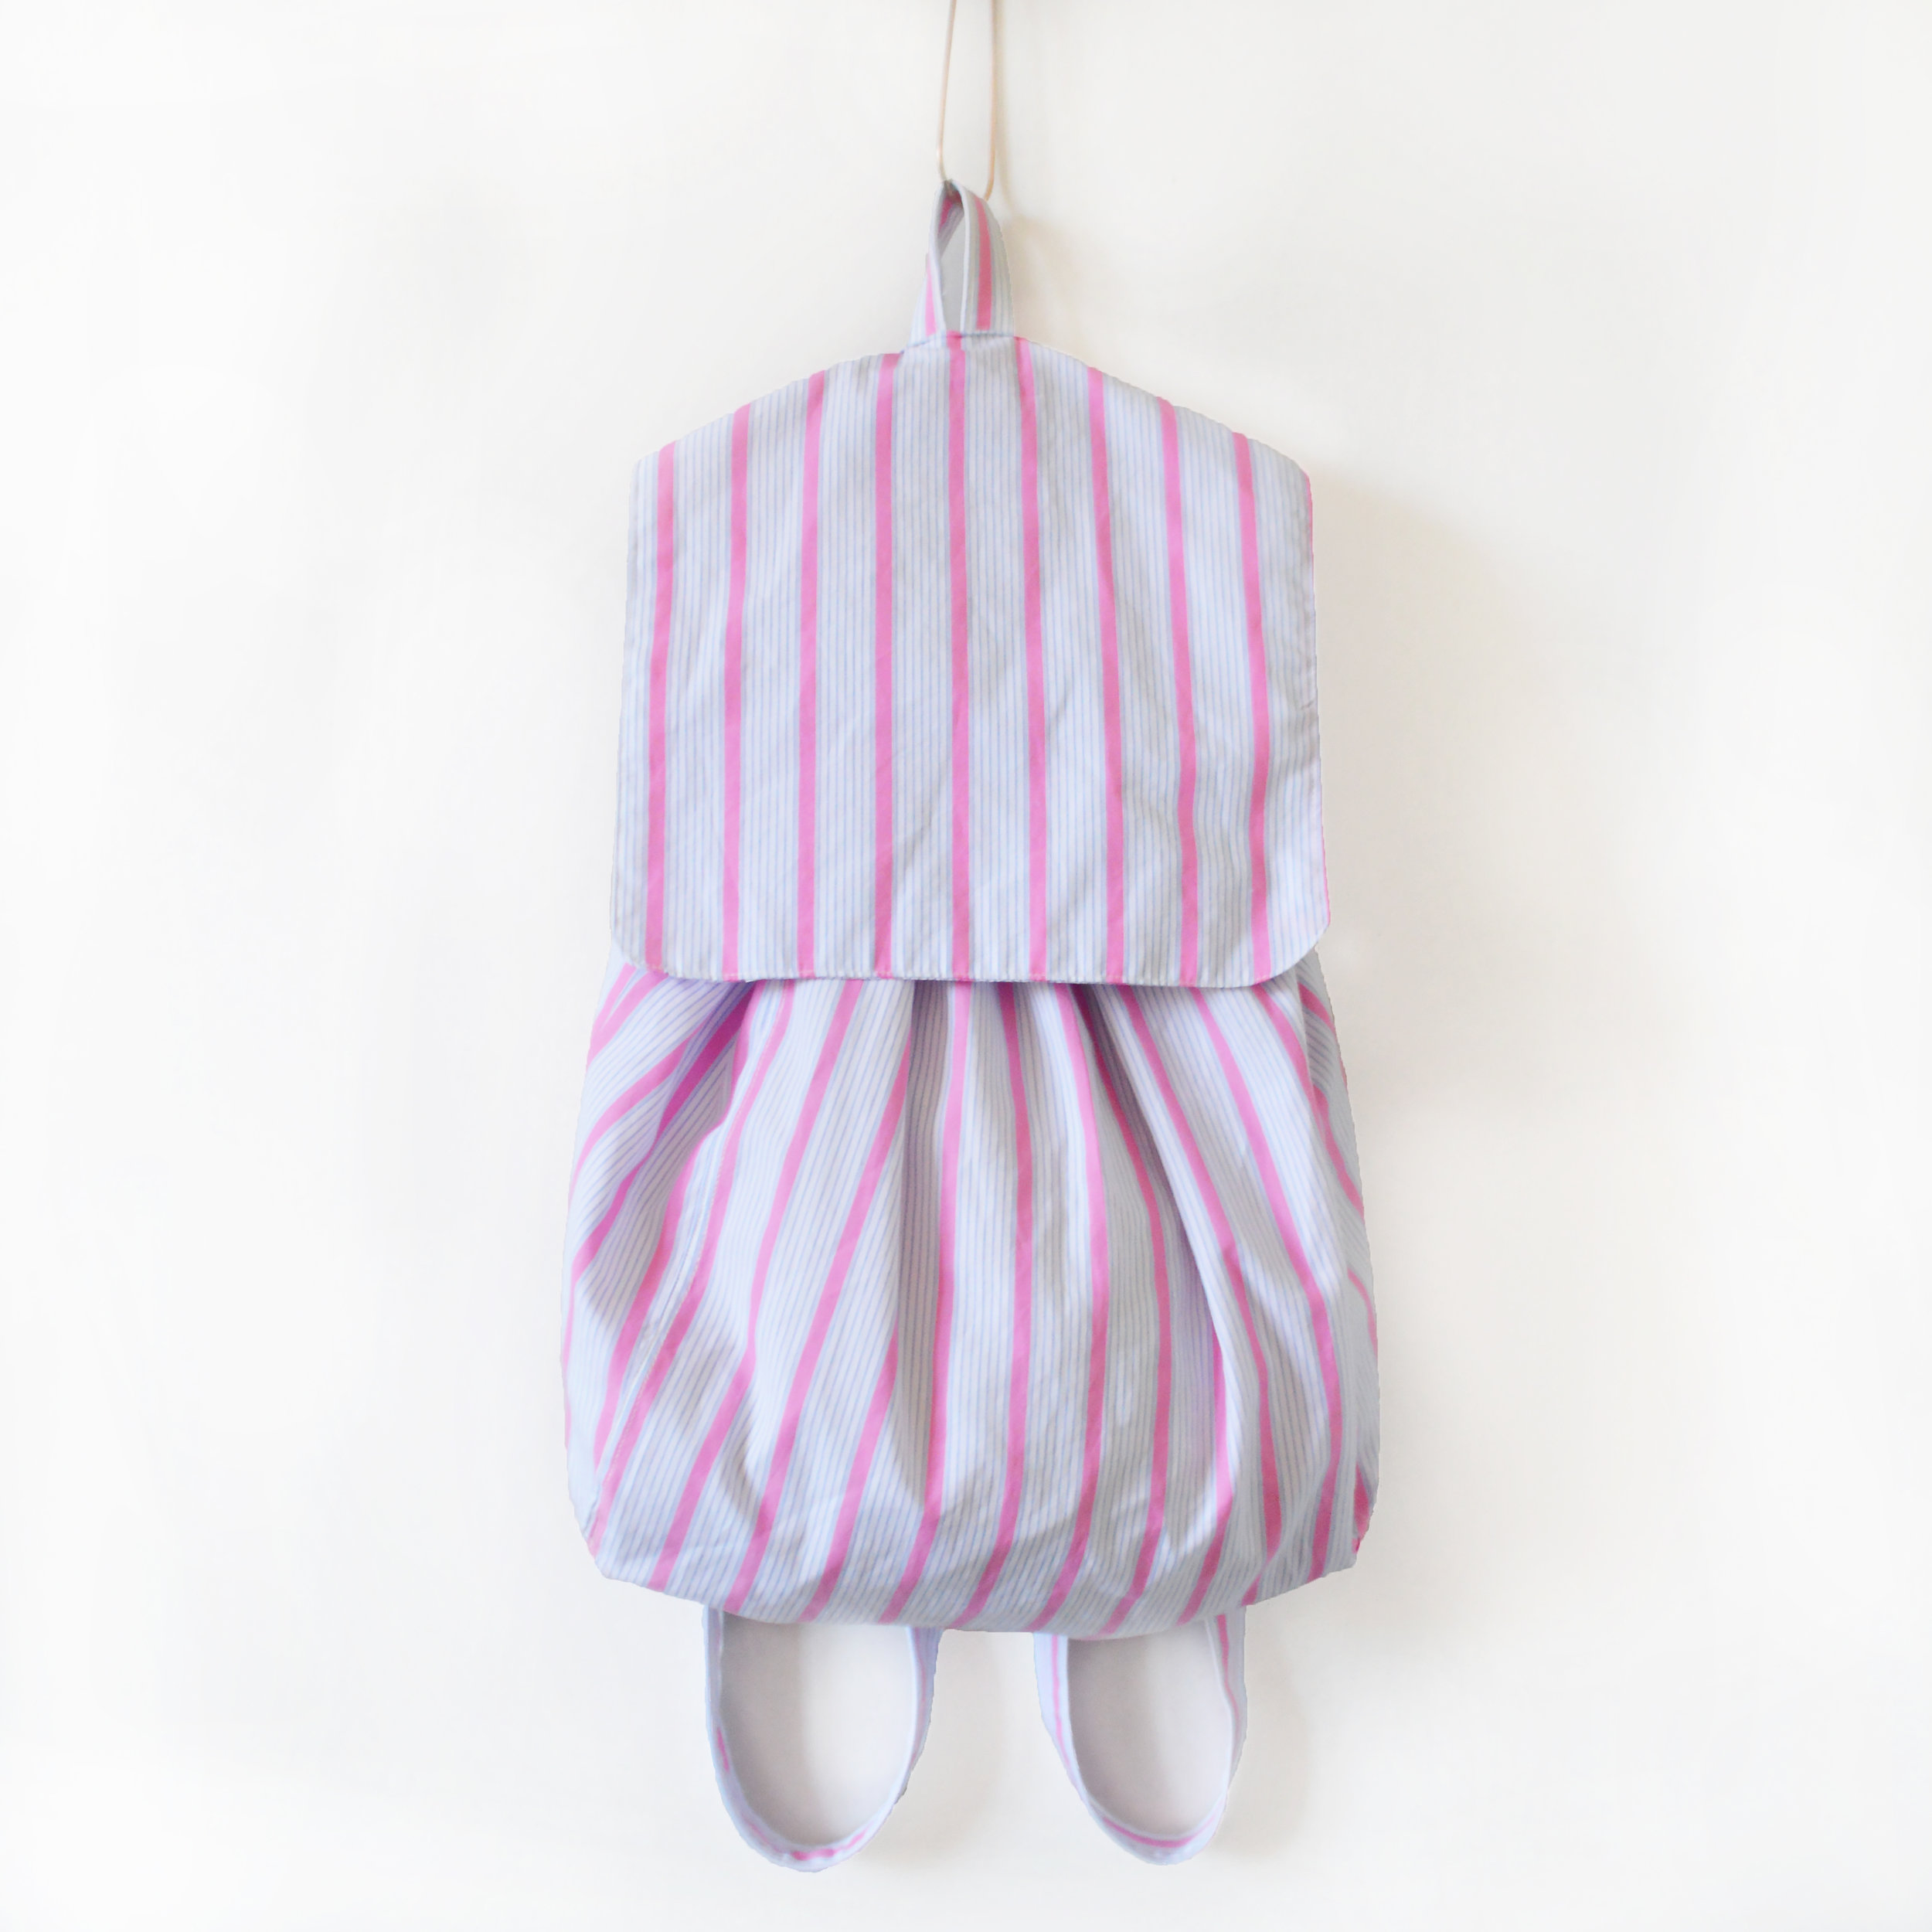
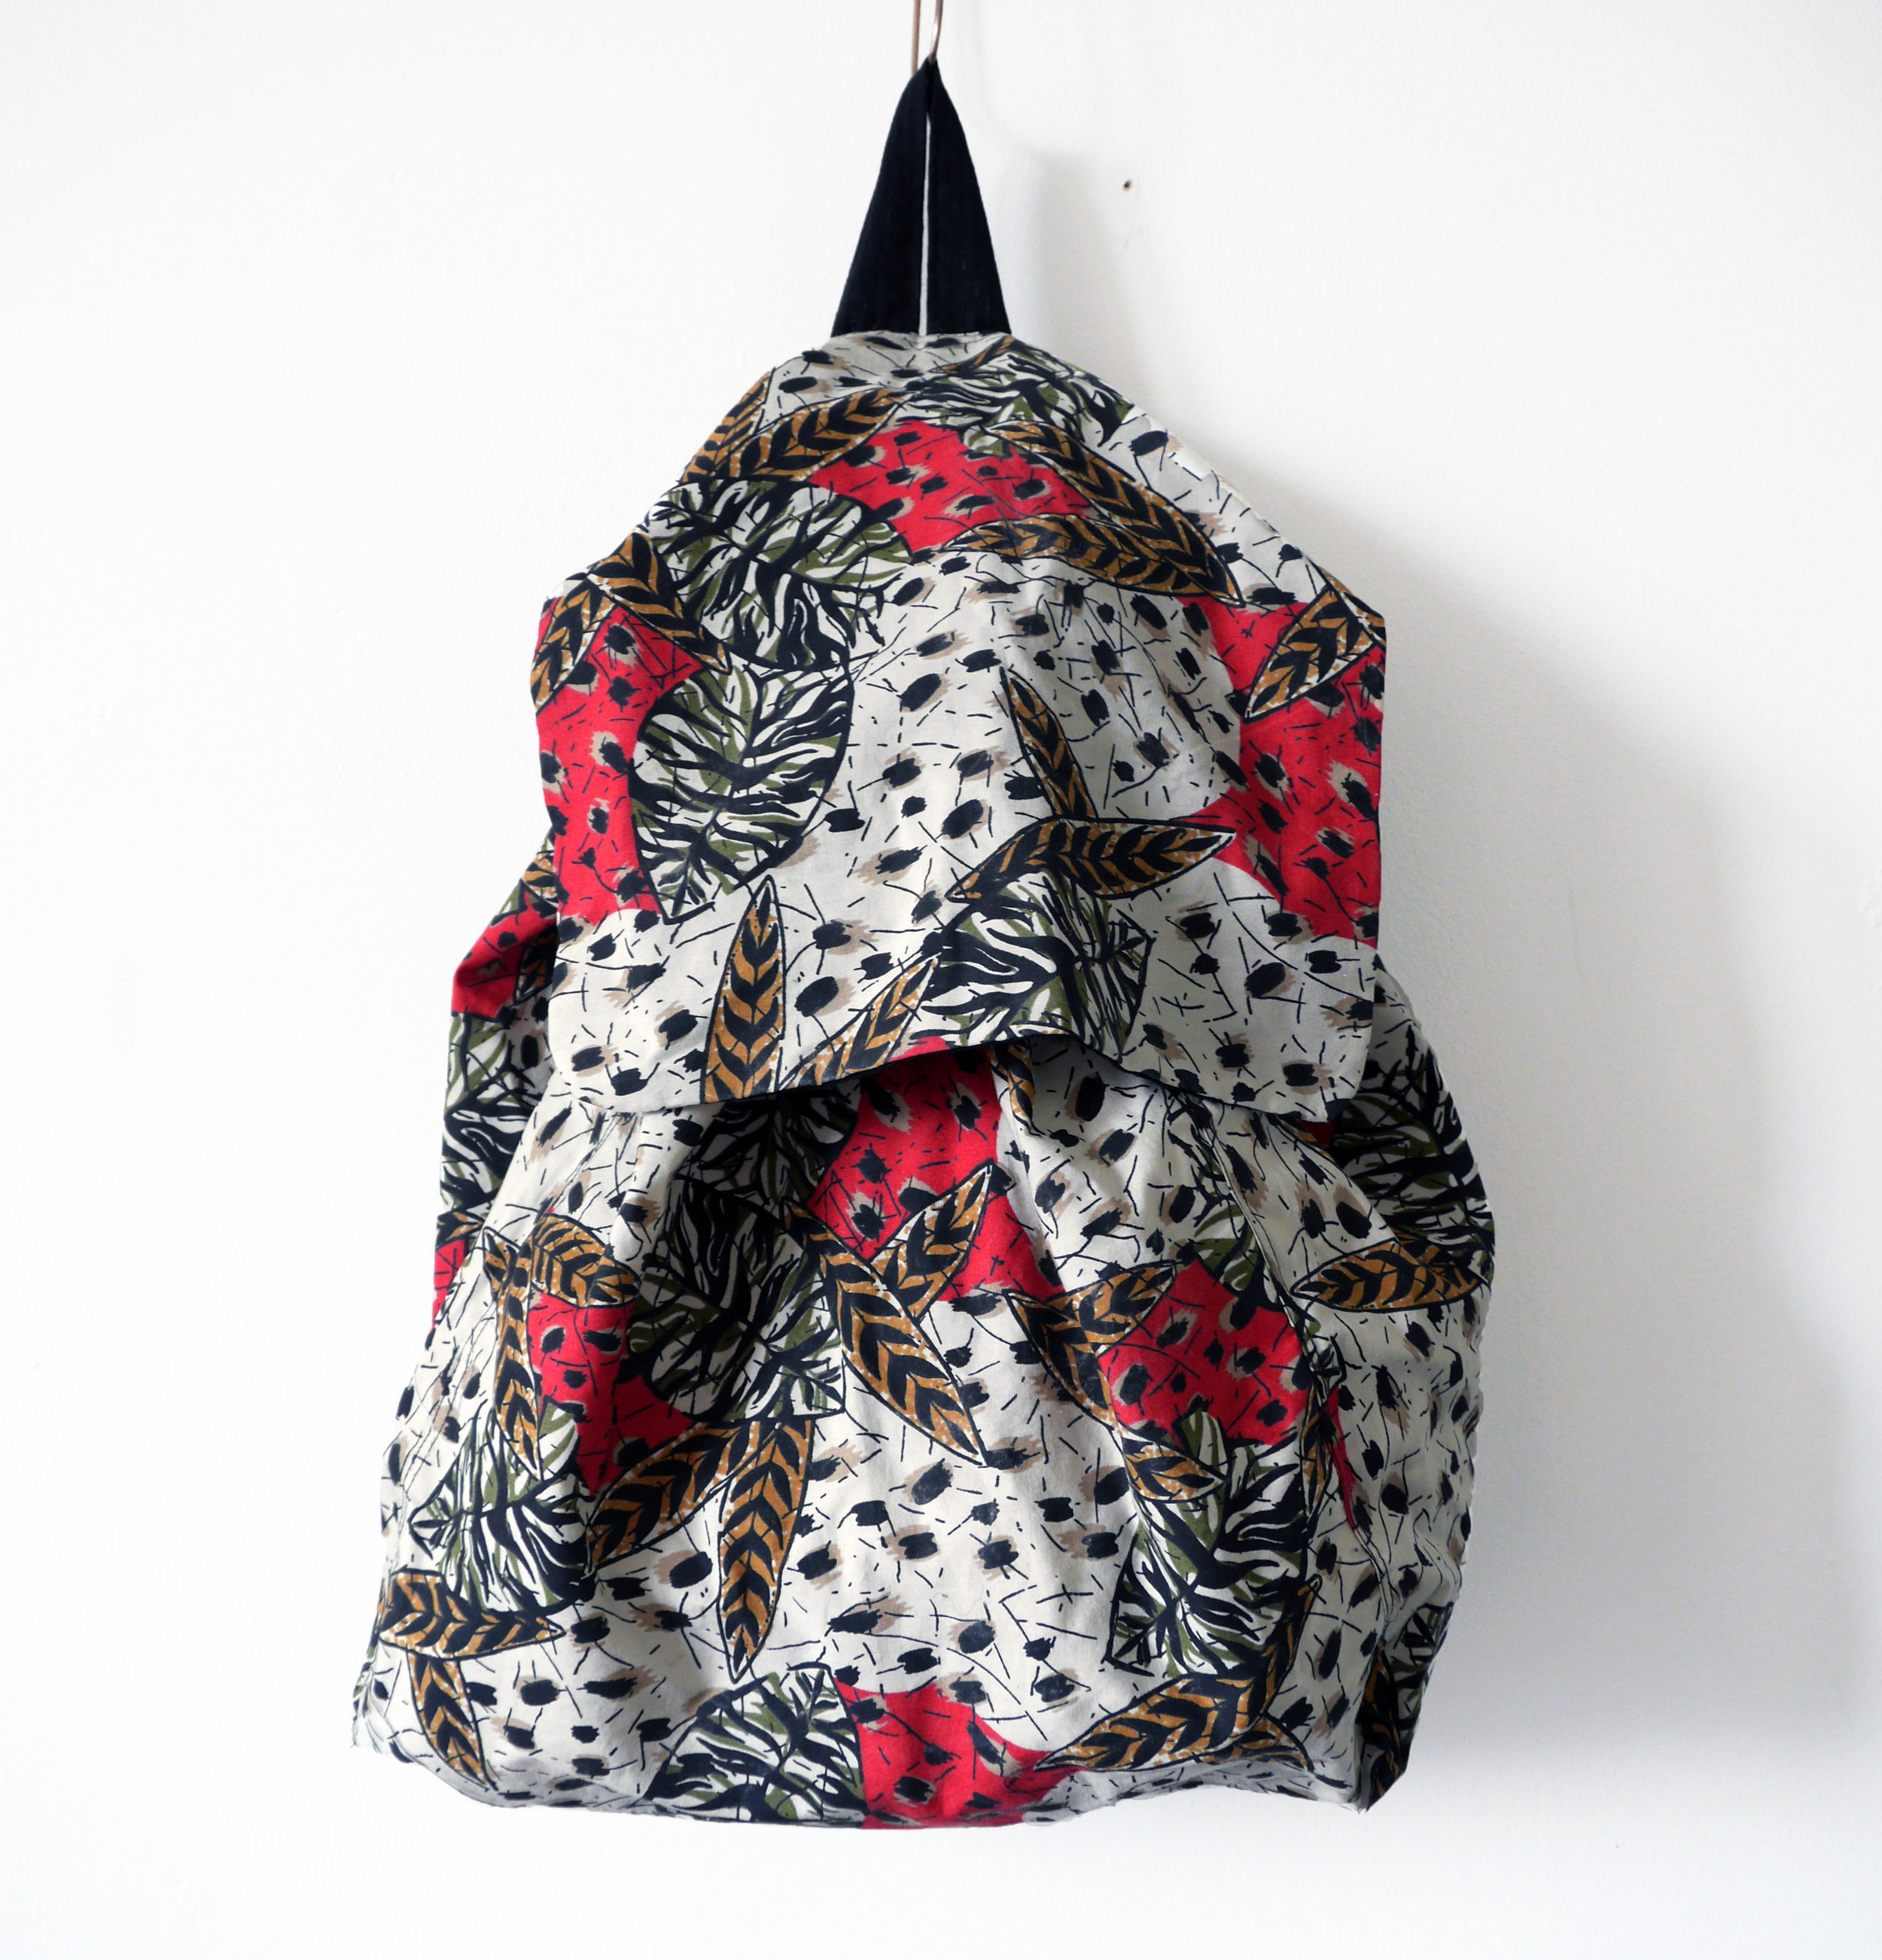
Voila!

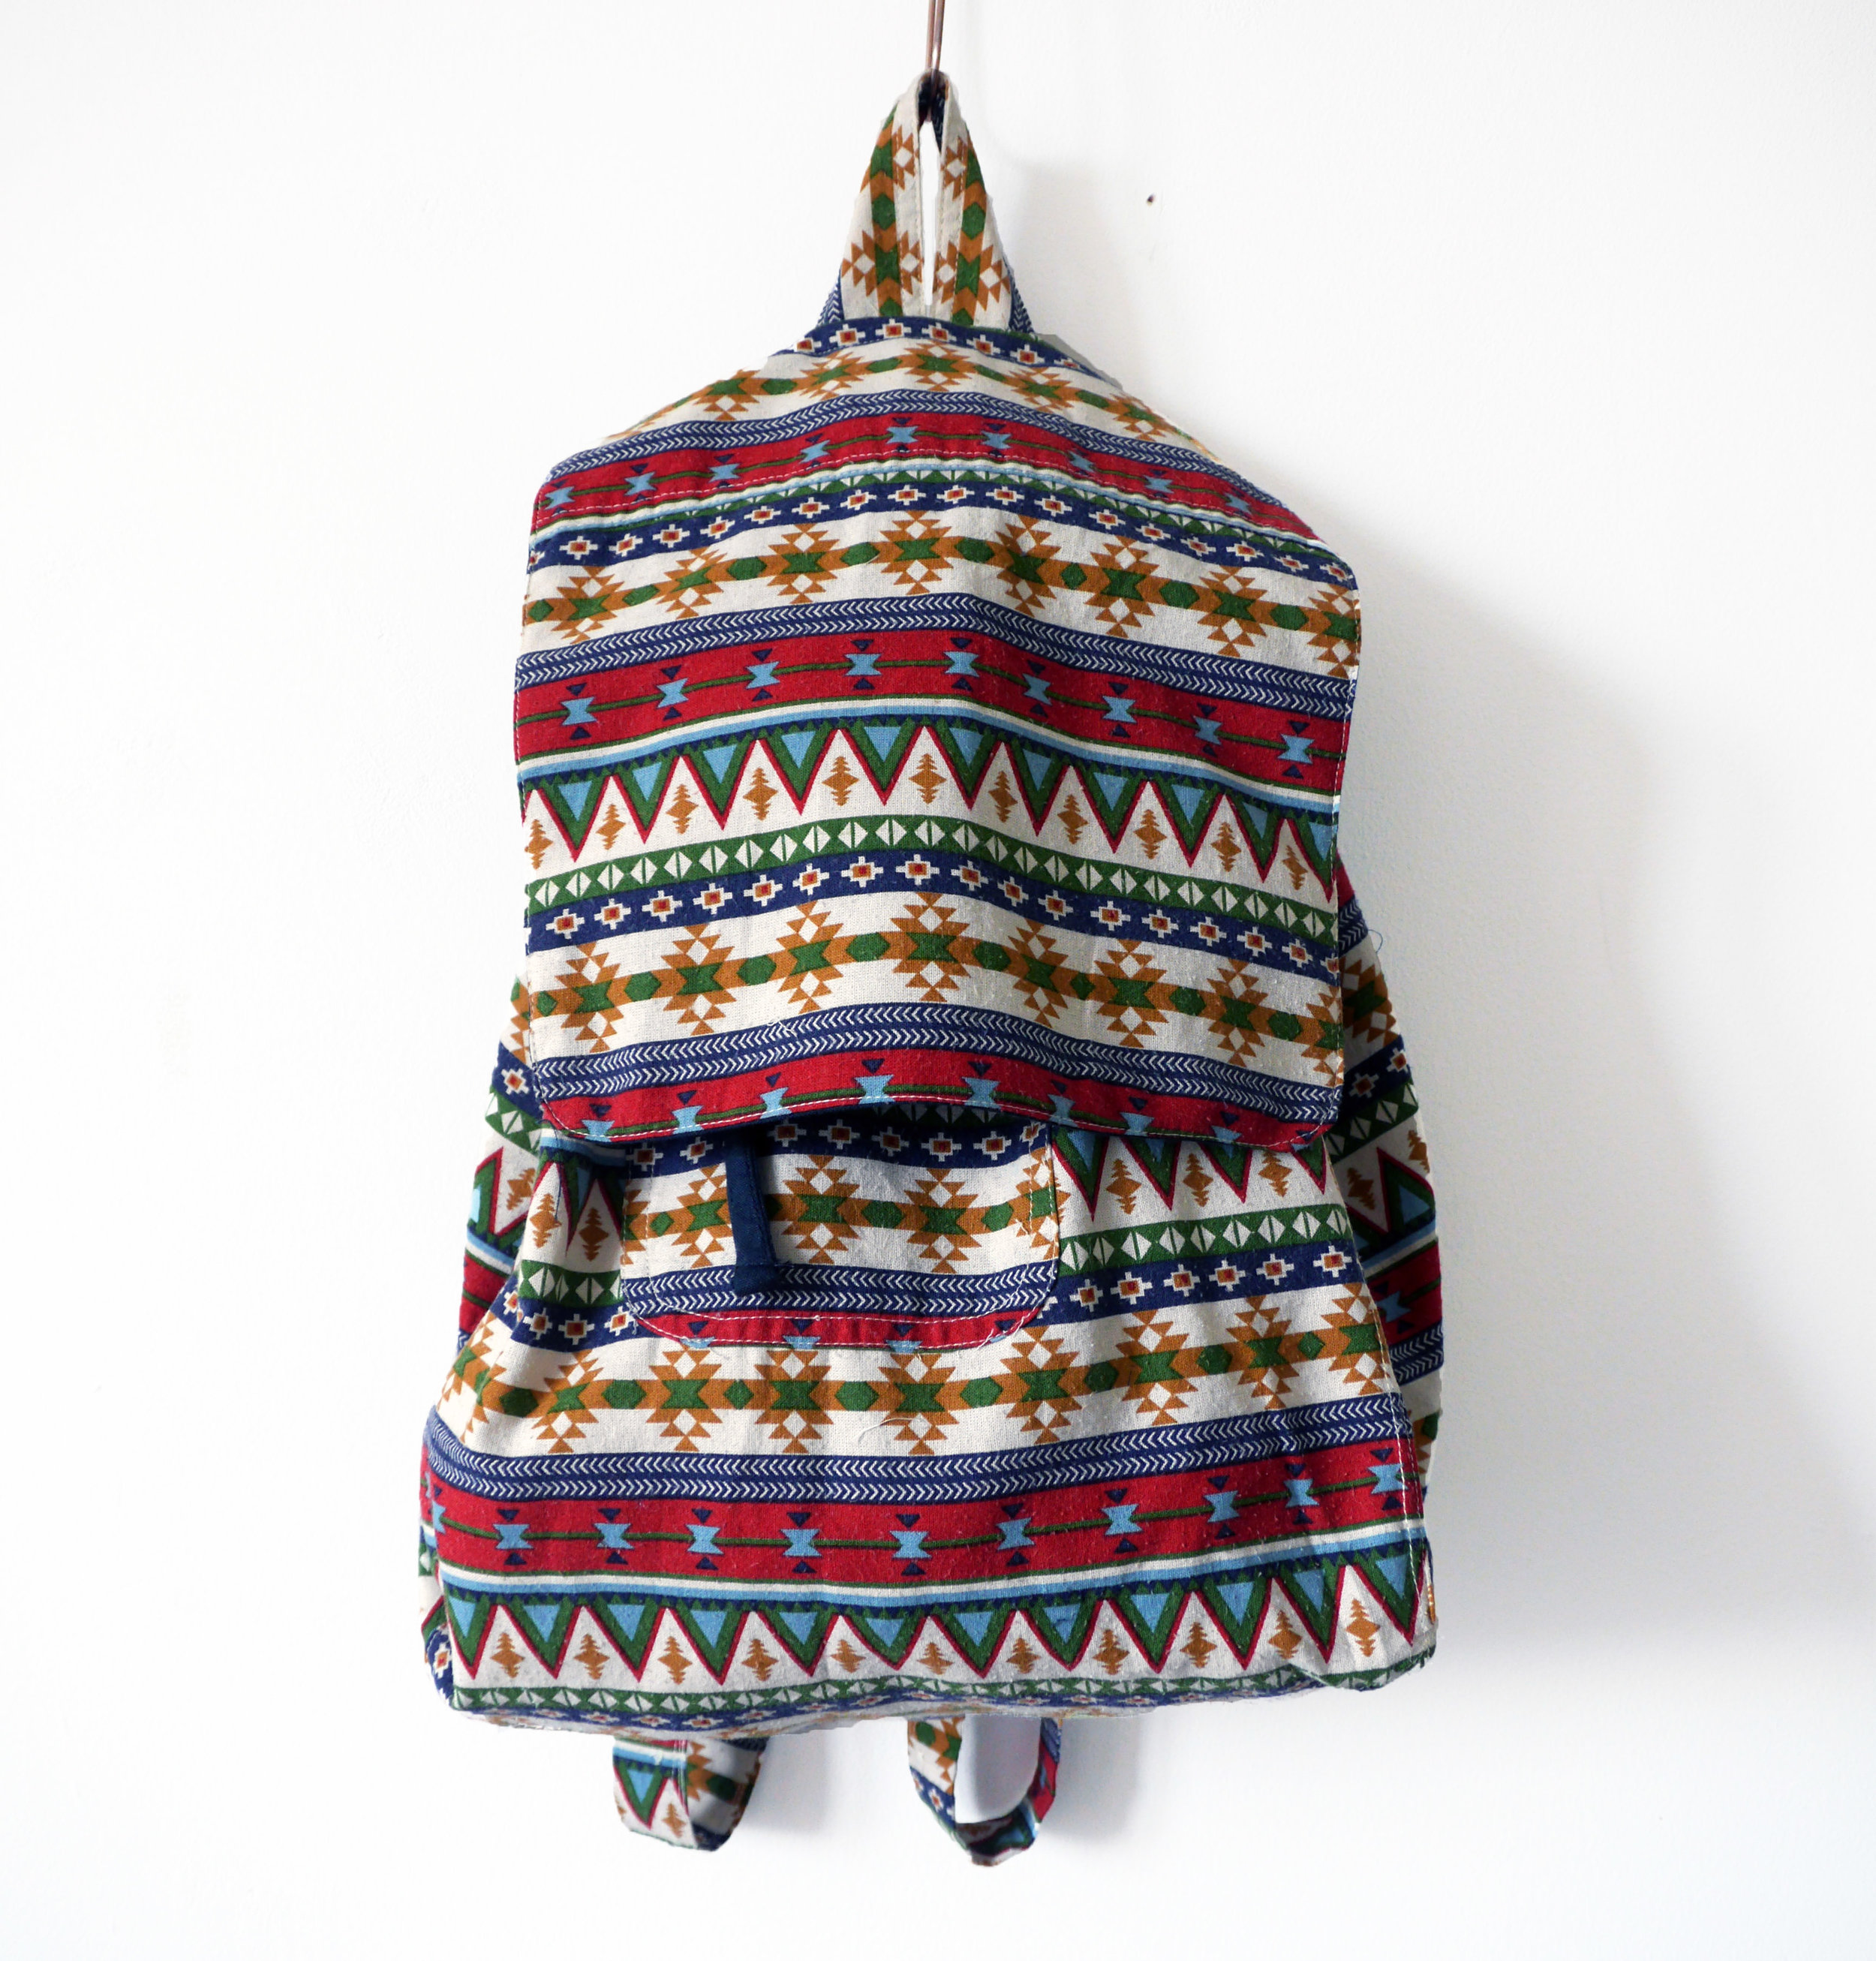
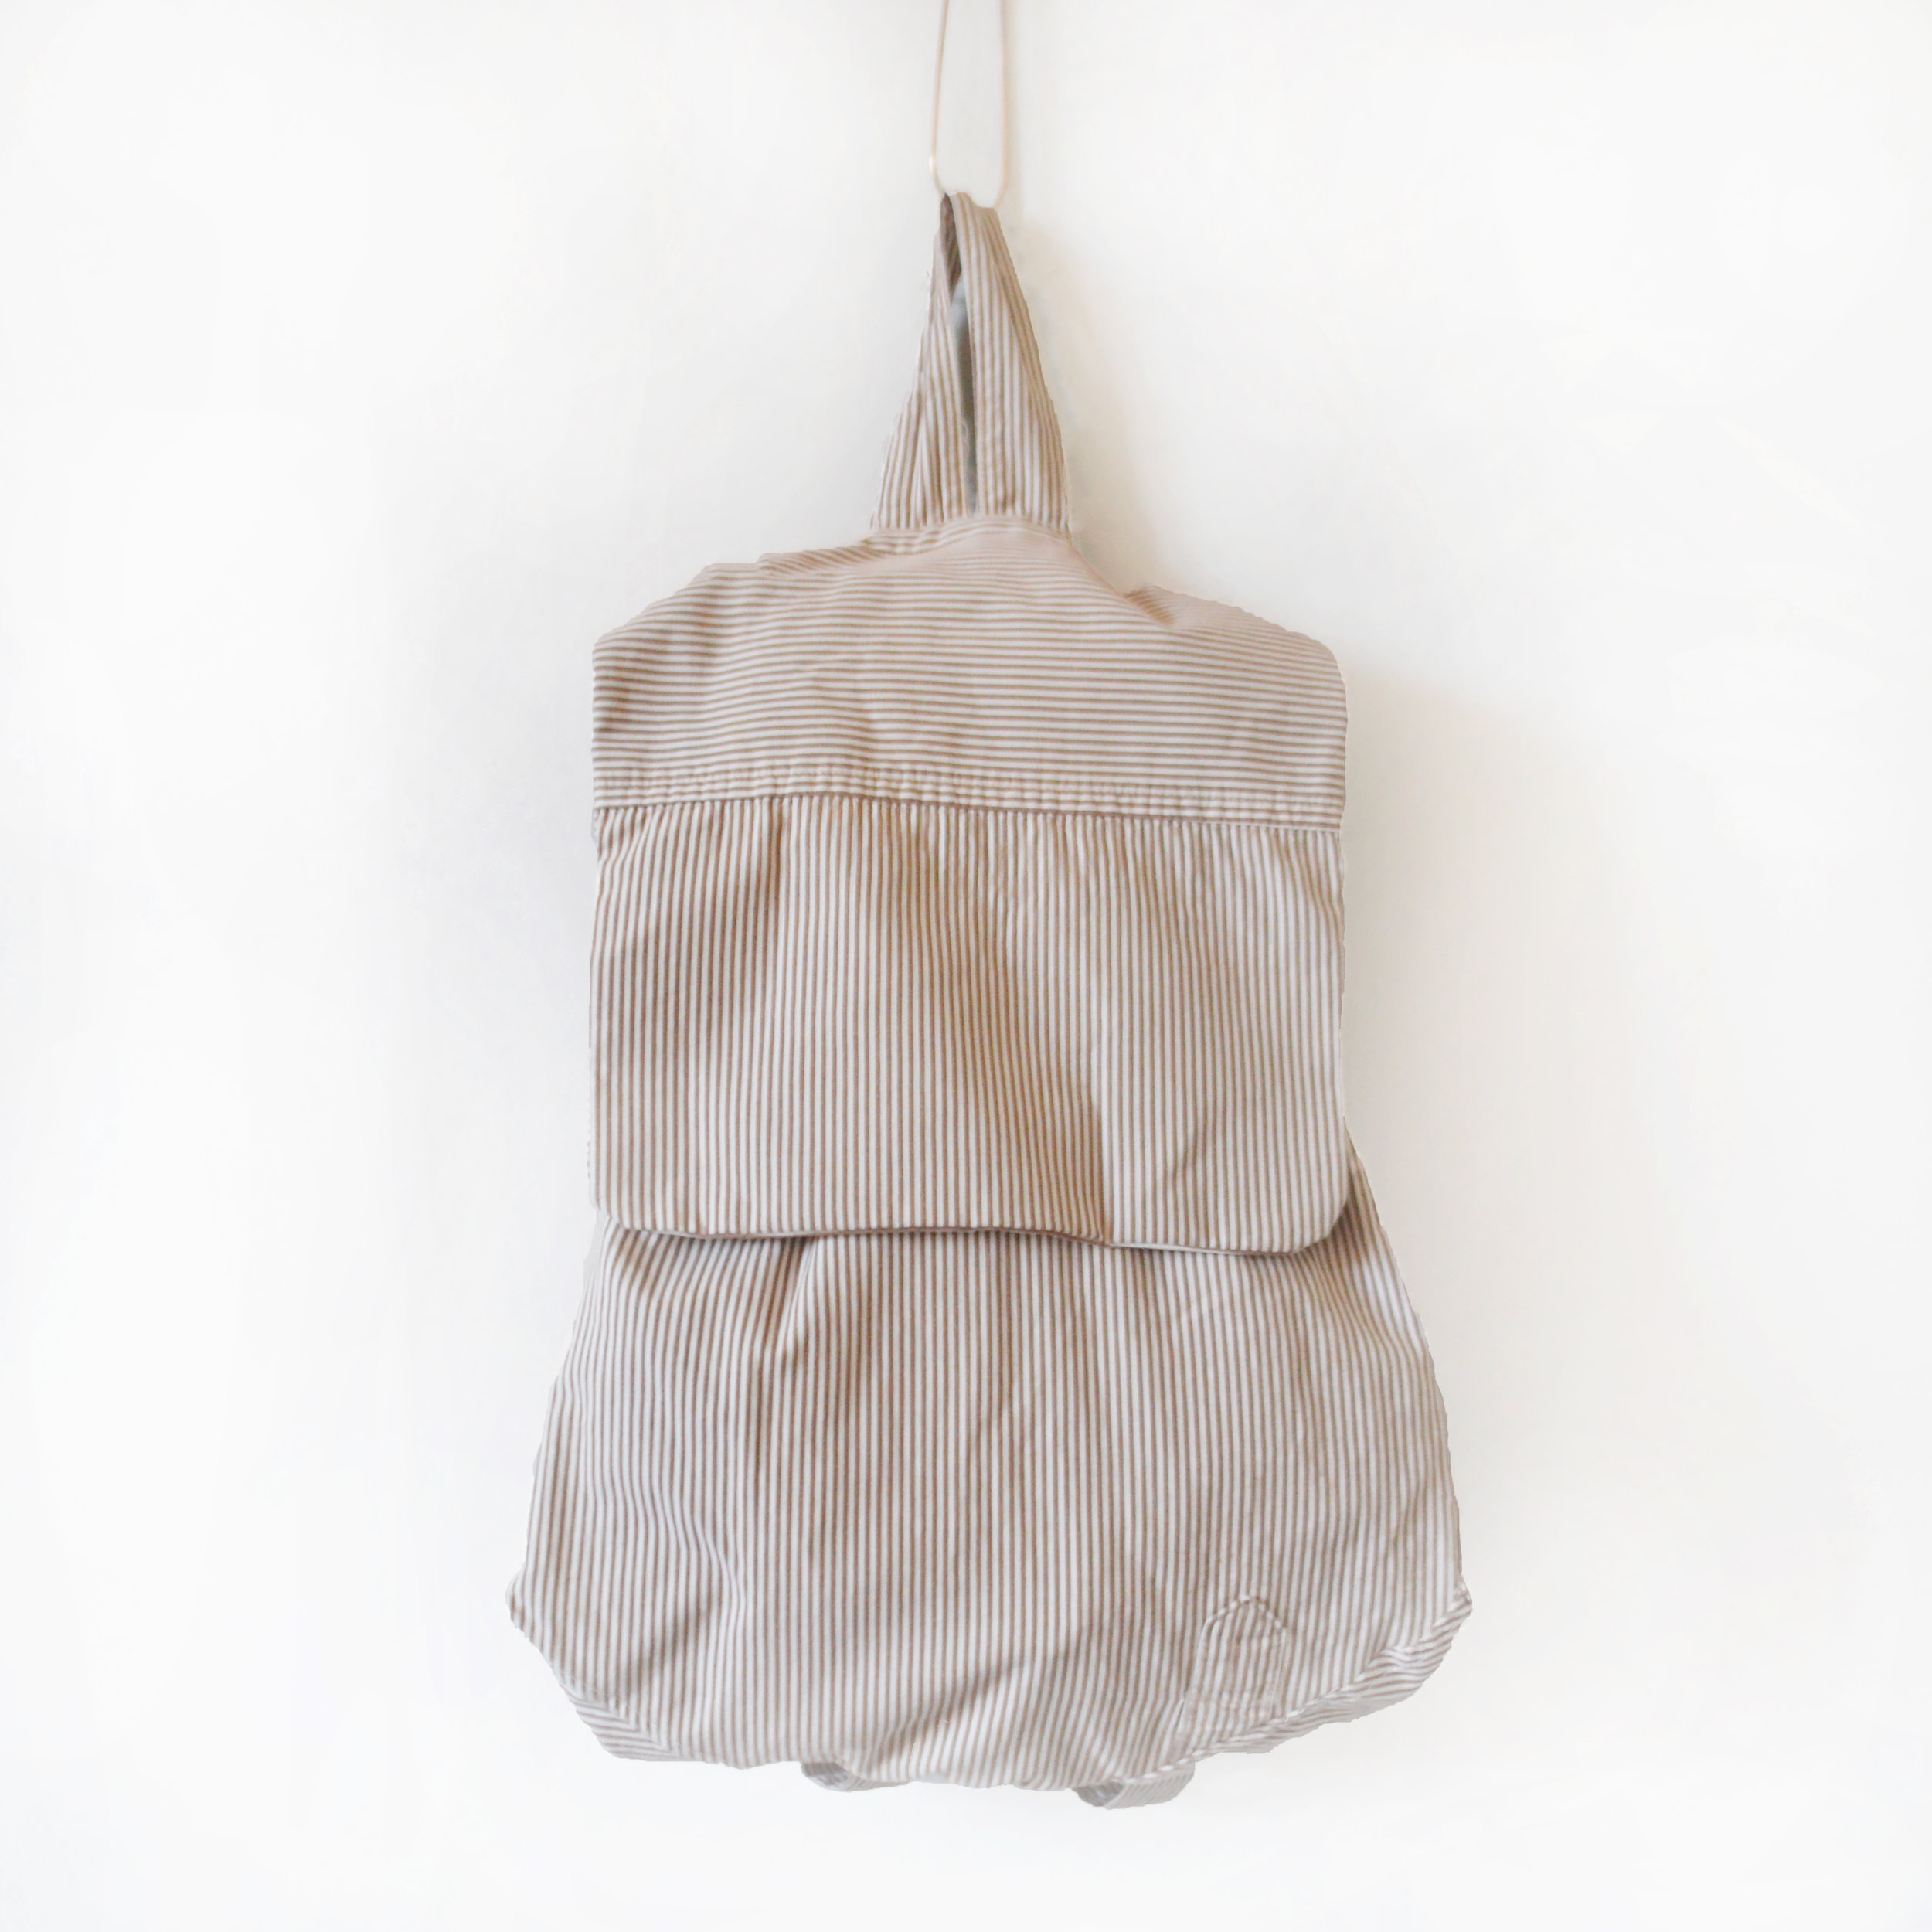
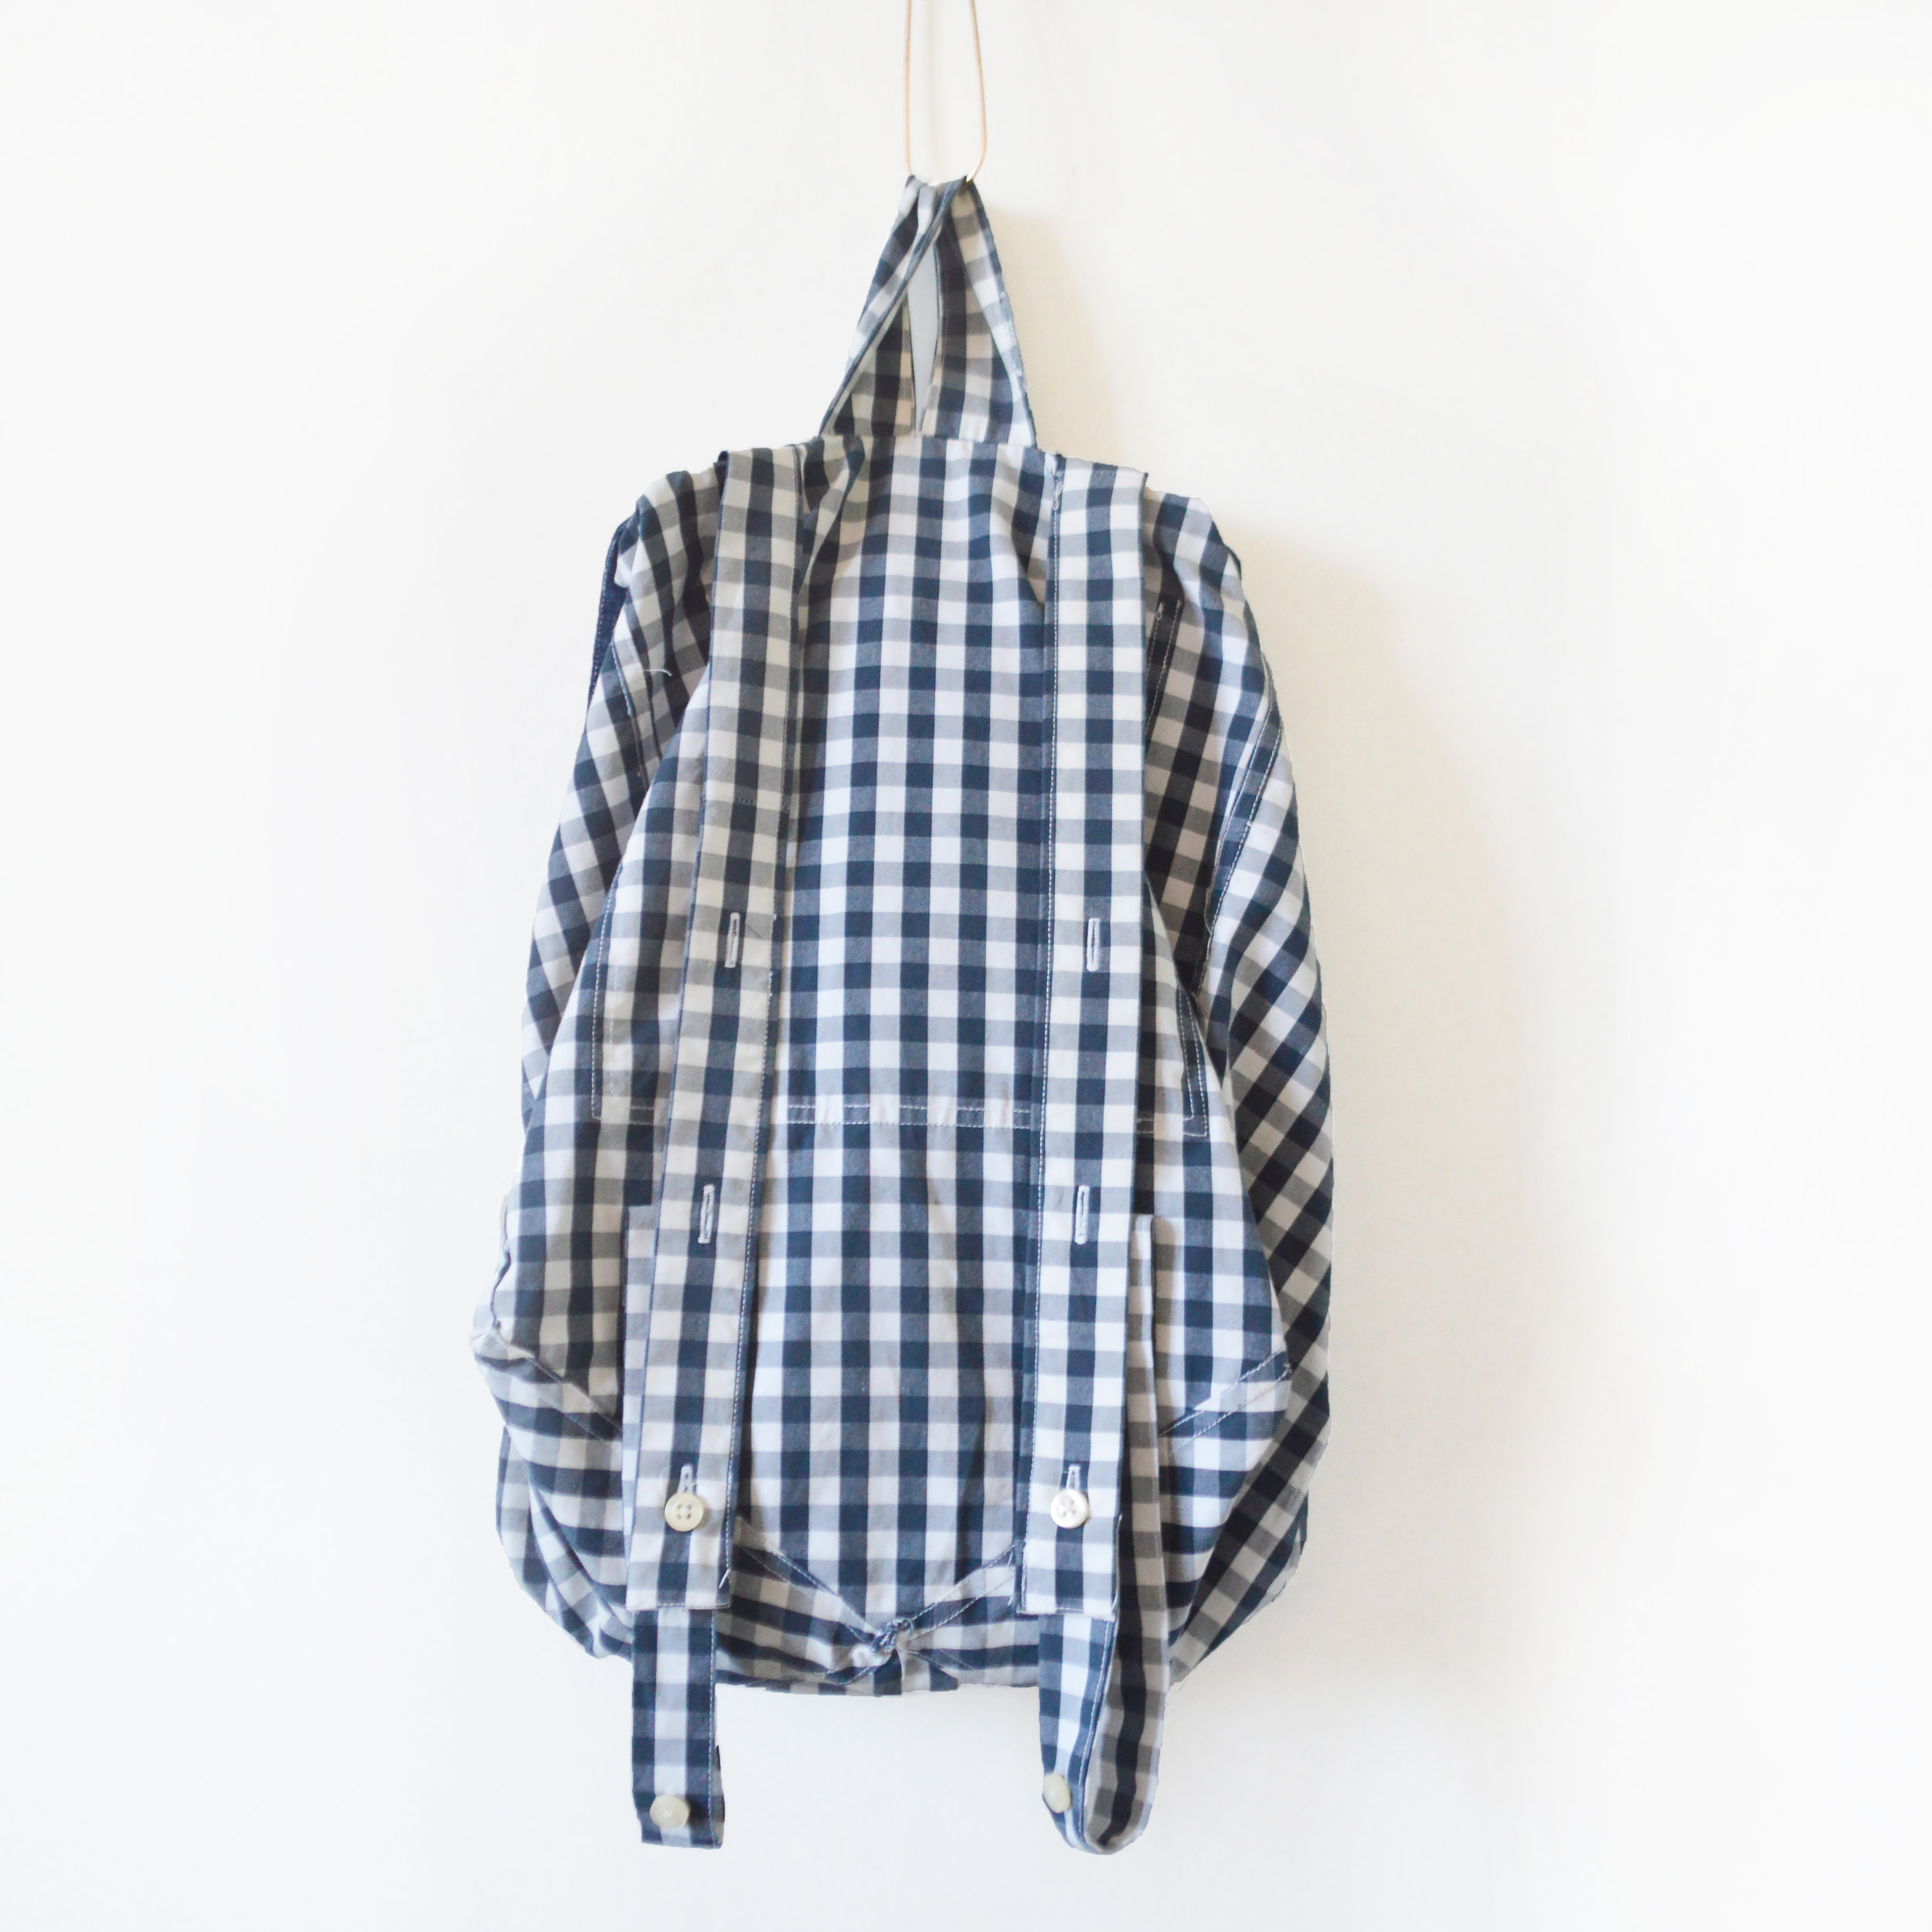
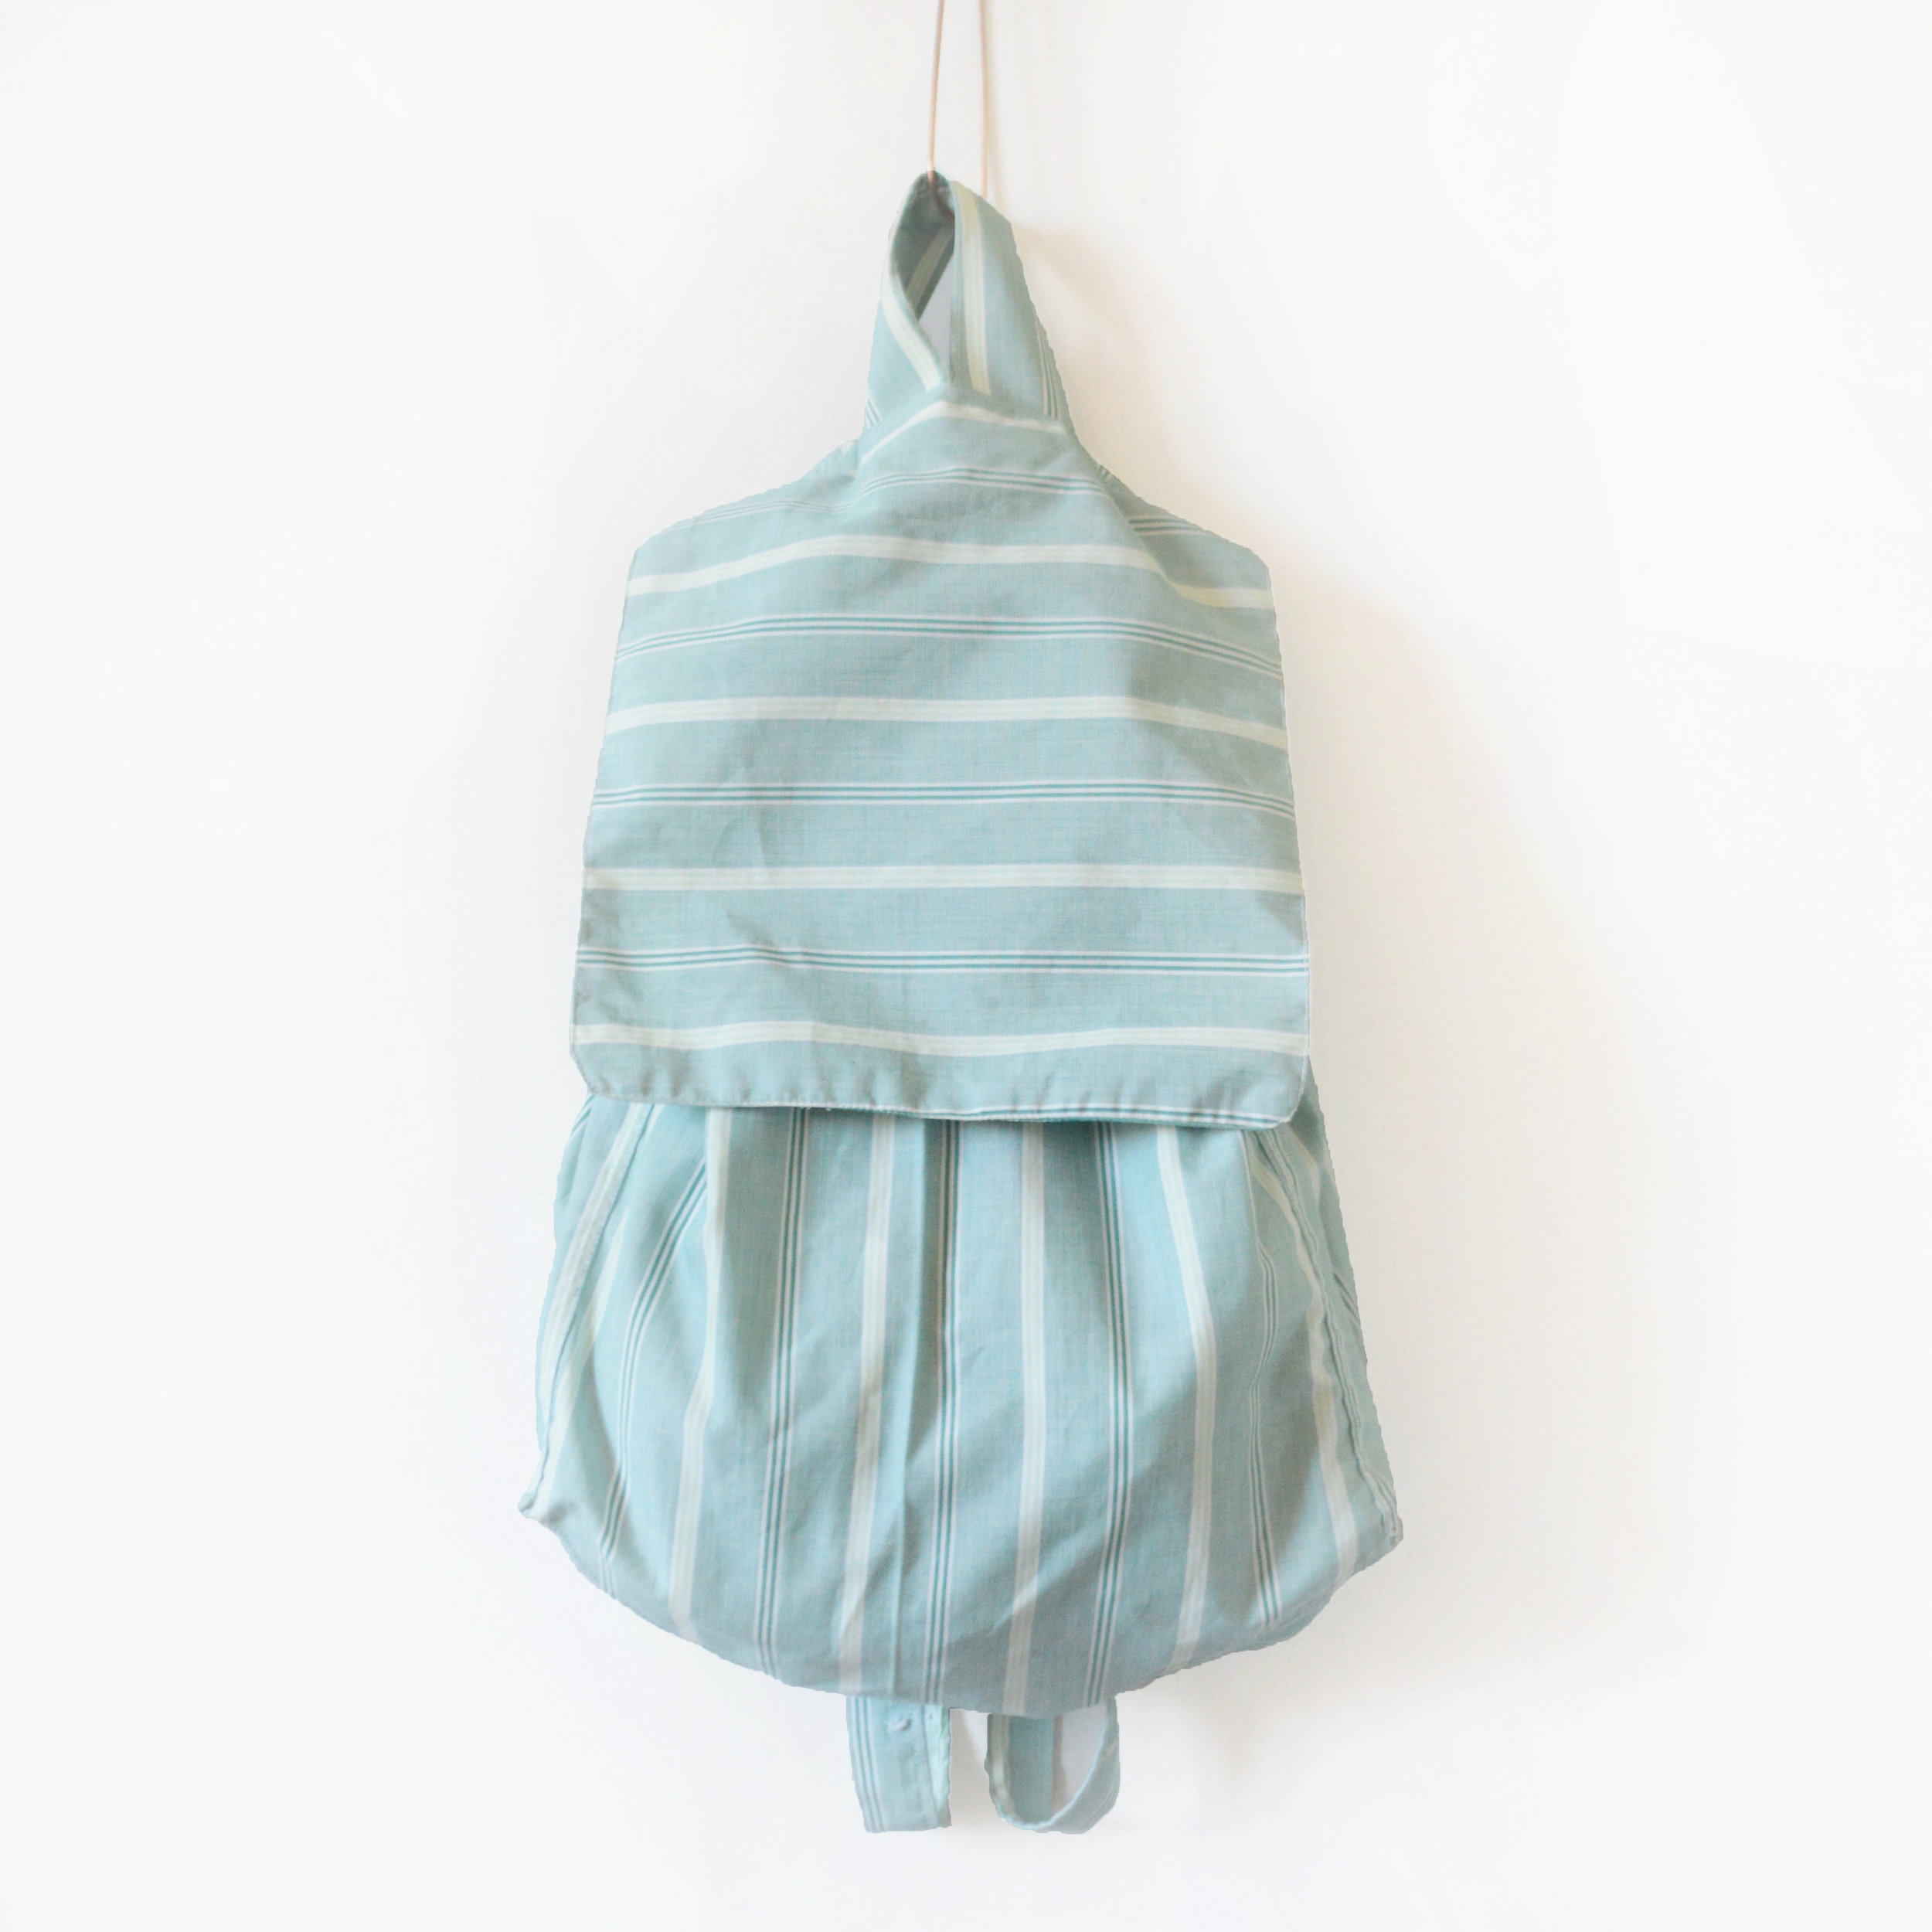
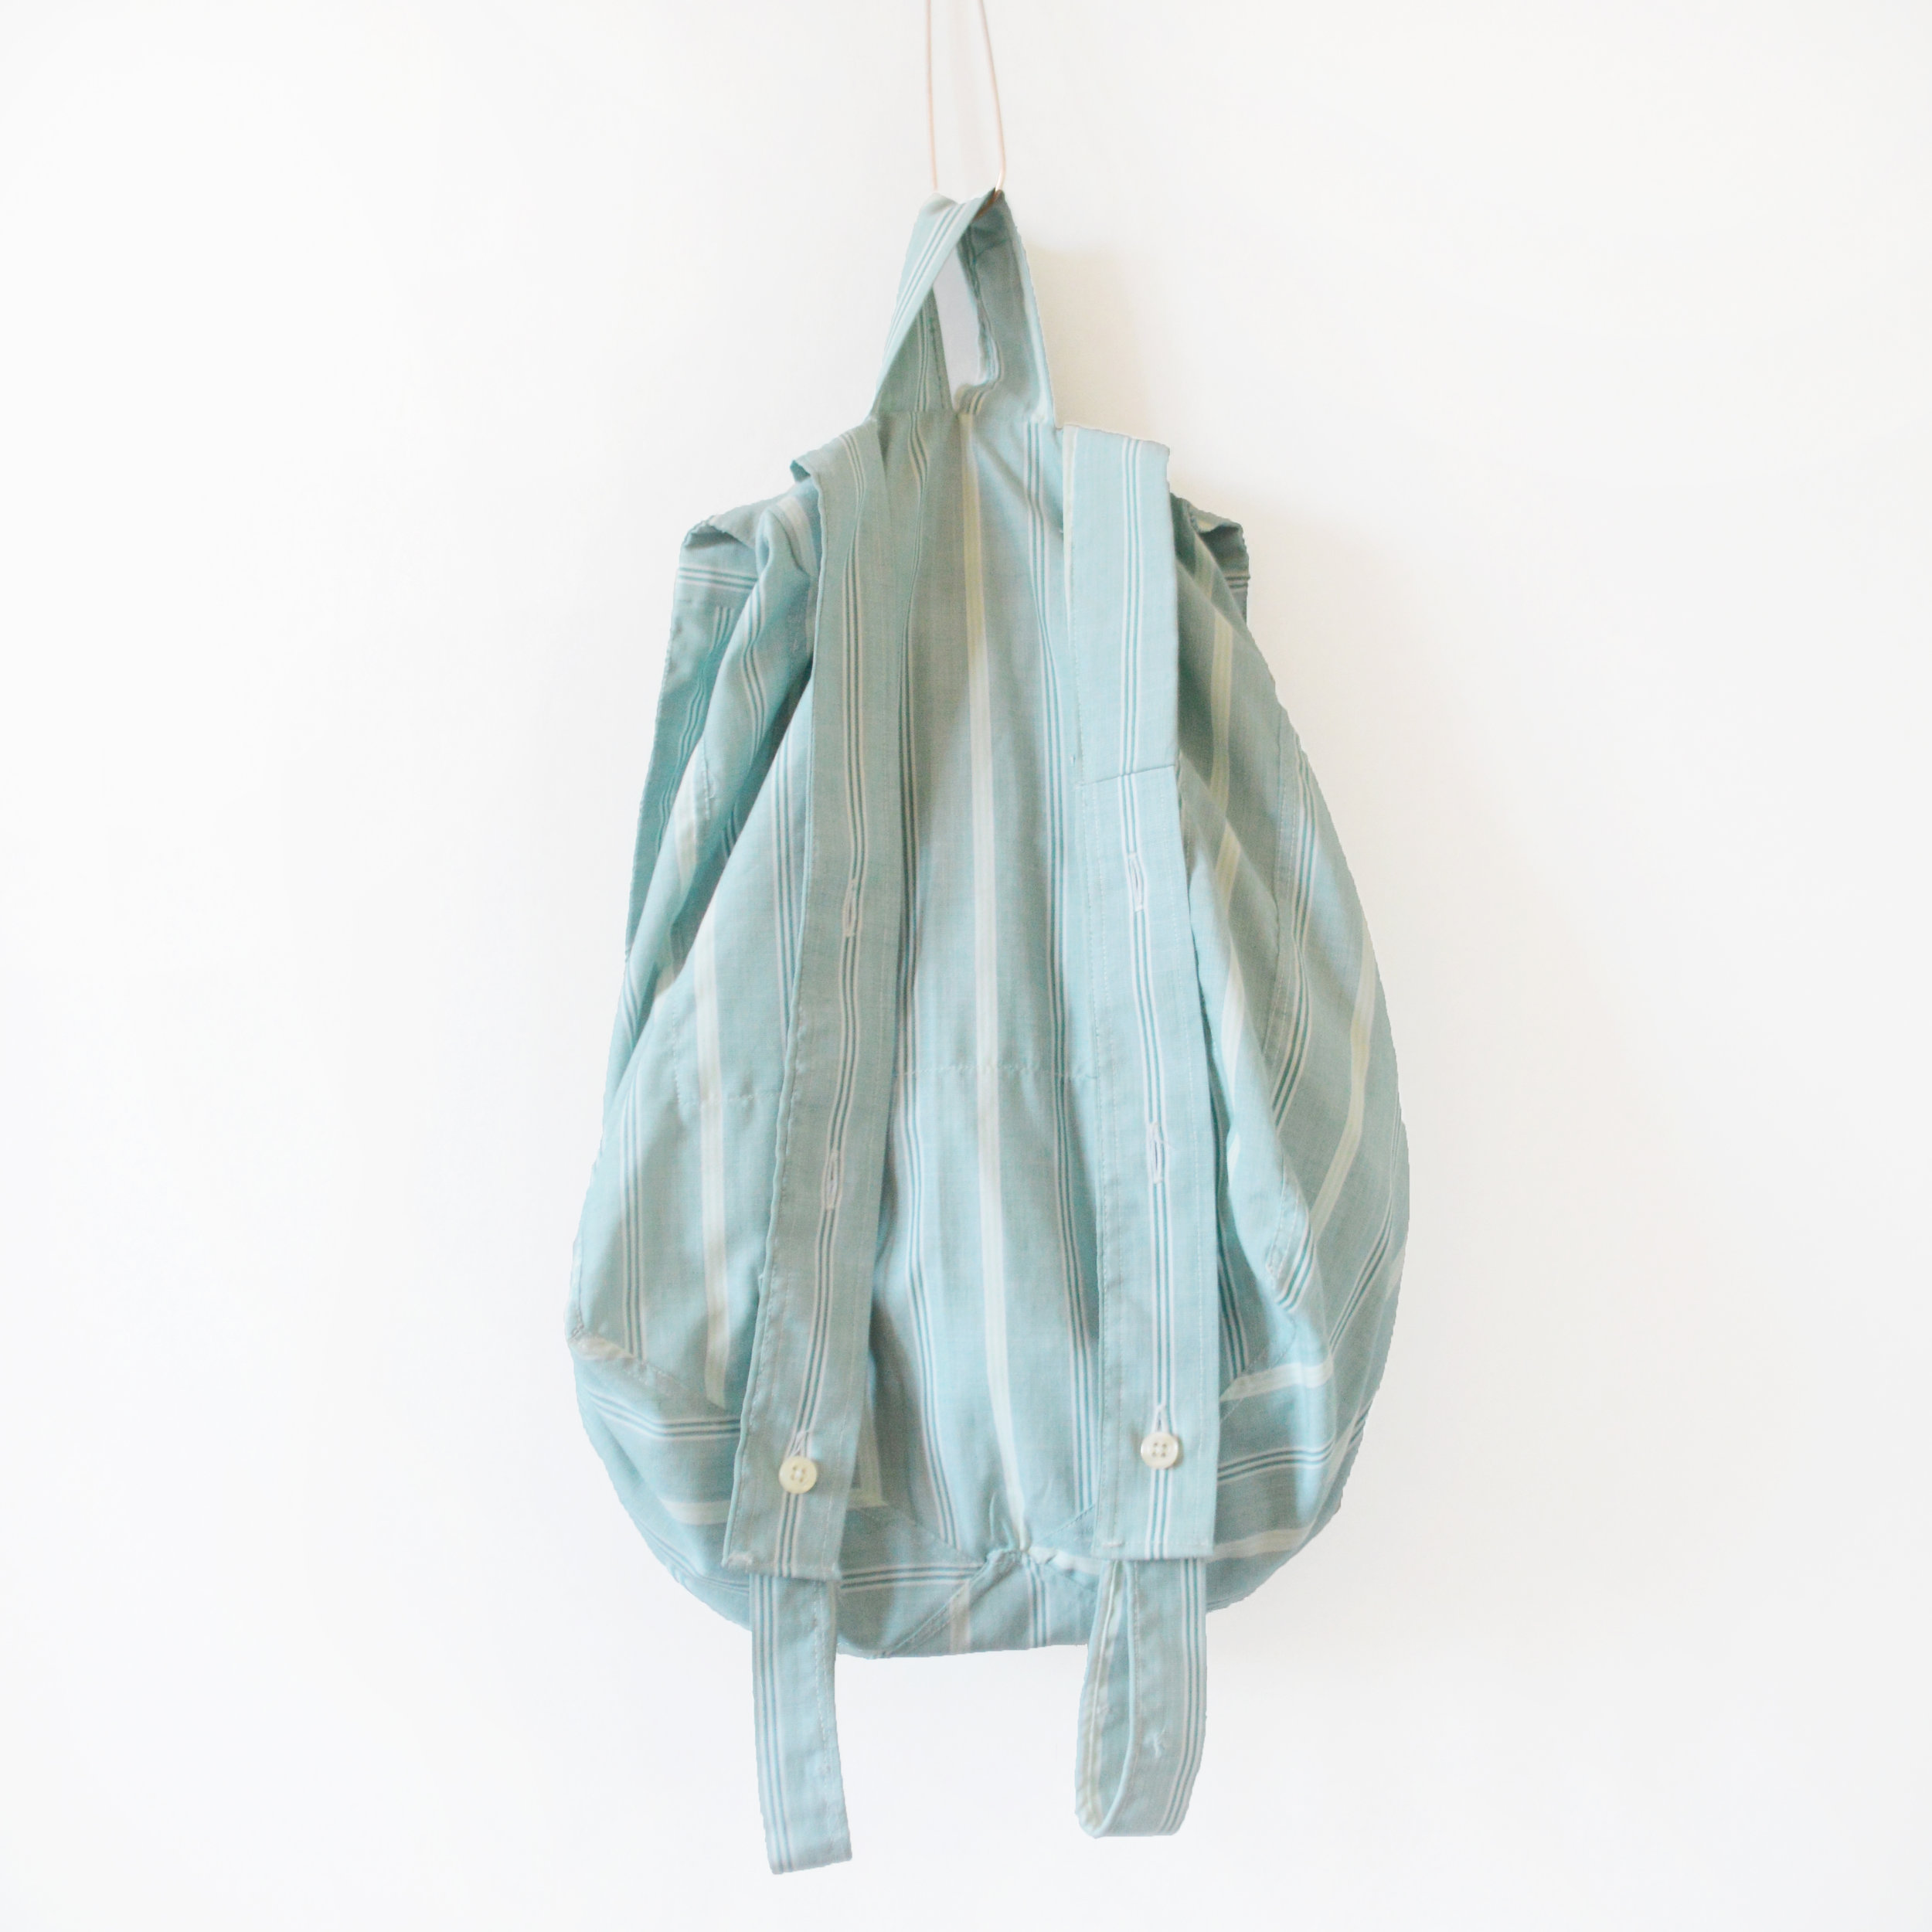
CRYS [pronounced ‘crease’] means ‘shirt’ in Welsh, and that’s exactly what this lightweight accessory is intended to be up-cycled from.
This exciting and sustainable pattern celebrates the garment’s original design features including a carry handle refashioned from the collar and adjustable straps that utilise your button stands!
D I F F I C U L T Y :
Intermediate
T E C H N I Q U E S :
Flat Felled Seams
Up-cycling Techniques
Interfacing
Bias Bound Finish
Inserting Eyelets
S I Z E :
(H) 44cm x (W) 29cm x (D) 18.5cm
F A B R I C S U G G E S T I O N S:
One unloved shirt, size L and above. Cottons, chambray, lightweight linen and cotton blends are perfect.
Collectible F A S H I O N F I L E print-out included.